
Truck Insulating
Correcting The Box Builder Oversights
Although the camper body is made from composite panels which have 2-1/4” of rigid foam insulation as the core, there were a number of significant oversights by the body builder that presented themselves during the February, 2020 winter trip to the north of Canada.
Grey Water Holding Tank
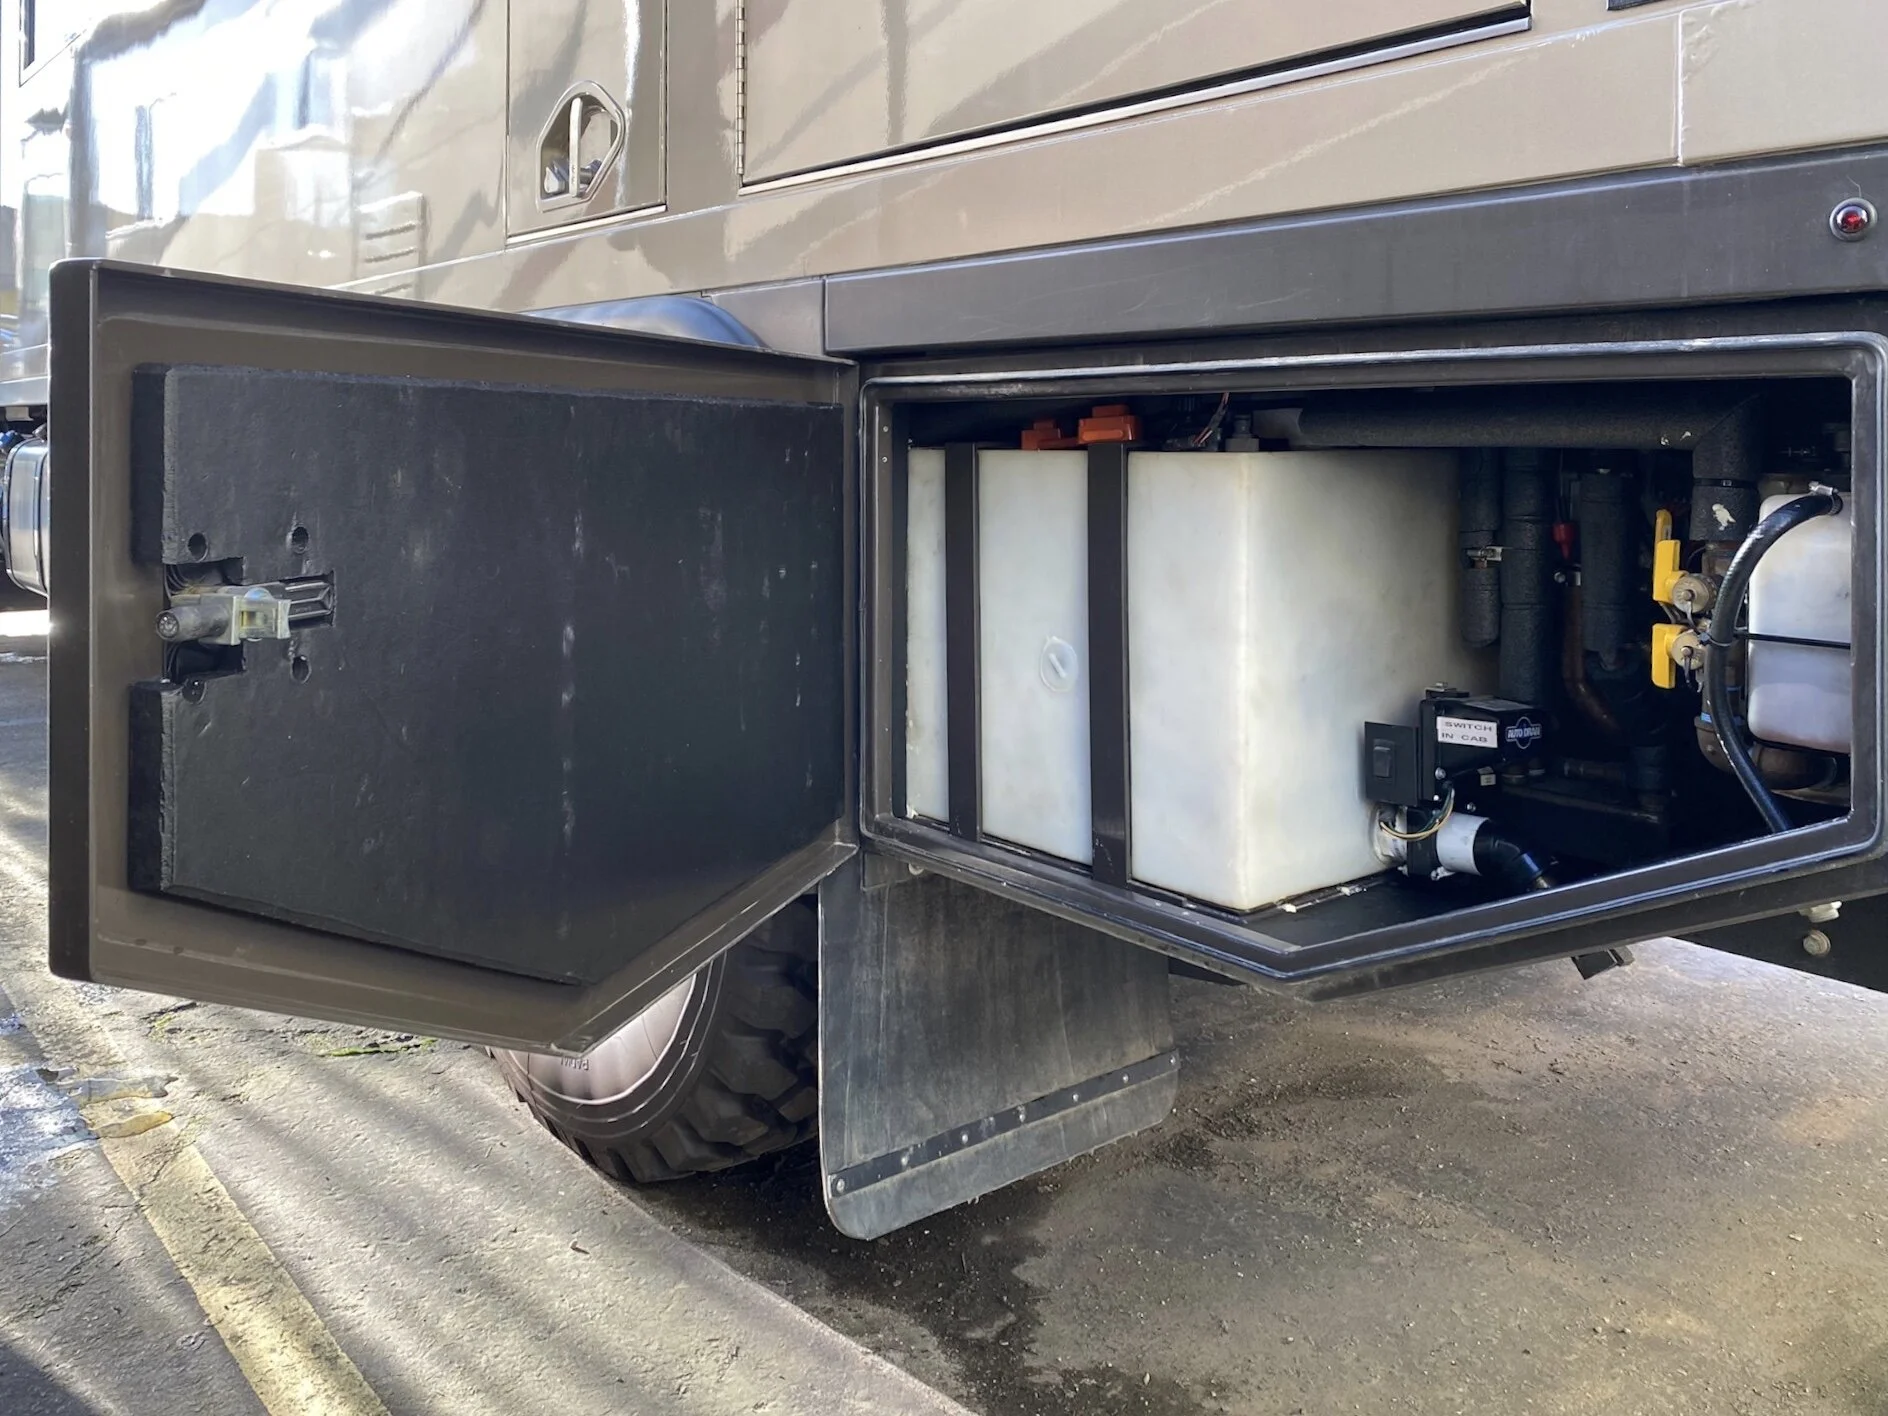
Grey water storage inside a sixteen cubic foot aluminum box with no insulation. Use in sub-zero temperatures didn’t work out well at all.
Perhaps the most significant of the builder oversights was that of the grey water holding tank. Housed in an aluminum storage box with no insulation, they were relying on the ambient heat from the heating system pipes running through the compartment to keep the tank from freezing.
The 30 gallon grey water tank and drain lines was susceptible to freezing because of a total lack of adequate insulation.
Unfortunately two sides of the tank were against the side of the compartment, and the bottom was raised off the compartment floor by, you guessed it, an aluminum plinth with no thermal break. So with aluminum being one of the best conductors of heat and cold, the -28°C temperature outside was conducted directly to the plastic tank and the contents within. Compounding the problem was the drain tube that penetrated the compartment for emptying the tank. It also allowed the sub-zero temperatures to migrate up the tube and freeze the exit hole in the tank.
Despite the heating lines running through the compartment, they themselves did not actually touch the tank. The substantial outside surface area of the aluminum easily overpowered the ambient effect of the heating tubes, and the bottom of the tank froze so it couldn’t be drained. Fortunately there wasn’t enough fluid in the tank at the time to cause it to split from the freeze expansion of the water.
12 volt, self adhesive and thermostatically controlled tank heating pads come in a variety of sizes.
All of this could have been avoided by simply insulating the inside of the compartment walls, running the heating tubes under the holding tank as was done with the black water holding tank, or easiest of all, simply installing an electric tank heating mat that could be turned on when below freezing weather is encountered. Those mats cost as little as $50.00.
Insulation Installation
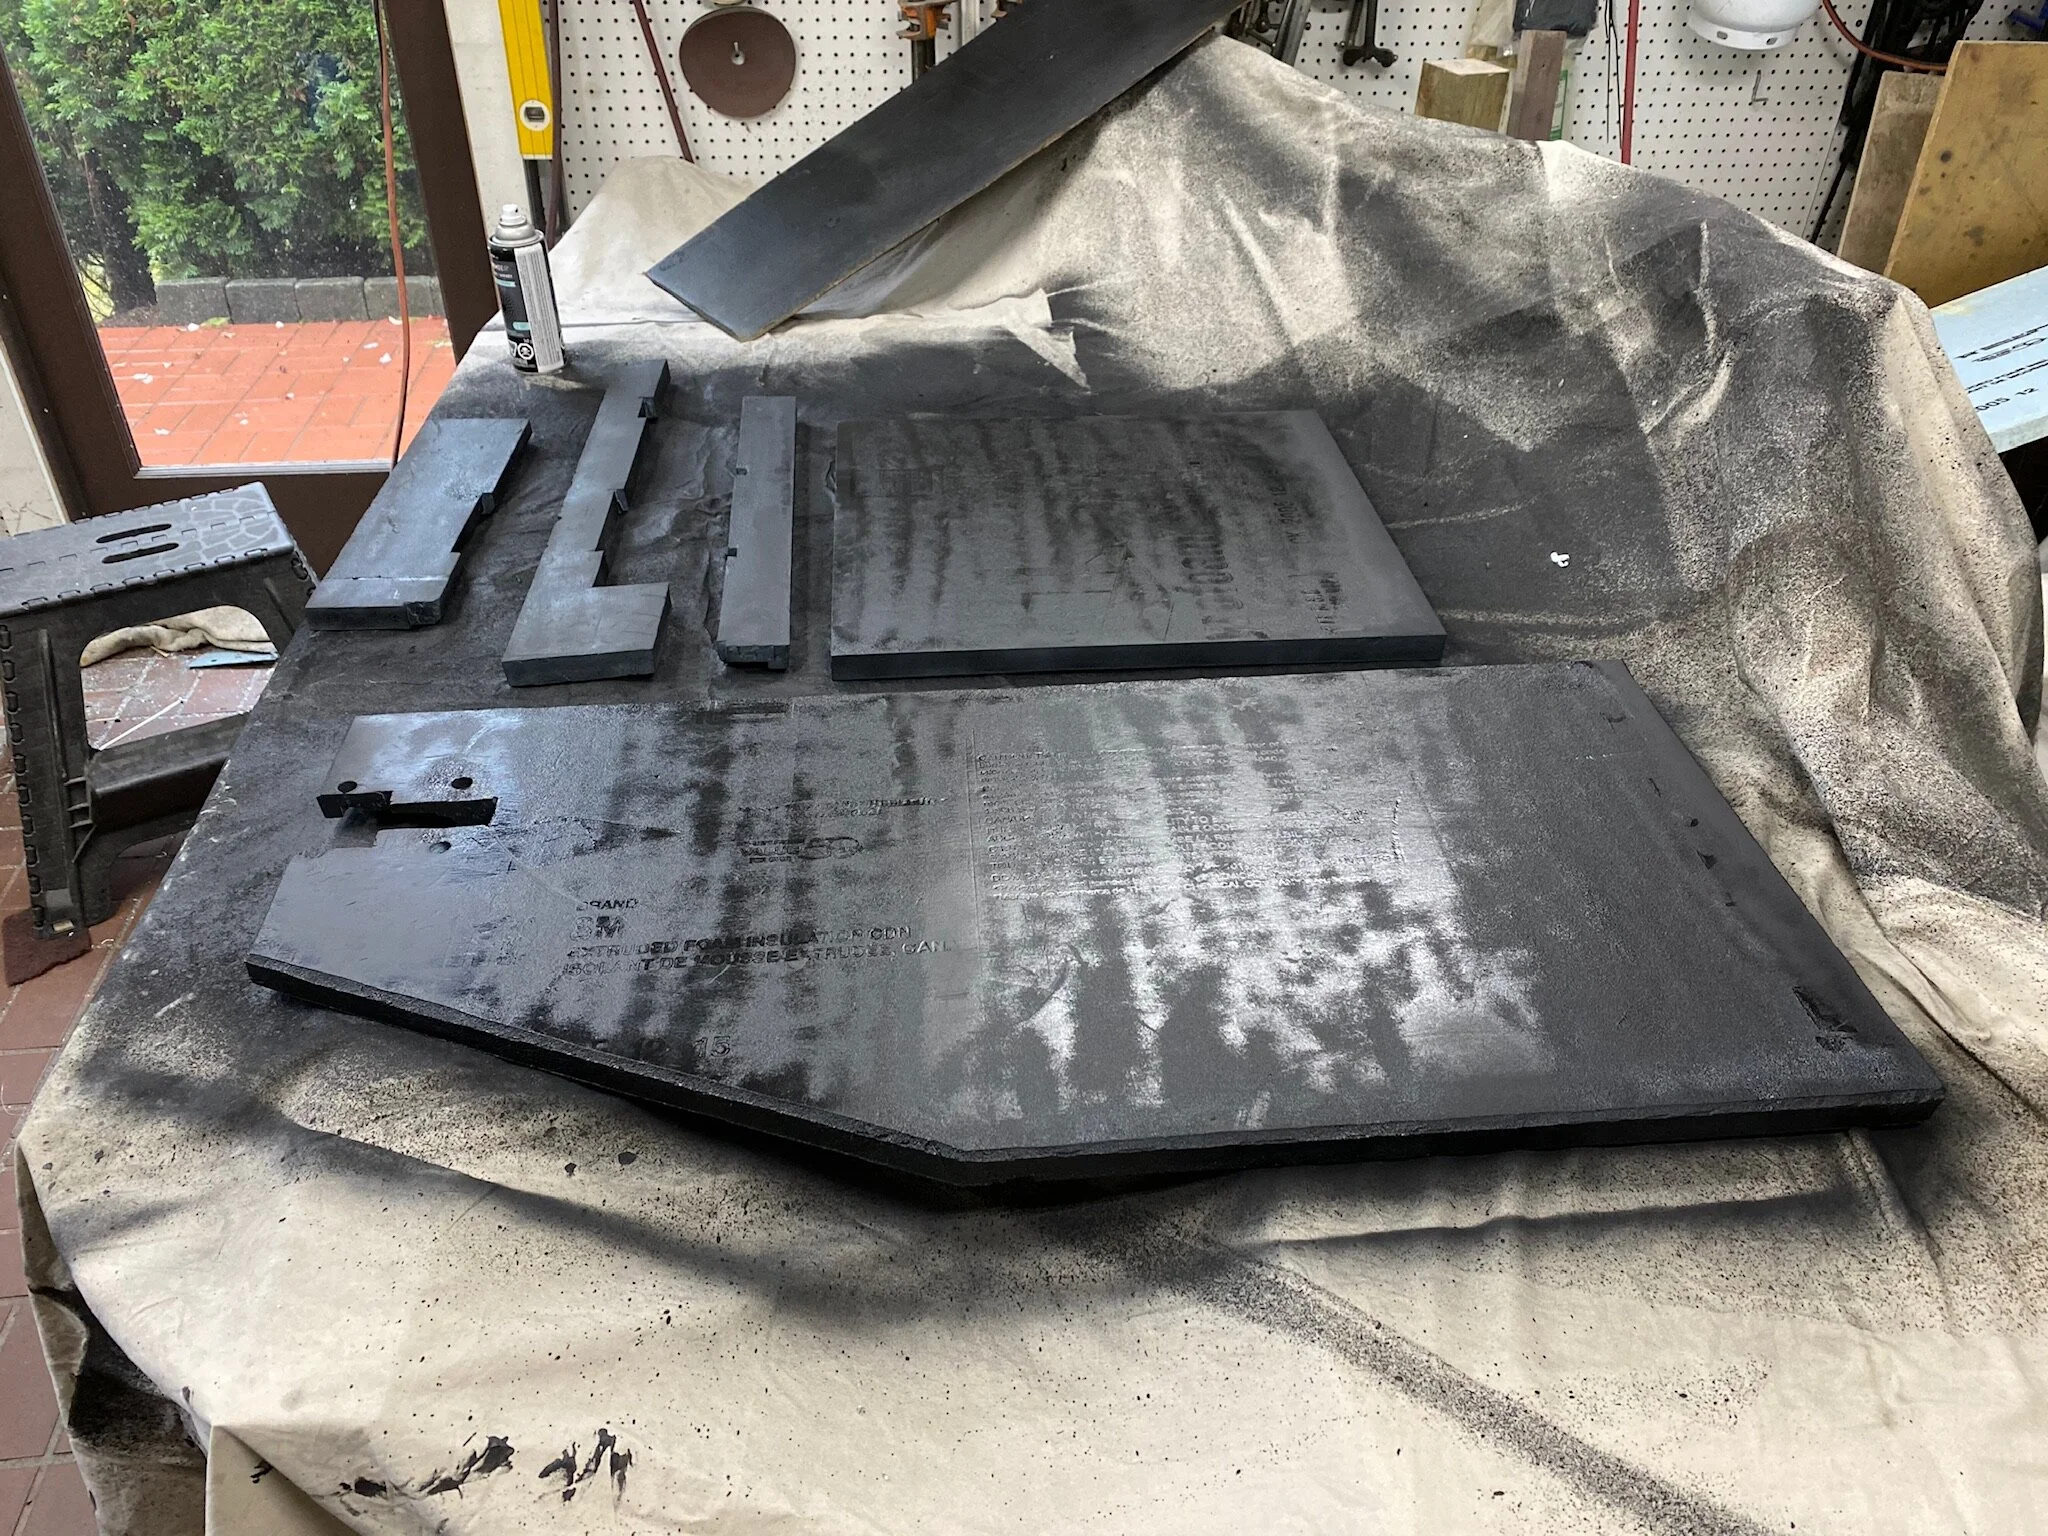
For us, this task was aided by the old adage of “never throw anything out”. A philosophy that we try not to follow, as it leads to hoarding, but one that we do fall prey to through procrastination. In any event, in this case we came across some one inch thick rigid foam insulation that was left over from some job around the house. Enough that would easily complete the job. All we had to do was cut the foam to size and glue or tape it in place.
A test of petroleum based bed liner on the rigid foam insulation went badly.
However, since the foam was blue and covered in commercial printing, we decided to coat the exposed surfaces with truck bed liner. But for this we had to use a water based product. The regular petroleum based bed liner product uses a solvent that melted the foam.
Fortunately, Duplicolor, an automotive aftermarket paint producer, does make a water based bed liner in both a rattle can and quart container. For simplicity, we just bought a couple of rattle cans for this project. It takes a few days after application for the bed liner to become fully cured, but it worked quite well.


Now with the insulation installed, our grey water tank should stay unfrozen and happy.
Camper Box Rear Wall
Our back wall helps to support nearly 1,400 pounds of tires and motorbike.
One of the advertised advantages of composite panels for camper living enclosures is the fact that they typically have several inches of rigid foam insulation making up much of the thickness of the panel. This gives great insulation coverage. However, in some instances, say when a panel must incorporate a structural component to carry a load, that foam insulation must be replaced with something that’s considerably stronger than polystyrene foam. In most cases this structural material is wood. Unfortunately, solid wood has an extraordinarily low insulation factor, and pretty much transmits all the outside cold straight through the wall into the interior living space.
Such was the case with our rear cabin wall. The need to store two large spare tires and a lifting platform for a motorbike meant that most of our rear wall was made from wood sandwiched in between the two outer fiberglass panels. All the weight wasn’t born solely by the rear wall, mind you. The dynamic forces of the moving truck, especially when off pavement, meant that the tire rack and lift needed to be connected to the cabin’s steel sub-frame as well. It all works as a cohesive structure, neither one by itself being strong enough for the task.
At -28°C, early mornings in northern Canada can be a bit frosty.
All this cold conducting material never presented a problem when the truck was used in the spring, summer, autumn or even milder winter climates. But when confronted with the extreme winter cold of Canada’s Arctic region, where temperatures fall well below -20°C on a regular basis, this cold conductivity of the rear wall became a real issue. Over night, condensation created from breathing would freeze on the inside of the back wall, and night after night would build thicker. Insulated from the heat of the room by the thick foam mattress pushed up against the wall, the problem didn’t become evident for several days. By then, ice had to be chipped off the inside surface.
So to correct this oversight we would have to somehow add insulation to the parts of the wall that connected with the inside of the bedroom. The large storage compartment under the bedroom area wasn’t an issue. It was kept toasty warm from the heating system pipes running through it, as well as the two 4000 watt inverters that lived on the back wall. They too provided heat to the area when they were in use. Besides, there was no source of humidity in that storage area to condense on the wall surface and thereby freeze. So essentially we only had to insulate the wall that was covered directly by the tire rack and lift.
The toughest part of the job was getting the two 350 pound wheels off, and then back up on the rack.
Fortunately, the rack was made with 4”x 2” aluminum channel with the open side facing rearward. So this meant there were areas throughout the rack that would allow us to fasten rigid foam insulation directly to the outside wall surface, and the outward facing “C” of the channel itself could also have insulation placed into it. This meant that the only surfaces of the rear, upper wall that wouldn’t be protected would be the 1/4” thick edges of the channel itself. So the cold conduction would be greatly reduced.
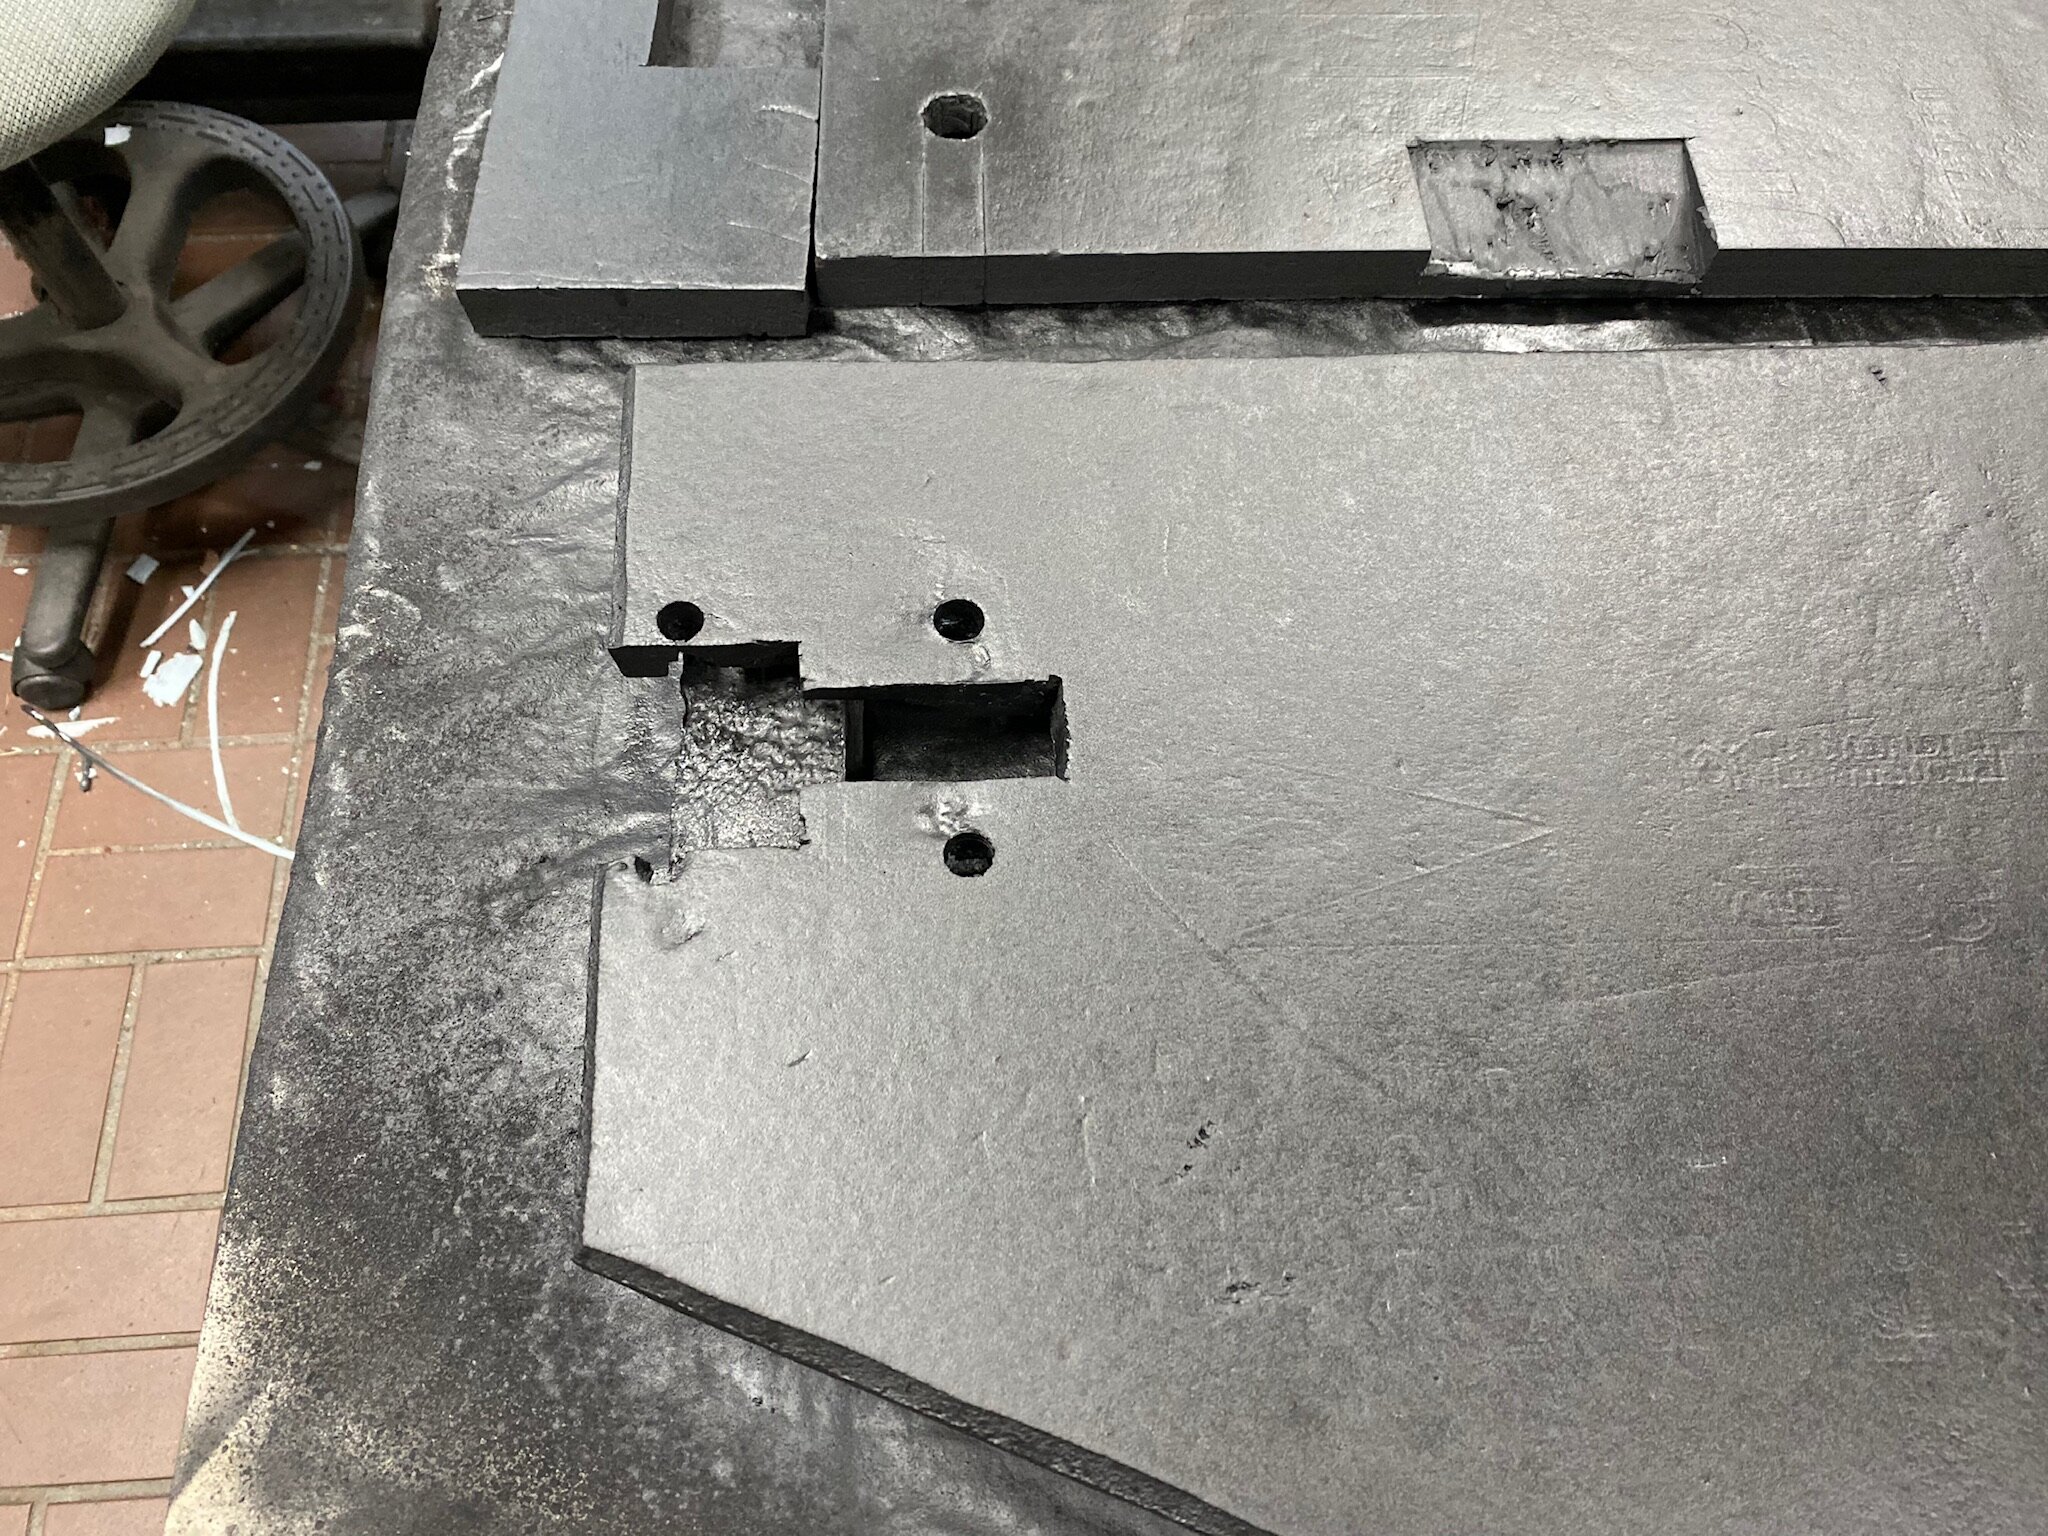
The two inch aluminum channel meant that we could used 2” rigid foam insulation, and it would fit within the confines of the channel thickness. But because the insulation is actually 1-7/8” thick, we had a 1/8” recess to the channel around the perimeter of each foam block so we could neatly apply a bead of caulking to finish the installation and seal off the foam edges.
Most of the rear wall above the bed platform will be covered in 2” thick rigid foam.
Since the foam surface would be visible from behind the tires in some places, we would need to coat the surface with the same water based bed liner that we used on the foam inside the grey water compartment. Black in colour, it would barely be noticeable.


Once the insulation panels were fully coated with the spray on bed liner they were ready for installation on the truck. Although each panel was tightly fitted, we used a few dabs of silicone under each panel to hold it close to the wall until the perimeter caulking was done for weather resistance. If water could get in behind the panels, and then freeze, the expansion could force the panel out of its pocket.


