Bookshelf Build
We discovered after using the truck for a year, that the seating position in front of the dinette window was never used. Instead, that part of the sofa became the dumping area for books, maps and whatever else we wanted close at hand. The problem with this practice was that we had to find a place to stow all the material before we could start driving, otherwise it all ended up on the floor the first time we went around a corner.
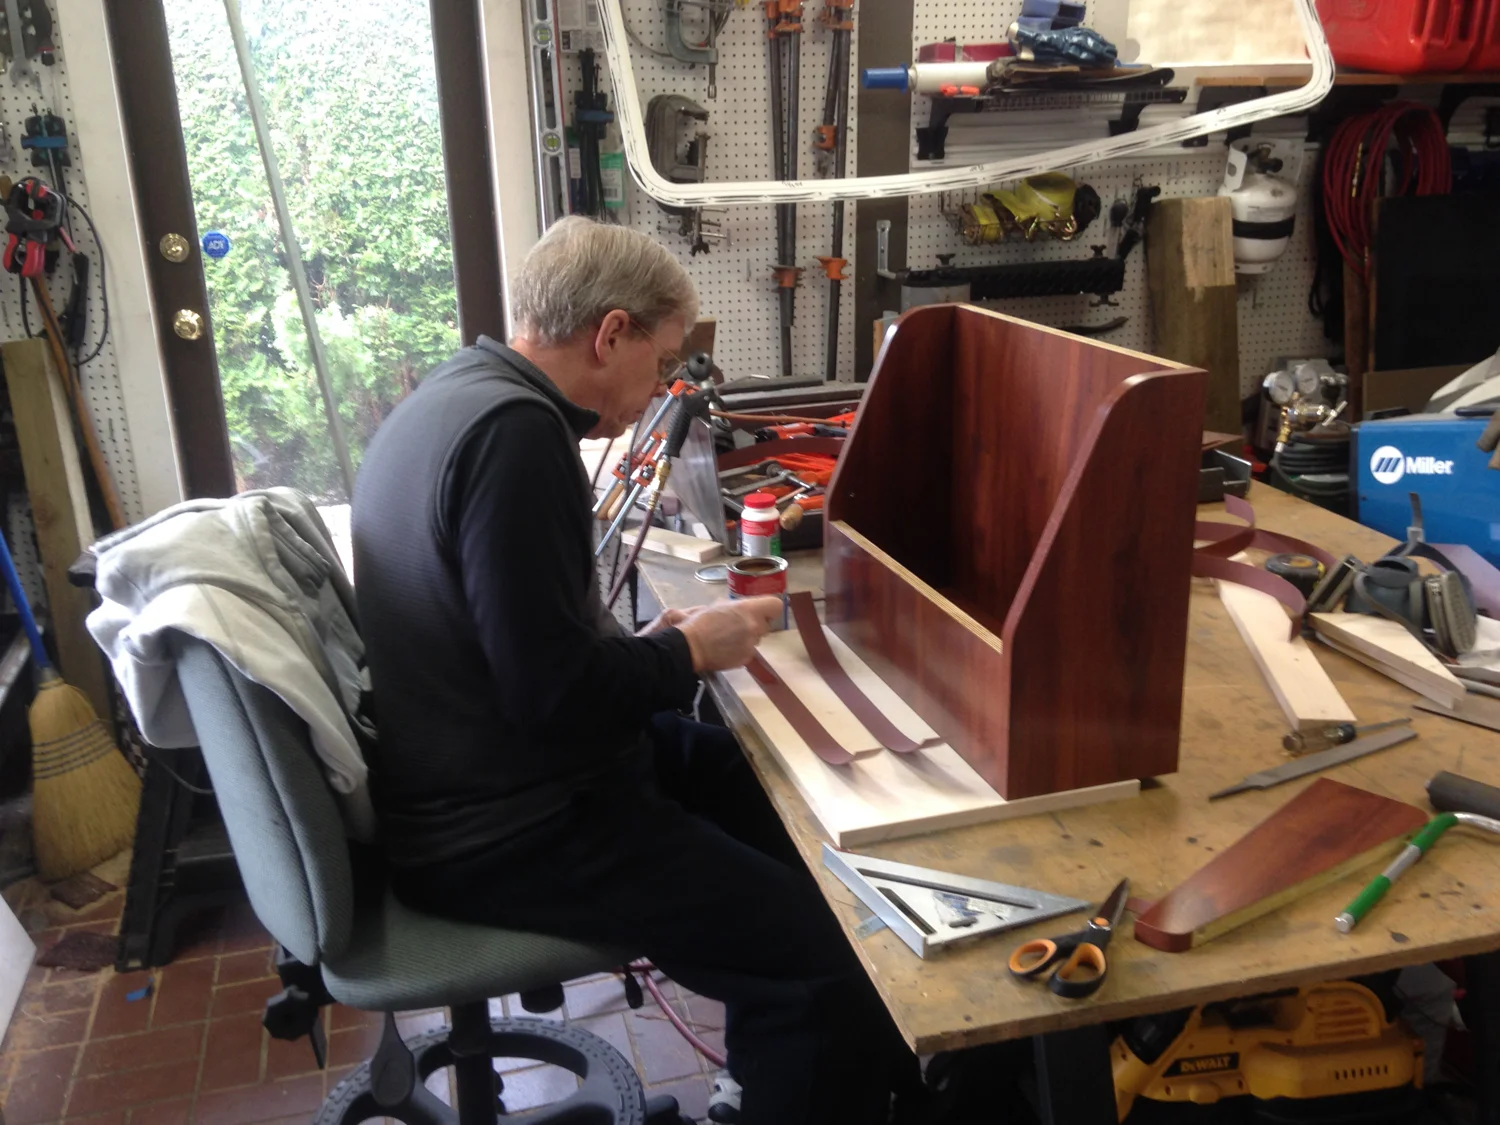
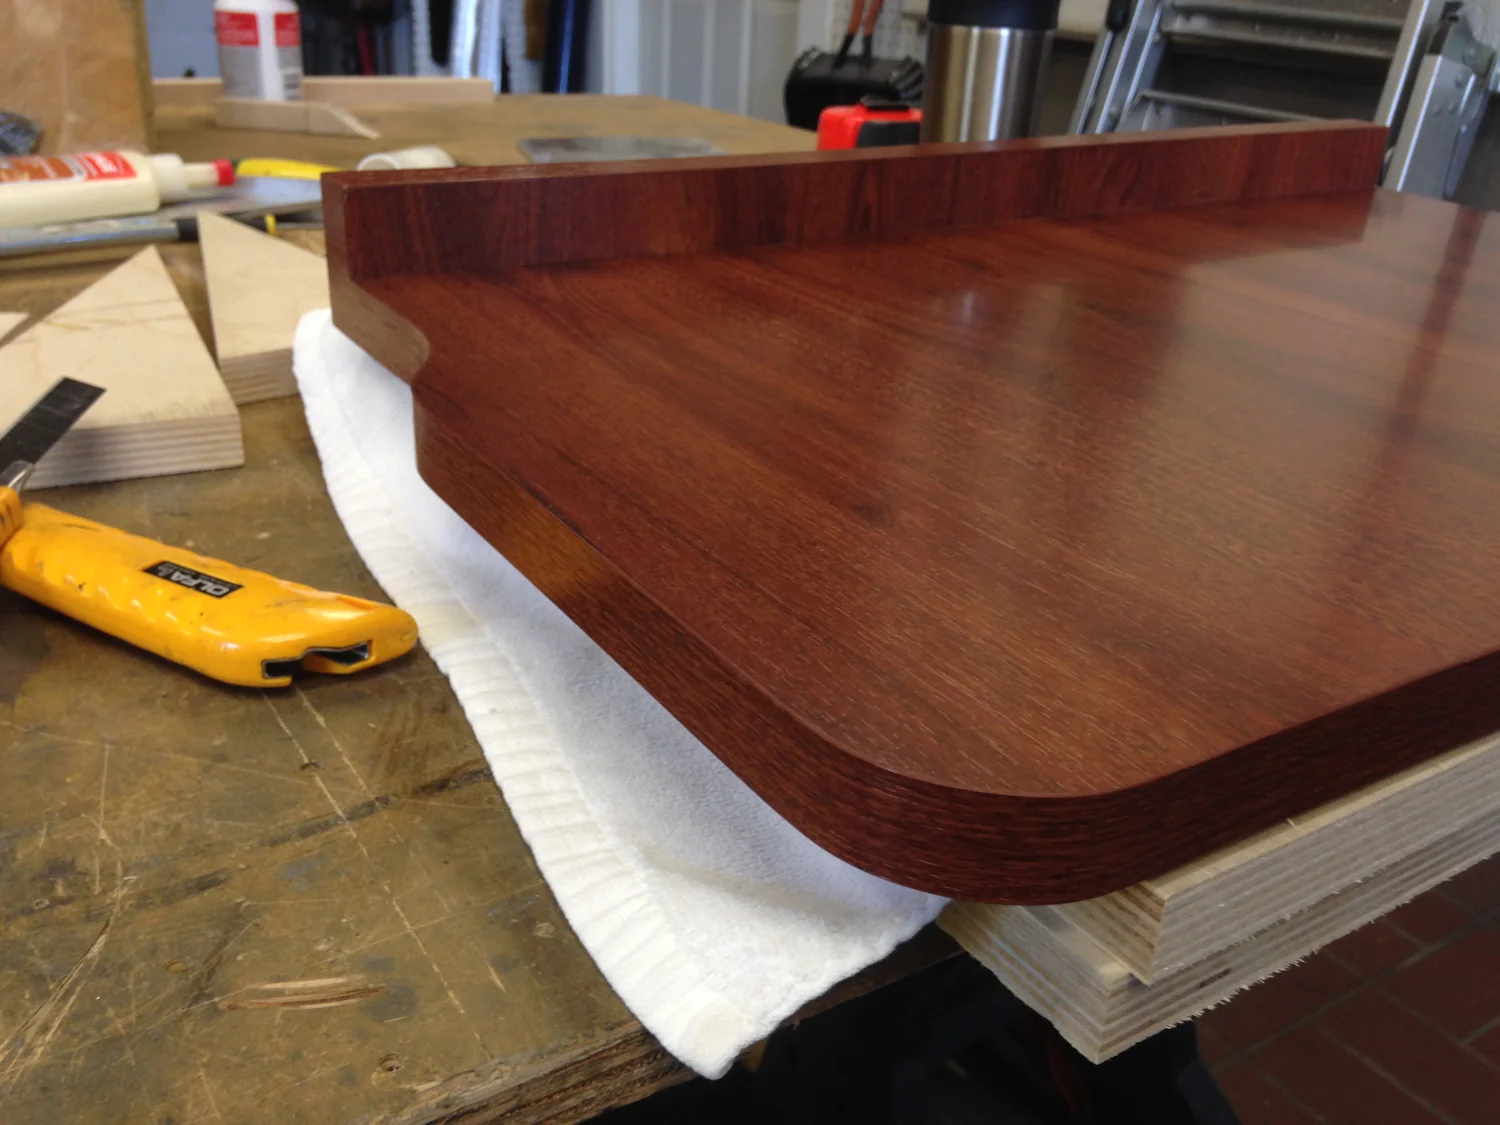
To eliminate this problem we decided to remove the back cushion in that location, and replace it with a bookcase that would be permanently mounted on the wall, and neatly hold everything in place. We designed it with a shelf that could hold pens and pencils, as well as act as an armrest for when we are sitting sideways watching television. We managed to keep that spot as a seating position by making the shelf so it would fold up and become a seat back.
Now all that nuisance material has a permanent place to reside.