Table Top & Pedestal Change
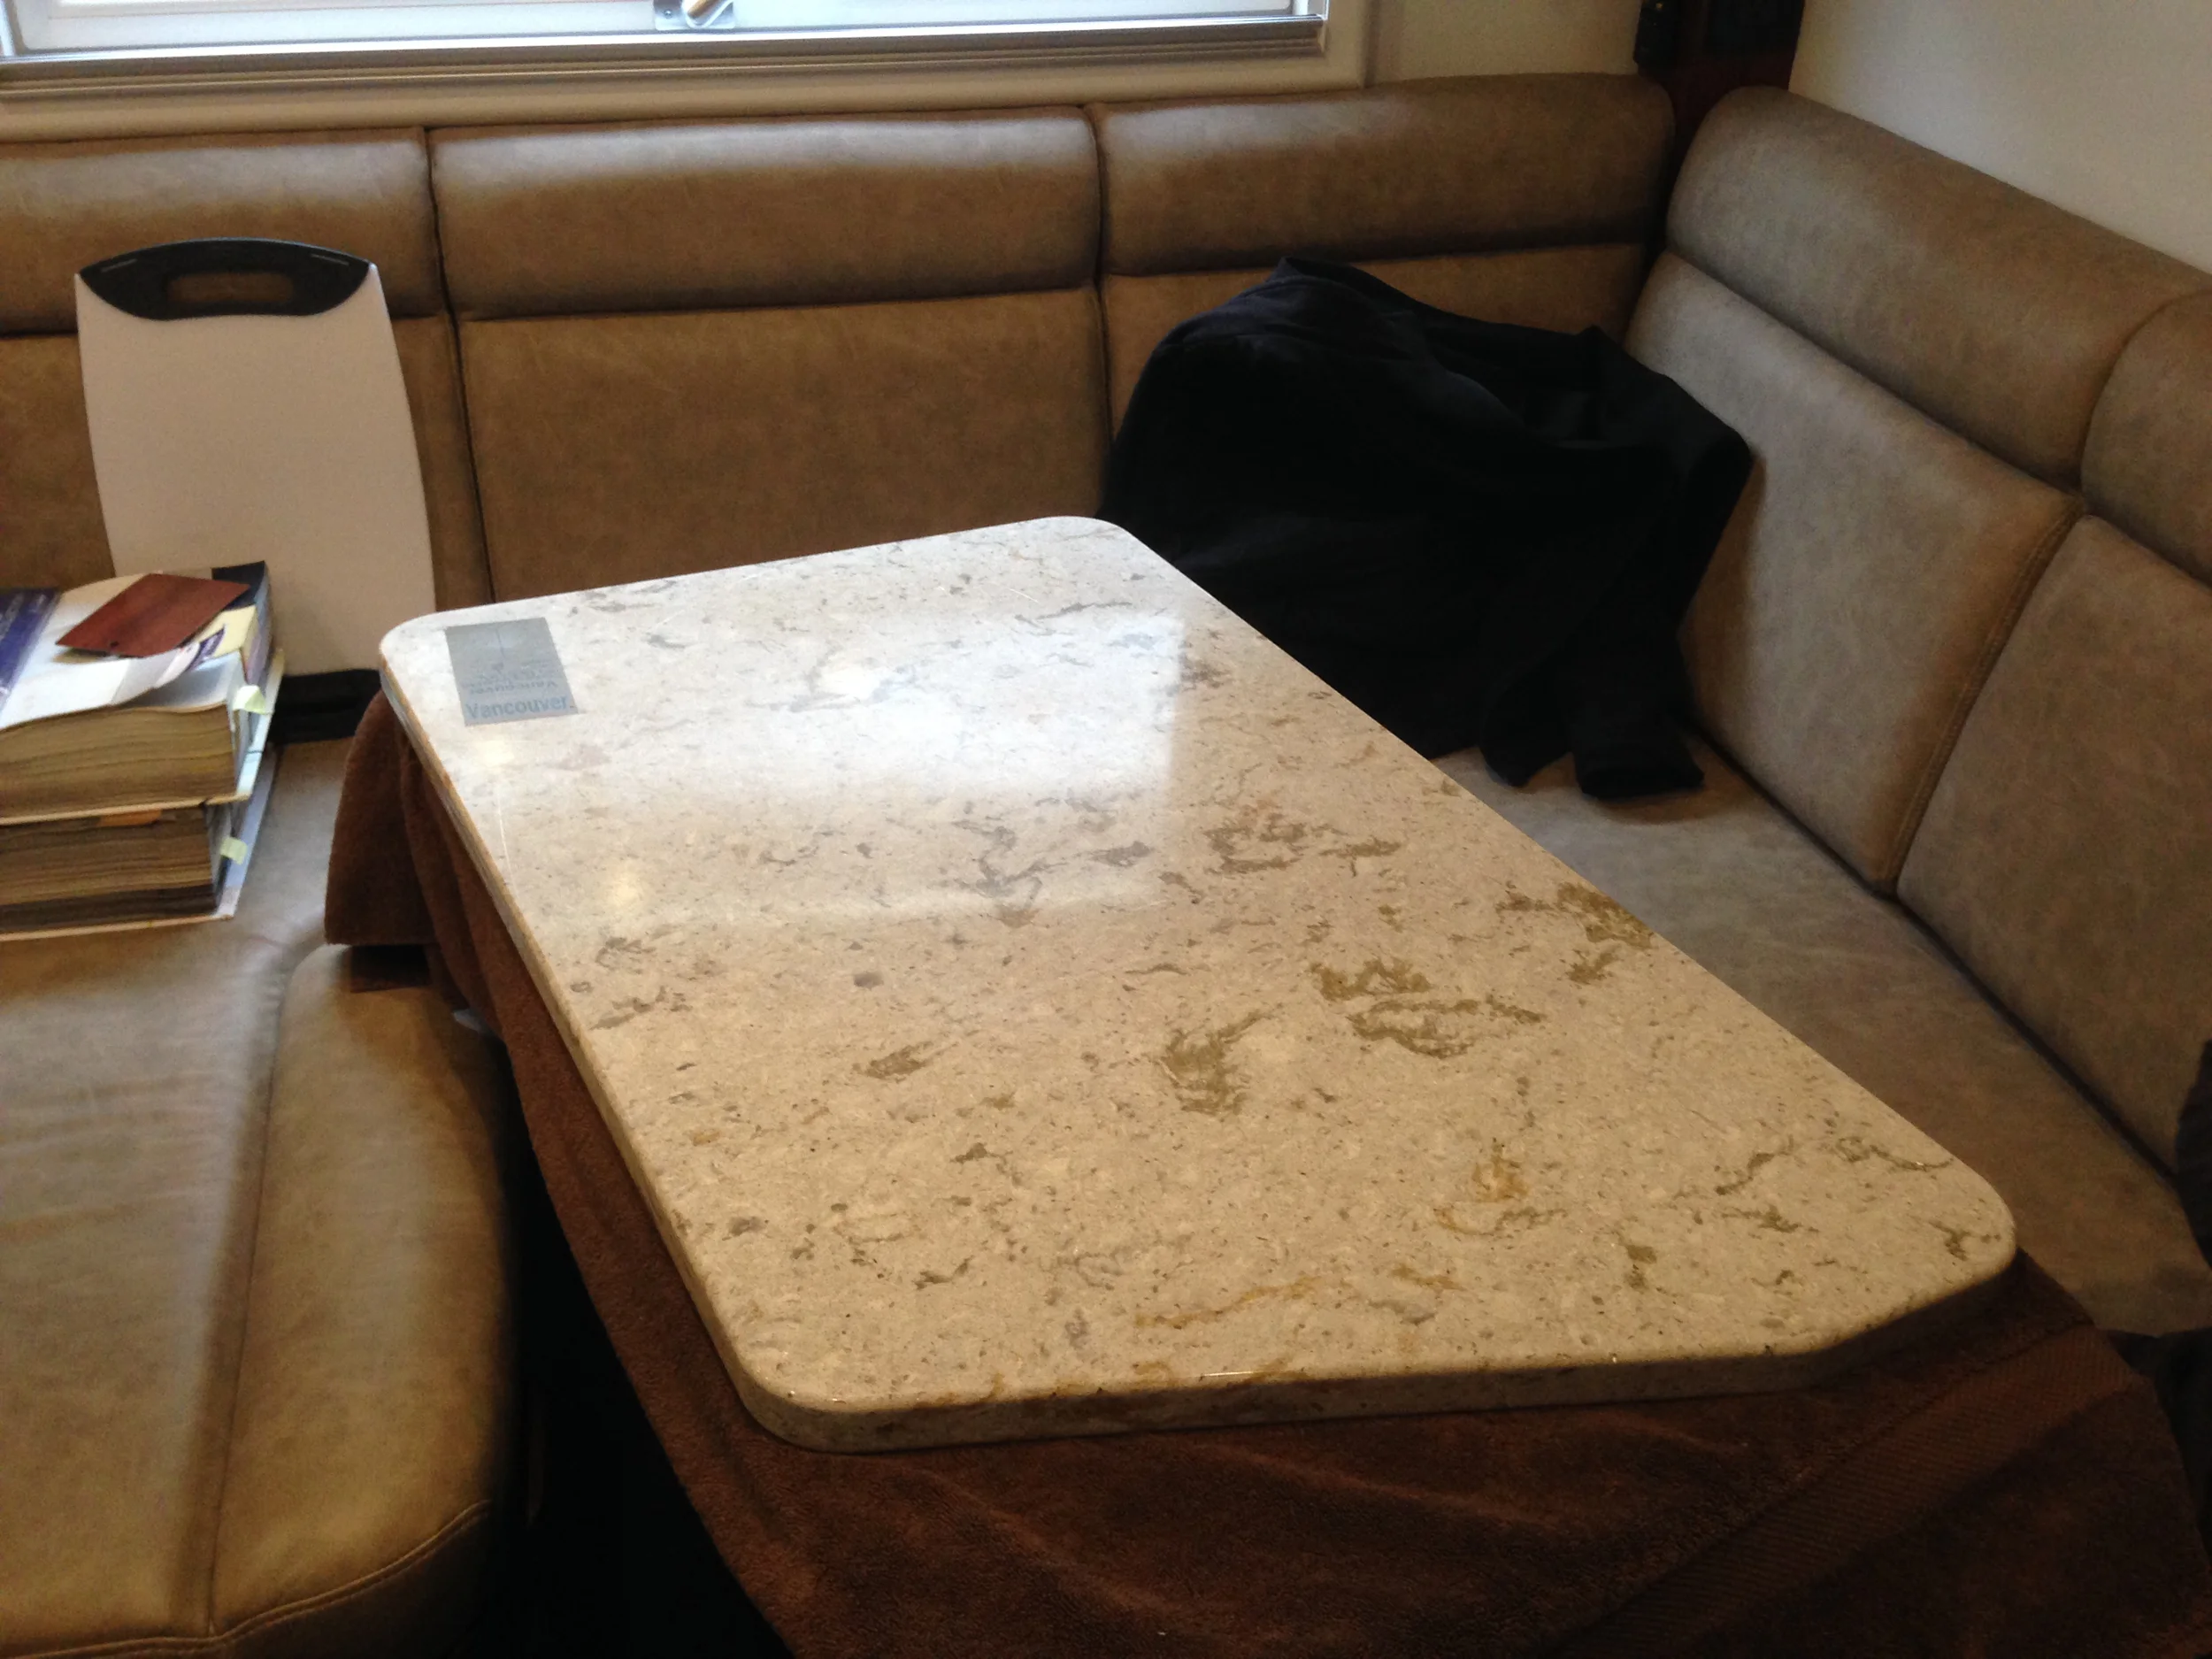
Right from the design phase of the build, we wanted something that the builder said wasn't possible, a dinette table top that matched the stone countertops. According to the builder, the top was too heavy for the table pedestal. All they could use was either wood or solid surface material like Corian. Doing this added another material and colour to the mix, which we weren't crazy about. But we had to settle for it since there was apparently no other way.
When we got the truck, the look of the Corian top was disappointing, especially when comparing it to the stone countertops. Worse than that was just how rickety the table pedestal was. None of it really suited the rest of the build, and we always felt like we were eating off a piece off junk. Something that was soon confirmed by all the scratches that were collecting on the table top.
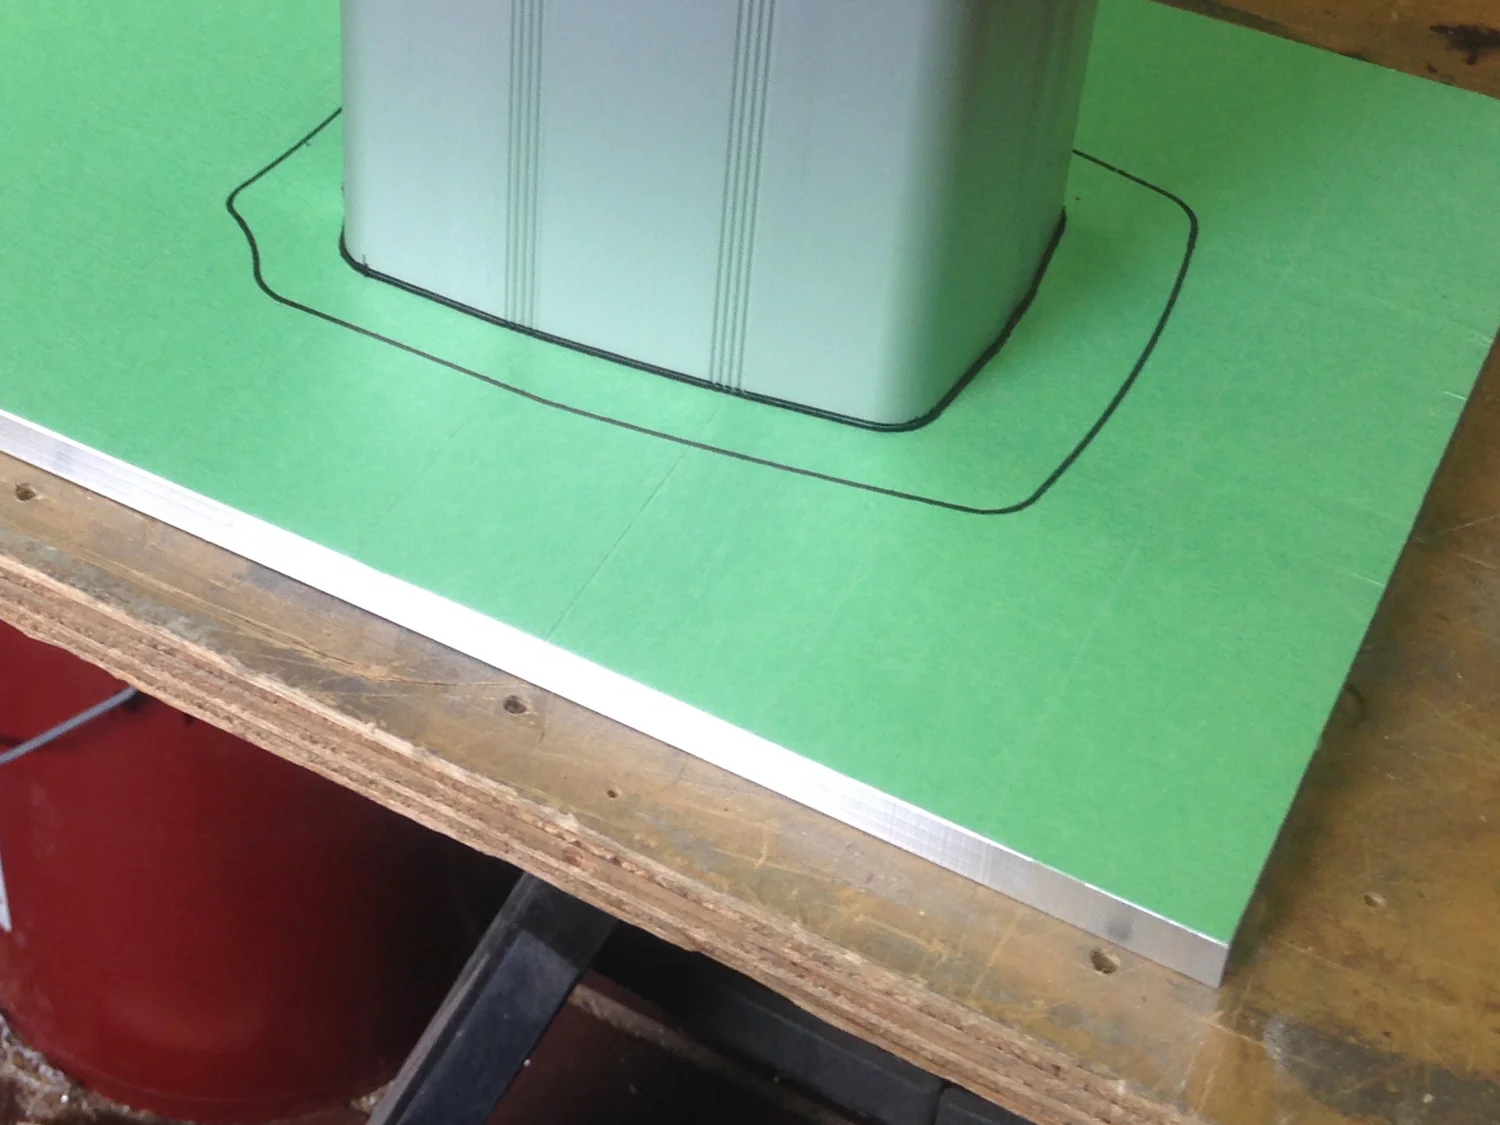
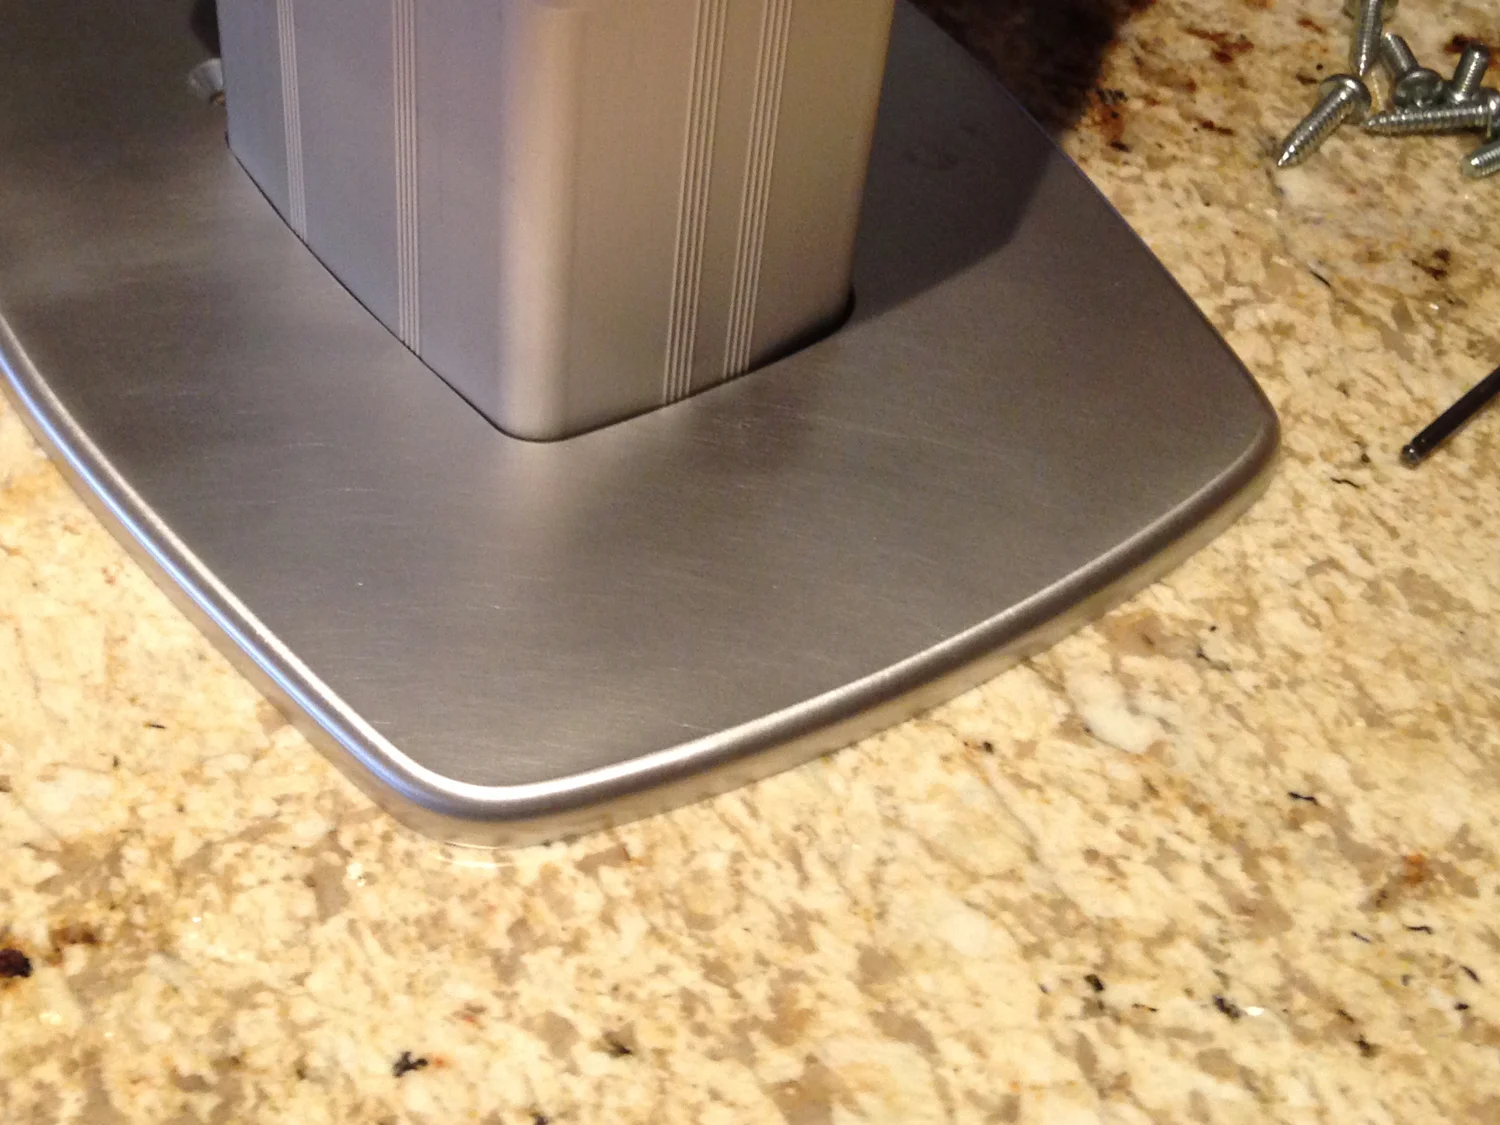
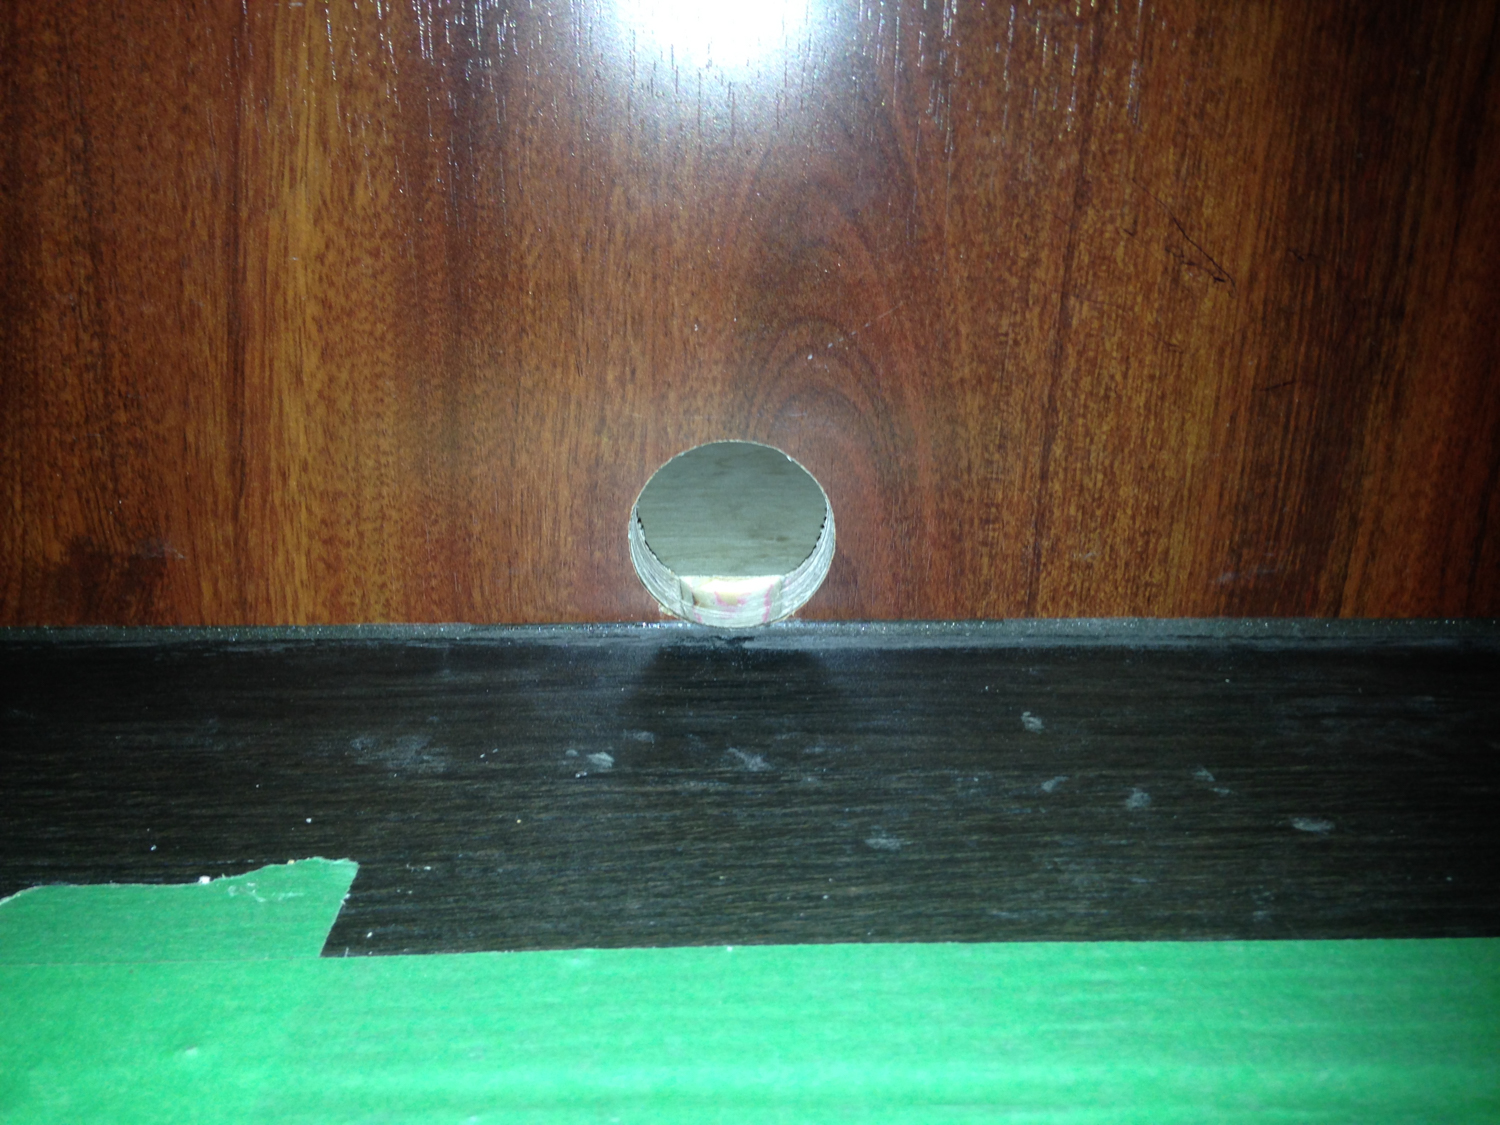
So after we decided to redo the interior, we set our minds to the task of figuring out a better way to do the table. As it turned out, it wasn't much of a challenge. In fairly short order we identified the pedestal that we would use, and after that we just had to order the Cambria stone top. The statement from the builder, that no pedestal could handle the weight of the stone, like so many other statements they made, turned out to be totally false. Our pedestal could handle 450 pounds. Our top weighed less than 100 pounds, and when mounted to the pedestal, was absolutely solid. There was no wiggling about when using it. What made our pedestal even better was that it raised and lowered using electrics, and had a beautiful anodized aluminum casing. It was the perfect solution. We just had to remove the old piece of junk and fashion a new interface with the floor.