New Habitat Control Interface
January, 2024
A Long Overdue Visual Upgrade
The original control panel. A completely inadequate and disappointing product.
The replacement boilers came with their own control interfaces, so the old Webasto ones had to go. We therefore took the opportunity to replace, not only the controllers, but also the horrid control panel created by the habitat builder. It was without a doubt, the worst looking control panel we’d ever seen in an expedition truck of our size.
Aesthetics aside, the panel had insufficient and amateurish labeling, and the switches used weren’t even proper control panel switches. They instead used wall switches that would normally be used for room lighting. Their physical size alone made it impossible to add important switch controls to the panel, let alone group similar things together. So we decided to trash the whole control board and create a new one from scratch. Our new design would incorporate a logical layout, with grouping of similar control functions, and a little improvement in graphic design. Okay, a lot of improvement.
The final design of the new control panel, to scale, and showing all of the components in place and operating.
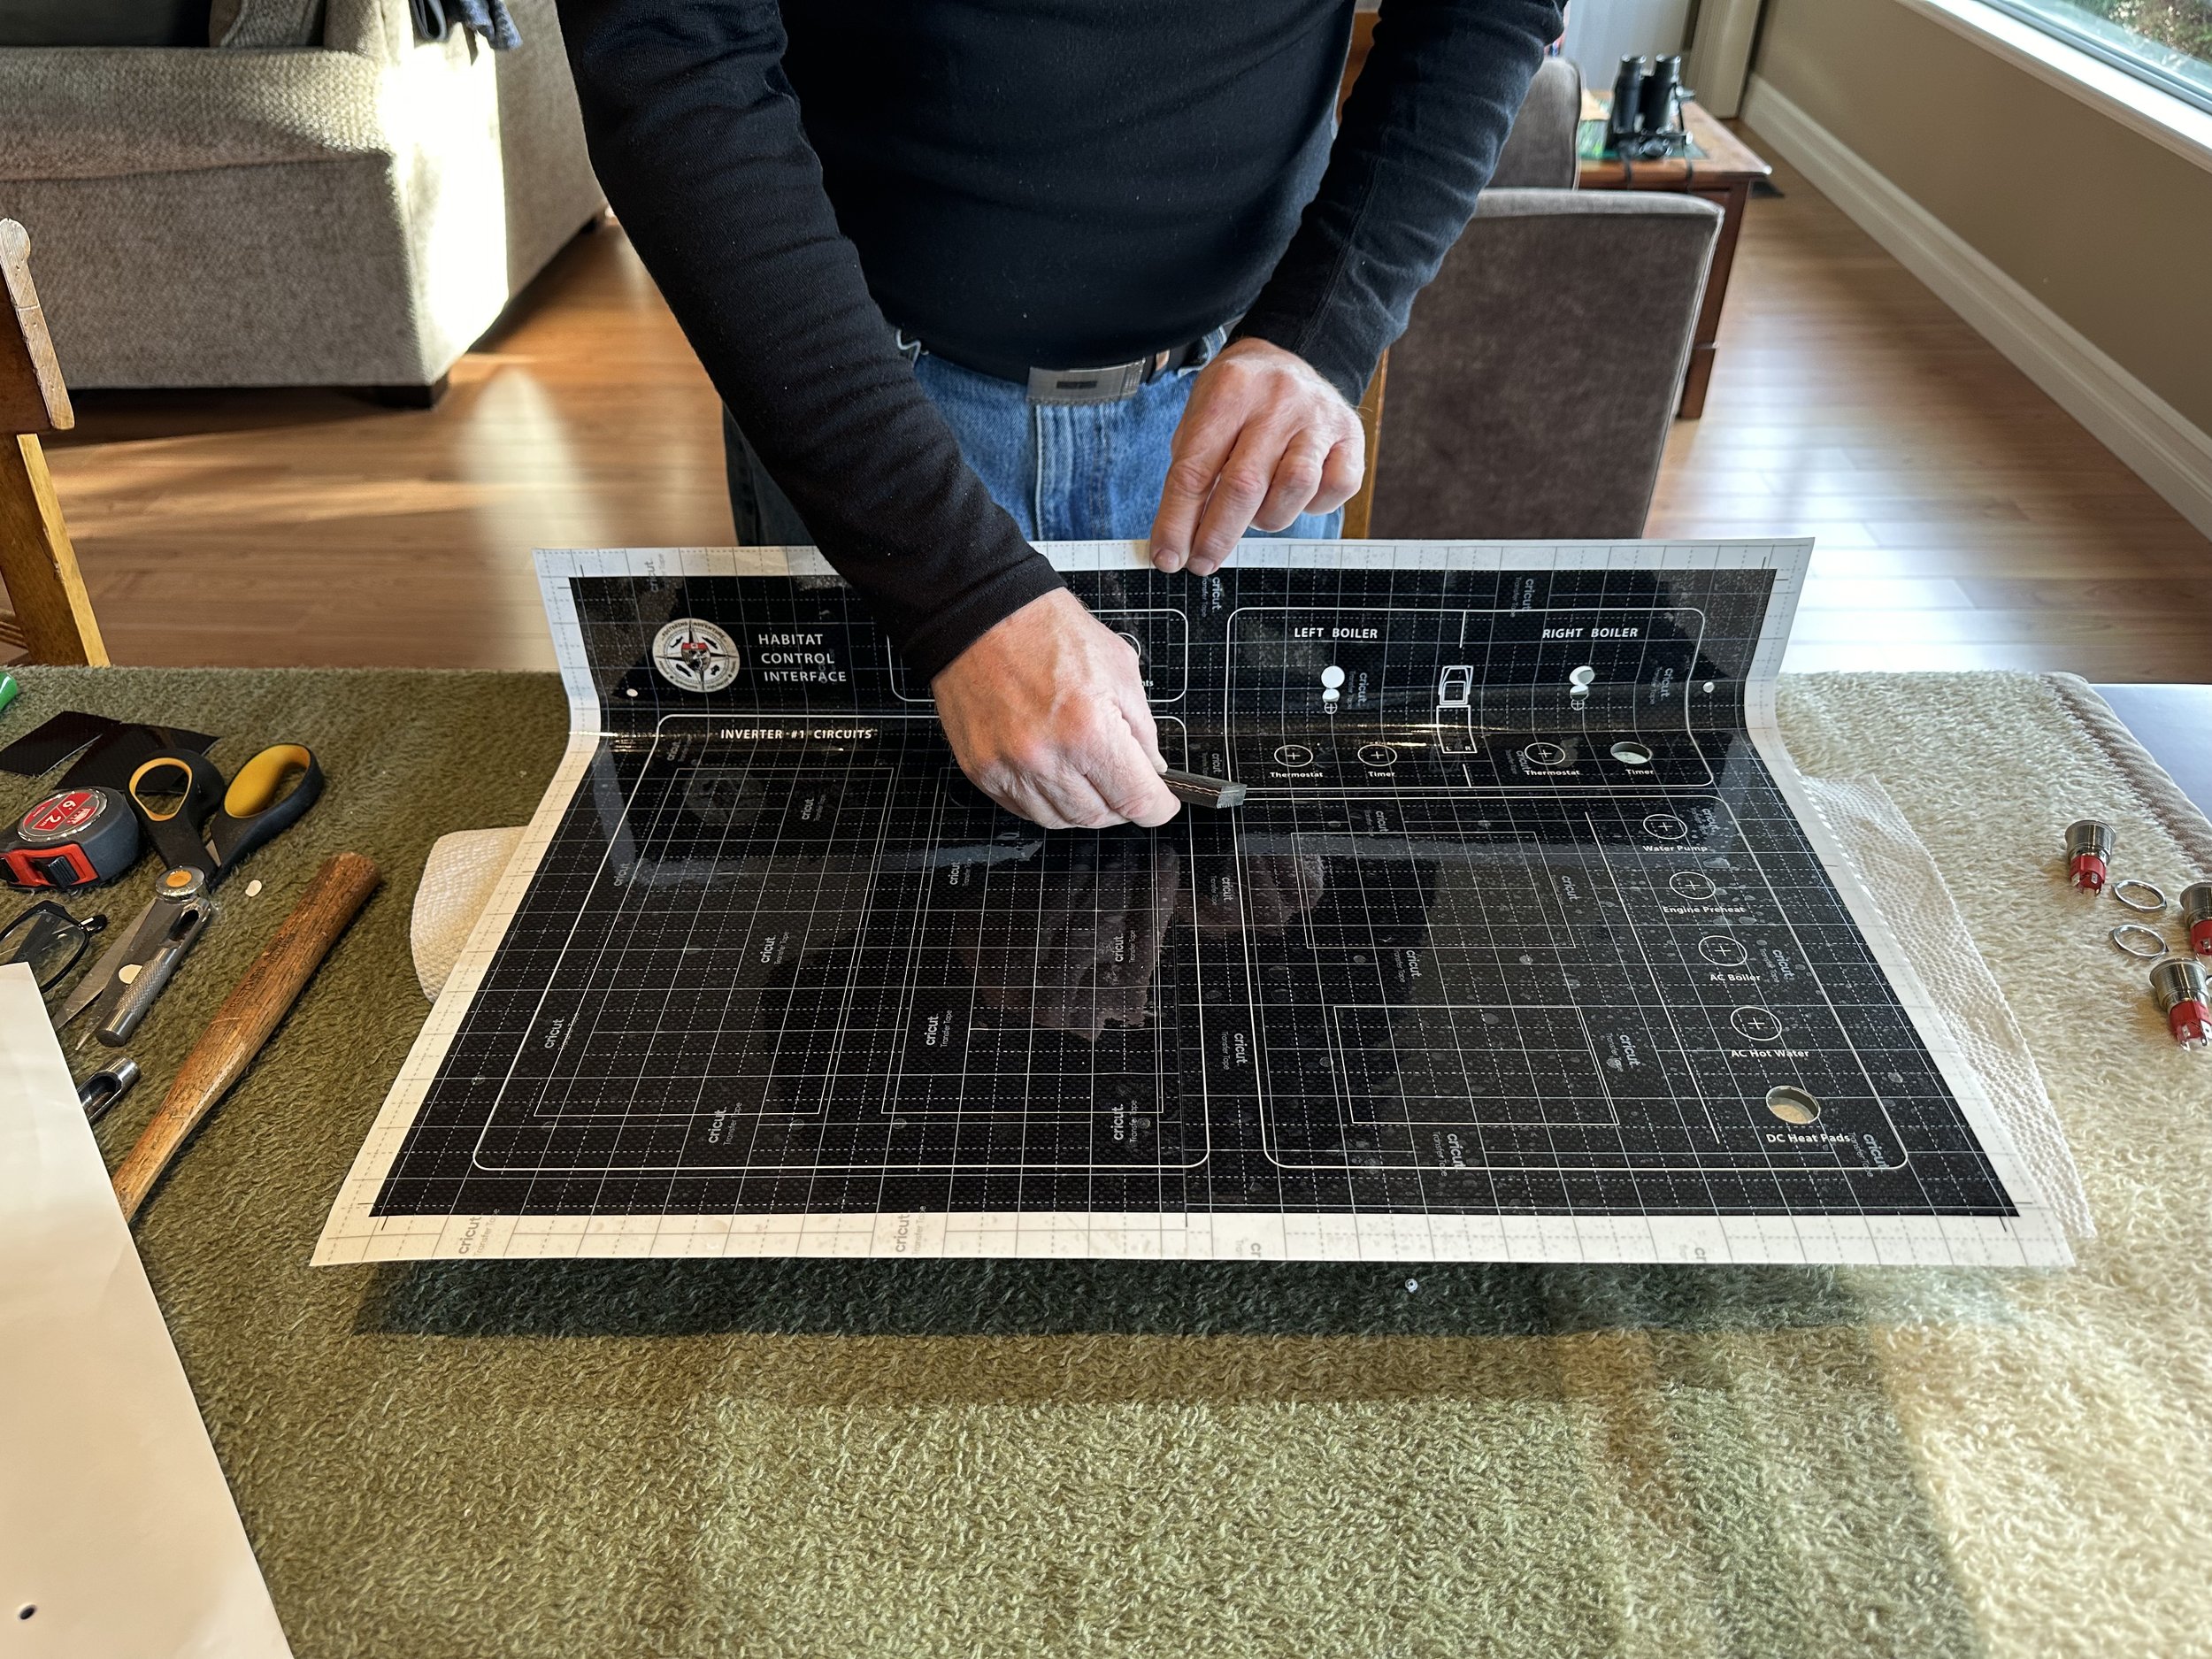
The process began on the computer using Photoshop to generate both the graphics, as well as layout the position for all of the components. This took some time since every layout we contemplated had to be assessed for how the backside of the panel components would interface with the existing equipment and wiring located inside the control cabinet.
We also wanted a more modern, high tech appearance to the panel, so we searched on the internet for an appropriate “carbon fibre” background graphic that would suit our task. Fortunately there were hundreds to choose from.
Our new switches with the green ring light and clip off wiring harness. This will make the wiring job so much easier.
Once the design was finalized, it was just a matter of sourcing the components and putting it all together. The switches were bought from Amazon. We were going to use BlueSea switches, but they were $40 each. Despite their quality, we just couldn’t justify the price. The Amazon ones, which had very high ratings, were less than half the price for essentially the exact same switch. The added bonus was that, unlike the turquoise ring light on the BlueSea switches, these had a green ring light and would match the green colour of the other lights on the existing components. They also came with a snap on wiring harness which the other switches didn’t. When the switch order arrived, we were very pleased with the product, and because of the much cheaper price, we could justify the purchase of several spare switches in case these “cheap” alternatives had some duds in the batch. But so far, all work perfectly.
Making the panel, start to finish
Our CAD layout for the water jetting of the control panel holes and cutouts.
Since the panel was being made from 1/4” aluminum plate, and had a lot of holes and cutouts, we wanted to have the local water jetting company cut it for us. But to my disappointment, the free version of the very advanced 3D CAD software I figured out how to use, didn’t mention that it wouldn’t export a .dxf file. The very file that was needed by the water jetter to run his machine with our design. Since we weren’t about to pay the $600+ for an annual subscription for the full CAD program, we had to cut the panel ourself. The annoying thing about the software was that it was supposed to be the full version, but free for hobby and non-commercial use. Even if you are using a CAD program for personal use, you still need to export the .dxf file when you want to get something made. It’s very short sighted for the CAD company to do this. Now instead of praising their product, and recommending it to others, they will get the exact opposite.
As a result of the CAD problem, we headed out to Metal Supermarkets and bought a piece of 6061-T6 aluminum plate to bring home and start work on…old school, as usual.
The final product with new anti-slip shelf liner installed in front of the control panel.


