Upgrading the fresh water system
Two Pumps Are Better Than One
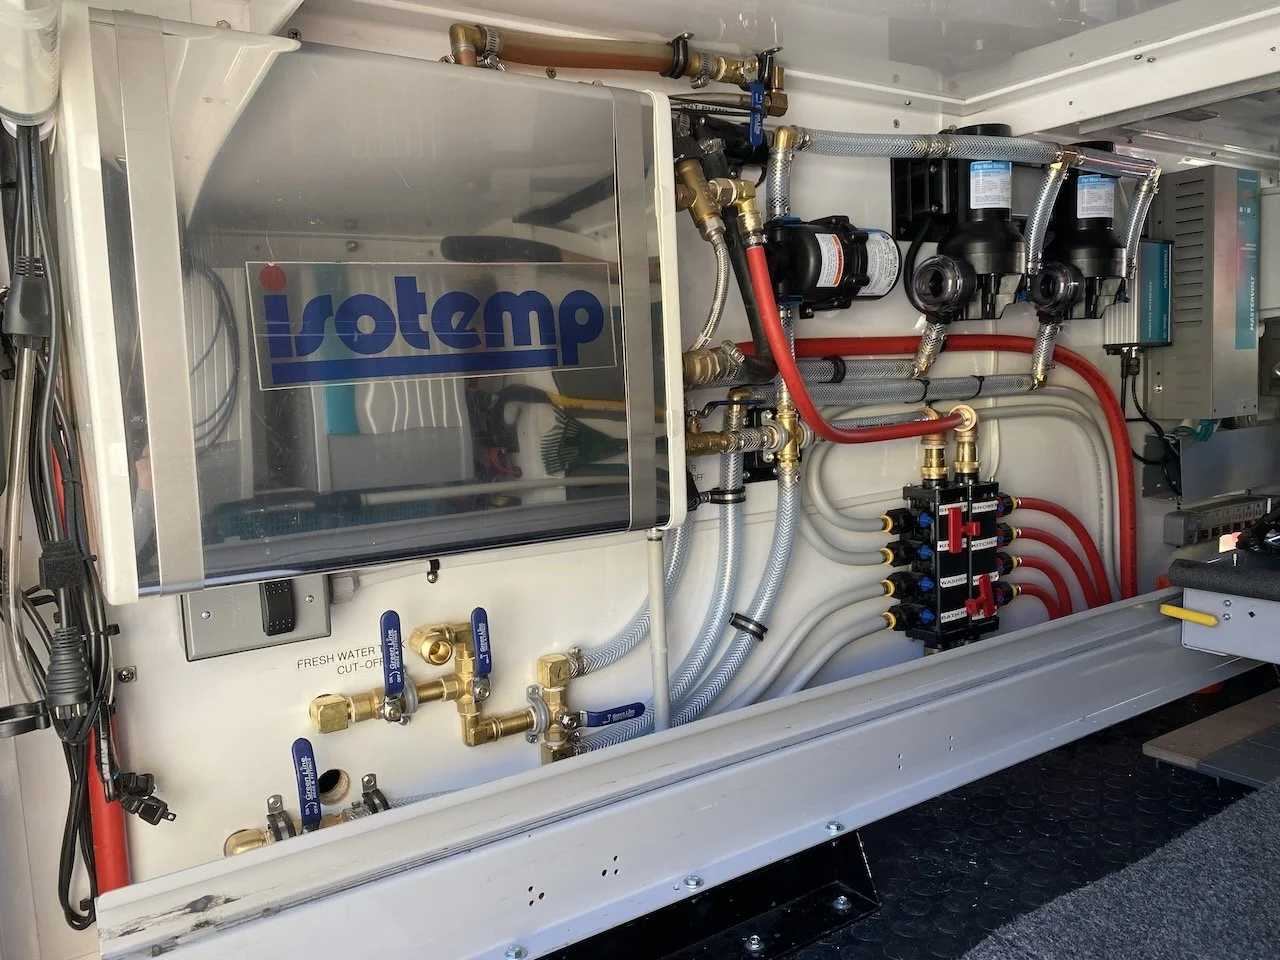
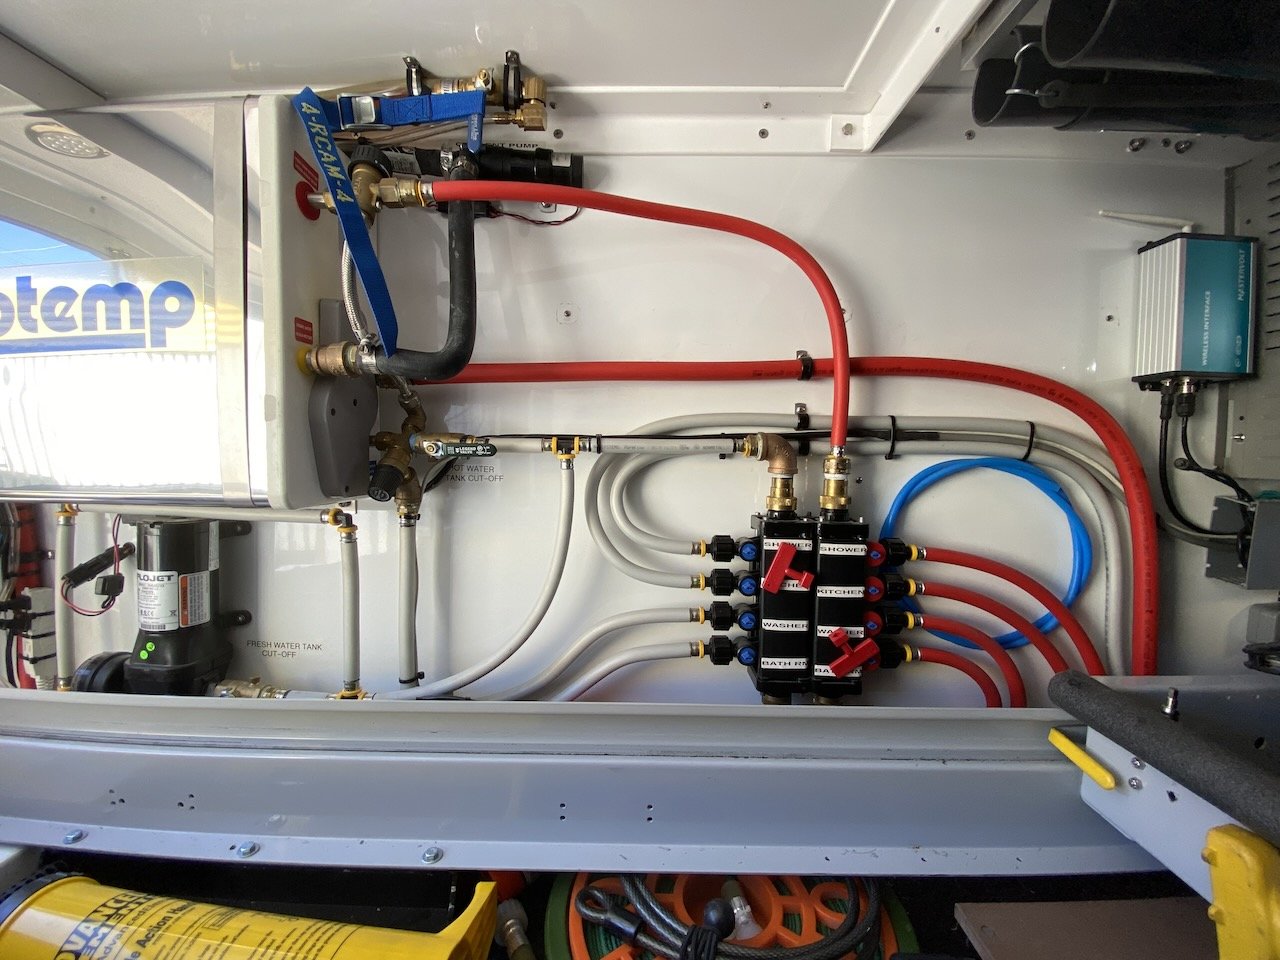
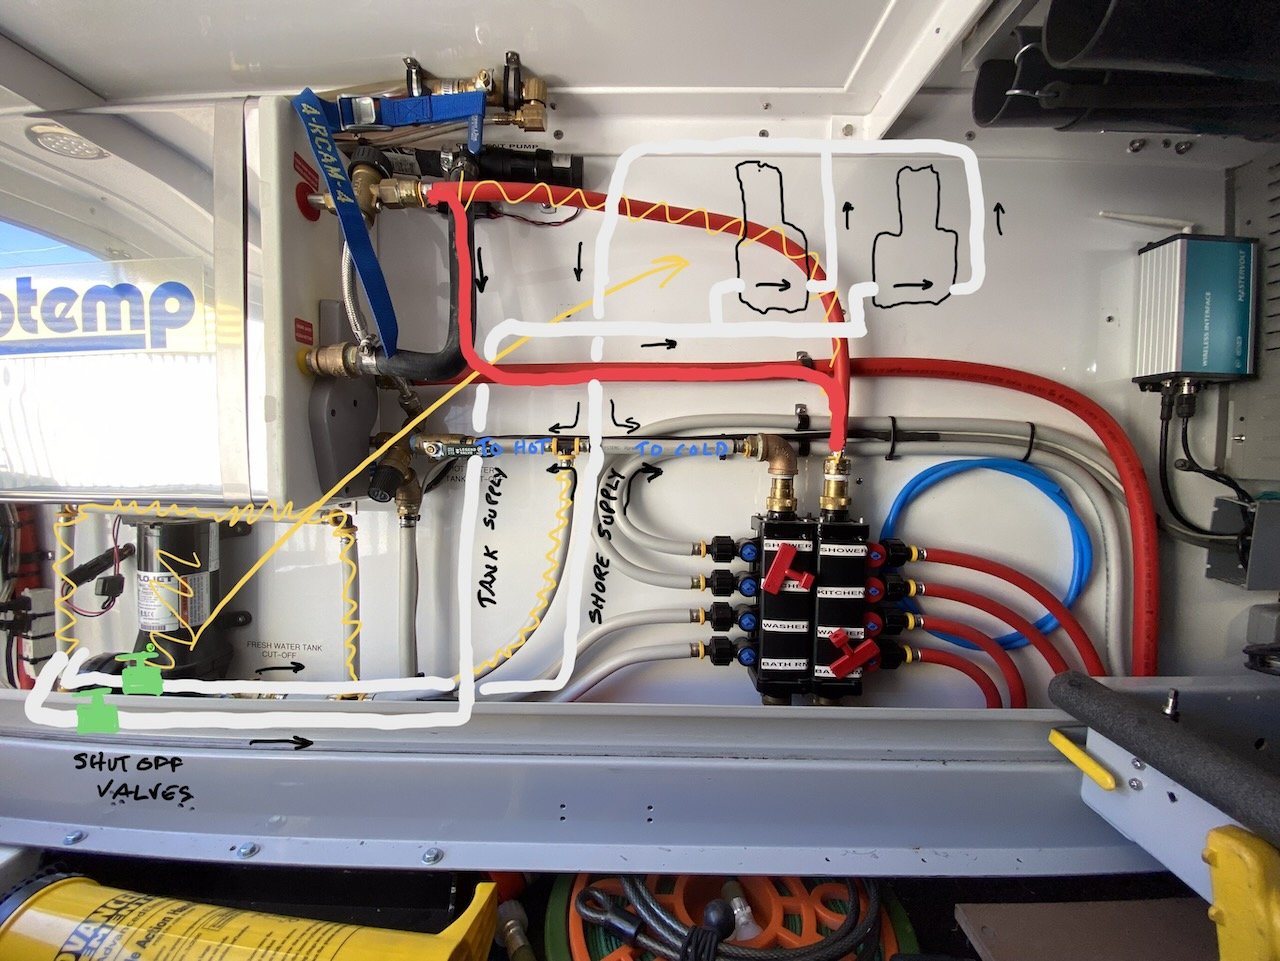
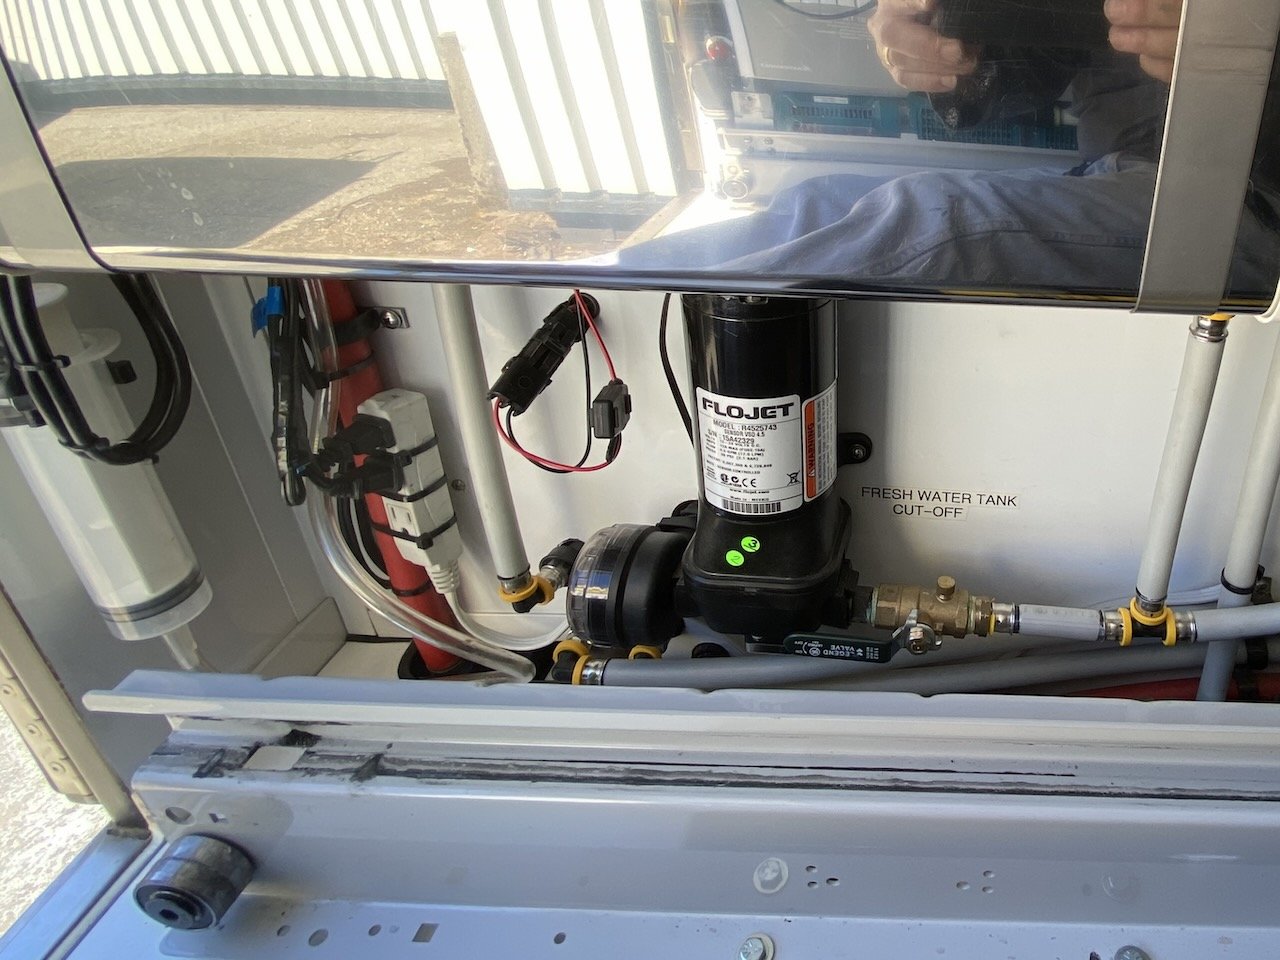
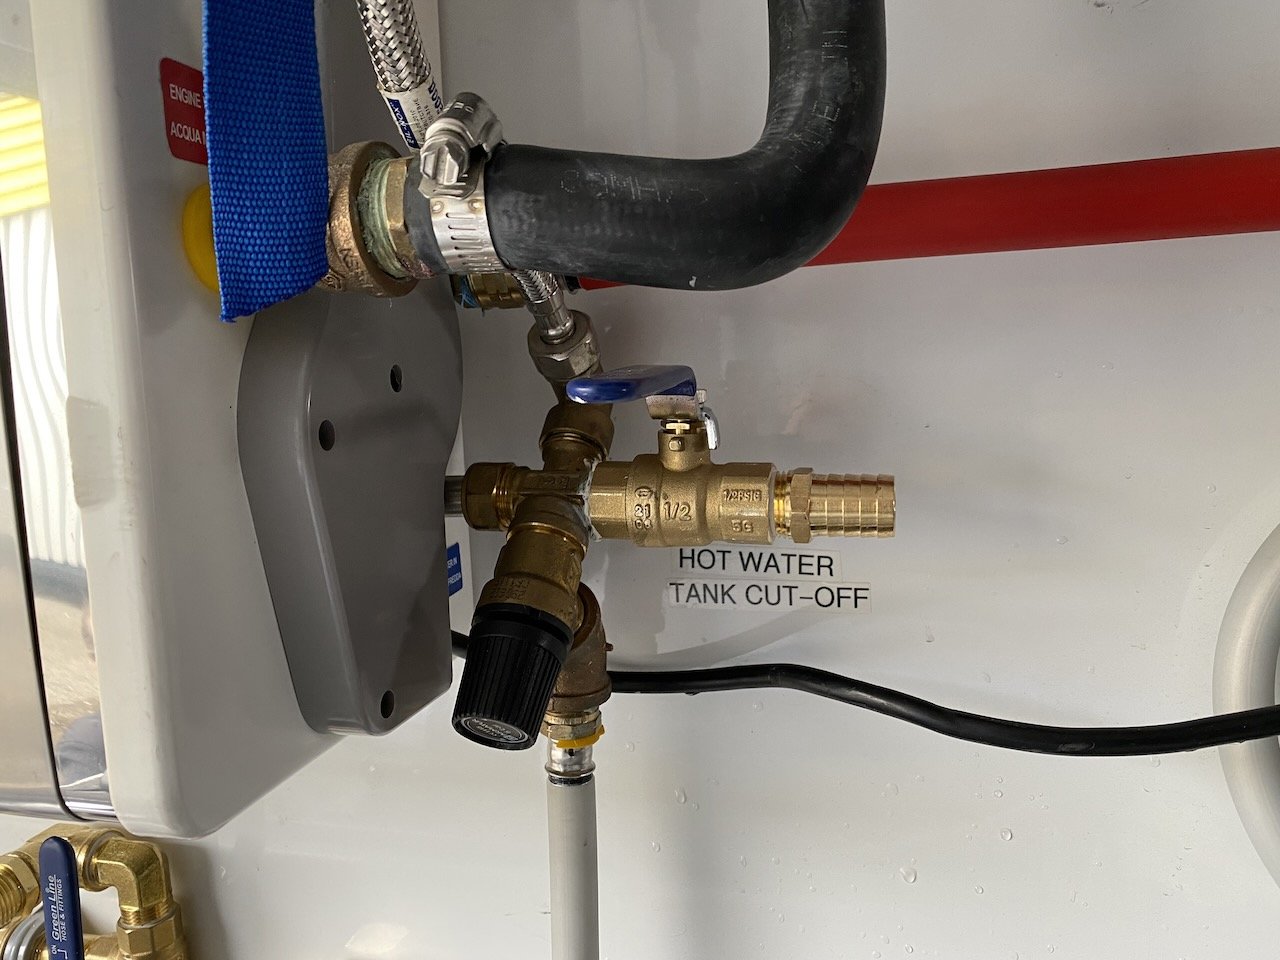
You can see here the shut off valve on the right side of the water pump. Unfortunately, the water from the tank enters the pump on the left side, and there is no valve between the water tank and the pump. Brilliant, absolutely brilliant!
When we received our expedition truck from the builder, we were expecting the vital systems of the truck to be duplicated for failure redundancy. After all, that’s what makes the difference between a regular RV and an expedition vehicle. One system that wasn’t was the pressurized fresh water supply. Since the pumps that are used for fresh water delivery eventually fail, it’s important that they be duplicated. Or at the very least, they should be easily changed so a spare pump could be carried for remote location replacement. Thanks to the builder, we had neither duplicate pumps nor the ability to change the pump out in the field. The main problem is that the plumbing braintrust at the builder installed the water tank shut off valve on the wrong side of the pump. So to change a failed pump, we’d have no choice but to drain the water tank in order to do so. Not something you’d want to do if you’re traveling in an arid region of the planet where replacement water is scarce.
Once Again We have To Re-do Inadequate Work
In the course re-working things on the truck, we always find things done by the builder that astound us. It’s inevitable, as proven time after time over the six year history of this vehicle.
The garden hose female thread is on the left and the garden hose male thread is on the top right. Compared to the 3/4” male pipe thread on the bottom right, they’re roughly the same diameter, but a completely different number of threads per inch.
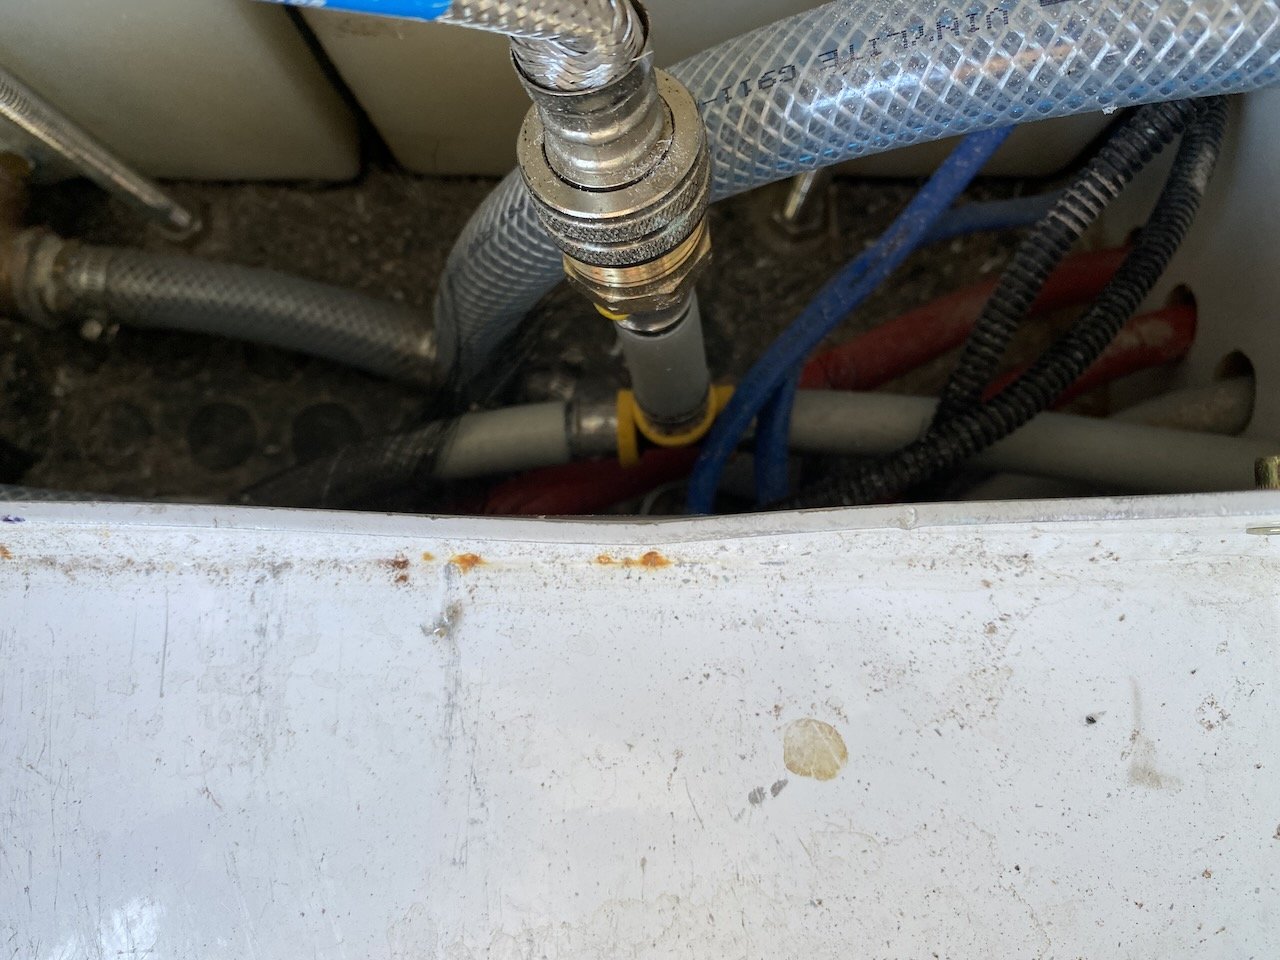
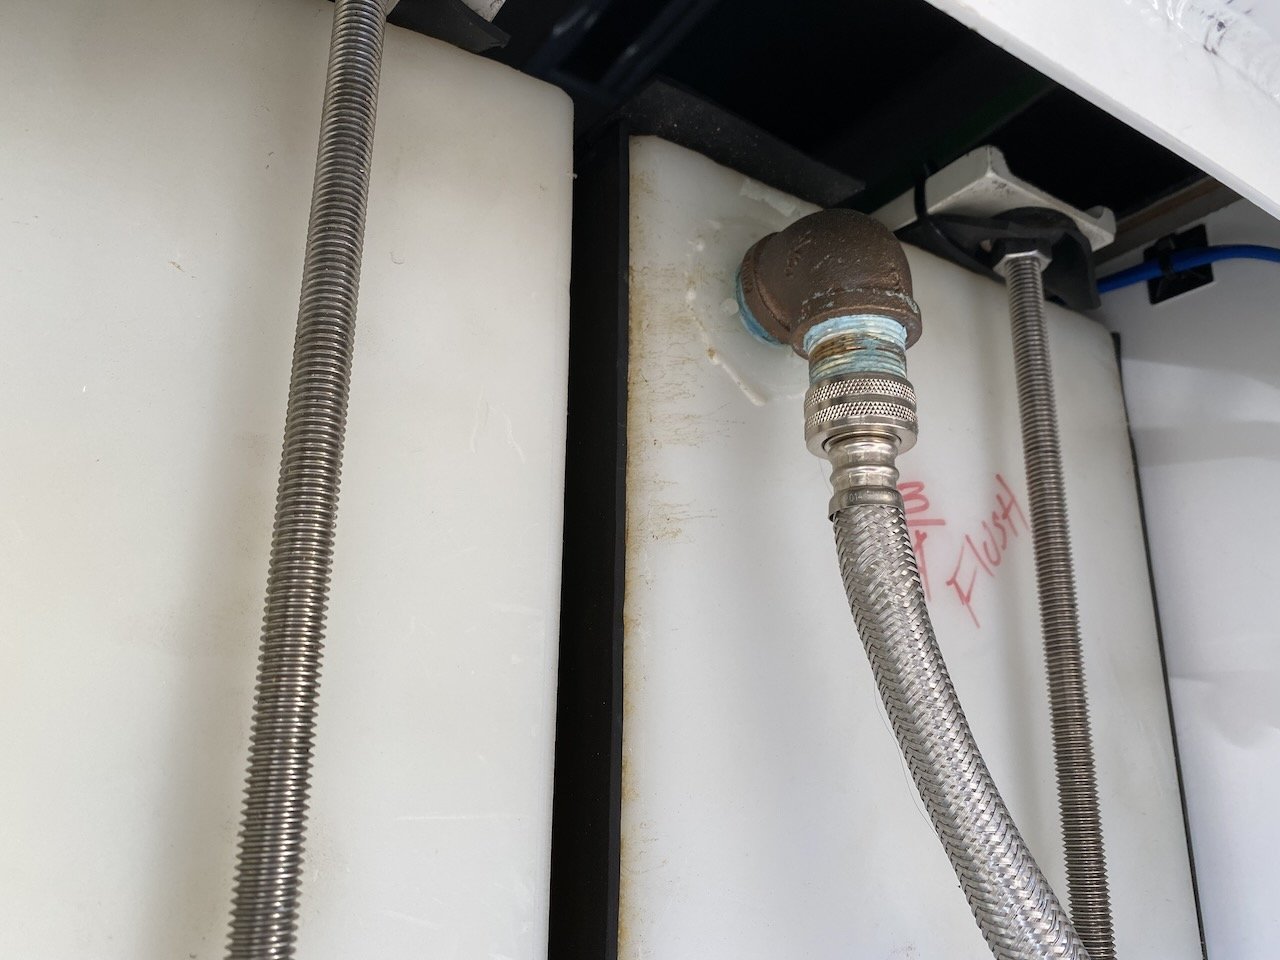
As always, the builder never fails to disappoint. This time it’s with fittings used to connect certain parts of the water system together. In a number of places flexible hoses like the ones seen on the back of laundry machines are used to connect one section of the system to another. Specifically, these hoses are used to connect the water storage tanks and system plumbing to the patch bay located on the outside of the truck. This is where we hook up shore services like water and electricity to a control panel. This panel has to be removable, so flexible lines are used so the panel can be unscrewed and pulled out enough to disconnect the hoses. These hoses are where the problem lies. They have a very specific attachment on each end that screws onto a mated fitting, and that junction is nothing more than a standard garden hose connection. Yes, it’s just a garden hose end, but it has a very specific threaded collar that is unique to a garden hose. It won’t fit anything else. So what does the builder’s plumber do, he of course forces the garden hose collar onto a 3/4” tapered male pipe thread and tries to make it seal. It’s like trying to mate an elephant with a chihuahua. They both have four legs, two ears and a tail, but the coupling probably won’t be successful.
We all know that a garden hose can be hand tightened on the spigot, and it seals just fine. But for this brainless idiot to try and get the two mismatched fittings to thread together he had to have used wrenches, and forced the issue to such a degree that they were almost impossible to get apart. It was amazing that, with the differences in the threads, he was able to thread them together enough to get most of them to even seal. I say most of them, because there was one that didn’t. I could tell just by handling the connection and feeling the slop in the joint. The hose turned easily in the threaded collar, which meant the rubber washer inside was not seated tightly between the two halves of the joint. Fortunately for us, and it really was fortunate, this one unsealed joint was the connection that we would’ve used to hook up to shore water in an RV park or such if we didn’t want to use the onboard pump to pressurize our domestic water system. What's fortunate is that in all the years we’ve owned this vehicle, we’ve not yet hooked onto a shore supply. Sure, we’ve filled our water tank dozens of times, but that uses a different circuit which, as luck would have it, was sealed. Had we indeed hooked onto a city water supply and turned on the tap, the entire rear of the truck would have been flooded.
Planning the Upgrade
The first thing we have to do in any upgrade is to determine if it’s possible. We have to fit in more equipment than previously existed, so some work with photos and the computer was necessary. By scaling images of the components and placing them on a photo of the area in question, we can determine how the layout can be done. After that it’s a matter of trying to route the hoses so they not only connect the components, but also look good or, dare I say, impressive.
New Equipment
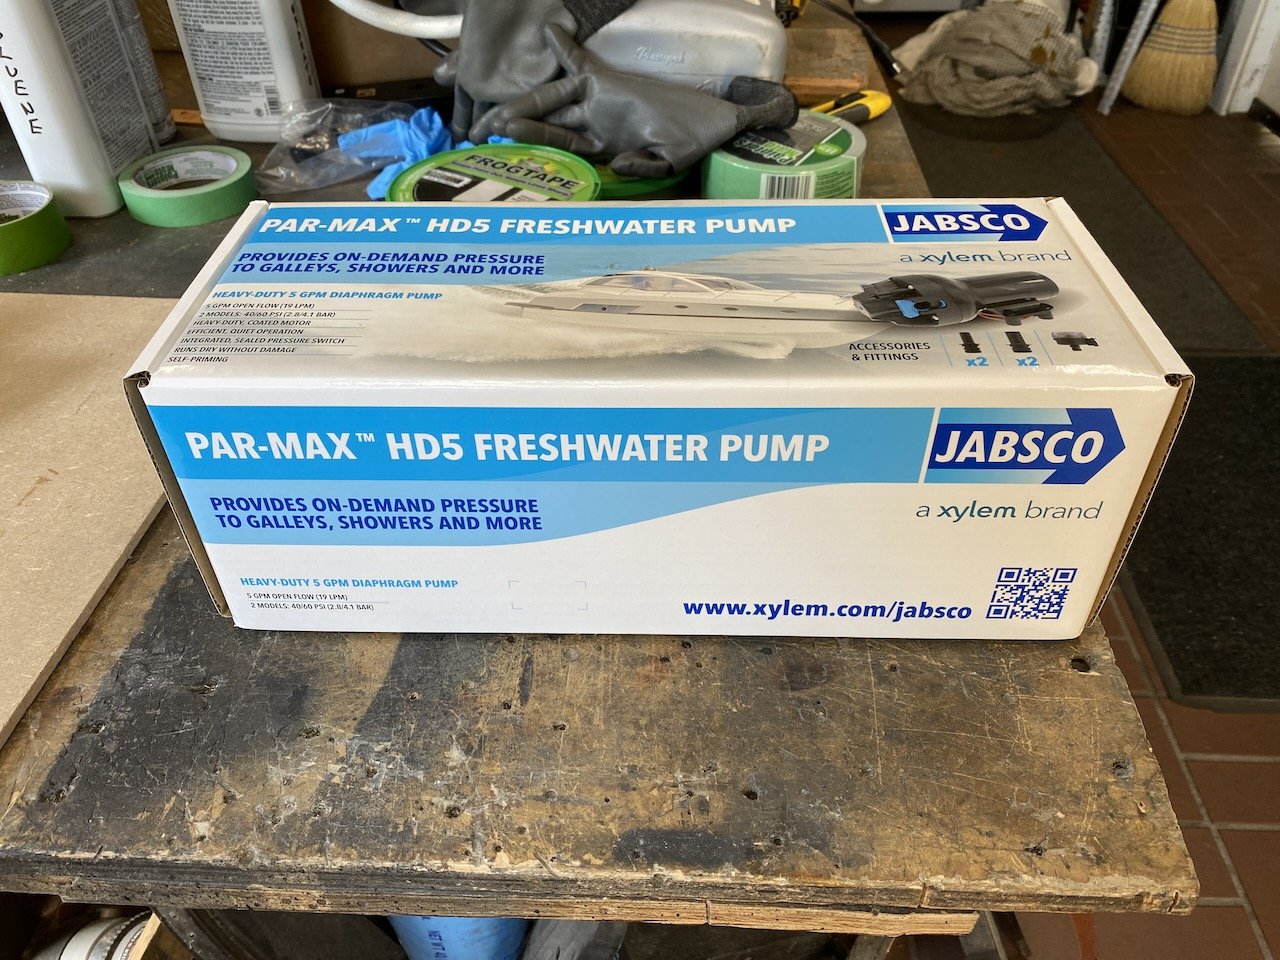
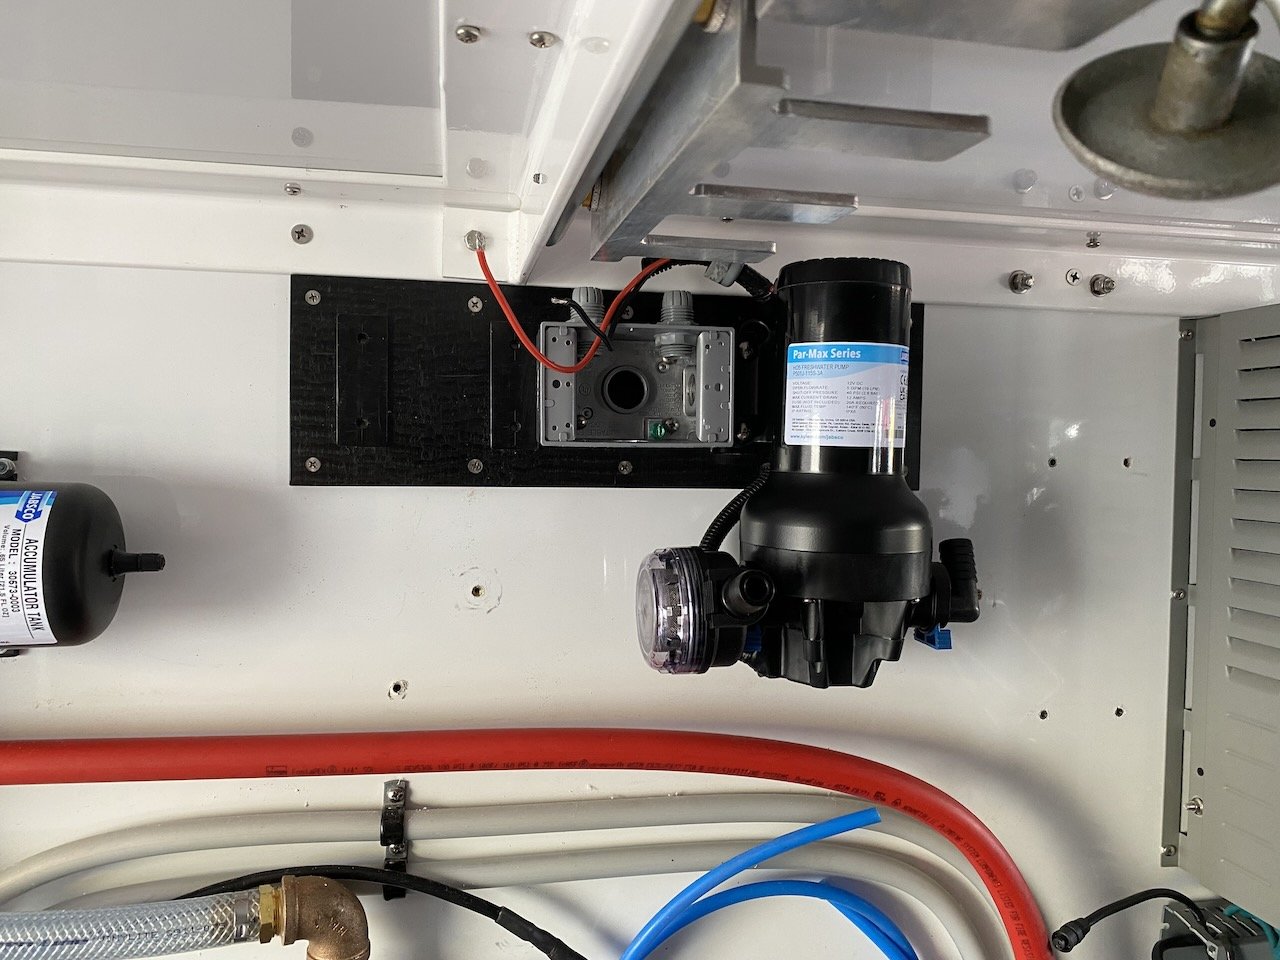
Since we are doing a complete replacement of the water pressurizing system, we elected to change the brand of pump we’ll have to something a bit better than the obsolete Flojet pump that the builder installed, and is no longer available. Moving to a marine brand instead of an RV one, we decided on the Jabsco Par-Max HD. It’s a 5 gallon per minute pump with a 40psi pressure output, and it’s a newly redesigned pump series. So it should be around for a few years before it goes obsolete. The beauty of these pumps is that they are heavy duty in comparison to a regular RV pump, and should provide us with years of problem free service.
We also elected to install a small accumulator tank, also a Jabsco product, to help with vibration mitigation as well as reducing cycling of the pump. The accumulator holds a small reservoir of water and can feed it into the water flow without immediately causing the pump to run. This is particularly beneficial in the middle of the night if you want a small amount of water, and don’t want a running water pump to wake up your sleeping partner. We would have preferred the larger version of this tank, but we just didn’t have the room on our plumbing wall, and didn’t want to try and fit it in somewhere else. It would just complicate the already bothersome job.
Mounting the Water Pumps
The new pumps are not that much bigger than the old pump, but they are considerably heavier. Hopefully this speaks to their heavy duty nature.
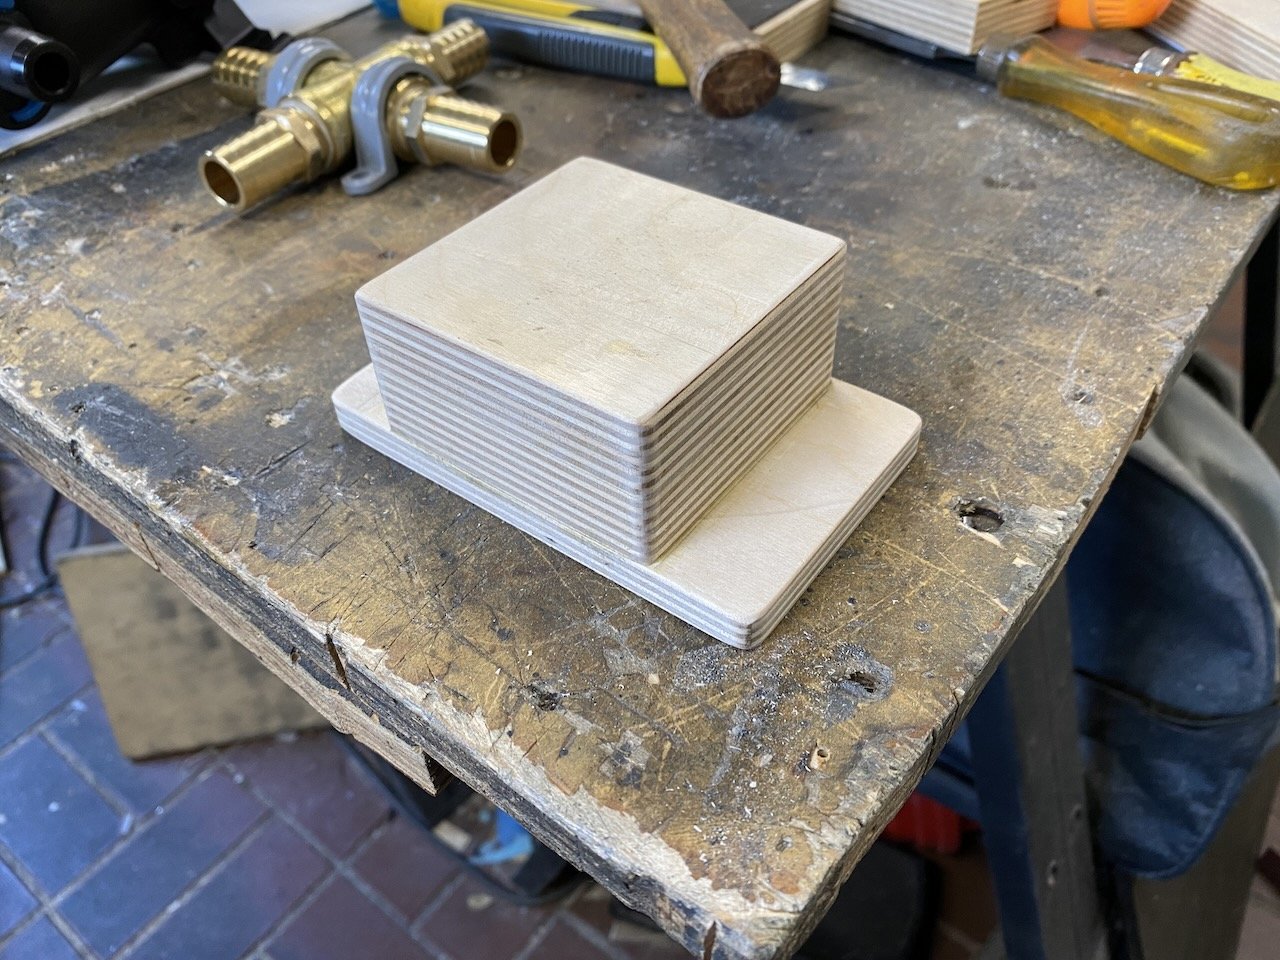
The pumps are quite heavy and only have four mounting screws, so instead of mounting the water pumps directly to the plumbing wall, which is made from laminated layers of 5/16” plywood and foam insulation, we decided to mount them to a piece of 1/4” Delrin. It’s stronger than the thin plywood, and can be easily machined to receive proper machine screws. The Delrin can then be permanently screwed to the plywood with enough wood screws to distribute the weight properly. Using the machine screws for the pumps will also make it easier for swapping them out later if necessary. We could have used knife edge threaded brass inserts for the 5/16” thick layer of plywood, but several of the ones the builder put into the wall have already pulled out. Plus, we couldn’t find anywhere to buy only a few of them at a time, so would have had to buy a box of 100 at a rather steep price. The 1/4” Delrin was a crop from a previous job, so technically, free.
To control which pump would operate, we needed a switch. Since we had a number of Contura switches left over from our Land Rover Defender 90 build, and one was an On-Off-On configuration, it was perfect for this scenario. All we needed to do was get a decent looking junction box and blank lid, and we could modify it for our need.
Removing the old system
We had to start by removing the builder’s original work. The water pump was easy, once we had completely drained our water tank of course. Remember they put the shut of valve on the wrong side of the pump.
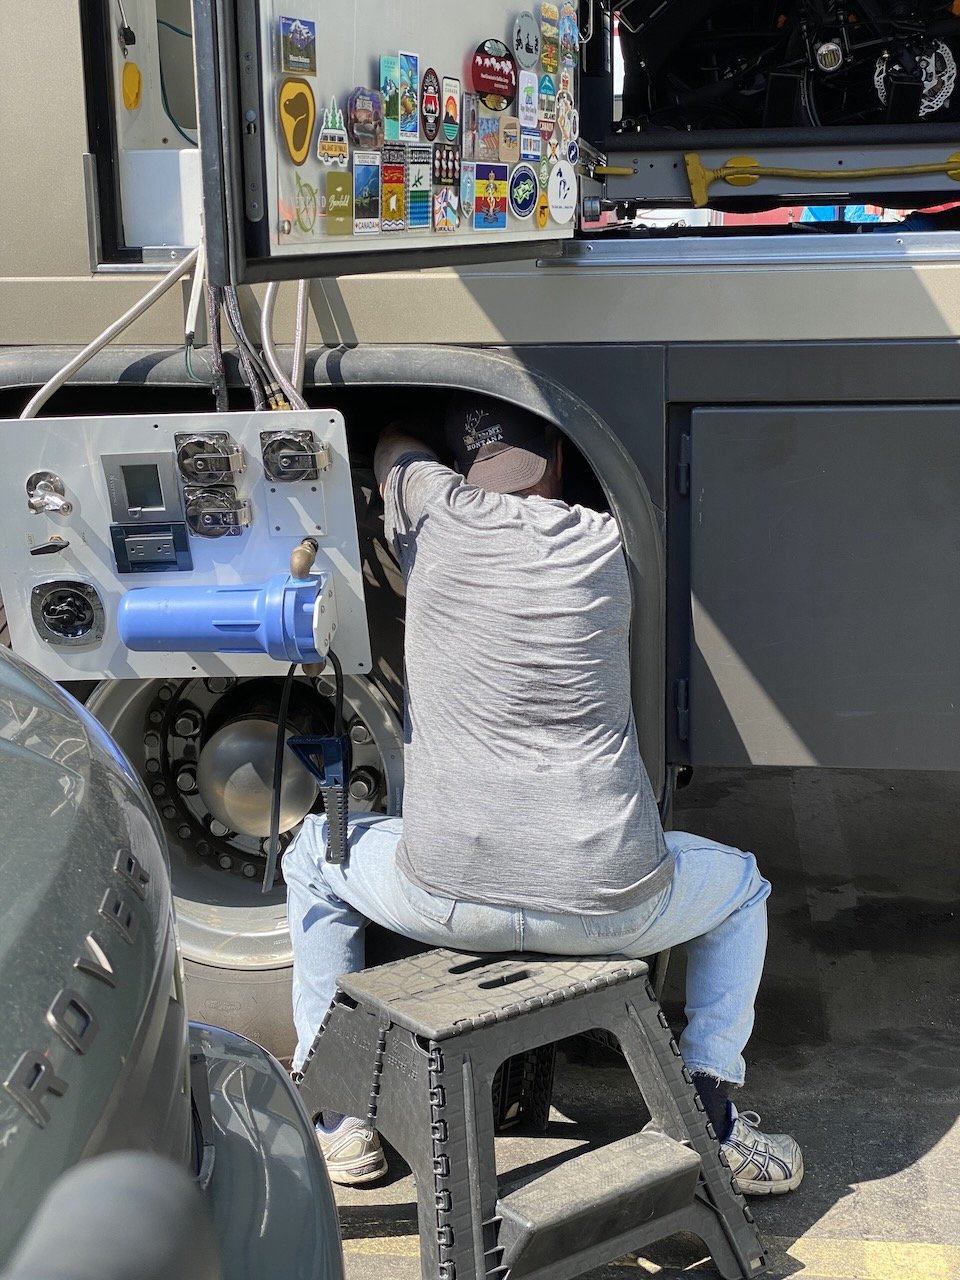
After the pump we had to remove the control panel from inside the patch bay so we could get to the end of the water tanks where the connections originated. Then we had to figure out their hose routing and start unthreading and cutting away the lines we wanted to replace.
building Something Better
This shows the 3/4” braided vinyl water line with the brass 3/4” hose barb fittings.
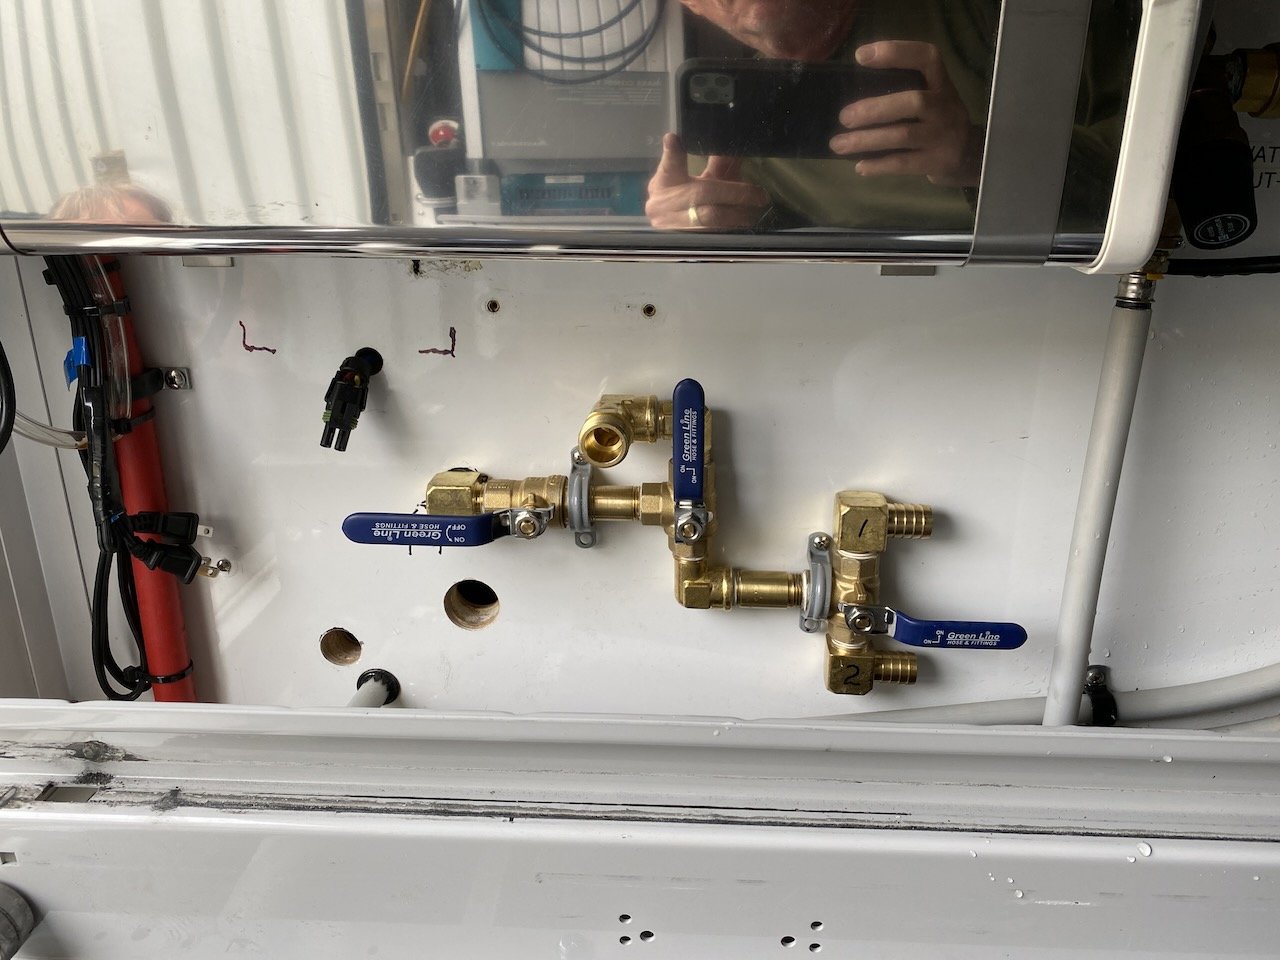
We pre-assembled all the brass components on the bench for an easier job. Notice all the barb fittings for the soft hose to connect to.
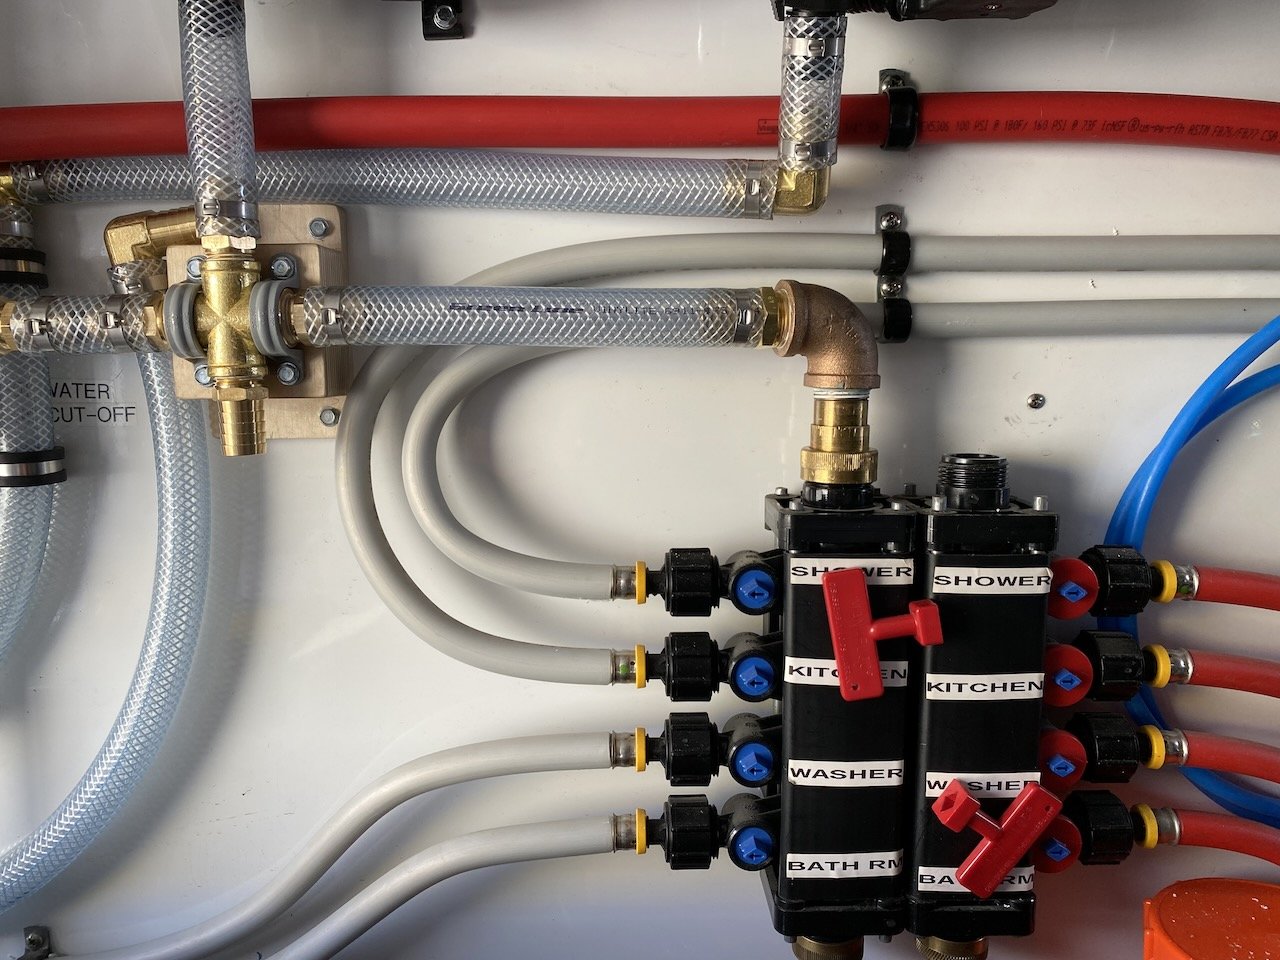
The plumber that worked on our truck used hard connections, and hard lines everywhere except where the system attached to the patch panel control board. Hard lines can be good in some cases, but bad in others. In a situation where the plumbing and its larger components are going to be bounced around a lot off-road, and there is a chance that something might shift, hard connections and lines can suffer damage and compromise the sealed joints. So for our re-build of the system we elected to use soft lines between the hard connections to eliminate that possibility. We also wanted to increase the volume that the lines could carry, not so much to increase the flow out of faucets and such, but rather to reduce the work the pump has to do in pulling the water from its reservoir before it sends it down the line. This will cause the pump to work less thus extending its life. Our choice of line was 3/4”I.D. flexible braided vinyl water line, which was used with 3/4” barb fittings for the connections. All materials are certified for potable water usage. They’re also available just about anywhere, and installable with common hand tools. The armored PEX that the builder used isn’t.
With the path of all the lines figured out, we needed to make a modification to the main boiler heat line for everything to lay flat against the wall. Made from 3/4” armoured pex tubing, we had to put several bends in it to raise it up about an inch on the wall. Since we didn’t want to breach the boiler system by removing the hydronic tube for bending, I fashioned some bending sticks so I could bend the very stiff tubing in situ. These sticks were used to brace the armored pex in one direction while another stick was used along with a pry bar to force the tube in the direction we wanted. Several placement setups were needed to bend the tube one way, and then the other.
With the hydronic heating line bent out of the way we could now finish running the final water lines which will finish the installation on the plumbing wall.
Wiring for pump operation
With the installation of the pumps and water lines on the plumbing wall complete, all that remained was to run new 12 volt electrical lines for power. Although we would be using the original pump power line, it now had to be split so that it could run two pumps. Since we’d only be running one pump at a time, the current draw would remain the same. We’d just need a switching point to direct the current to one pump or the other.
Connecting the system to the patch Bay
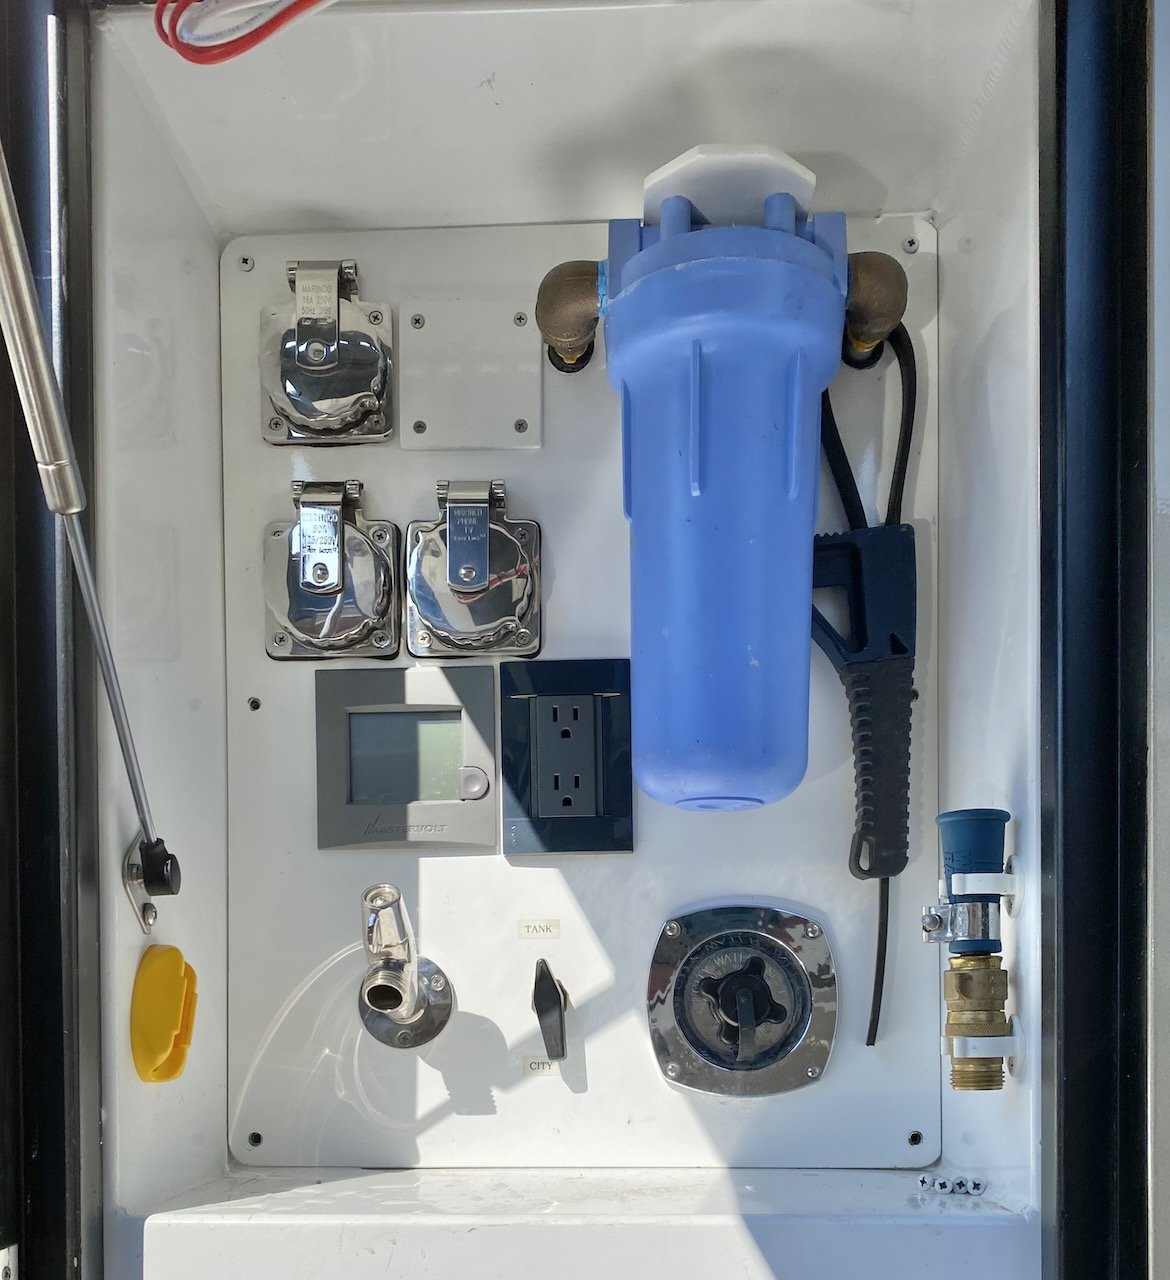
At some future point we’ll be redoing this control board as well. The builder did an appalling job at laying it out, and the workmanship is atrocious. Components are out of square and misaligned.
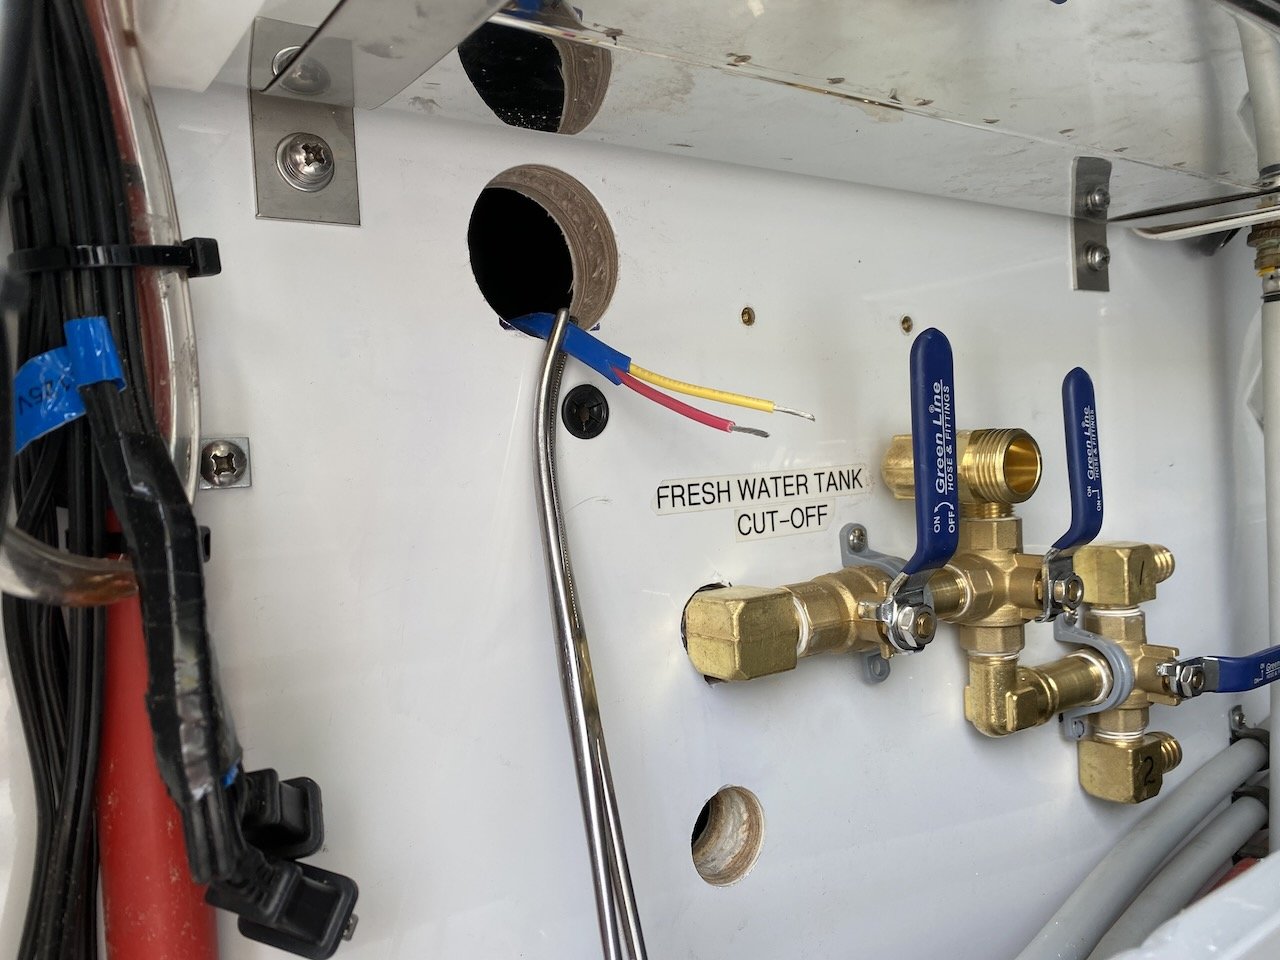
The last step in the installation is to tie the system into the patch bay control panel so we can get water from outside sources into the truck. To do this the water tank needs a connection, as well as the city water circuit that bypasses the pumps. There’s also a feed from the pump circuitry back to the panel to provide pressurized water from the water storage tank to the outside water faucet.
This is where we had to replace the 3/4” tapered pipe thread fittings with the proper garden hose thread fittings. Only by doing this can we be assured of a proper seal with the flexible hoses.
With all the work finished it was just a matter of re-filling the 180 gallons of water and systematically checking everything for leaks. All of our plumbing joints were water tight, and the increased size of the infill lines sped up the time needed to fill the tanks. But a new infill connection on the outside of the control panel will speed things up even more. This will be done when we redo the panel.
Each pump was run to draw water through the system and out through the sink faucets. Once all the air was pumped out of the lines the sound of the pumps was at least half that of the old pump. The flow from the tap was also much stronger than the previous pump. Both of these were welcome improvements that made all the work worth it. Now that we have a truly redundant system it will make our travels in the remote regions like the Arctic a little less stressful.

