
Truck Cab Tunnel Door
This latest project for the truck was inspired by the -24°C temperatures on our recent trip into northern Canada. The tunnel between the camper and the truck cab only had a door on the camper end of the tunnel. So as the truck cab bounced up and down on its air suspension, outside cold air was being “pumped” into the truck cab. Not terribly comfortable when driving.
The tunnel opening also allowed the outside cold to penetrate past the flexible seal between cab and camper, and into the truck cab at night. In extreme cold, this made it hard for the heated forced air from the hydronic heating system to warm the cab so it was pleasant to enter the next morning.
To fix this we needed a door on the cab side of the tunnel as well. So with a little 3/8" plywood, some closed cell foam, and the fabric that we had the foresight to order from Volvo when we bought the truck chassis, I fashioned a removable airtight door. It was made removable as there was no need for the second door in warm weather.
Build Progression
1/8" thick upholstery foam glued to 3/8" plywood.
Fabric layout ready to be glued to the wood and foam door blank.
After gluing, the fabric was folded tightly around the wood and stapled.
Corner detail of fabric attachment.
More fabric was cut, corners sewn and then glued to the 2" thick closed cell foam which forms the seal and insulation for the door.
The backside of the 2" foam panel. This was then glued to the wood door.
We found some marine grade take apart half hinges to use so we could lift the door off when the weather is warm, and the door isn’t needed.
When the truck cab bounces, it’s downward direction puts the air in the tunnel under compression, and this force literally blows the door open when traveling. So along with the hinges, we needed to add locking catches to secure the door. Since we couldn’t find latches that would work for us, I made some from 1-1/2" and 2" diameter Delrin.
The door also needed some brackets for the catches to engage. So these were made from some 1/8" x 1-1/2" stainless steel flat bar I had lying around.
You can see the finished catch plates just sticking out the side of the door.
Closeup of the catch plate and pull strap.
Because the plywood was only 3/8" thick, and there would be considerable force pushing the door open, a lot of screws were used to spread out the force. Using only two or three screws could eventually strip and pull out of the thin wood. The two black straps are so the door can be pulled closed from inside the camper.
The catch is a simple off-center disk.
The wing-screw going through the disk is to adjust the tension on the turning disk.
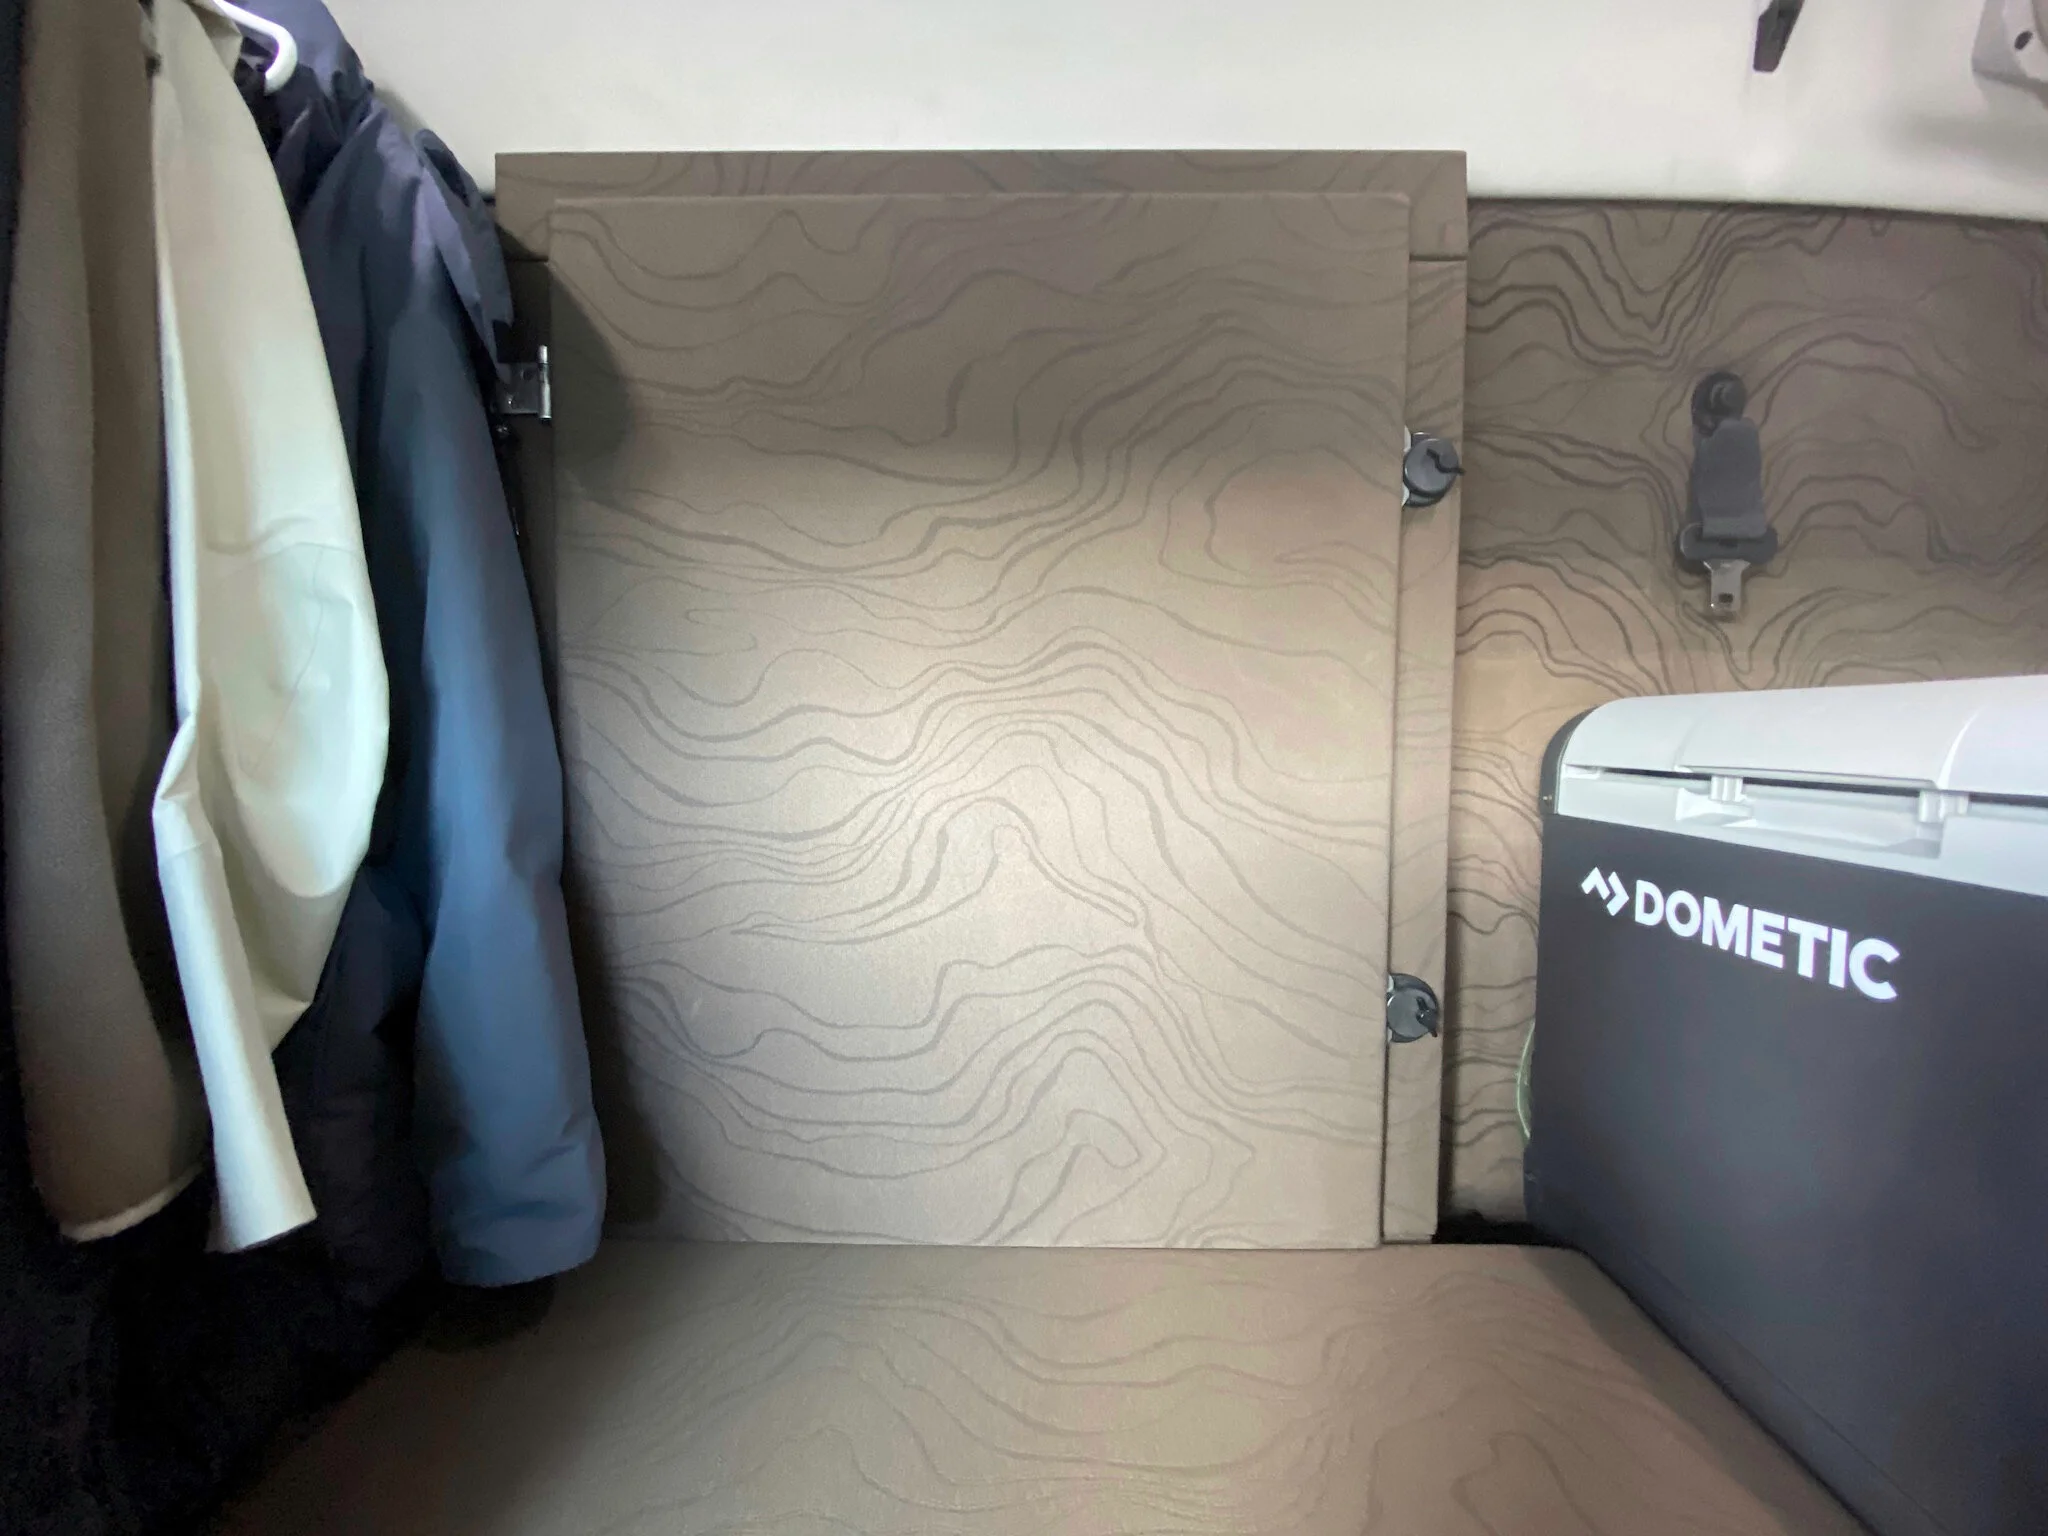
The finished door matching the factory original upholstery on the tunnel frame and back wall. The hinges are half hinges which allow the door to be simply lifted up an inch to disengage and remove the door.