

Motorcycle & Tire Lift
Complicated, But not imPossible
Without a doubt the most complex project for the truck, the rear lift assembly involved dozens of components from the very small, to the large and heavy. With the exception of the main storage box and lid bending, everything was made in our garage and my brother's basement, where he has a small lathe and milling machine.
The complexity of the build made it imperative that it all be drawn out in detail to determine how everything would fit together. You know, shop drawings.
Since the build is complex, it's been broken down into sections.
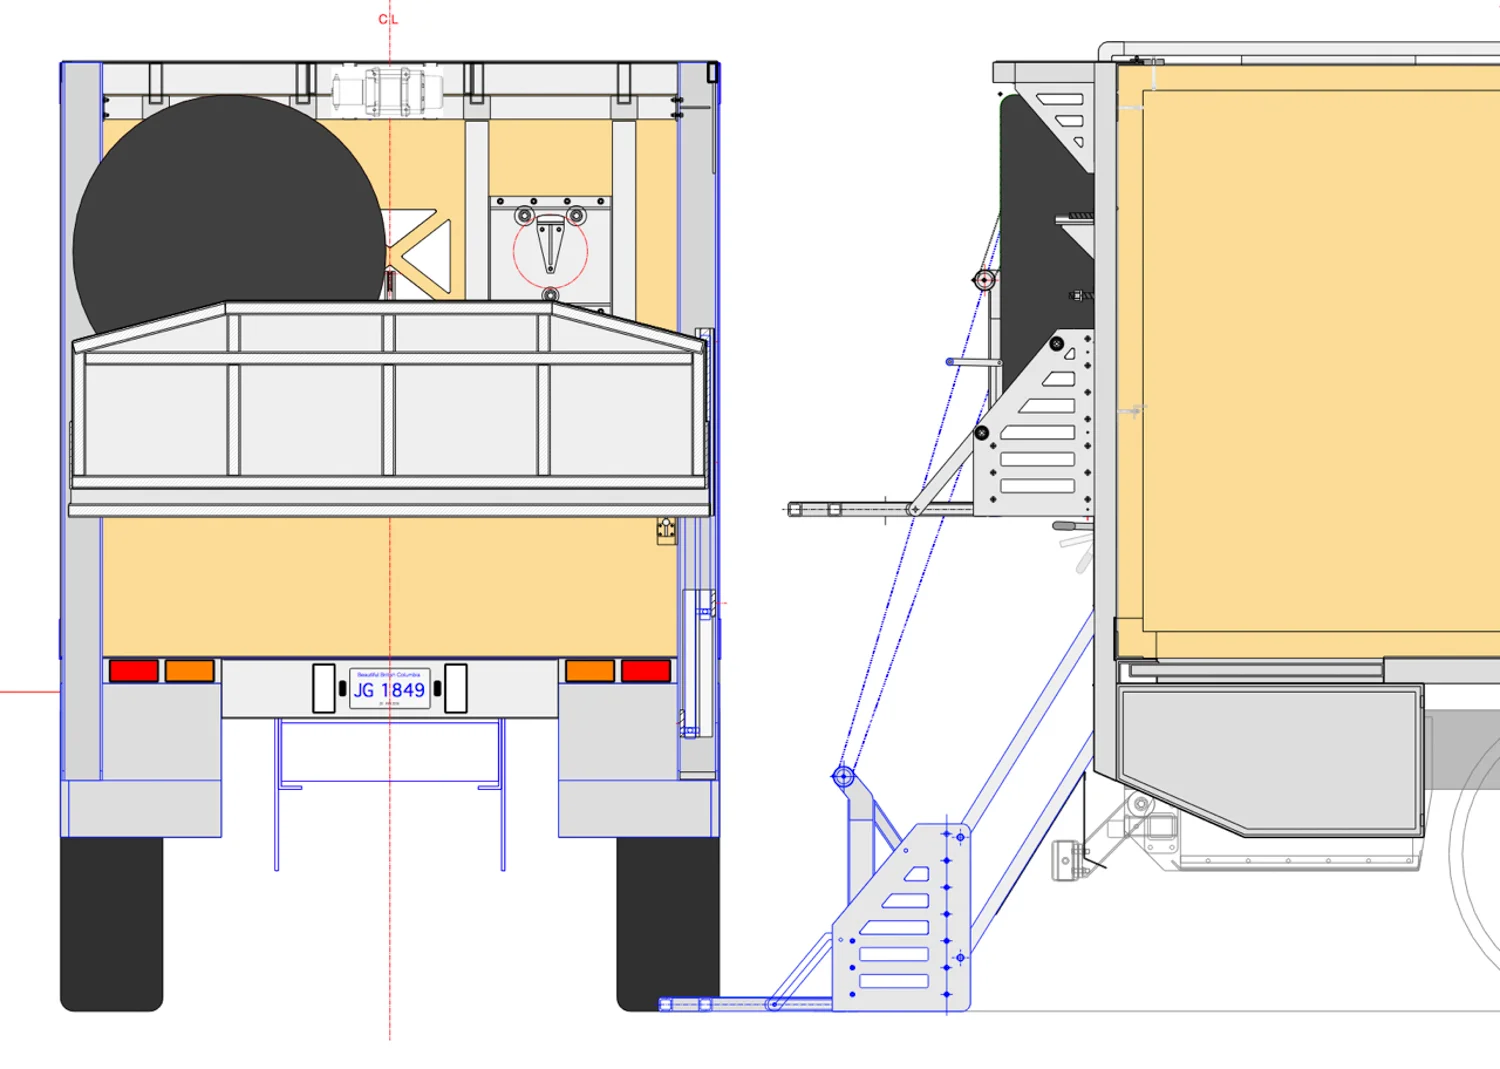

Vertical Channels
The vertical channels are the main interface between the back of the truck and the moving parts of the lift. These channels will carry the entire weight of the lift and motorcycle, which collectively could amount to as much as 1200 pounds.
Made from six inch aluminum channel, the size was determined largely by what had to fit inside of it. We wanted all the arms etc. to disappear inside the channels when the lift was in the up position.
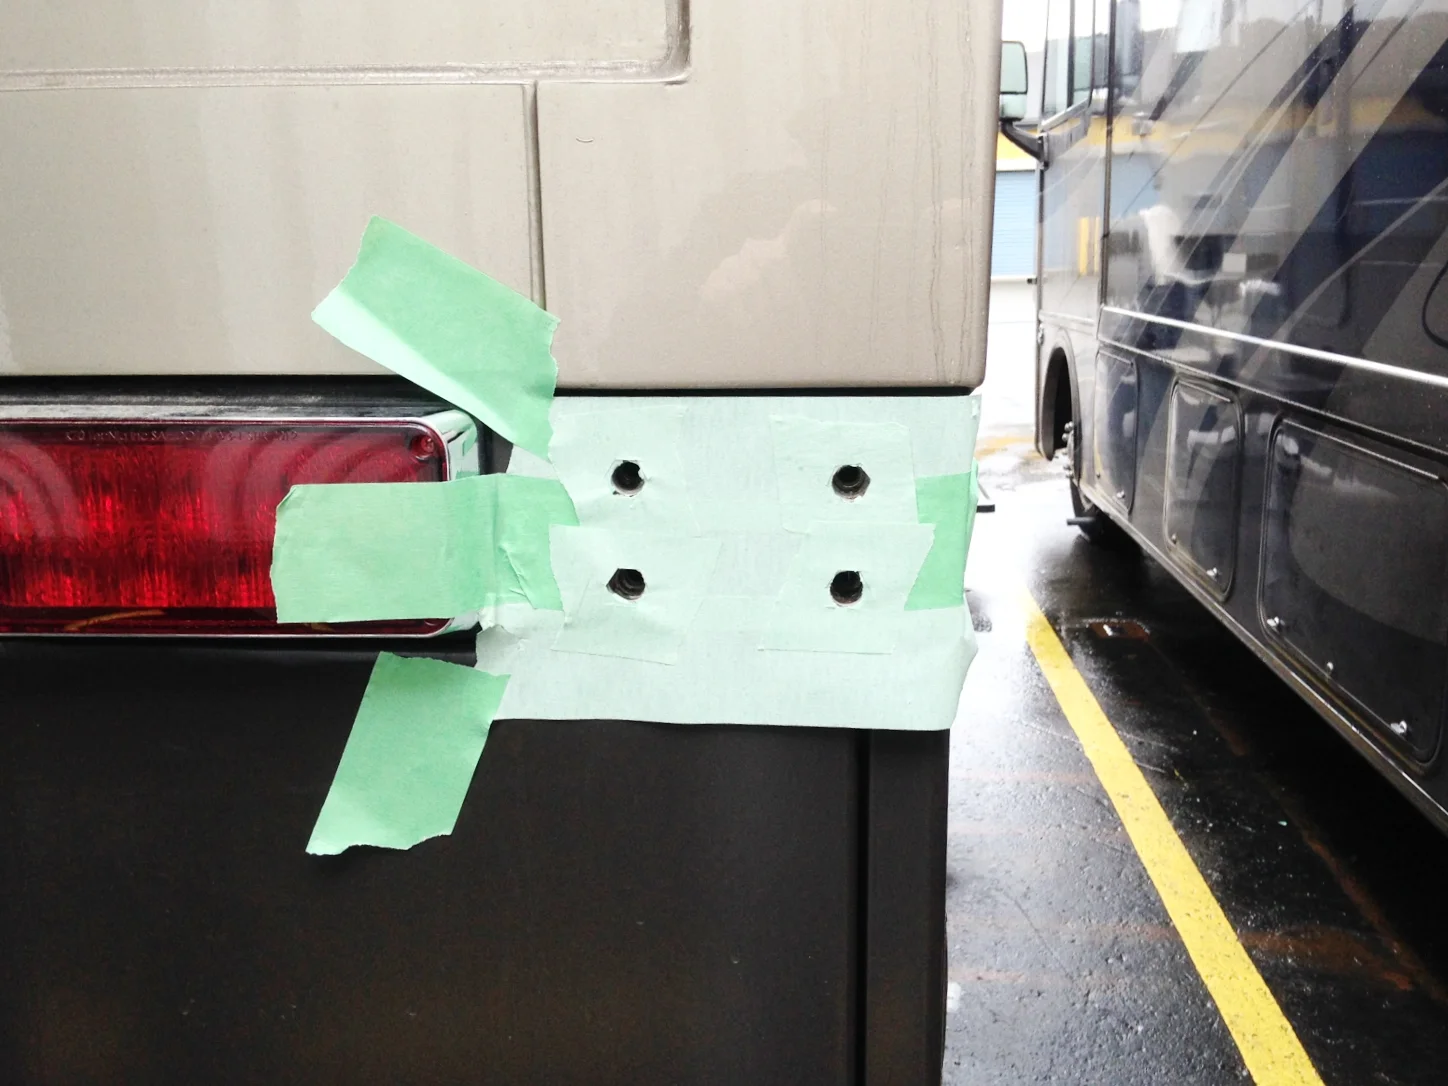
The channels had to interface both with the subframe of the camper box, as well as the tire rack that was also built here at home. We had the builder install the points on the subframe, and pre-drill those spots so we could bolt the channels on here at home. Unfortunately the holes didn't end up in the right place, so had to be re-drilled by us.


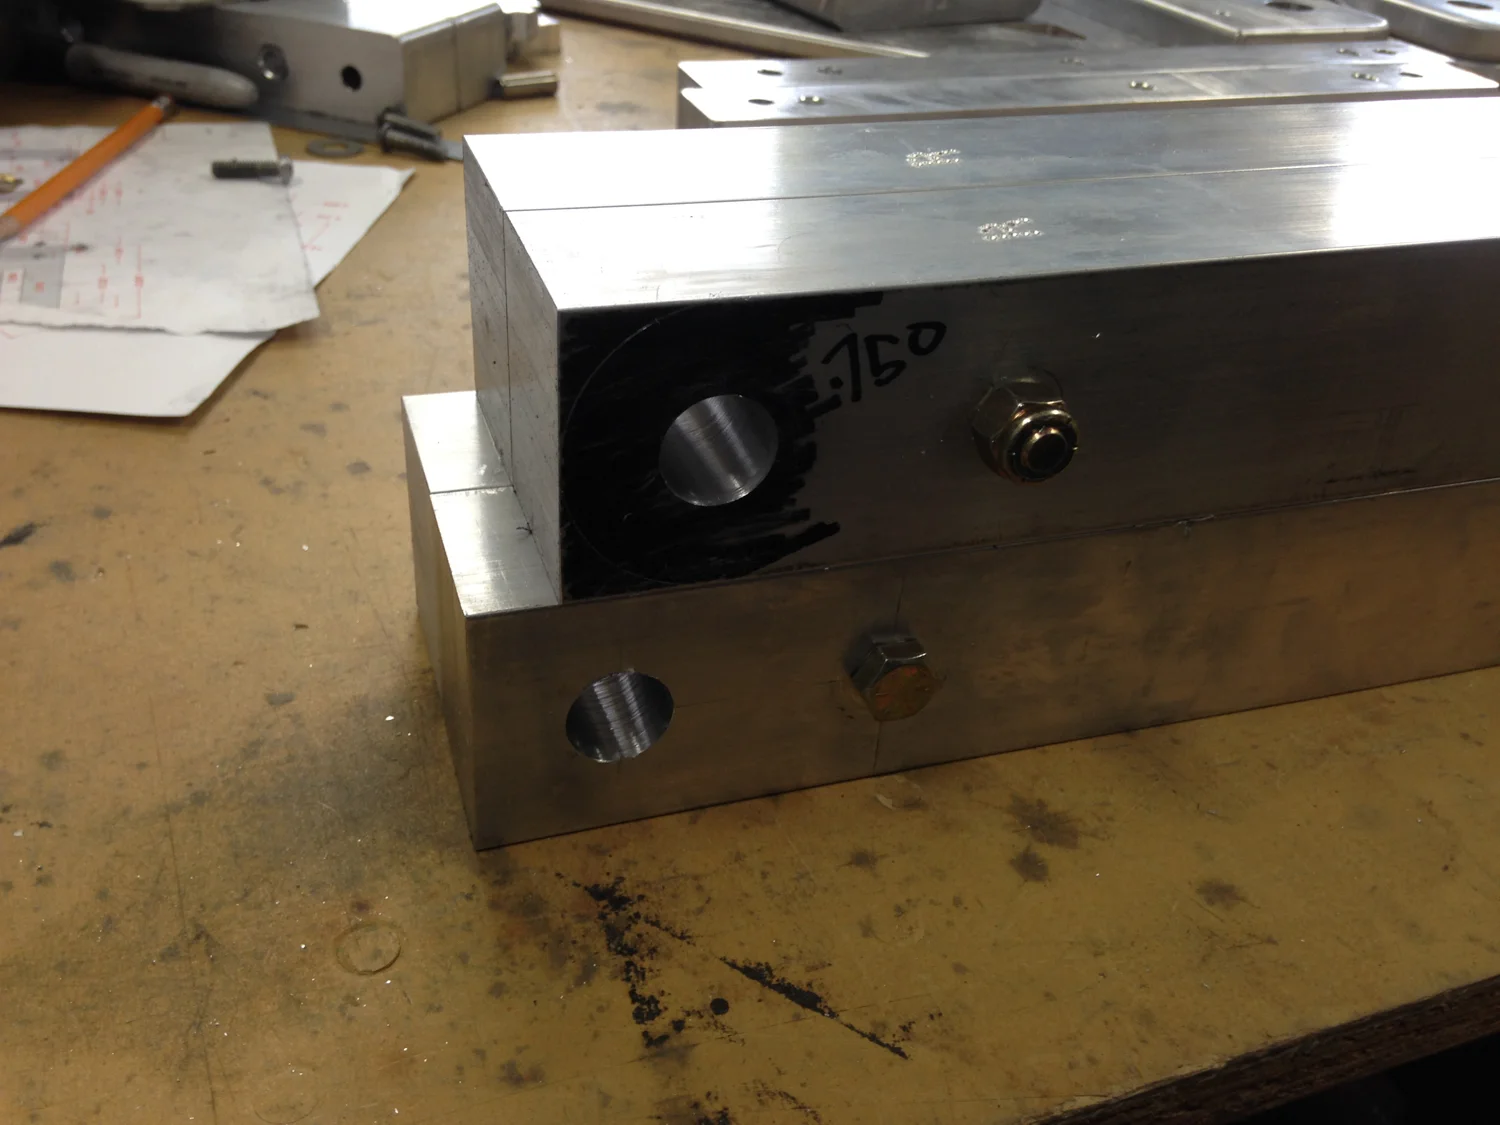
Main Pivot Mounts
Since we couldn't make these out of billet aluminum without incurring the expense of a machine shop, we fabricated them out of heavy aluminum flat bar. Once all assembled and mounted inside the vertical channels, they would behave like a billet one piece part.


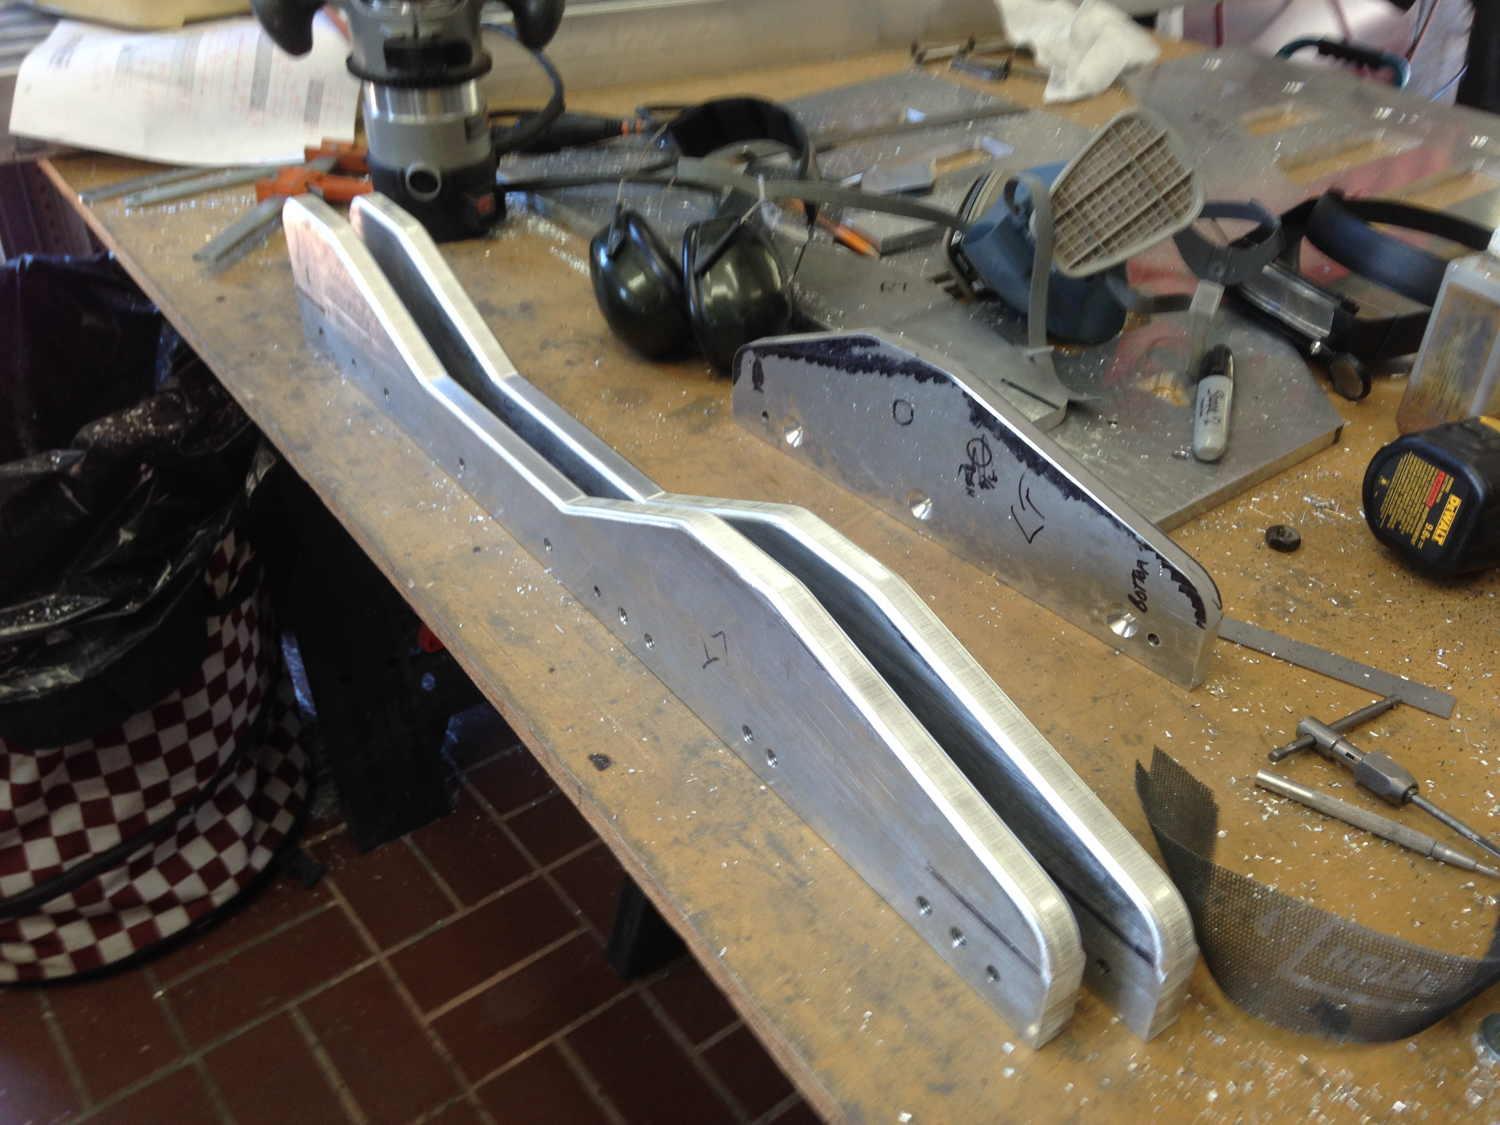
Lift Arms
The lift arms needed to be strong, but small in cross section so everything will fit inside the main mounts, inside the channels.


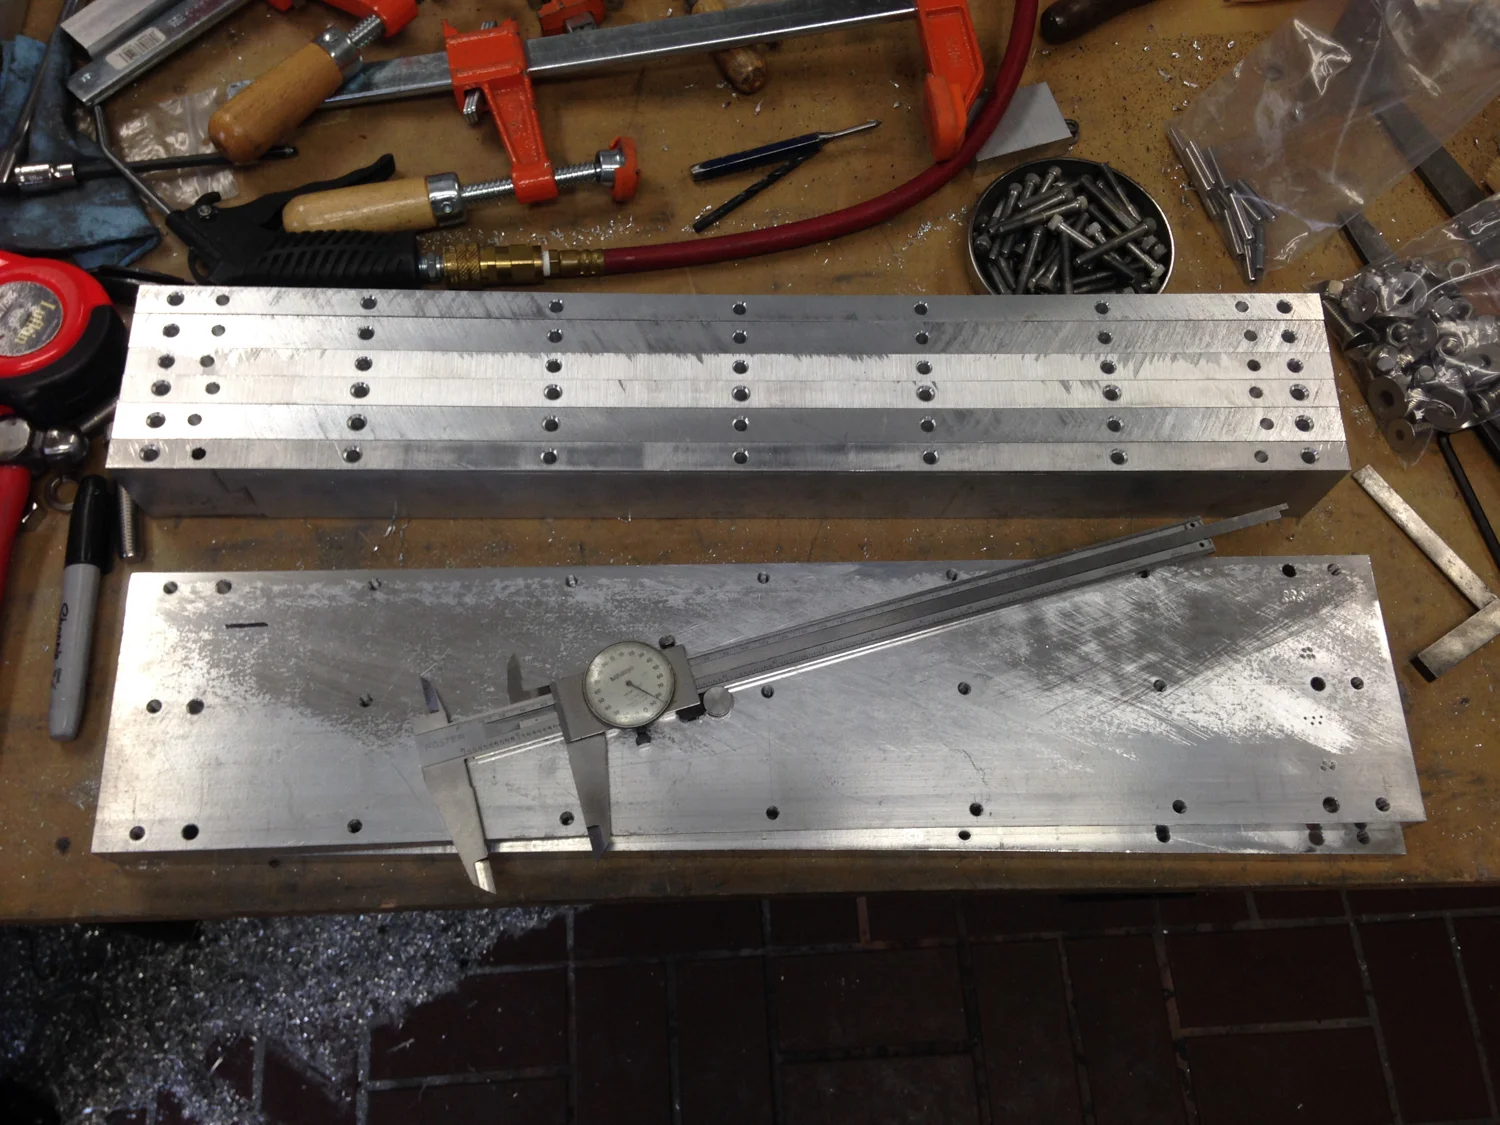
Main Lift Plate Machining
The side lift plates were not that complicated, but making them was time consuming. Below are the steps, from sawing to routing to drilling. The side panels also form an integral part of the top pivot mounts. Two other plates were machined for each side to complete the upper mount assembly.


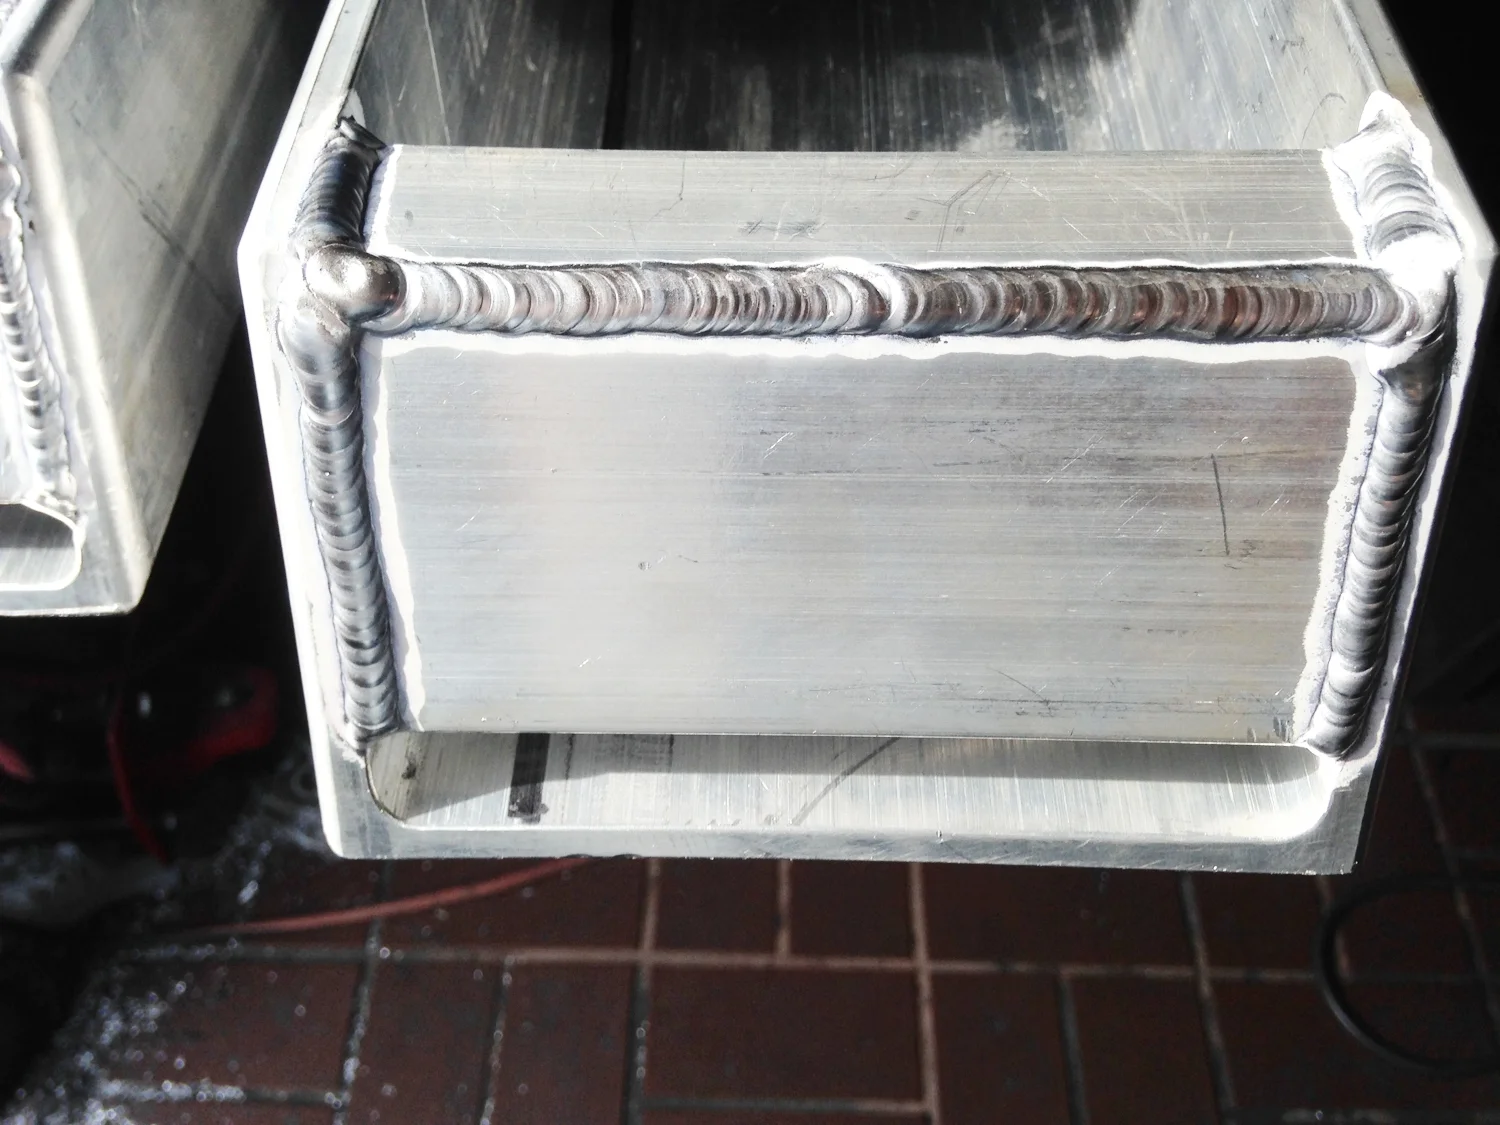
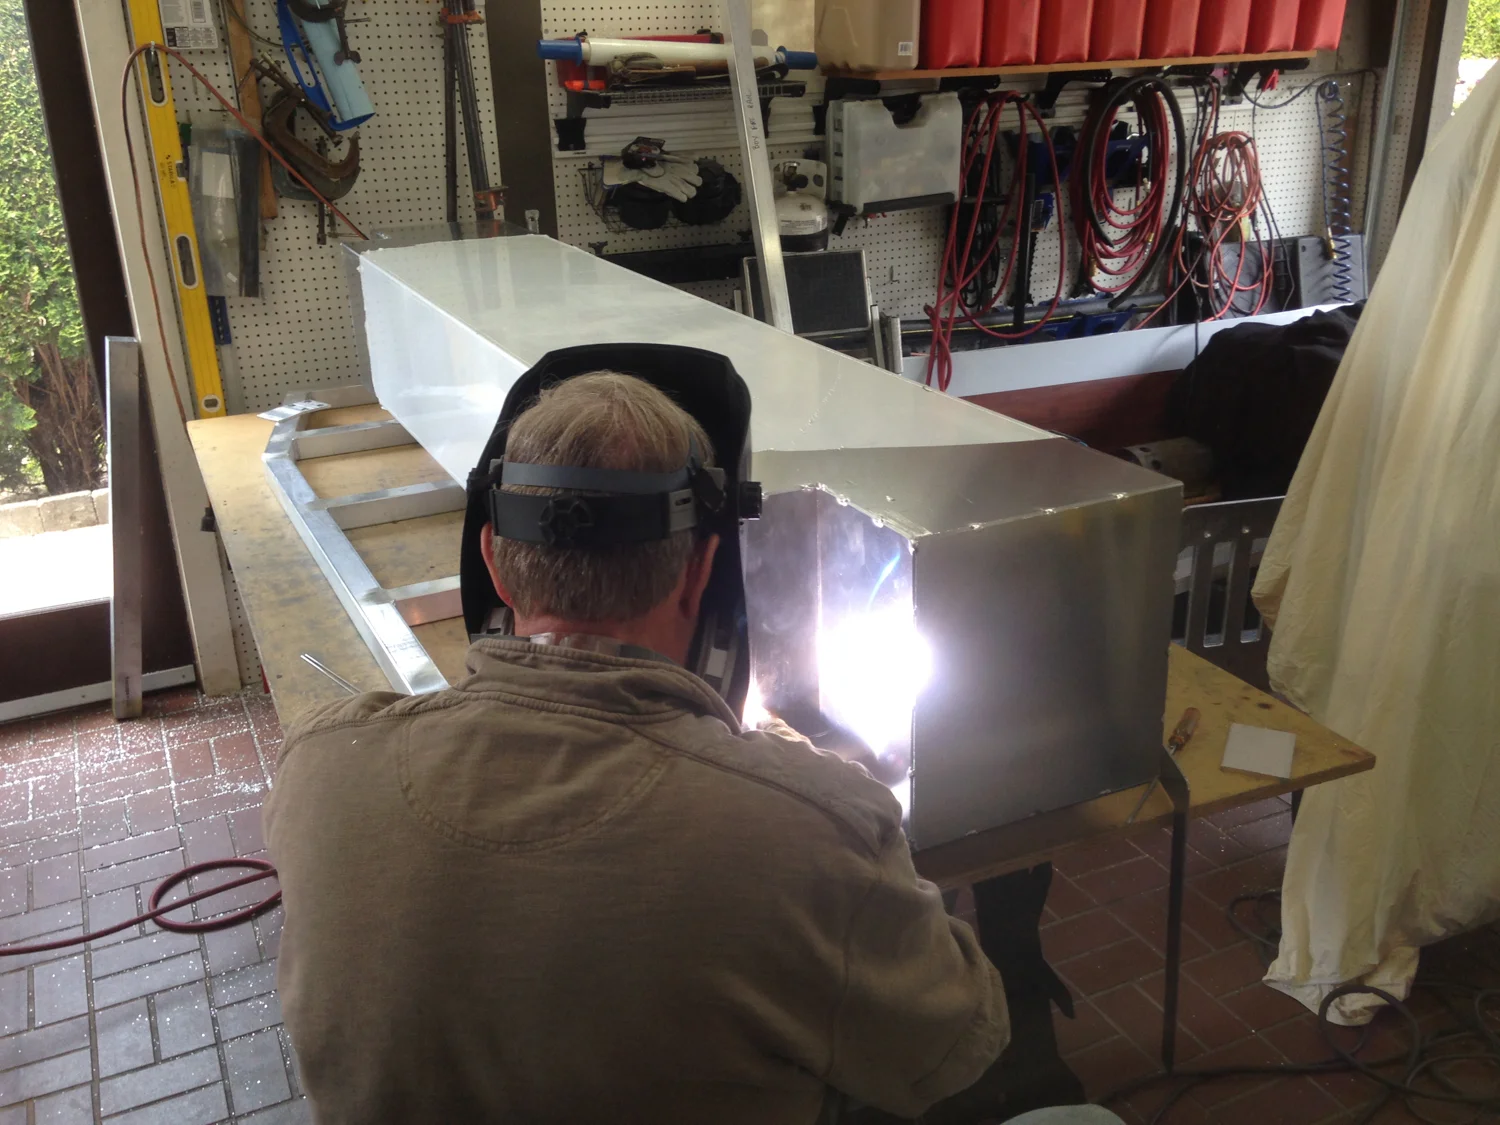
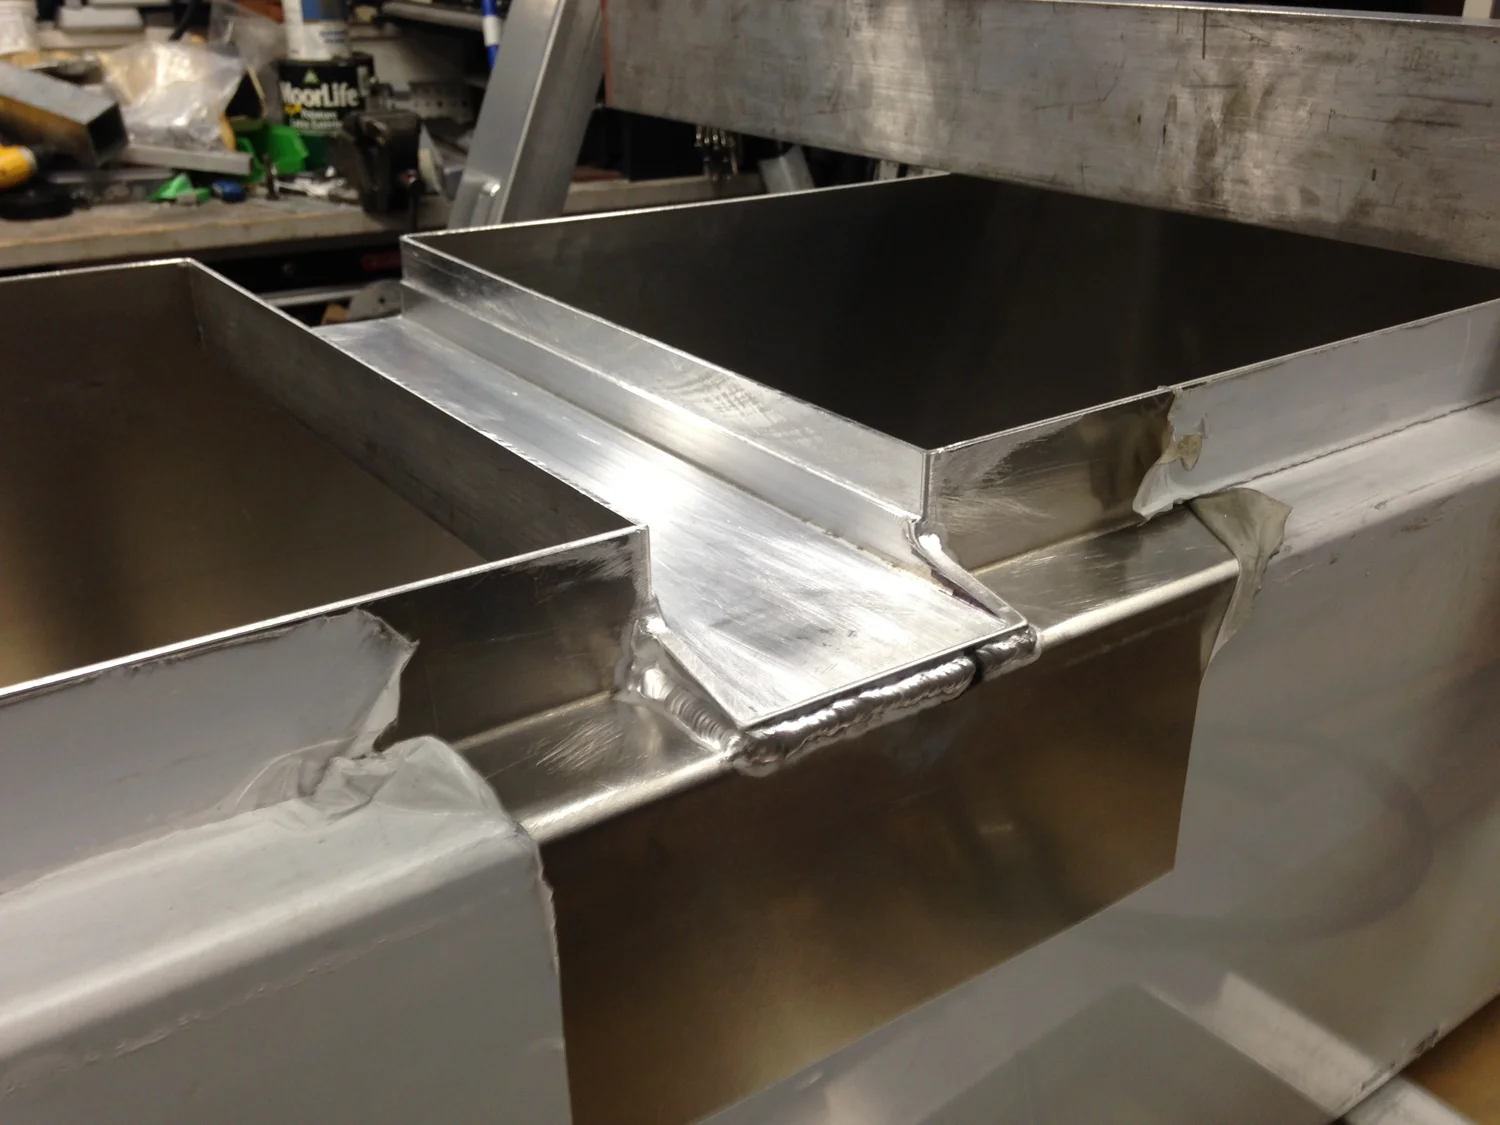
Storage Box Fabrication
The main cross truck connection between the arms was made via the storage box. This was made from 1/8" aluminum sheet, which we had bent up at local fabrication shop. Once all the pieces were made, they were all TIG welded together. The two corners were complicated as they had to accept the side plates with the integral mounts.


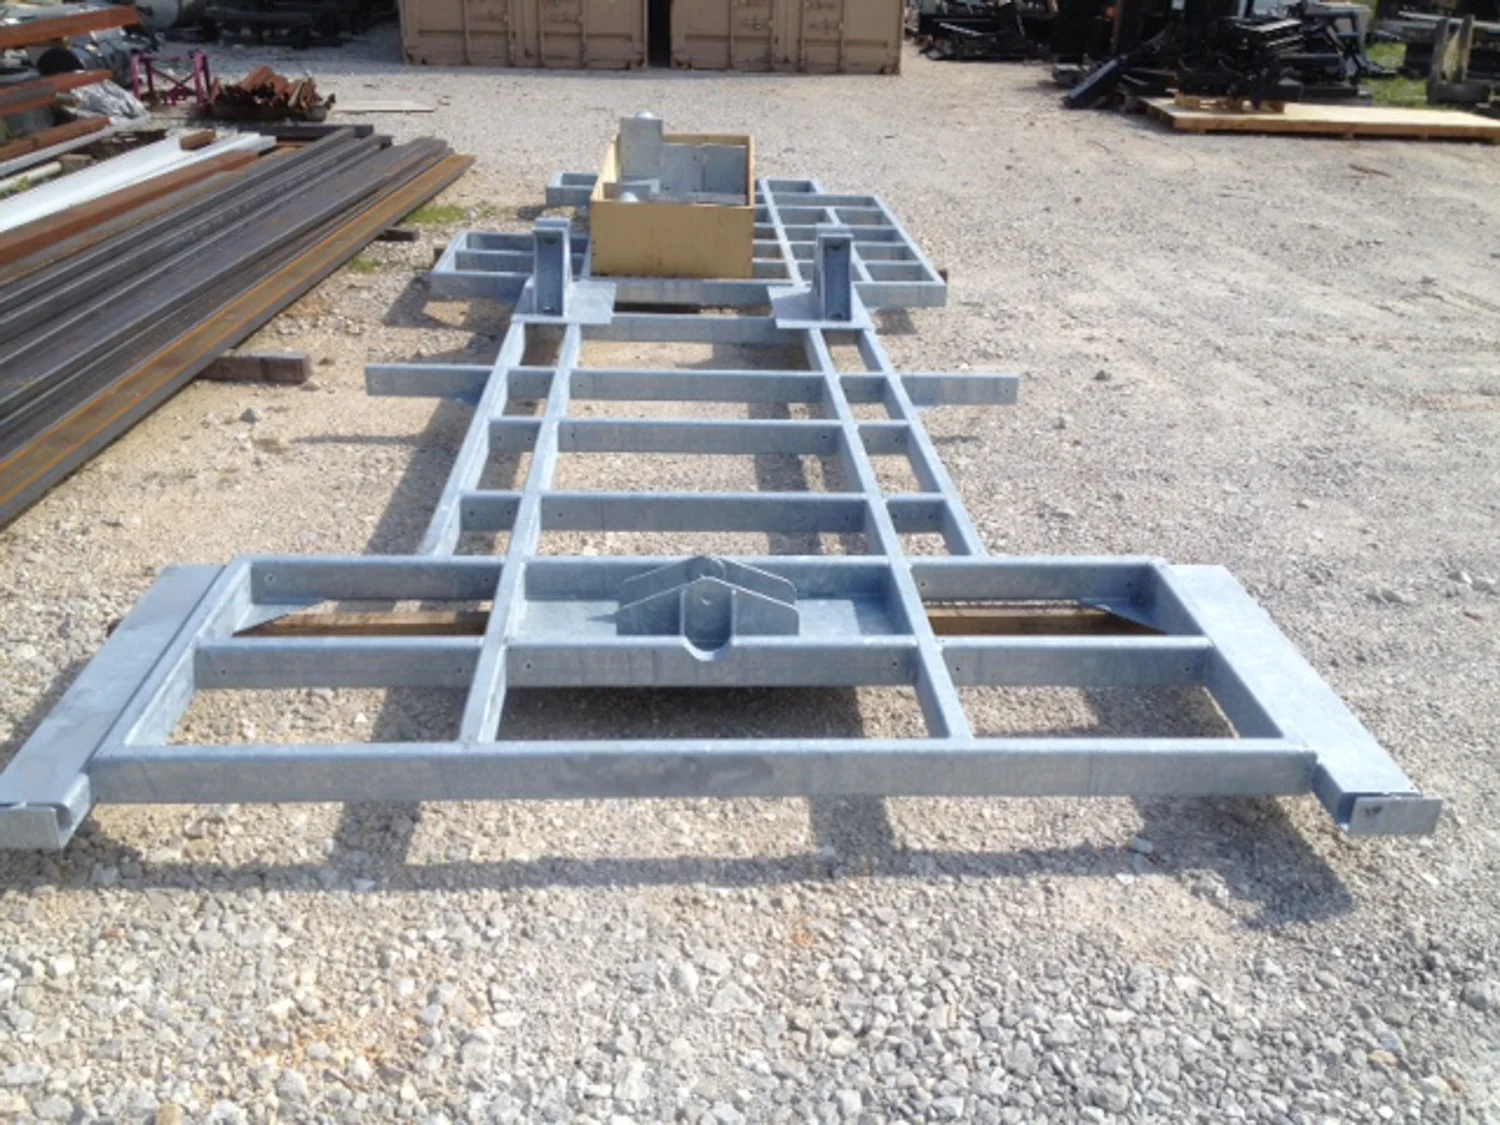
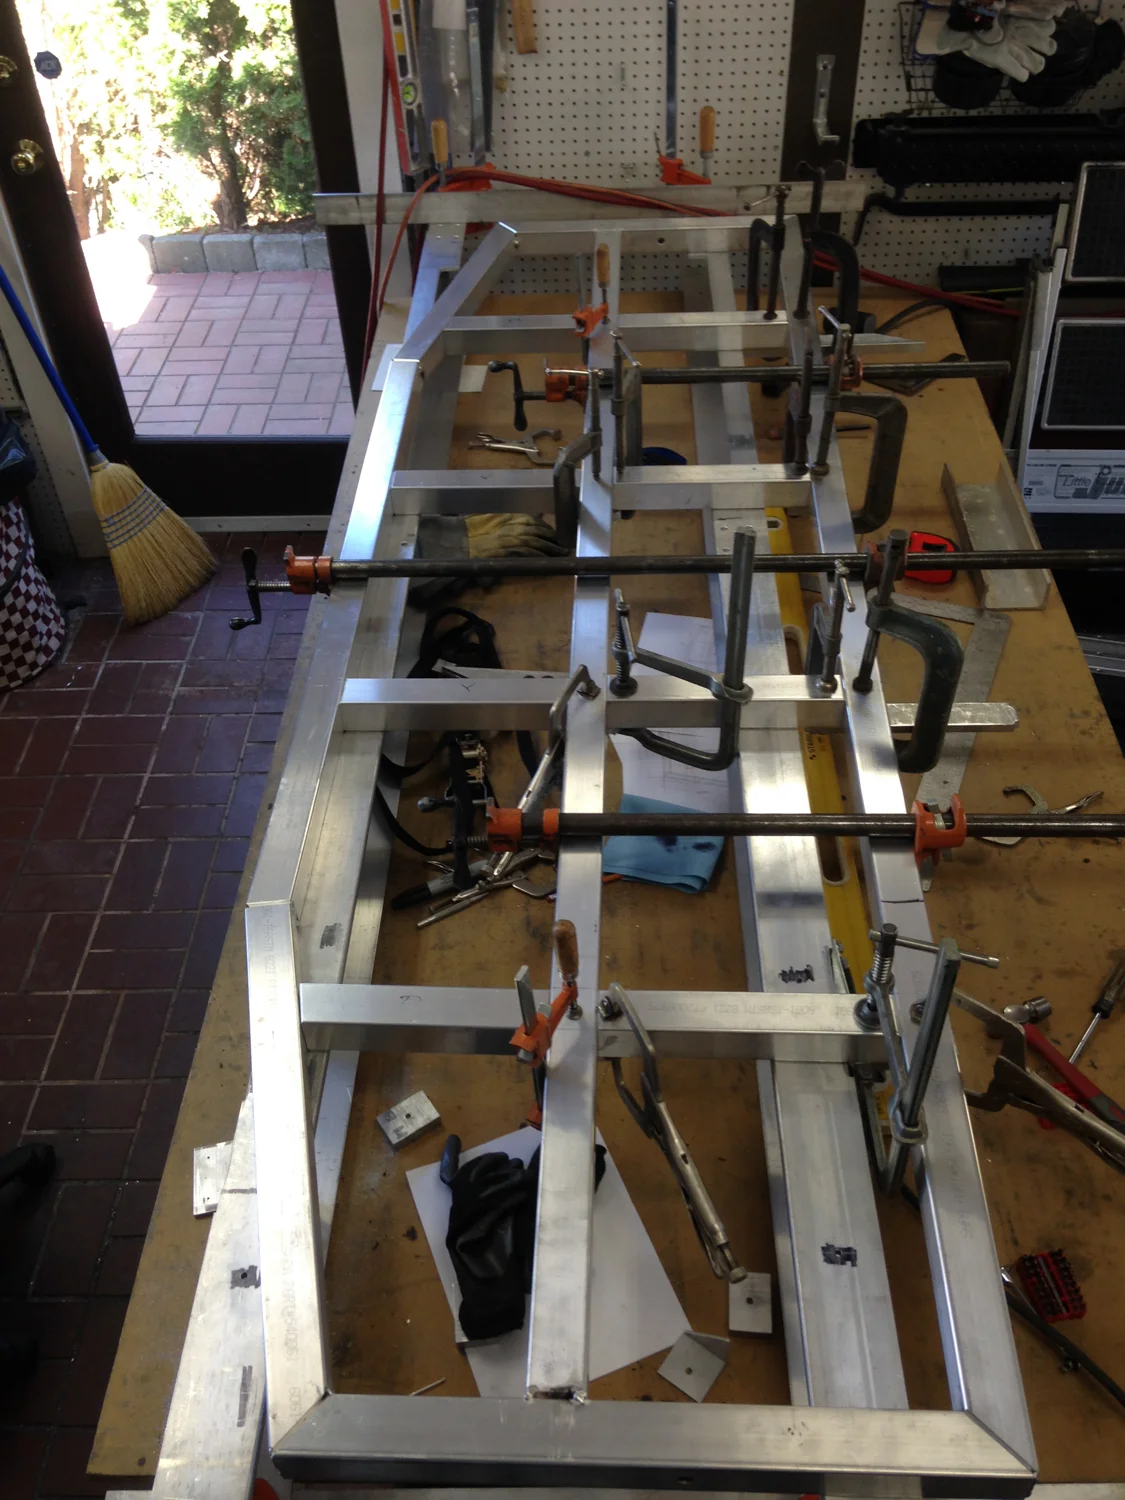
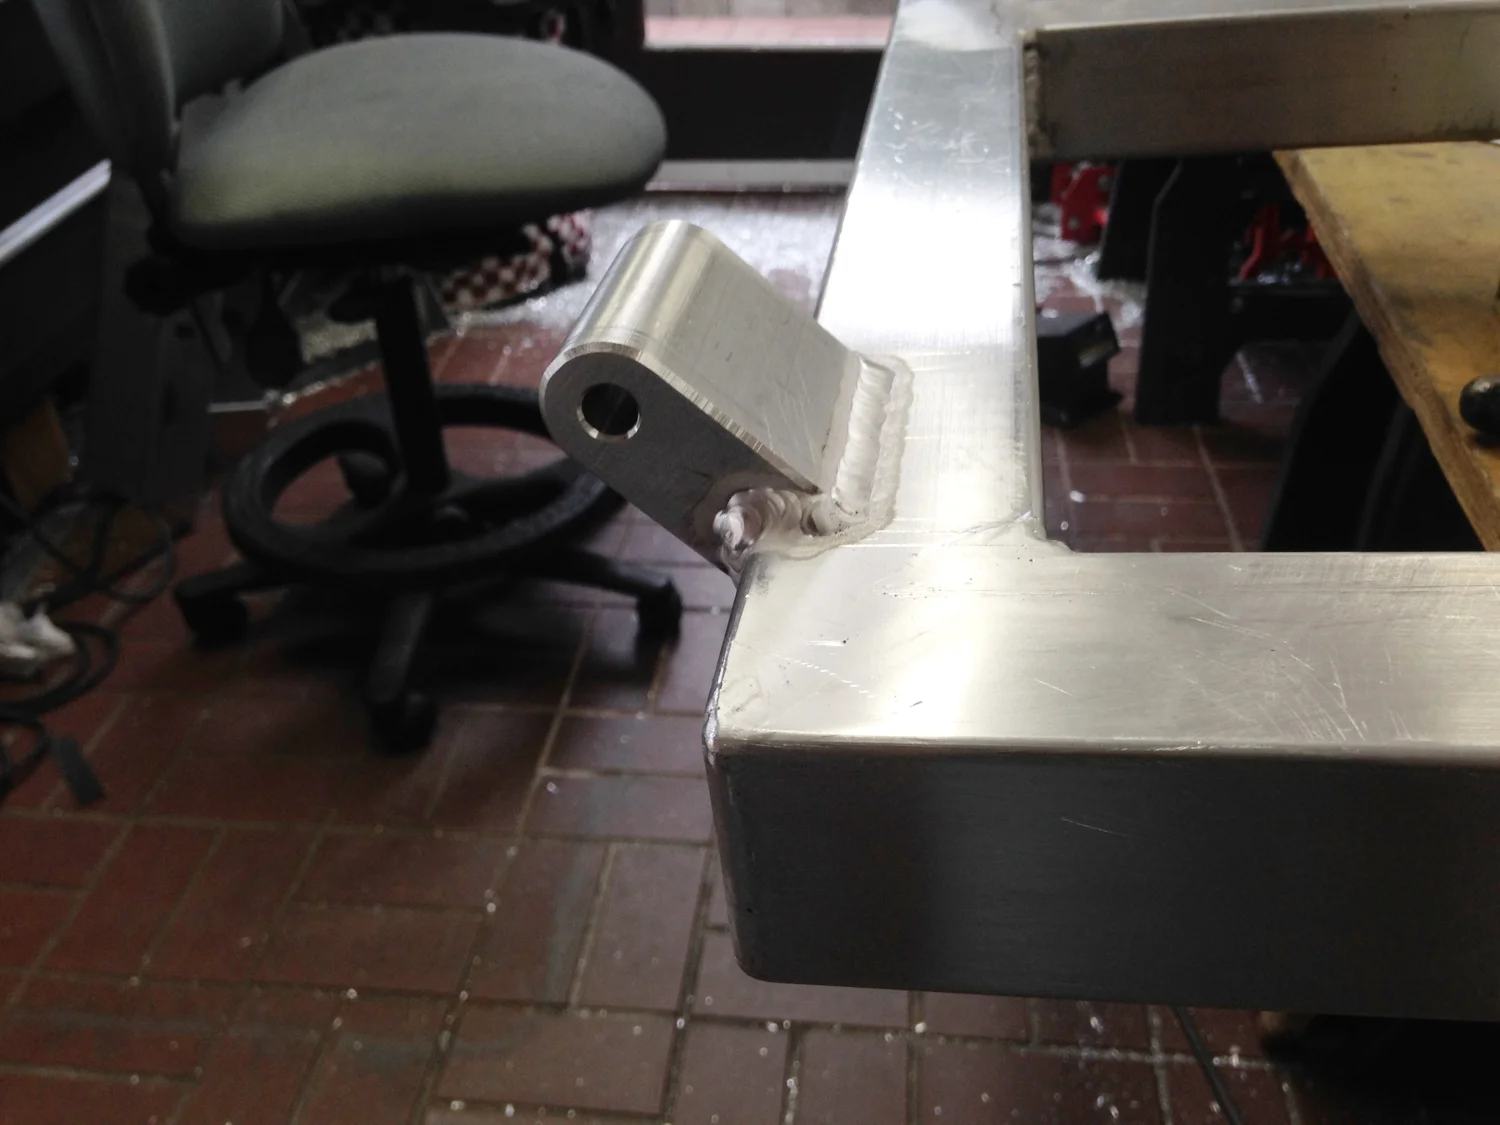
Platform Construction
The platform that would carry the motorcycle was all made from 2" square aluminum tubing. This gave us the rigidity that was needed to carry such a heavy motorcycle. Pivot hinges were machined from solid aluminum bar, by hand, at home. The v-notch was cut on the table saw, and the round edge was machined using a router.


Box and Part Assembly
After the box was all welded and dressed off, the rest of the lift components and platform attachment points had to be attached. This was all done with the TIG welder.


Testing the Raw Components
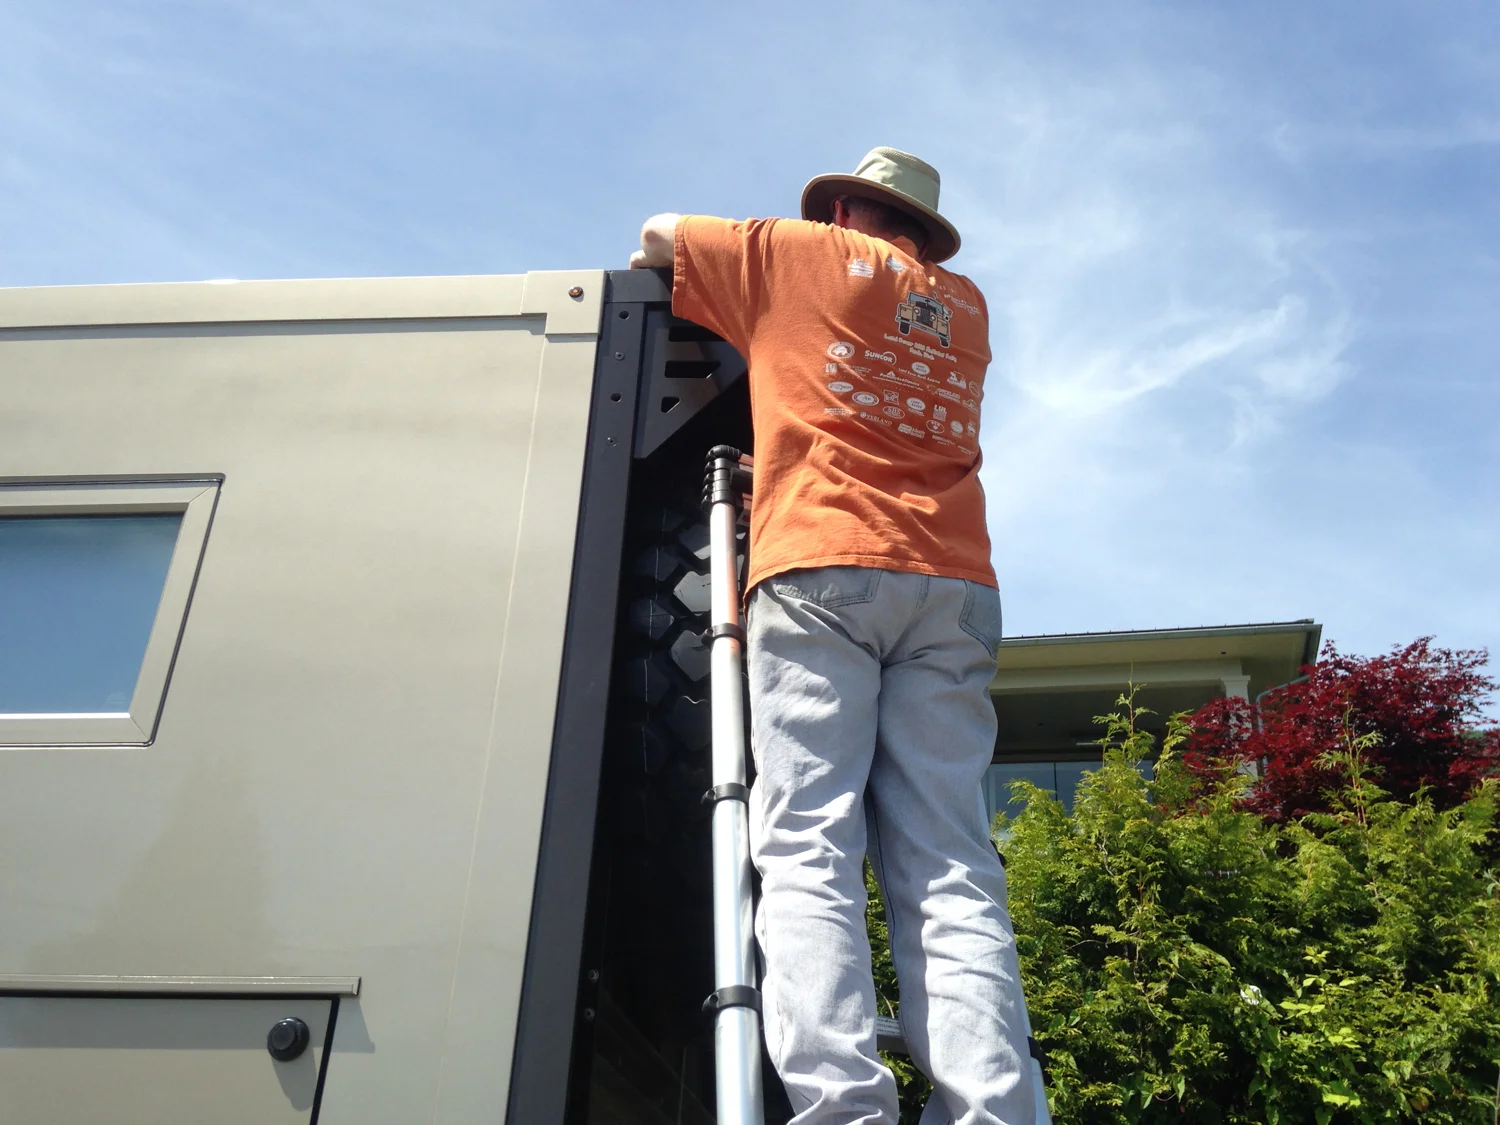
Once we had all the pieces machined and assembled, we needed to install it on the back of the truck and run it through a lift cycle. We wanted to be sure my genius hadn't failed me, and that everything worked before sending the parts to be sand blasted and powder coated.
Final Assembly and Testing
Getting the components sand blasted and powder coated was a chore. The sand blaster did a fabulous job, but the one man powder coating business that shared the building, made a mess of things. He said the large parts were no problem, but clearly they would just barley fit in the bake oven. He had to paint the main box several times before it was usable, and even then he overcooked the backside so we had to touch it up with matching spray paint.
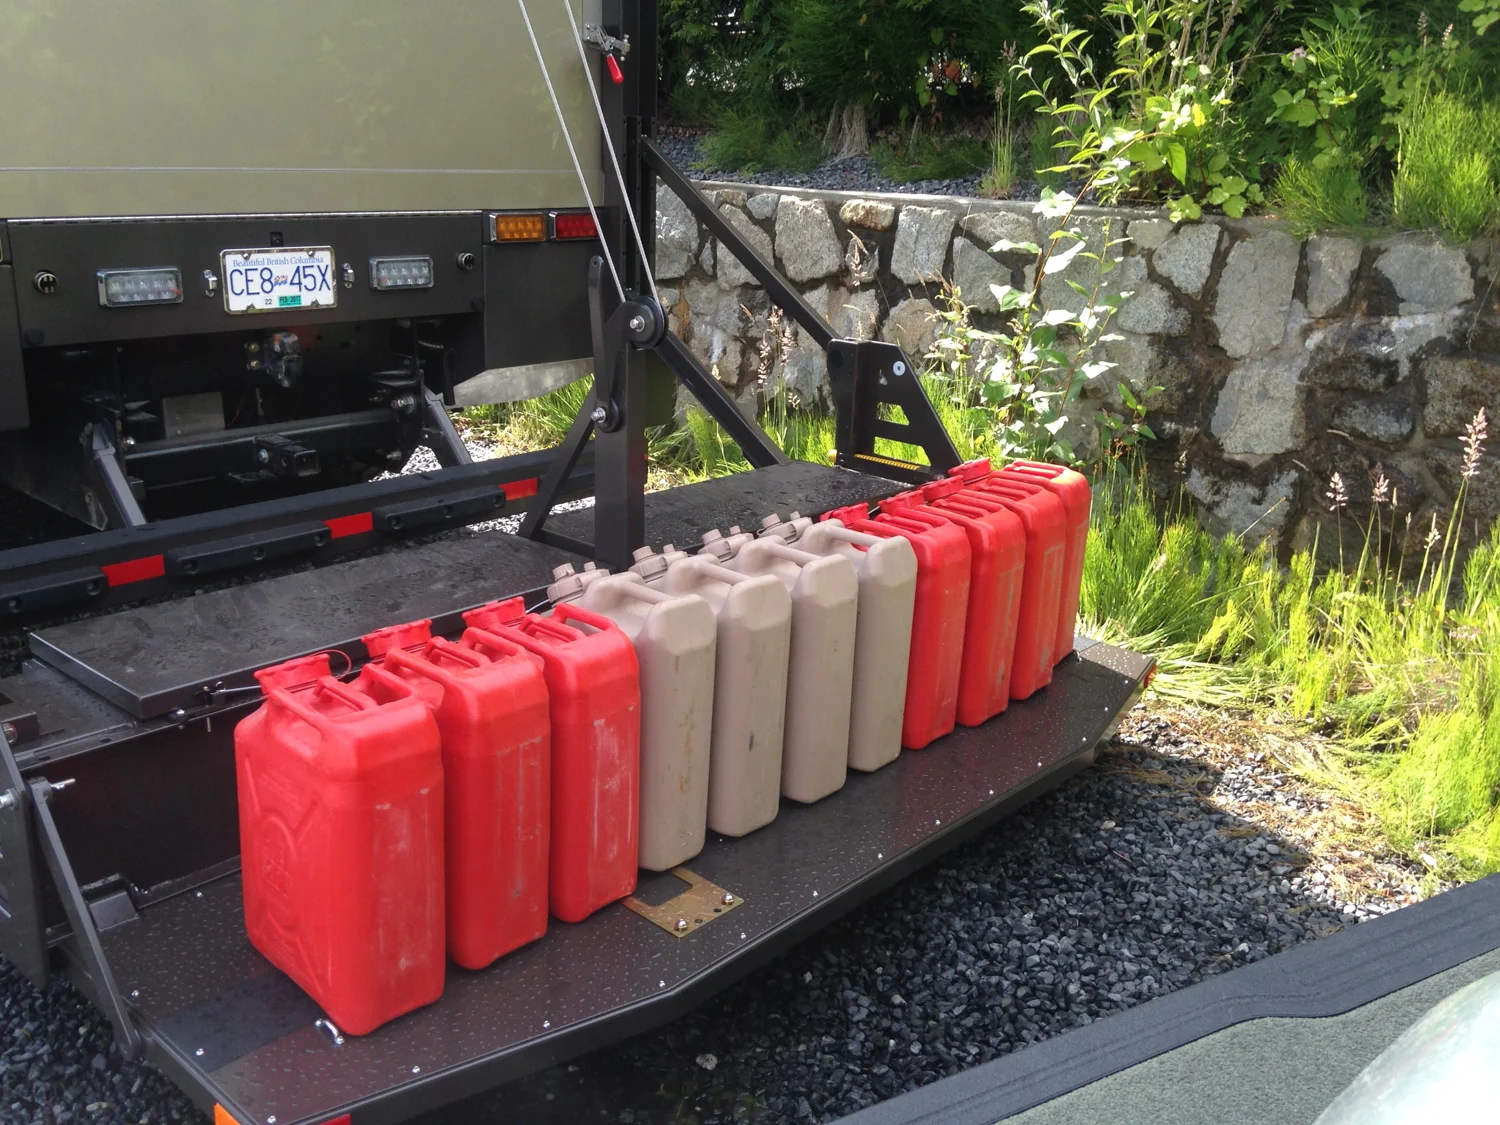
After waiting a much longer time than promised, we finally got everything back and started assembling it. Once it was assembled and attached to the truck, we tested the lifting mechanism using jerry cans full of water. This was a lot safer than putting an expensive motorcycle on for the first lift. Ten jerry cans full of water weighed about the same as the bike. Everything worked like expected.


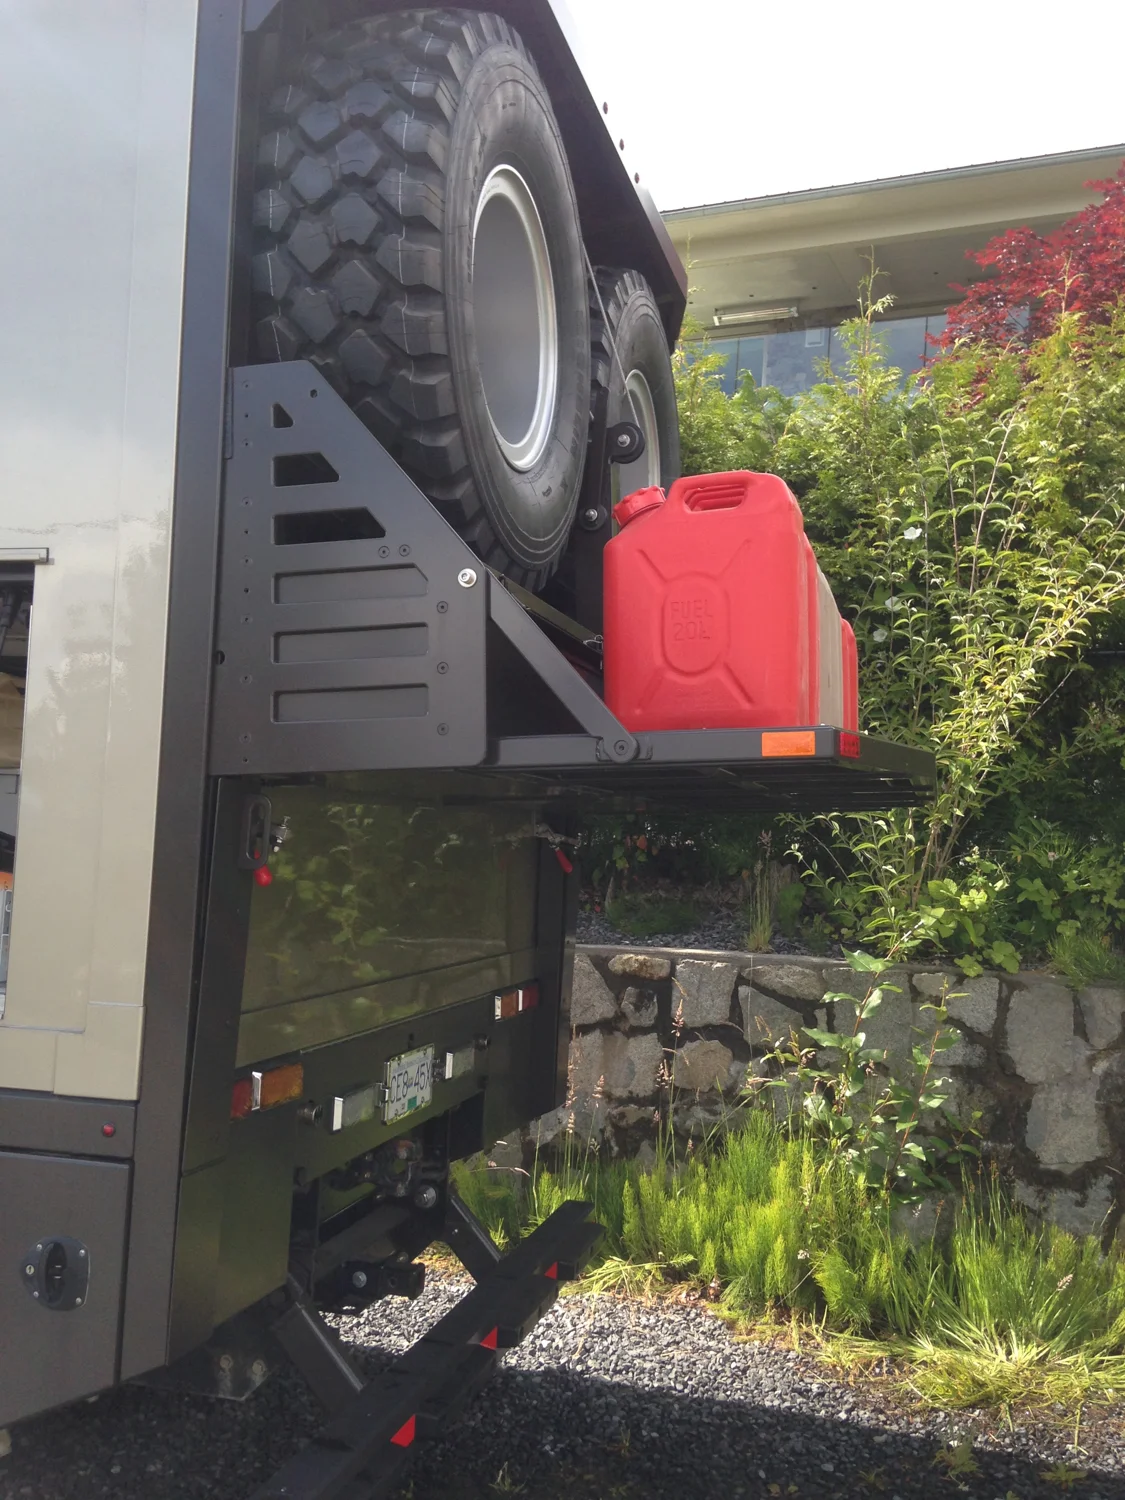
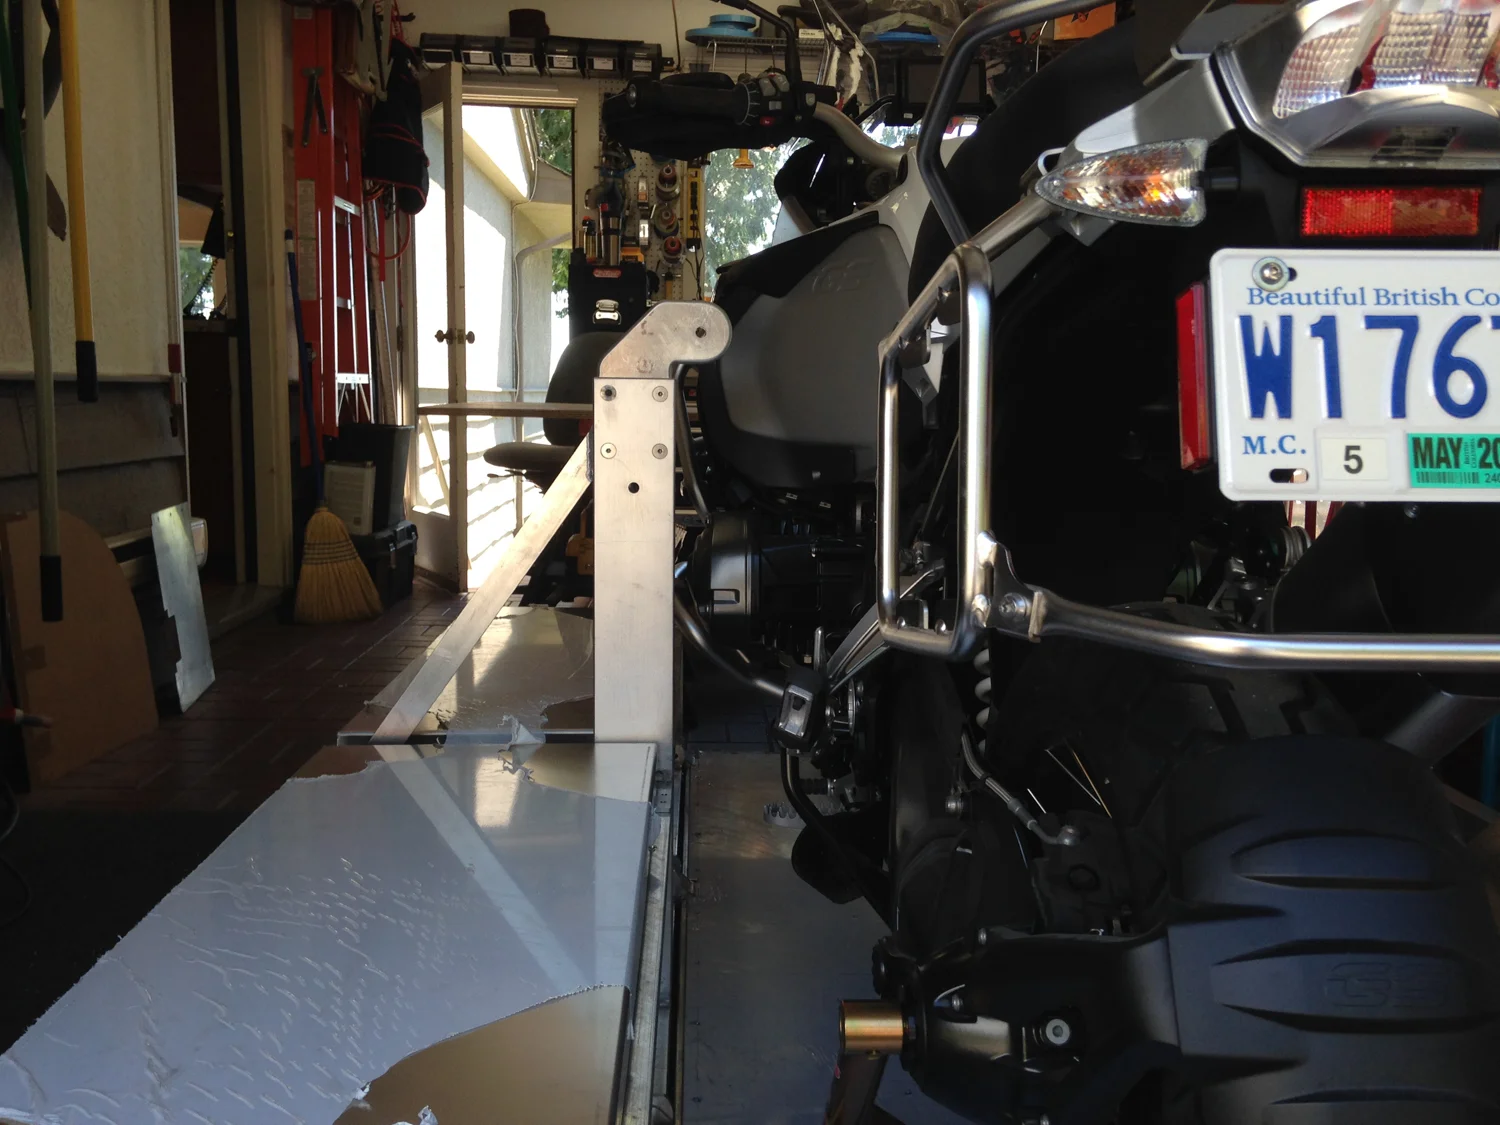
It All Comes Together
After all the testing was done using an equivalent weight of water filled jerry cans, we loaded the motorcycle on for the first lift. Everything worked exactly as planned.