
TOilet Swap
Breaking the tether
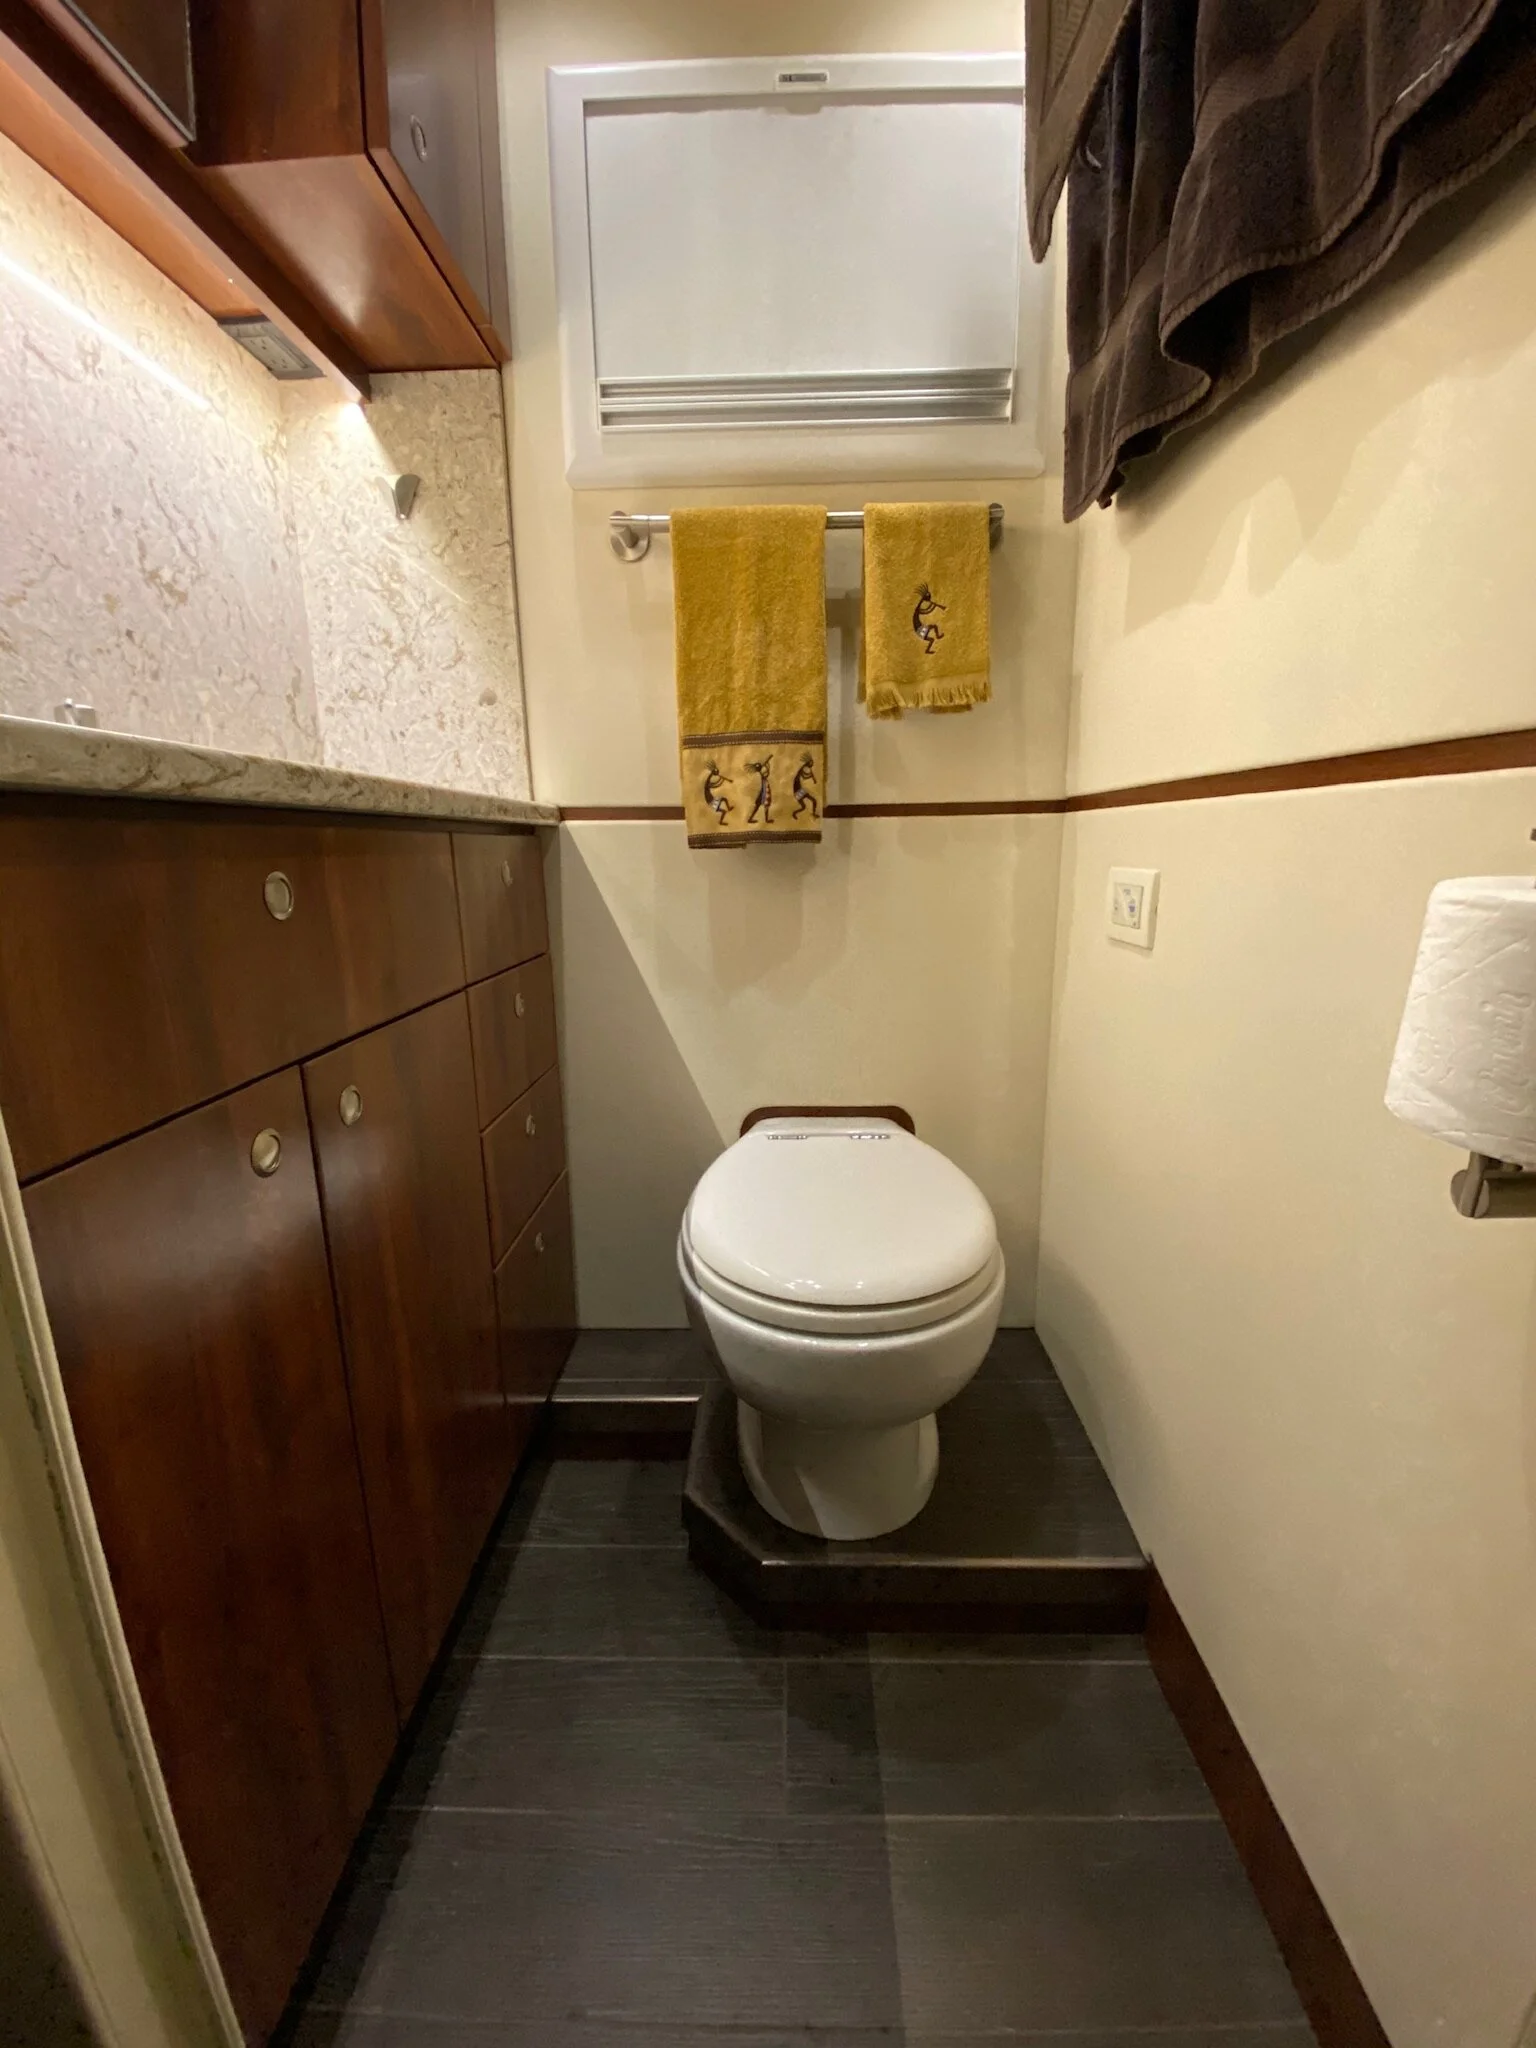
The original toilet was very nice, but used a lot of water to function.
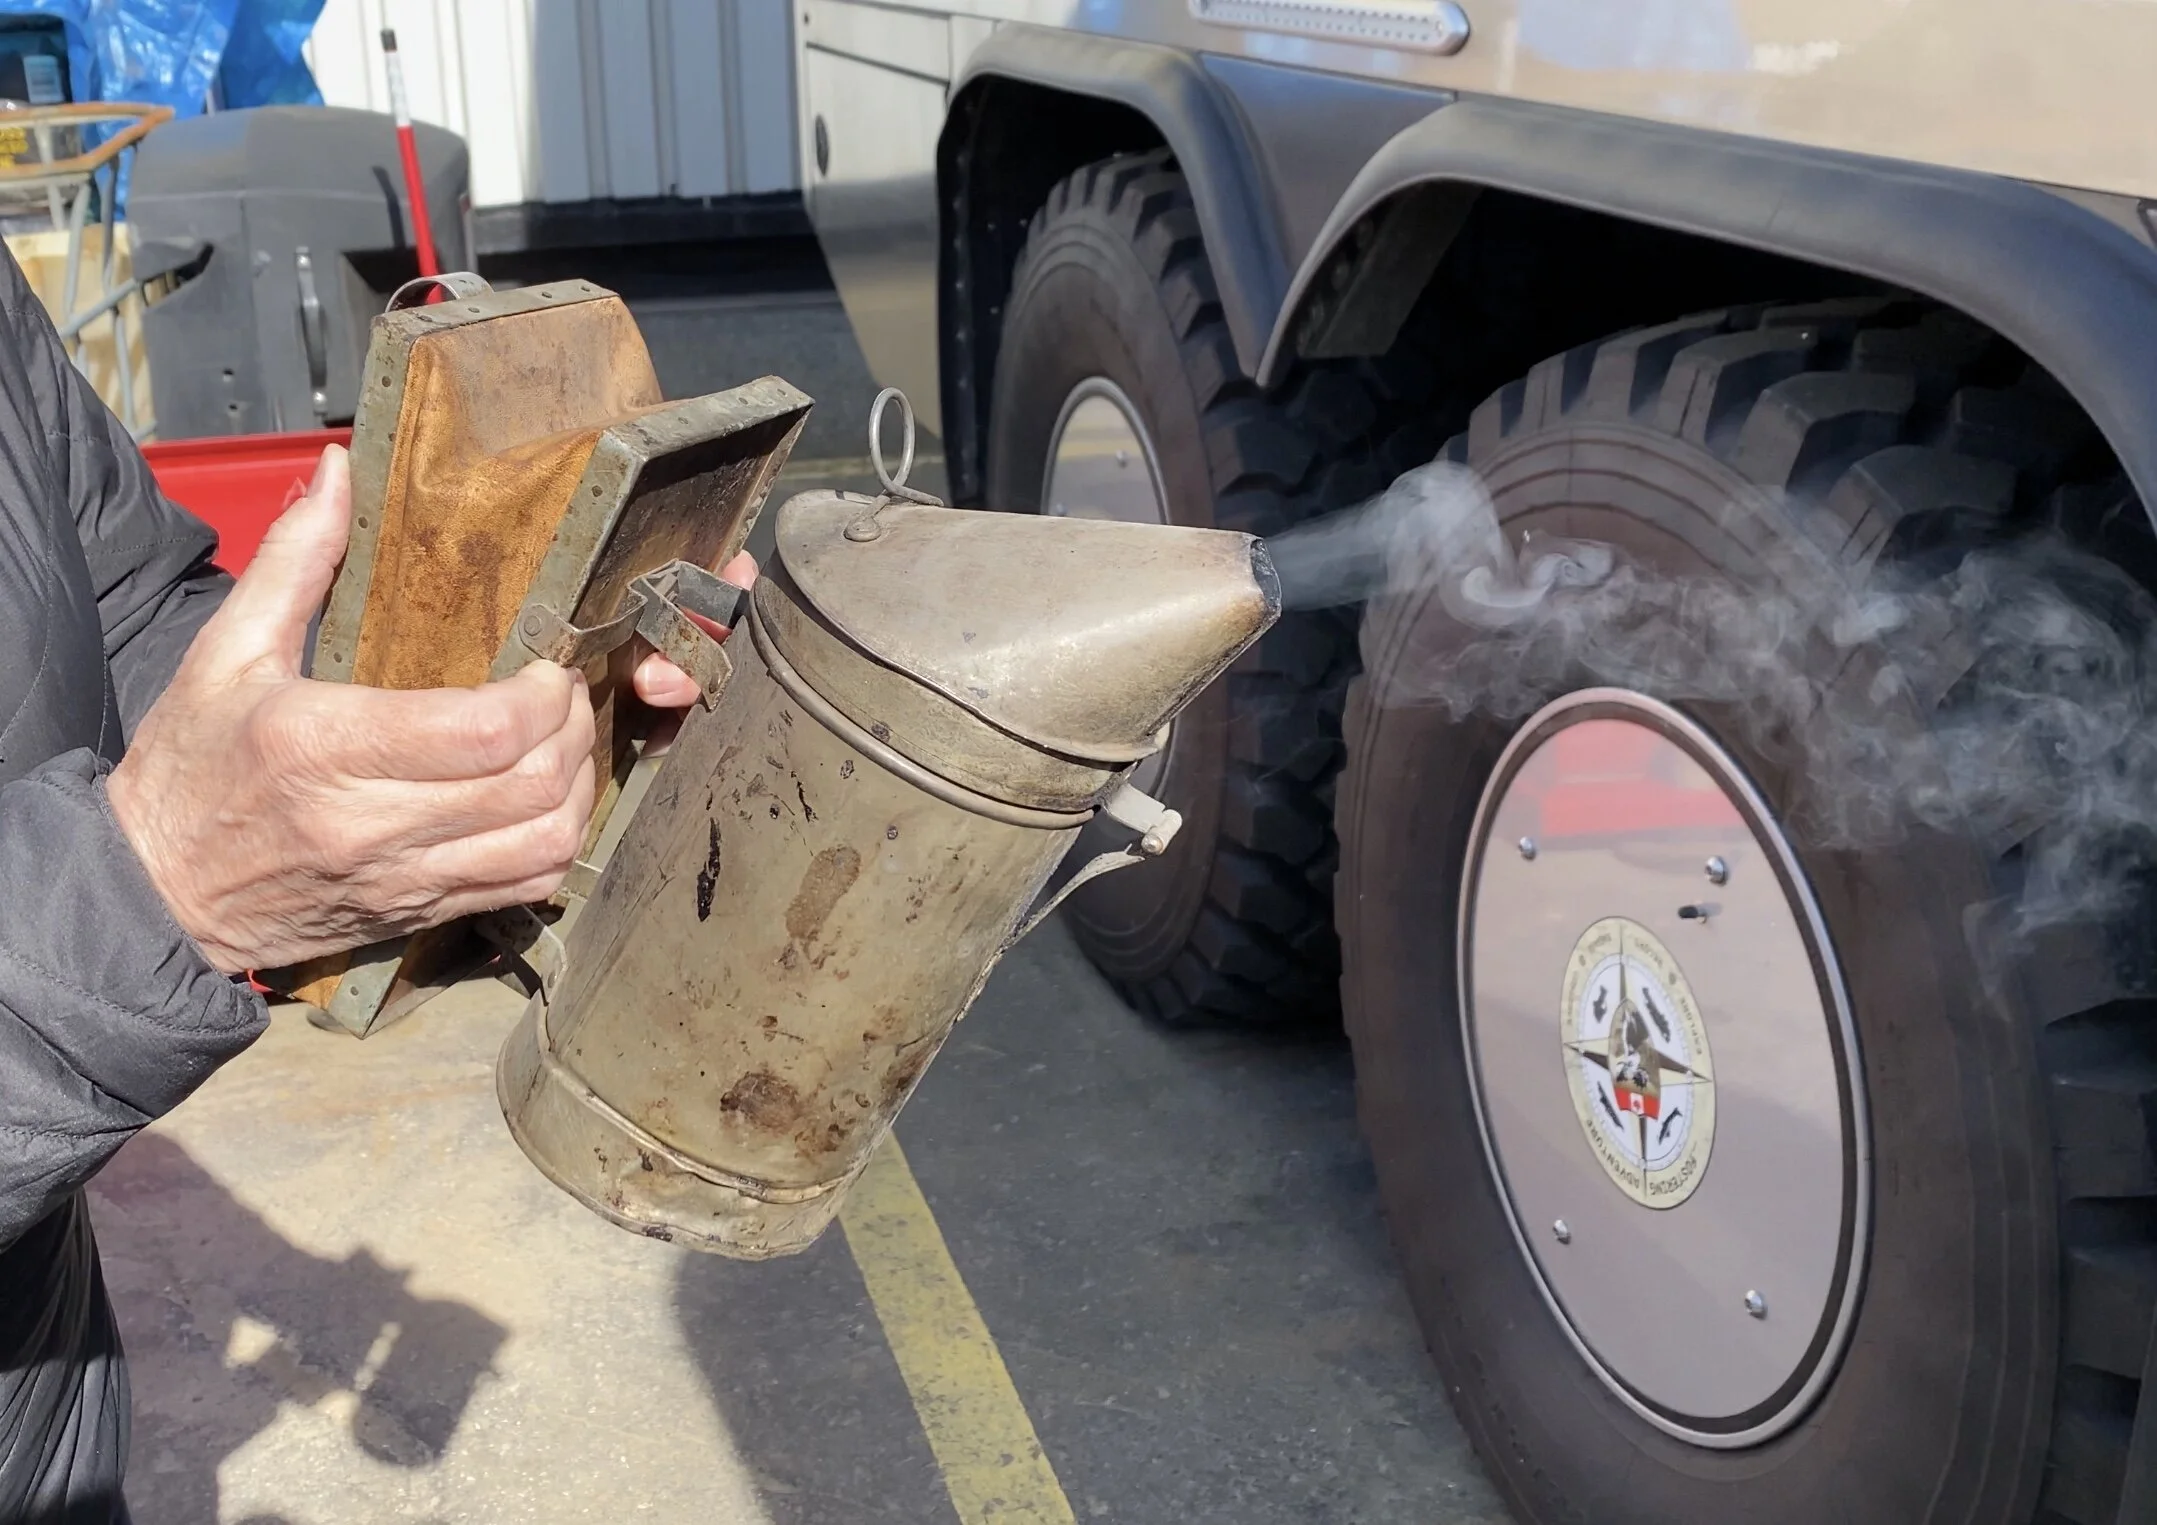
Although we selected the original Thetford Tecma toilet for the build out of necessity, we weren’t aware at the time just how much water it used for each flush. We had to use this kind of toilet because, unlike regular RV builds, our black tank couldn’t be placed below the toilet because of the rear wheels underneath. We chose the Tecma because it’s macerating function can pump the effluent to wherever the black tank has to be placed. It’s high water use wasn’t an issue for our supply, you understand. After all, we carry nearly 200 gallons of fresh water. The problem, however, is the speed at which the toilet fills the black tank.
Unlike our Class A motorhome that could last three weeks before it needed dumping, the same size tank in our truck barely lasts a week to ten days. This meant we always had to be looking for dump stations. Which can be an issue, particularly in northern Canada during the winter when everything outside is frozen. This dump station necessity also presents a problem if traveling overseas was ever to take place. Dump stations are a North American invention, and not ubiquitous around the world. That’s why cassette toilets are so often installed in world travel vehicles. They can be dumped just about anywhere there is an appliance connected to a sewer… a regular toilet, outhouse or other similar situation. The problem is how often it has to be done, every two or three days. This is why we didn’t want a cassette toilet in our rig.
Since we needed a way to untether the truck from dump stations, and didn’t want a cassette toilet, the remaining option is a composting toilet. Vehicle installed composting toilets were in their infancy when we were designing our truck, and there weren’t a lot of options at that point. Fortunately, things in that regard have changed.
choOsing a composting toilet


We’ve been looking at composting toilets for some time. For vehicle use, the most popular ones in North America seem to be either the Nature’s Head toilet or the Air Head toilet.
The two toilets are virtually the same, with the Air Head having a slight advantage when it comes to emptying the toilet. But both toilets have to be disassembled, and the bottom half removed in order to empty it. Something that’s particularly awkward in the tight confines of an overland vehicle bathroom.
The other characteristic that the two toilets have in common is their manner of manufacture. They’re both made from a type of plastic that’s not particularly attractive. In fact, both units are in our opinion, very industrial looking and their complex construction makes cleaning them a real chore.
Compoost toilet, A Much Better alternative
In our search for a better option to the above mentioned products, a video from Swiss/German overlanders Christian and Sybil Hütwohl (Benny-Goes-Overland.com) introduced us to a toilet made in the United Kingdom. After corresponding with Christian, and learning the toilet manufacturer was no more, we started searching for other alternatives in the U.K. and Europe. This yielded a new-ish company, Compoost Toilets, located in the U.K. town of Rugby. (compoosttoilets.com)
Their product is, in our opinion, superior to the American products in a number of ways.
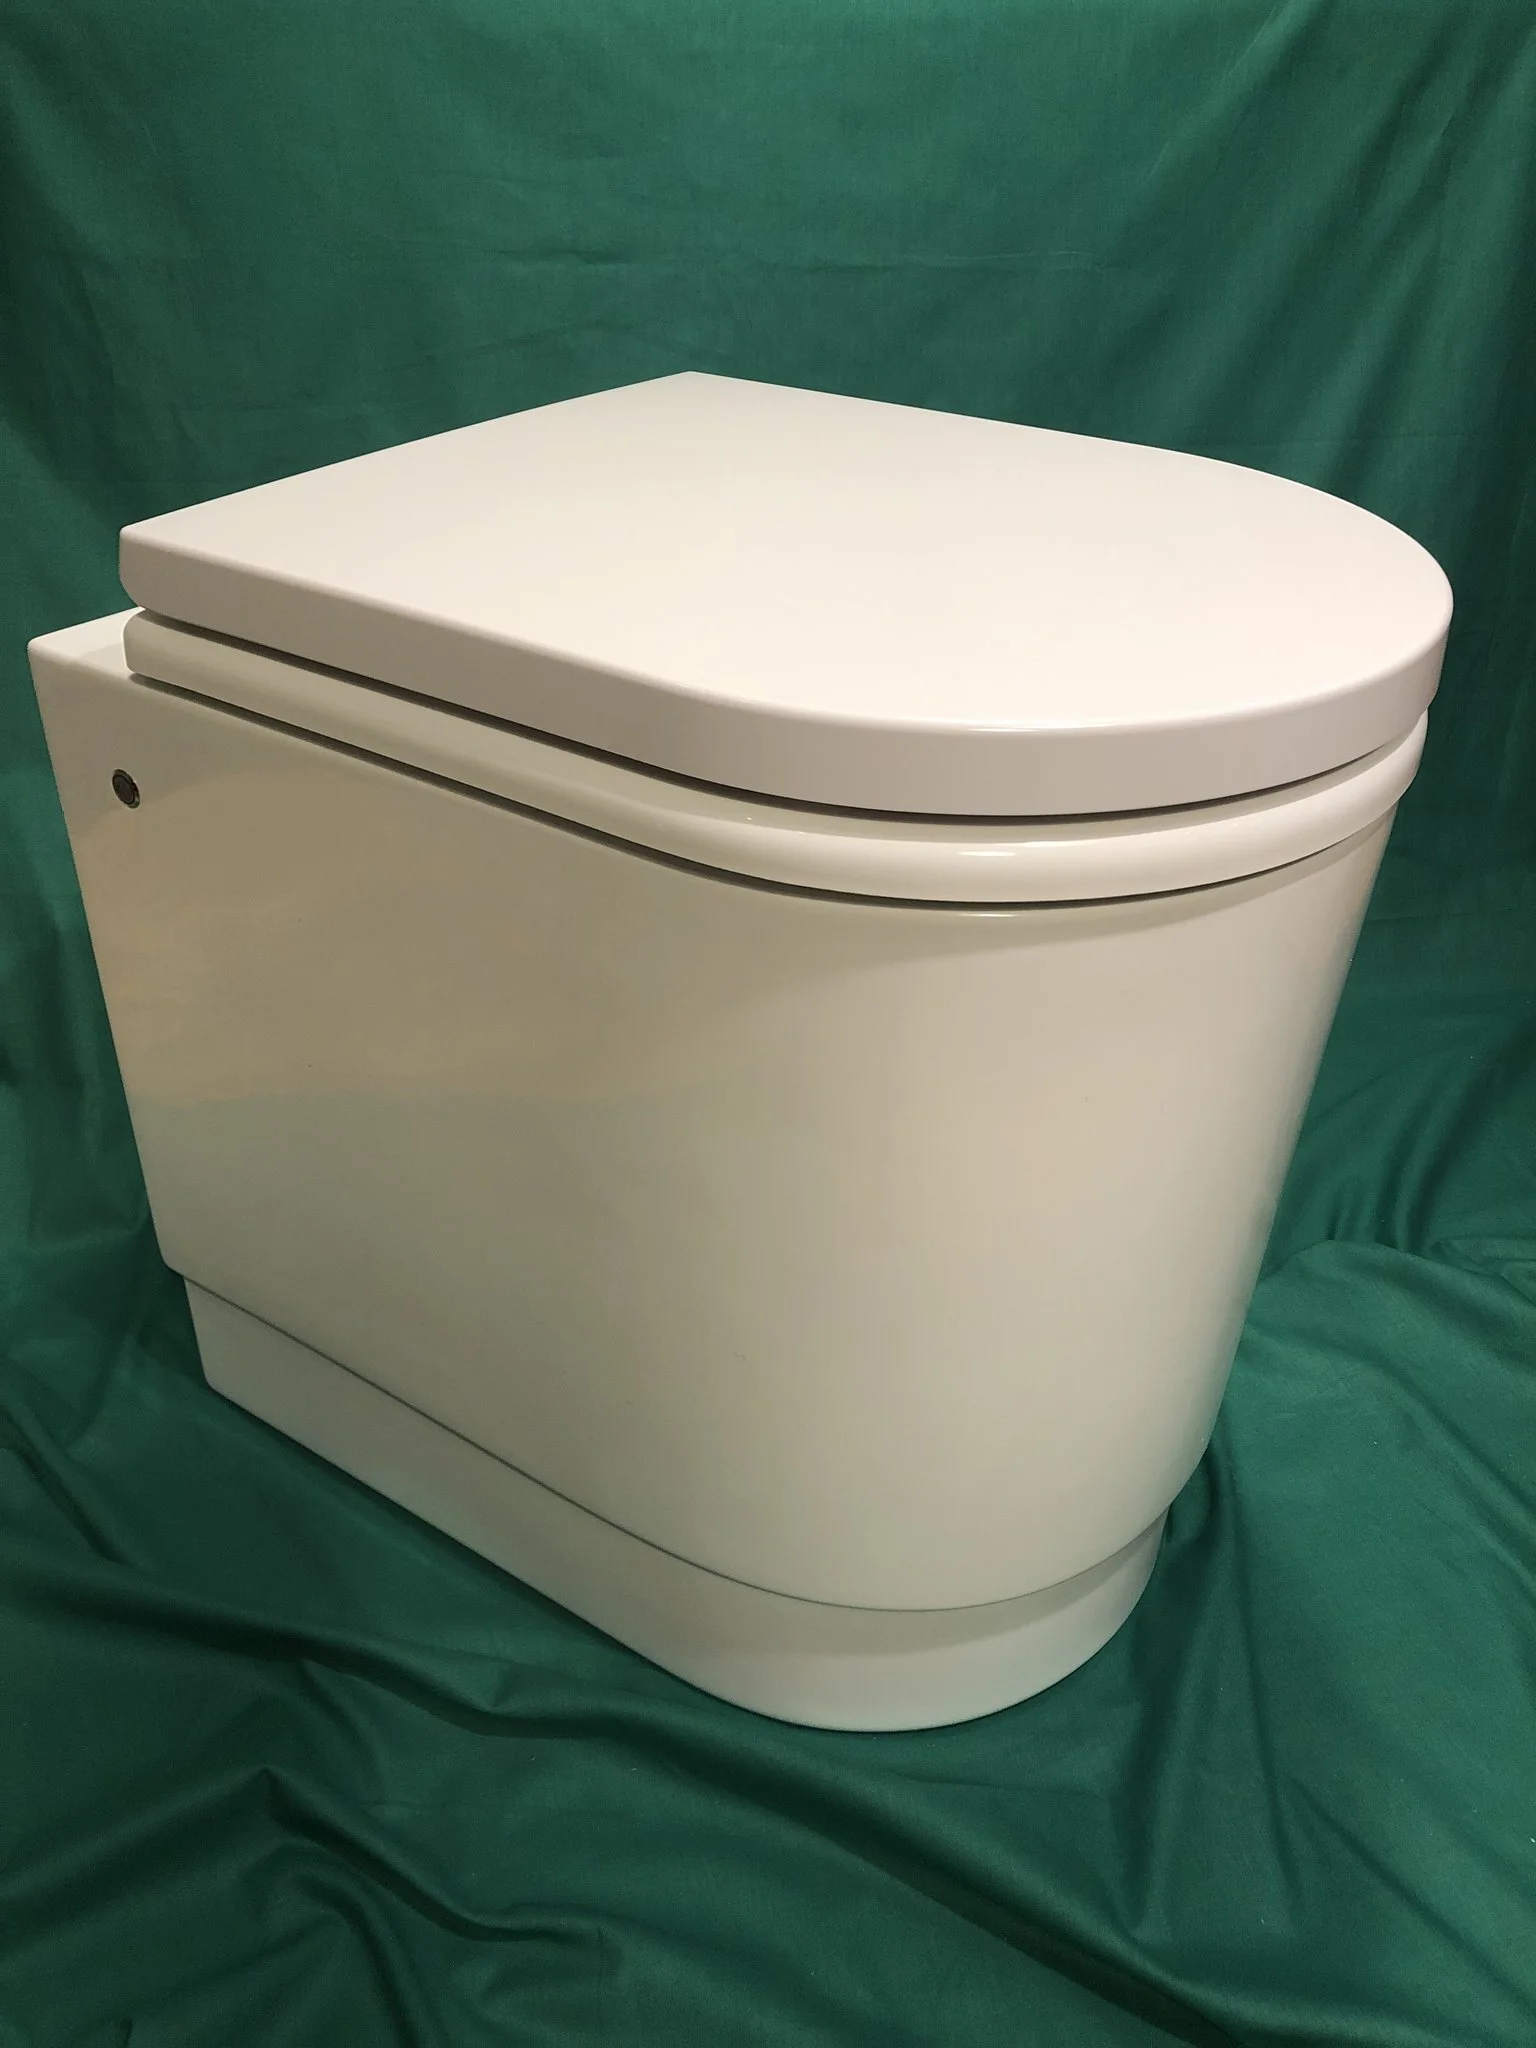
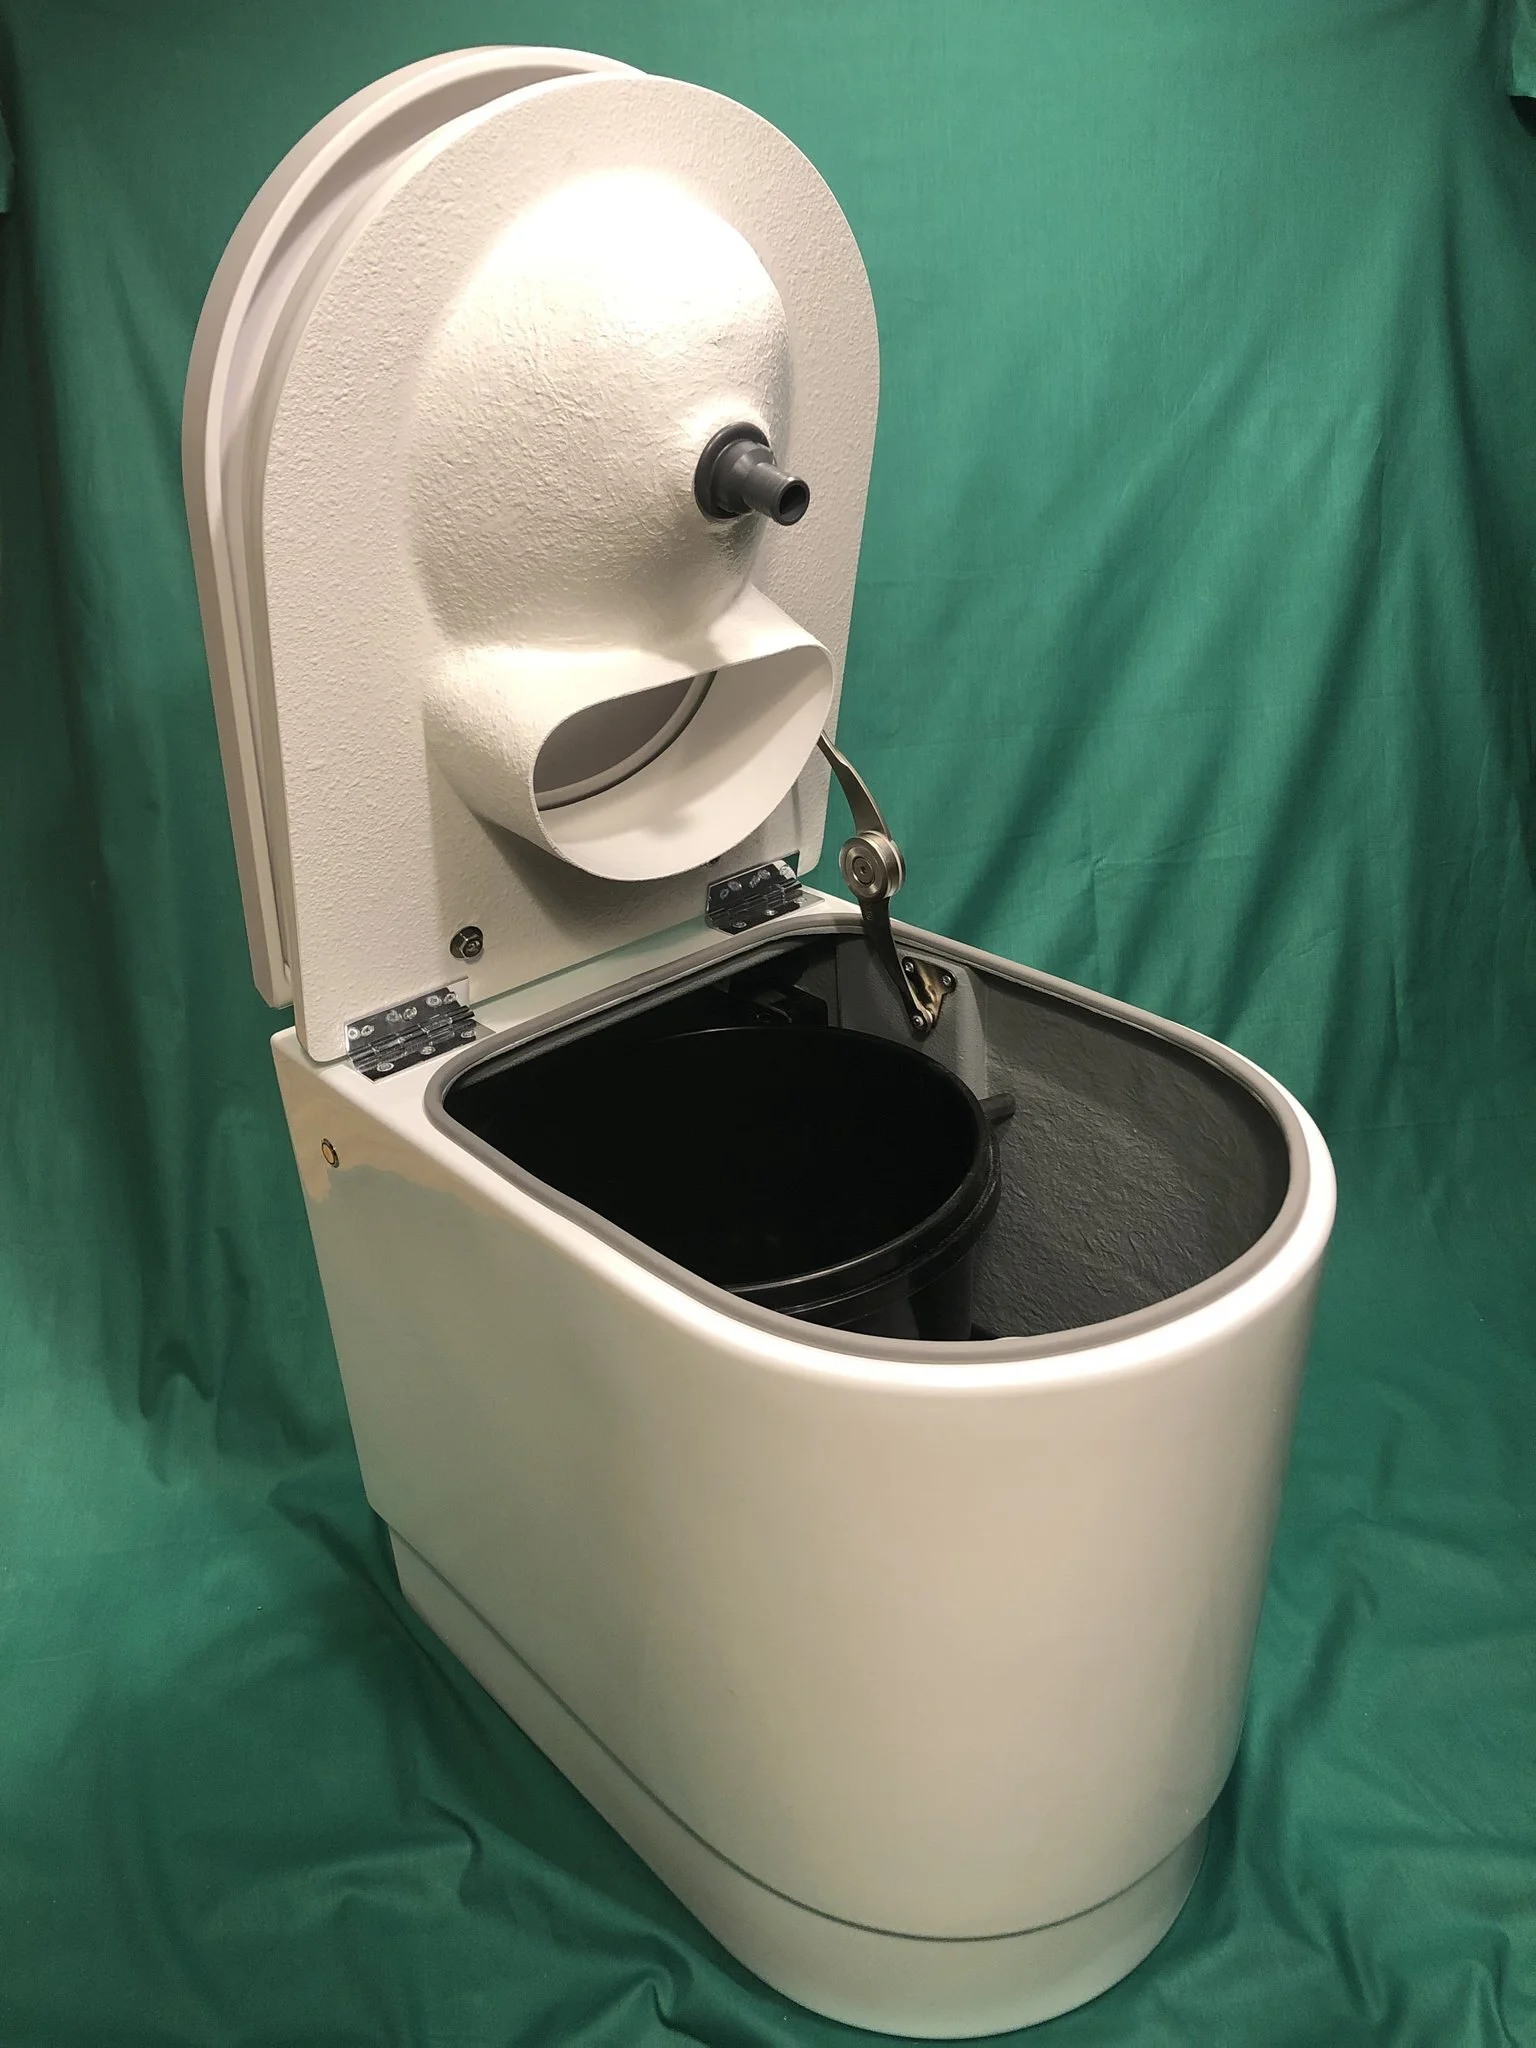
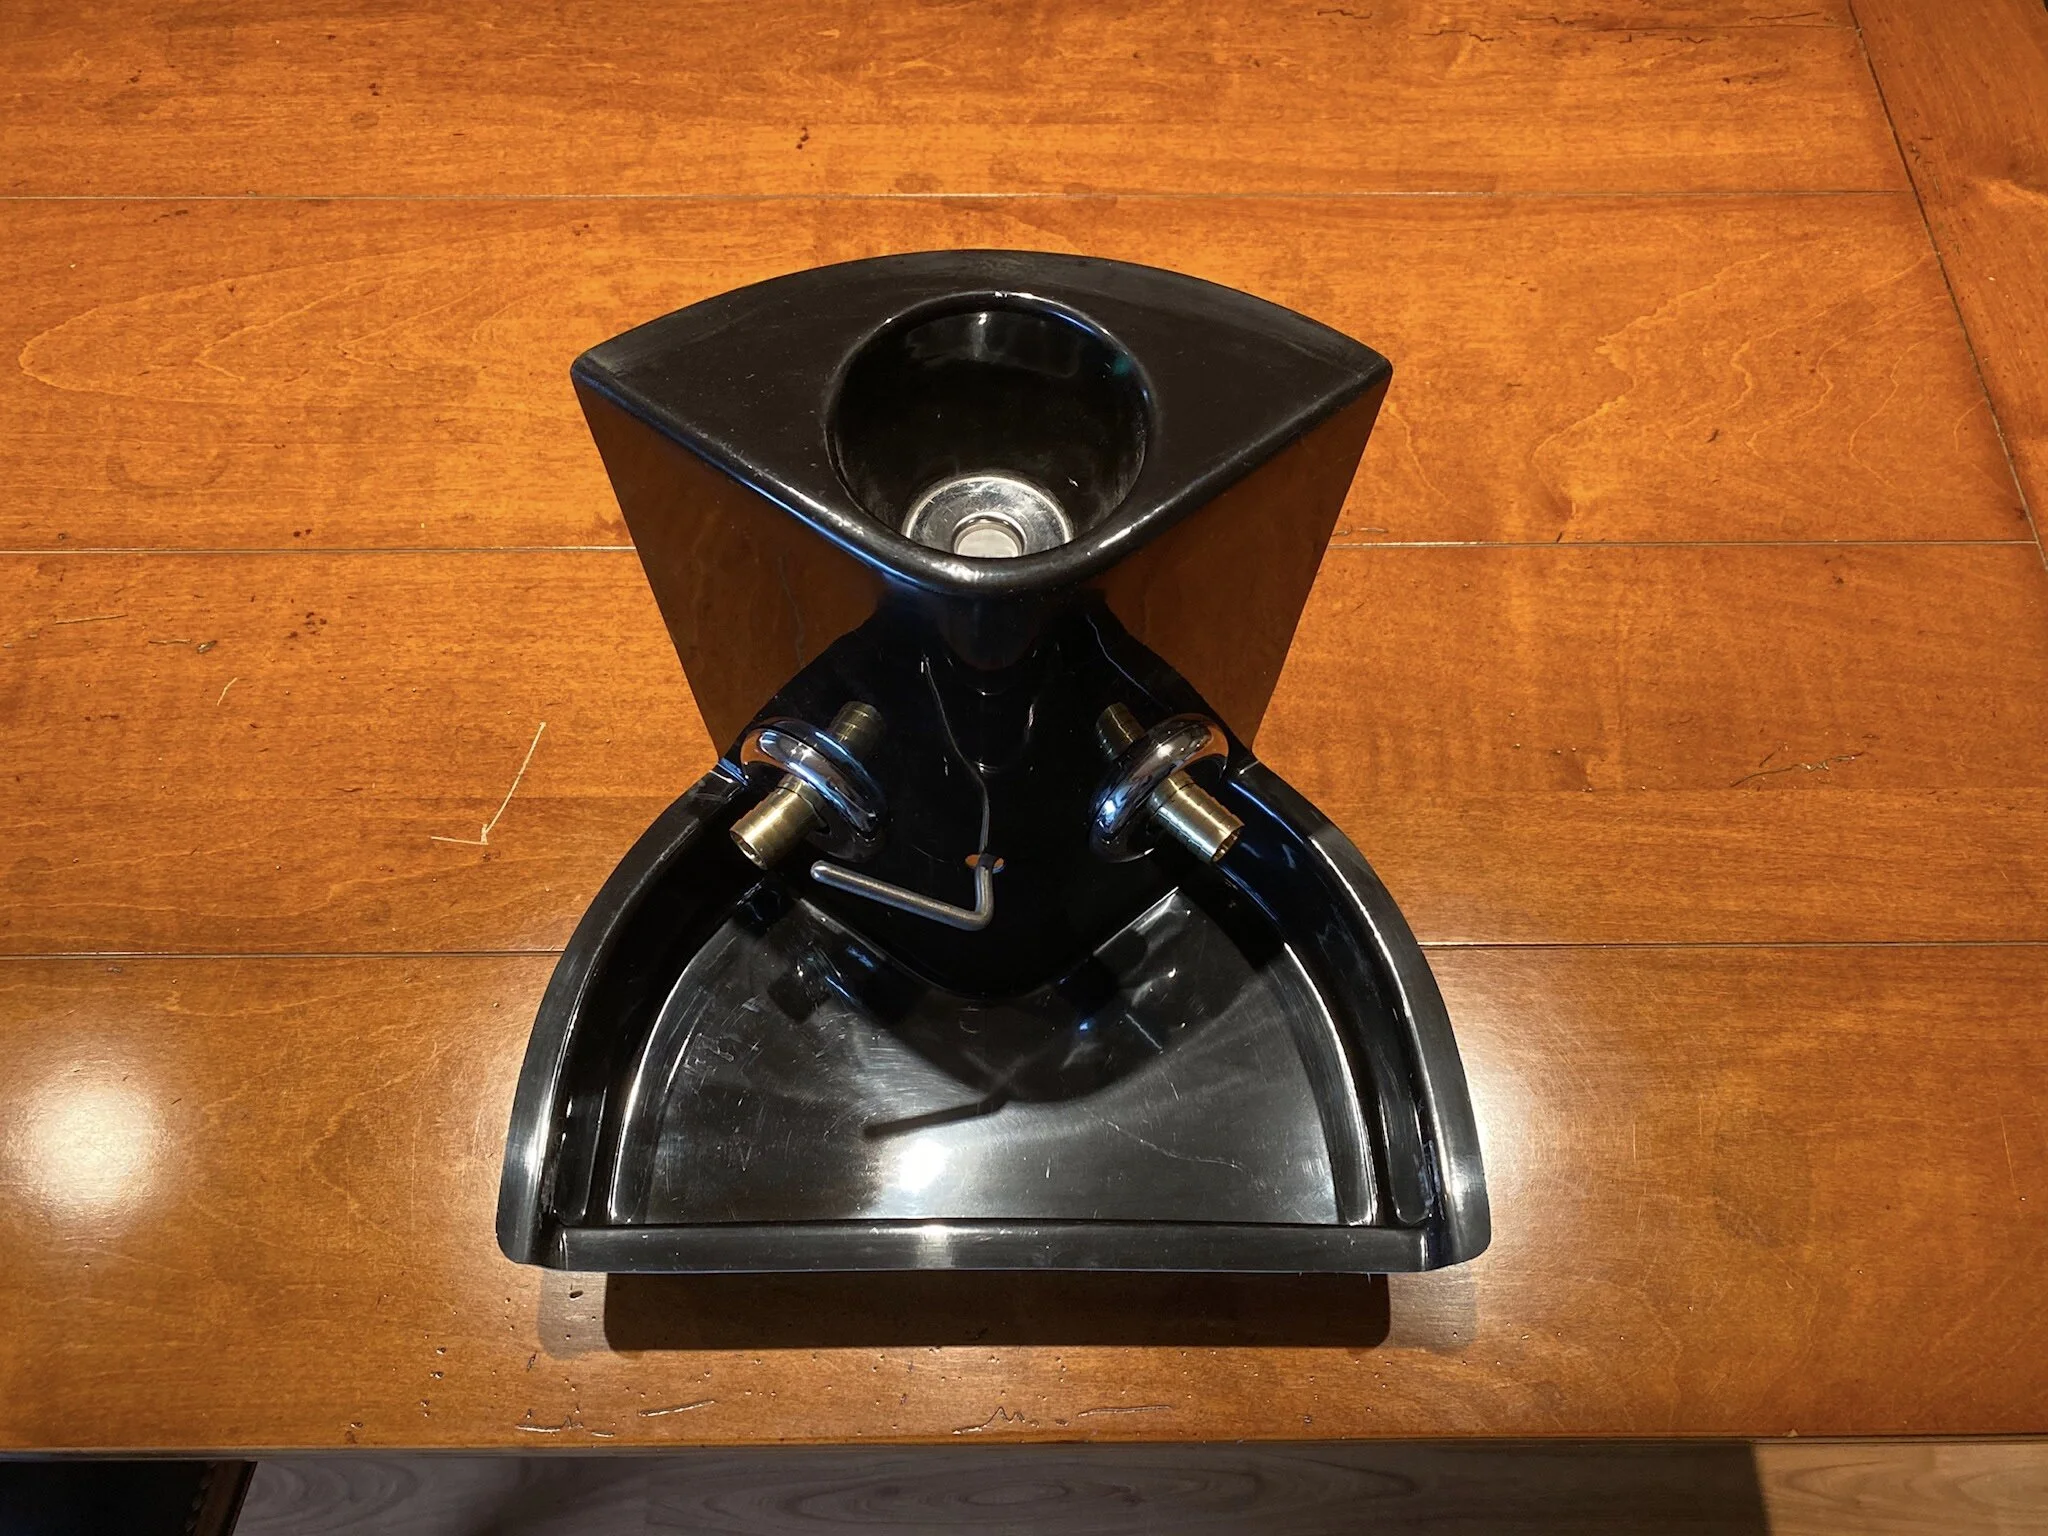
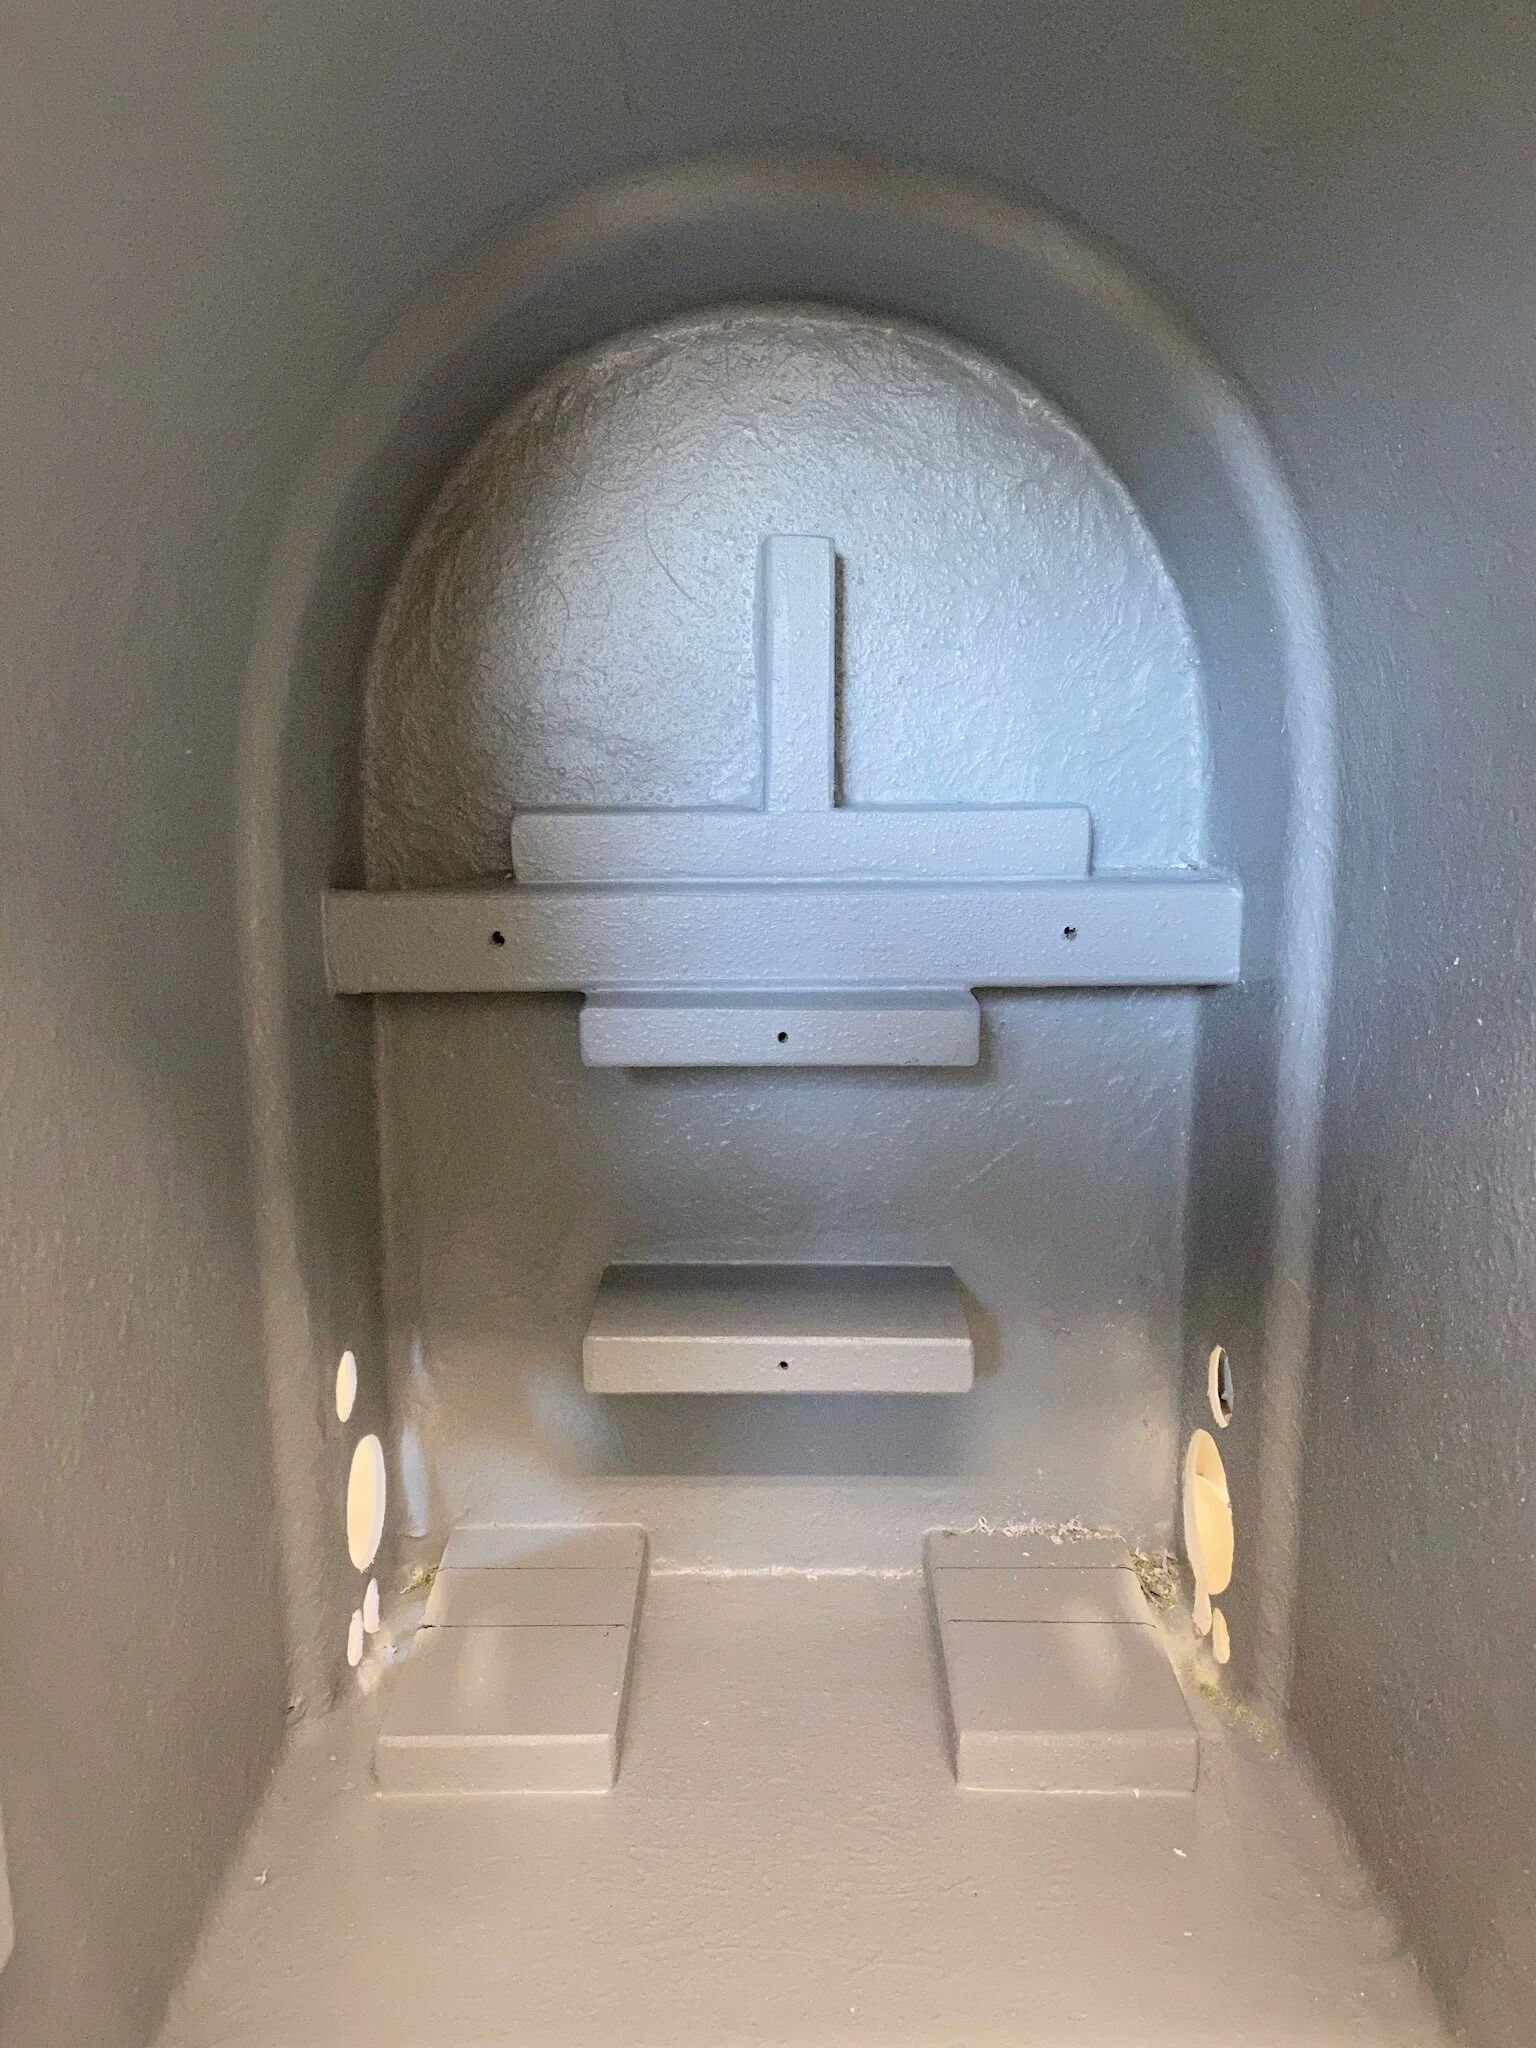
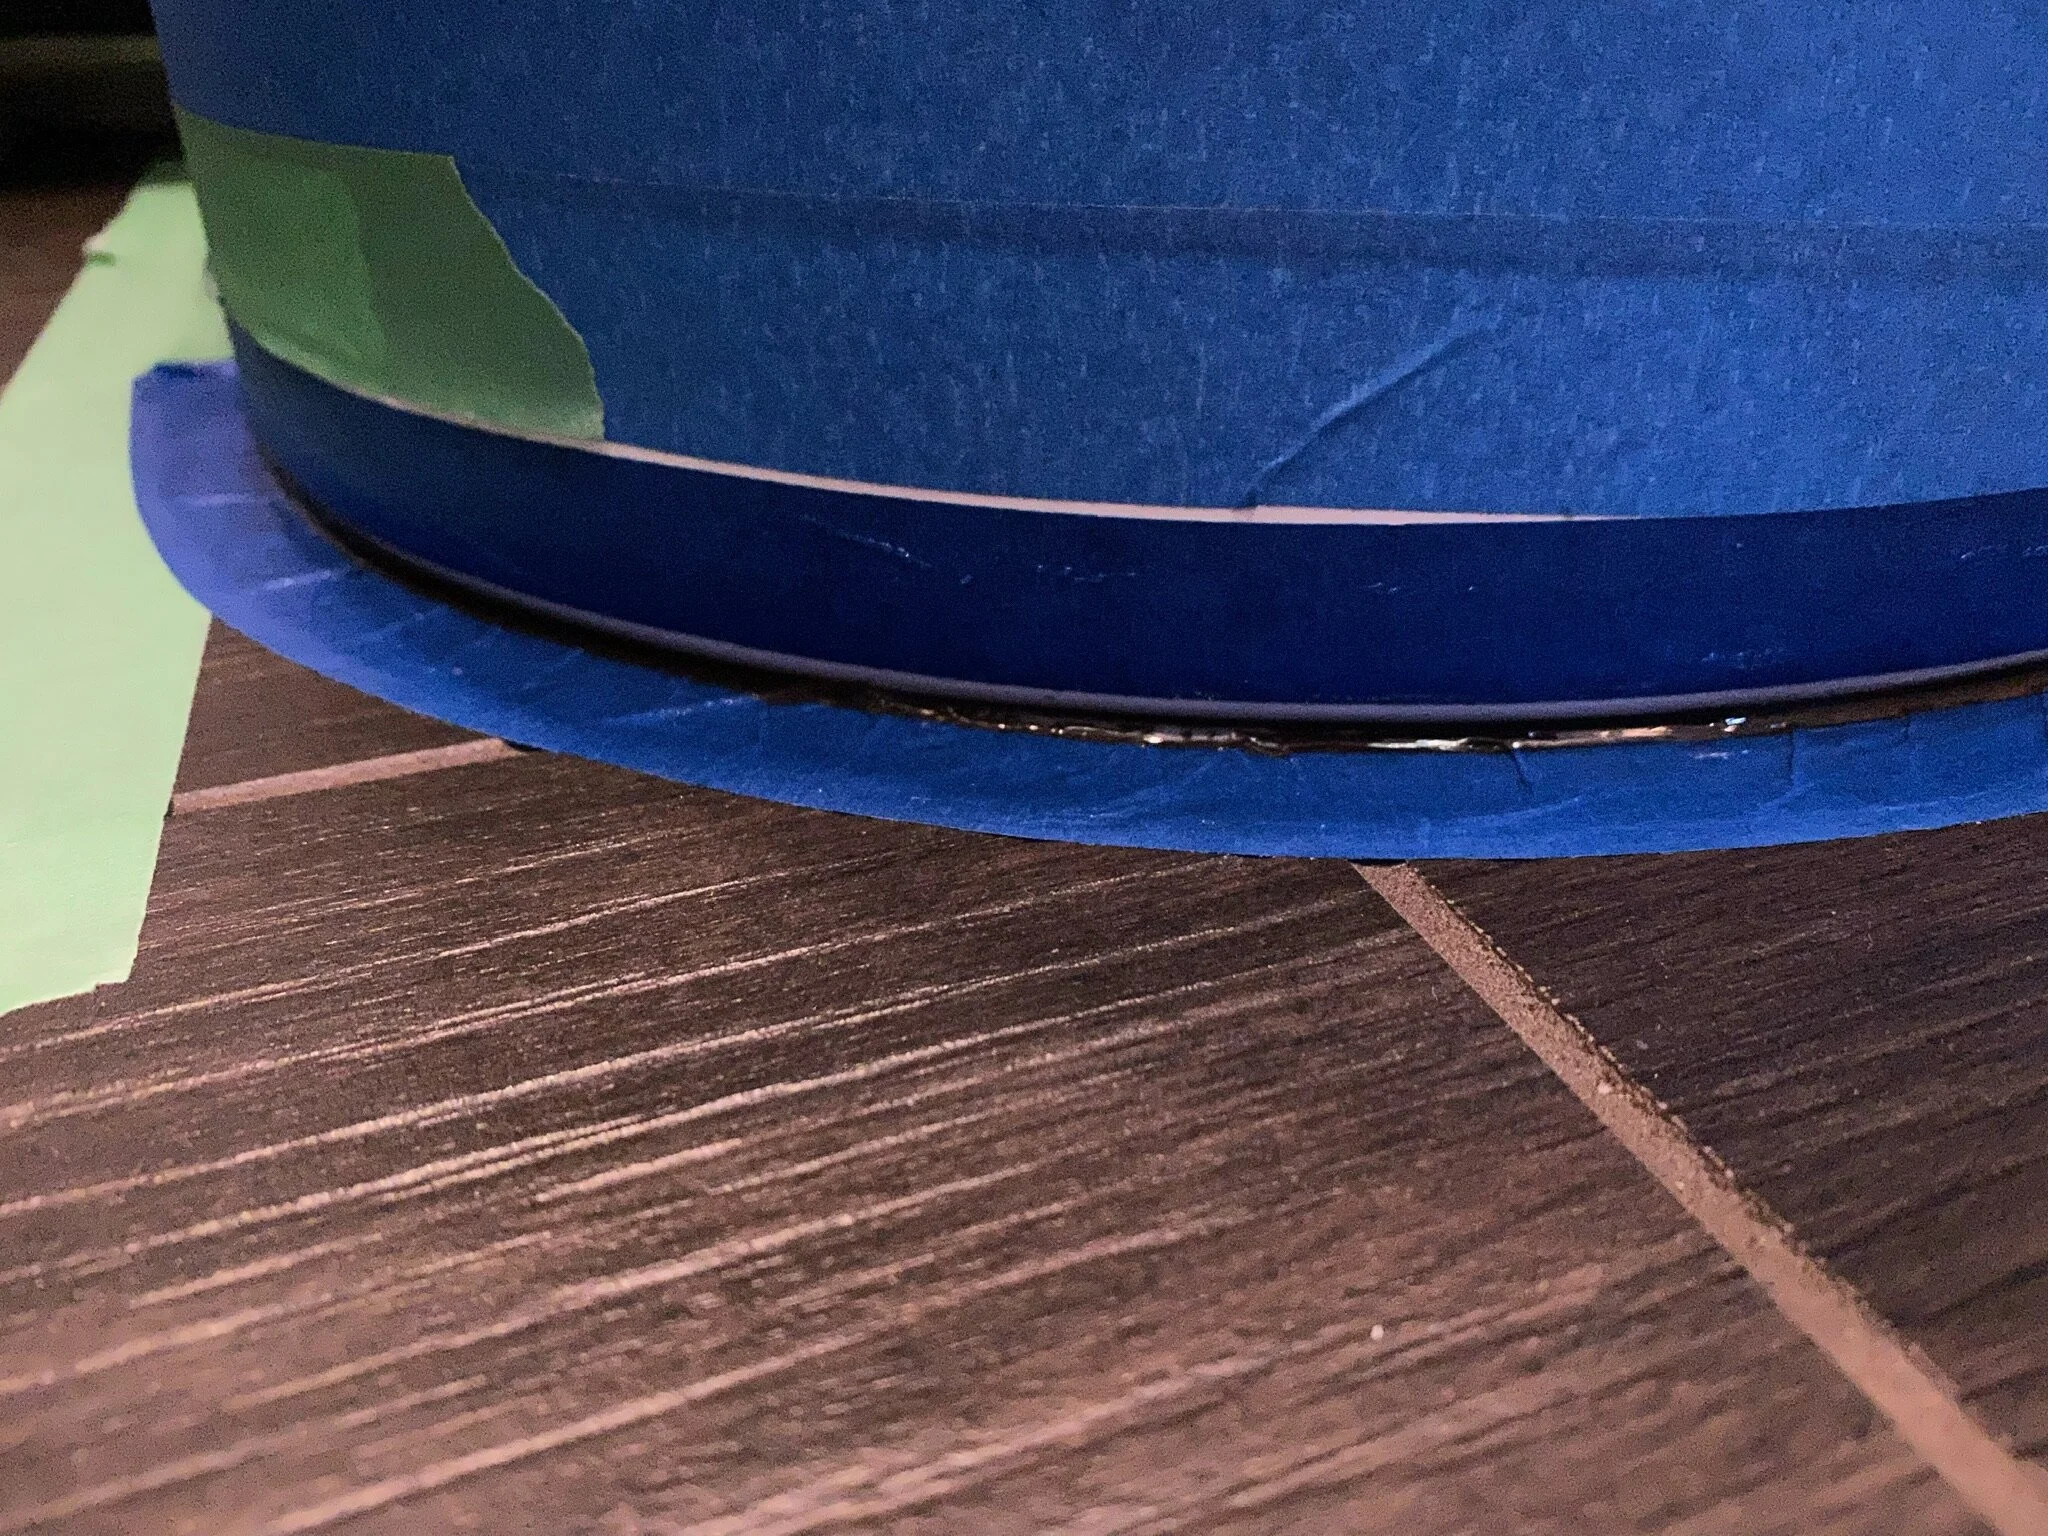
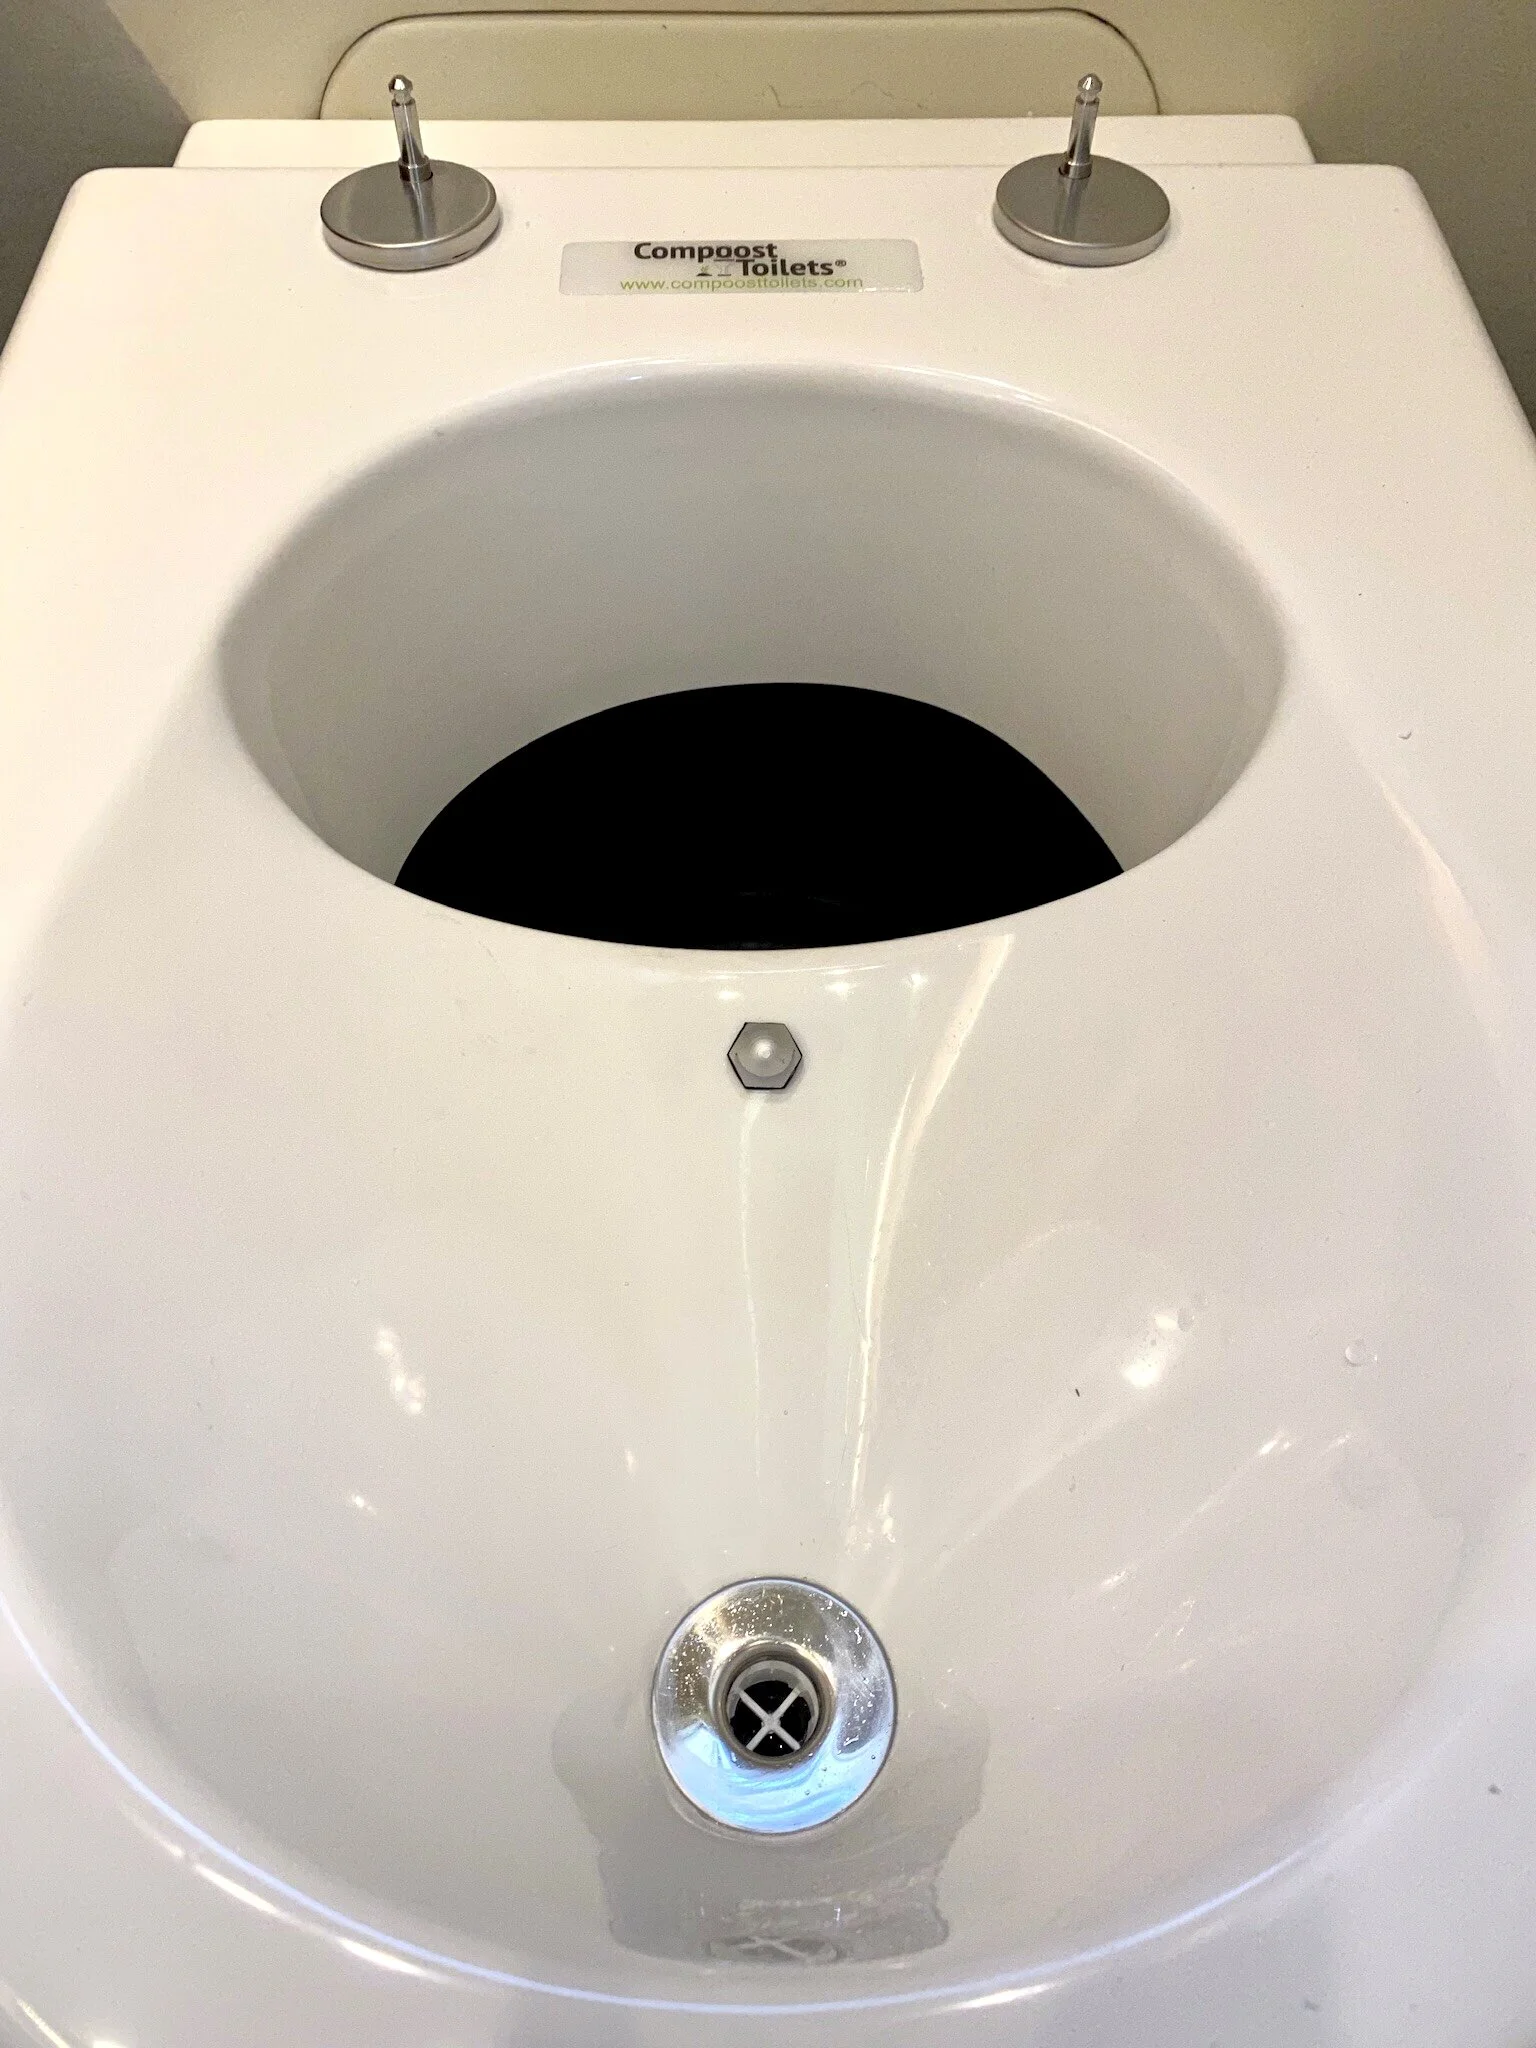
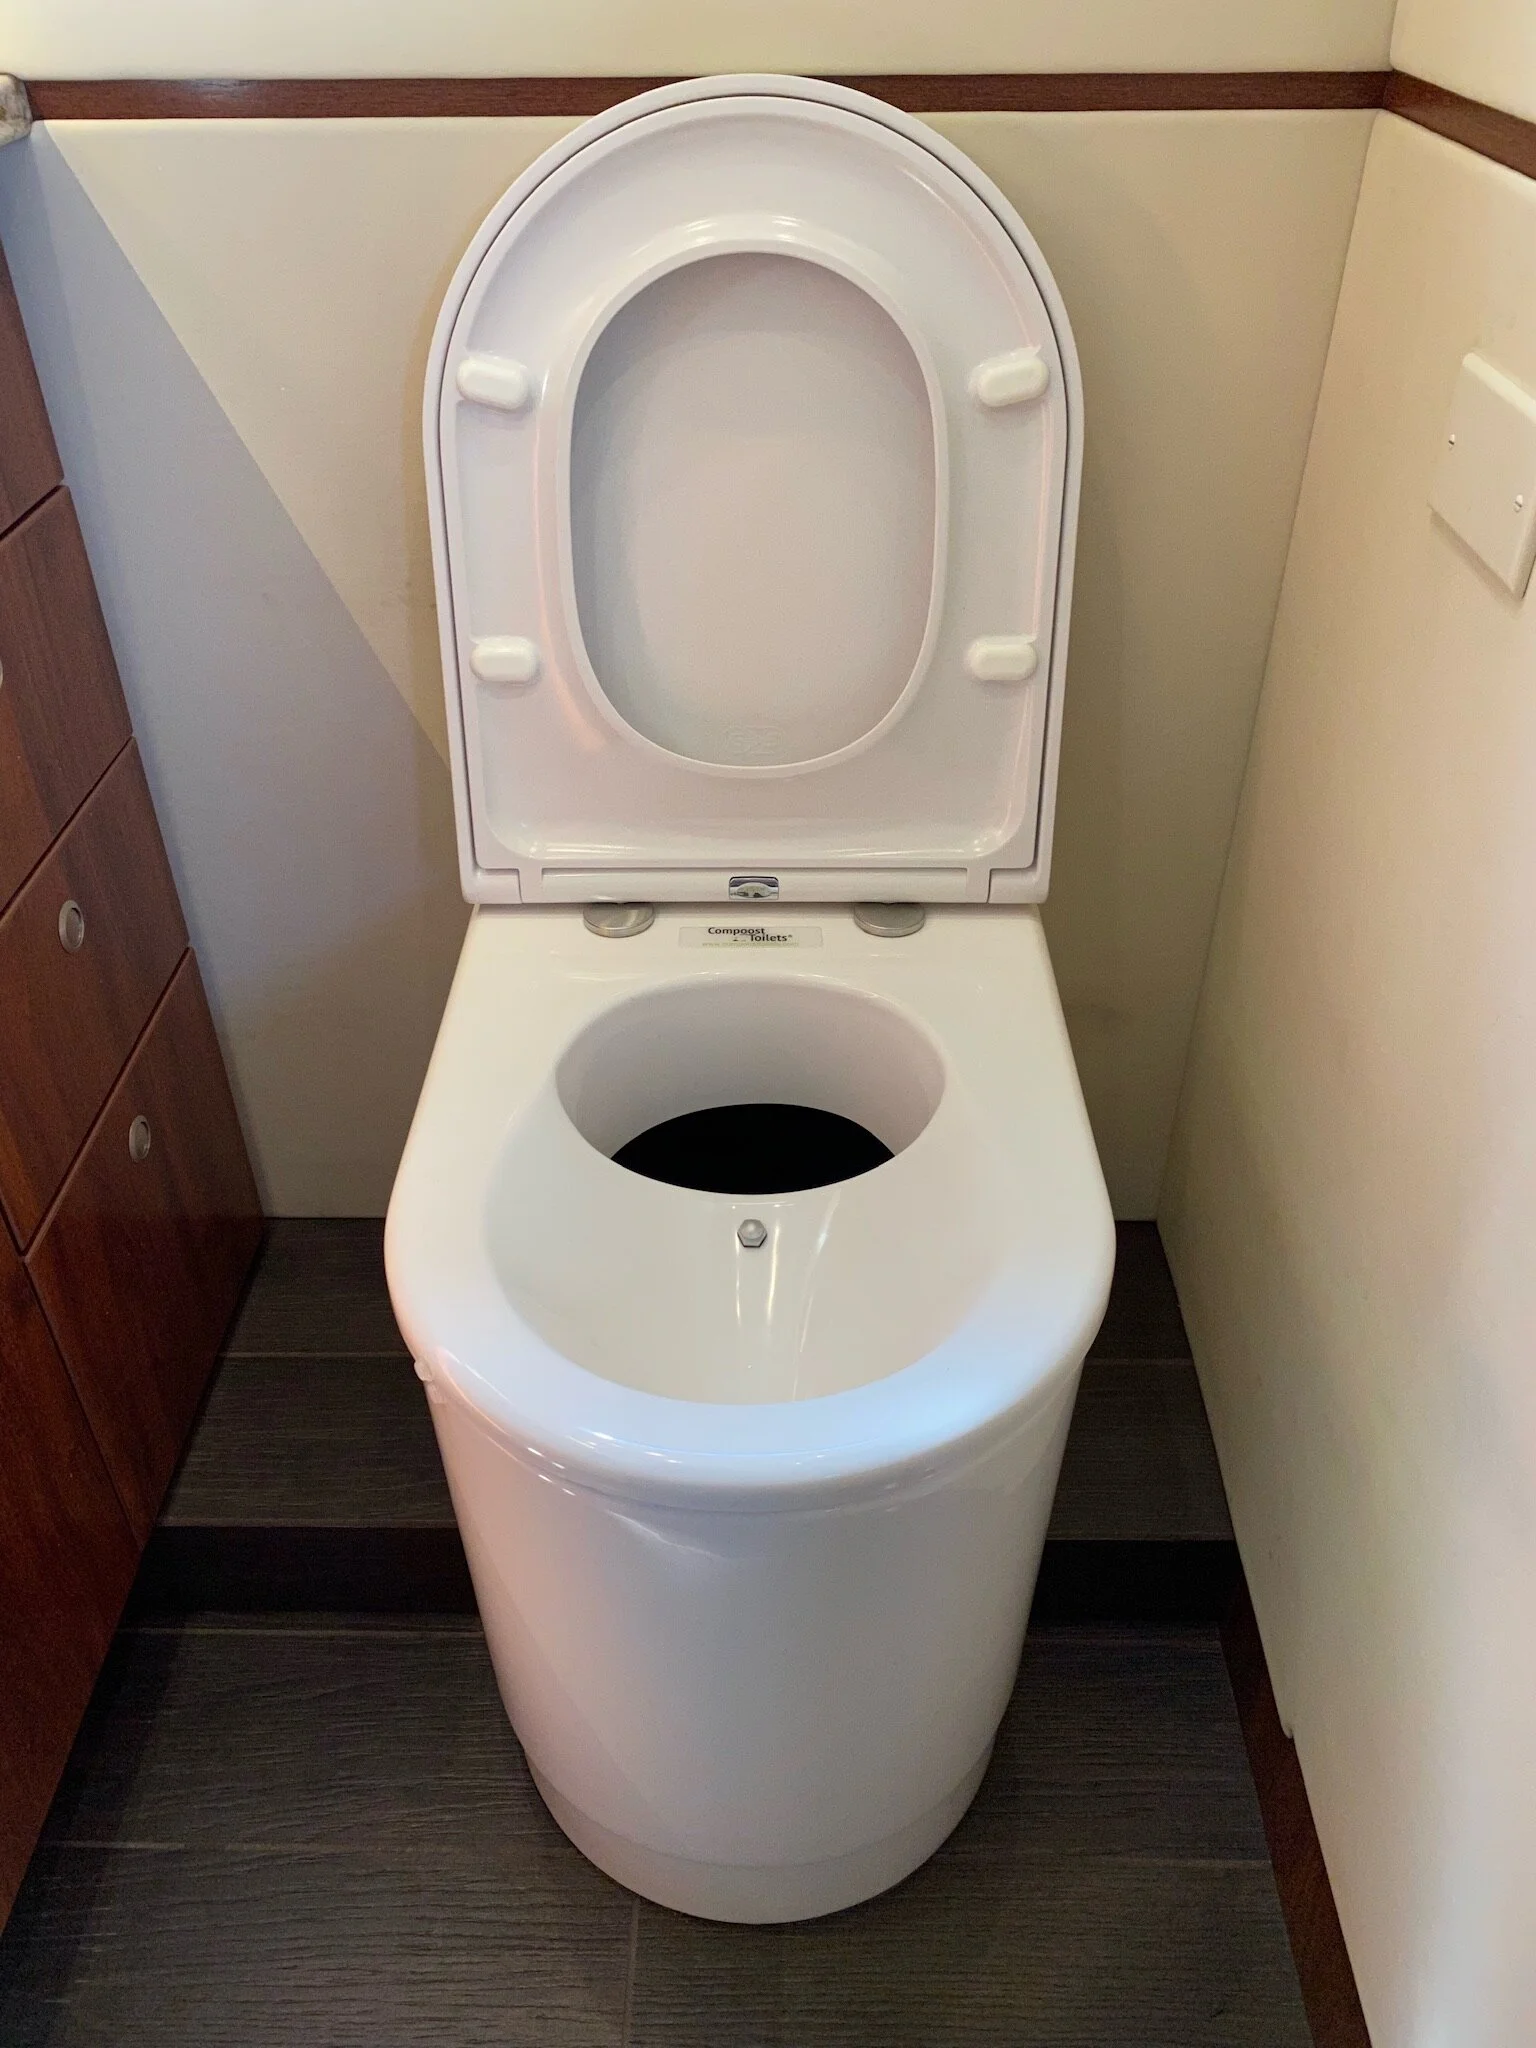
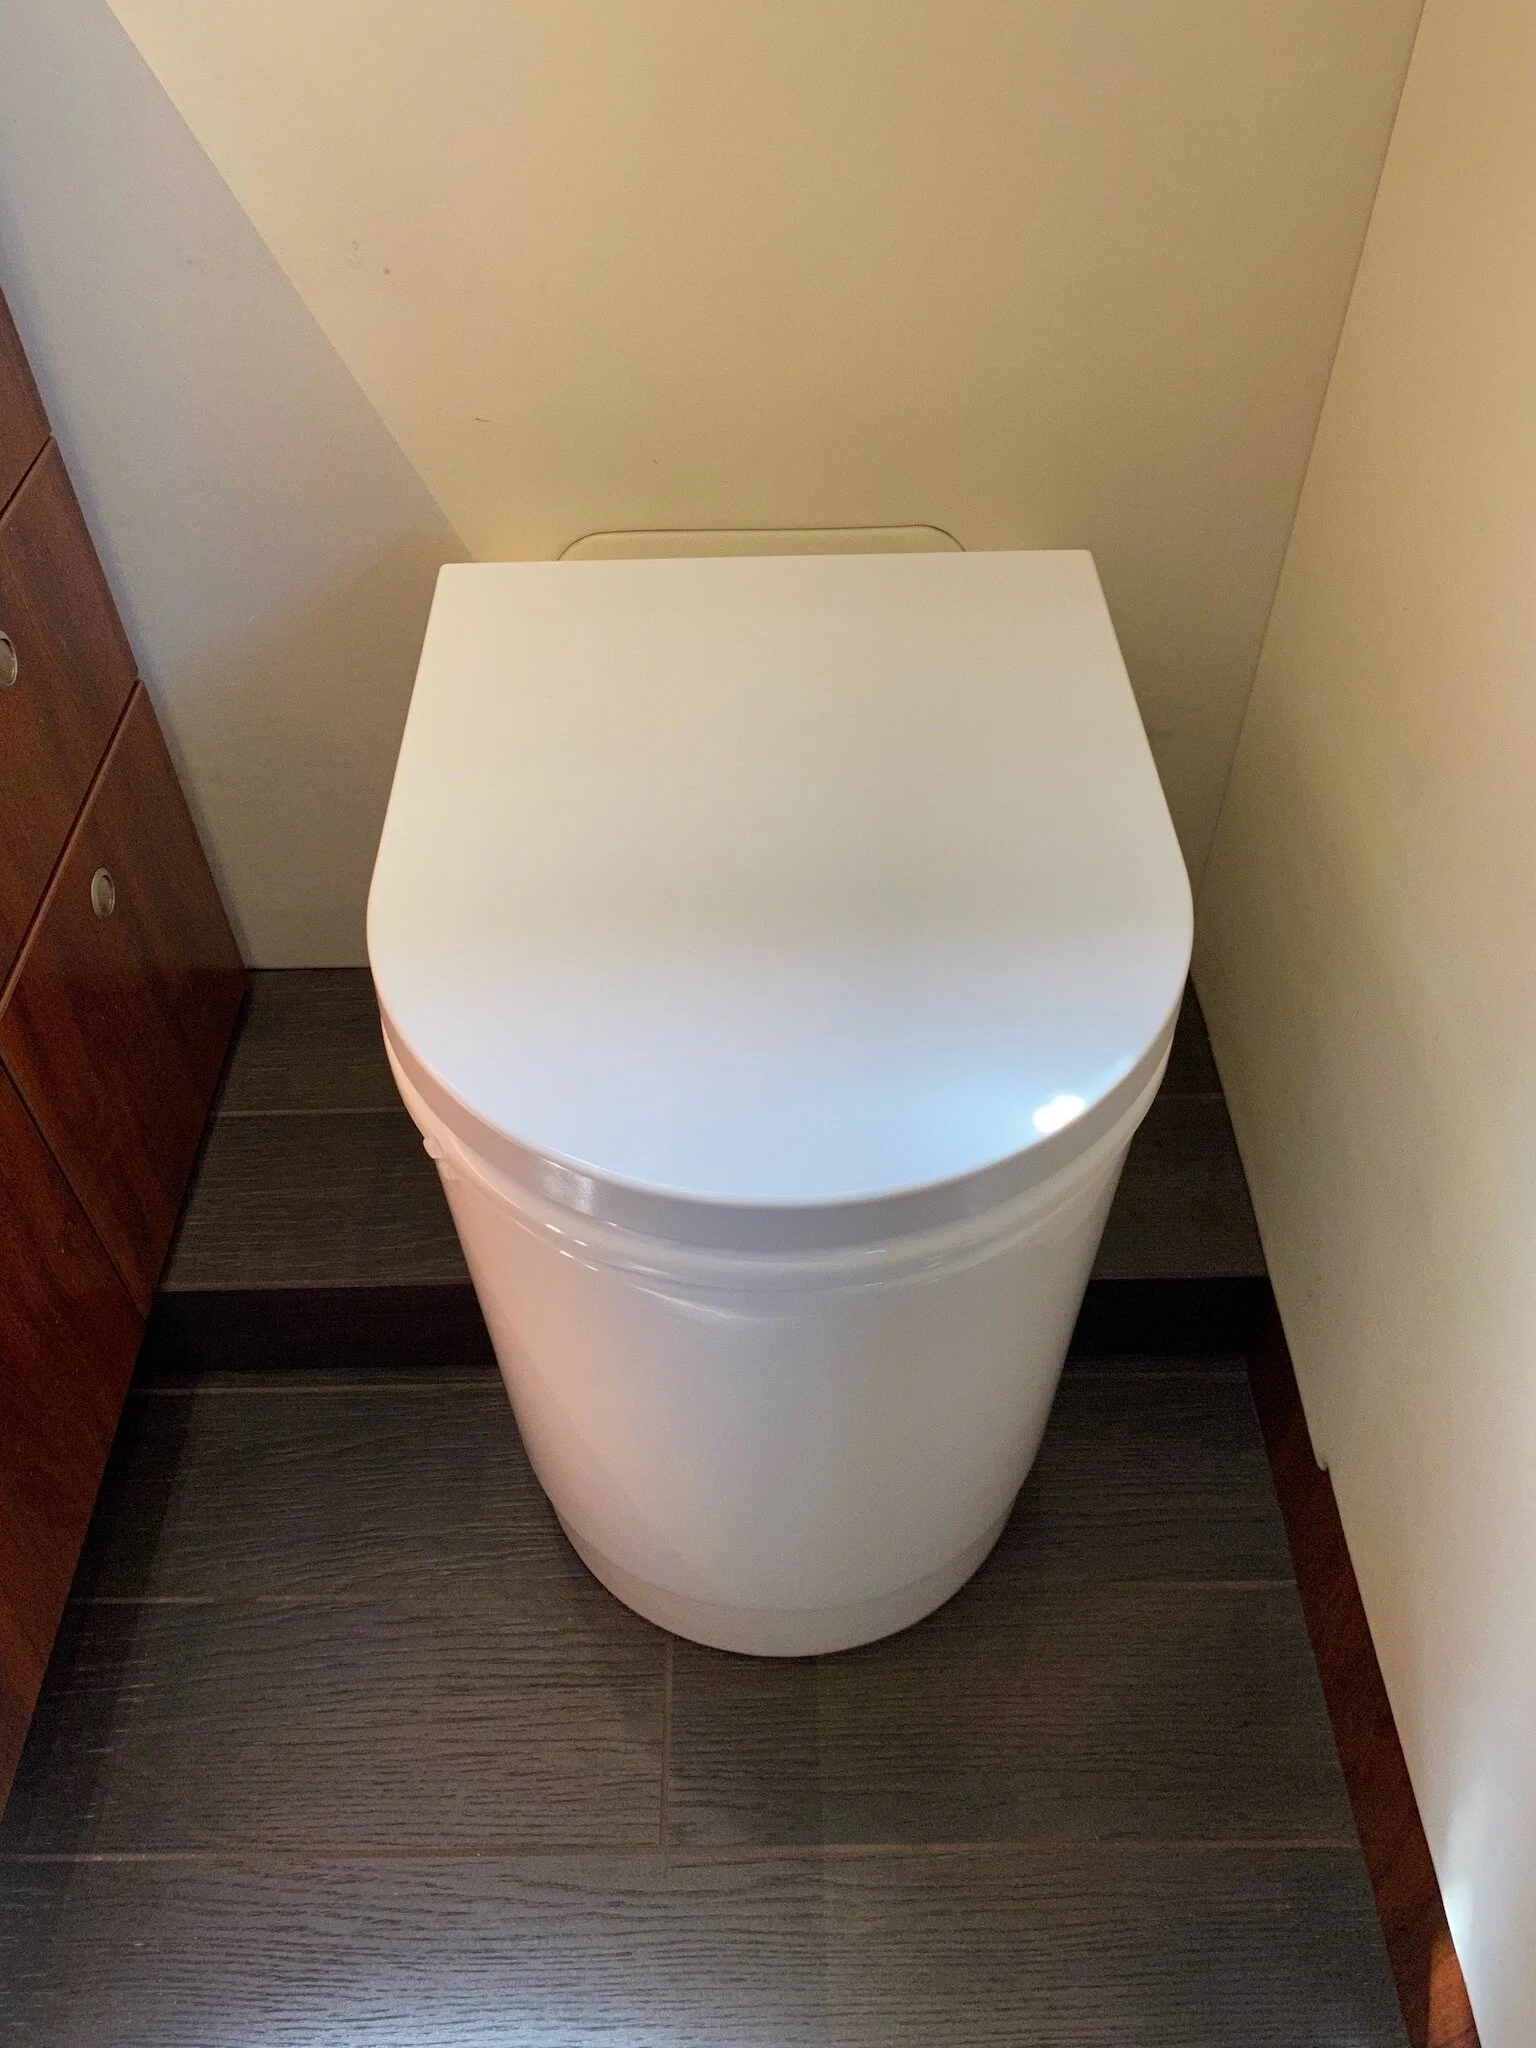
First off, it’s infinitely better looking. The body is a fiberglass one-piece unit with a finely finished high gloss exterior very similar to porcelain. It also has a proper, removable Euro-style toilet seat and cover.
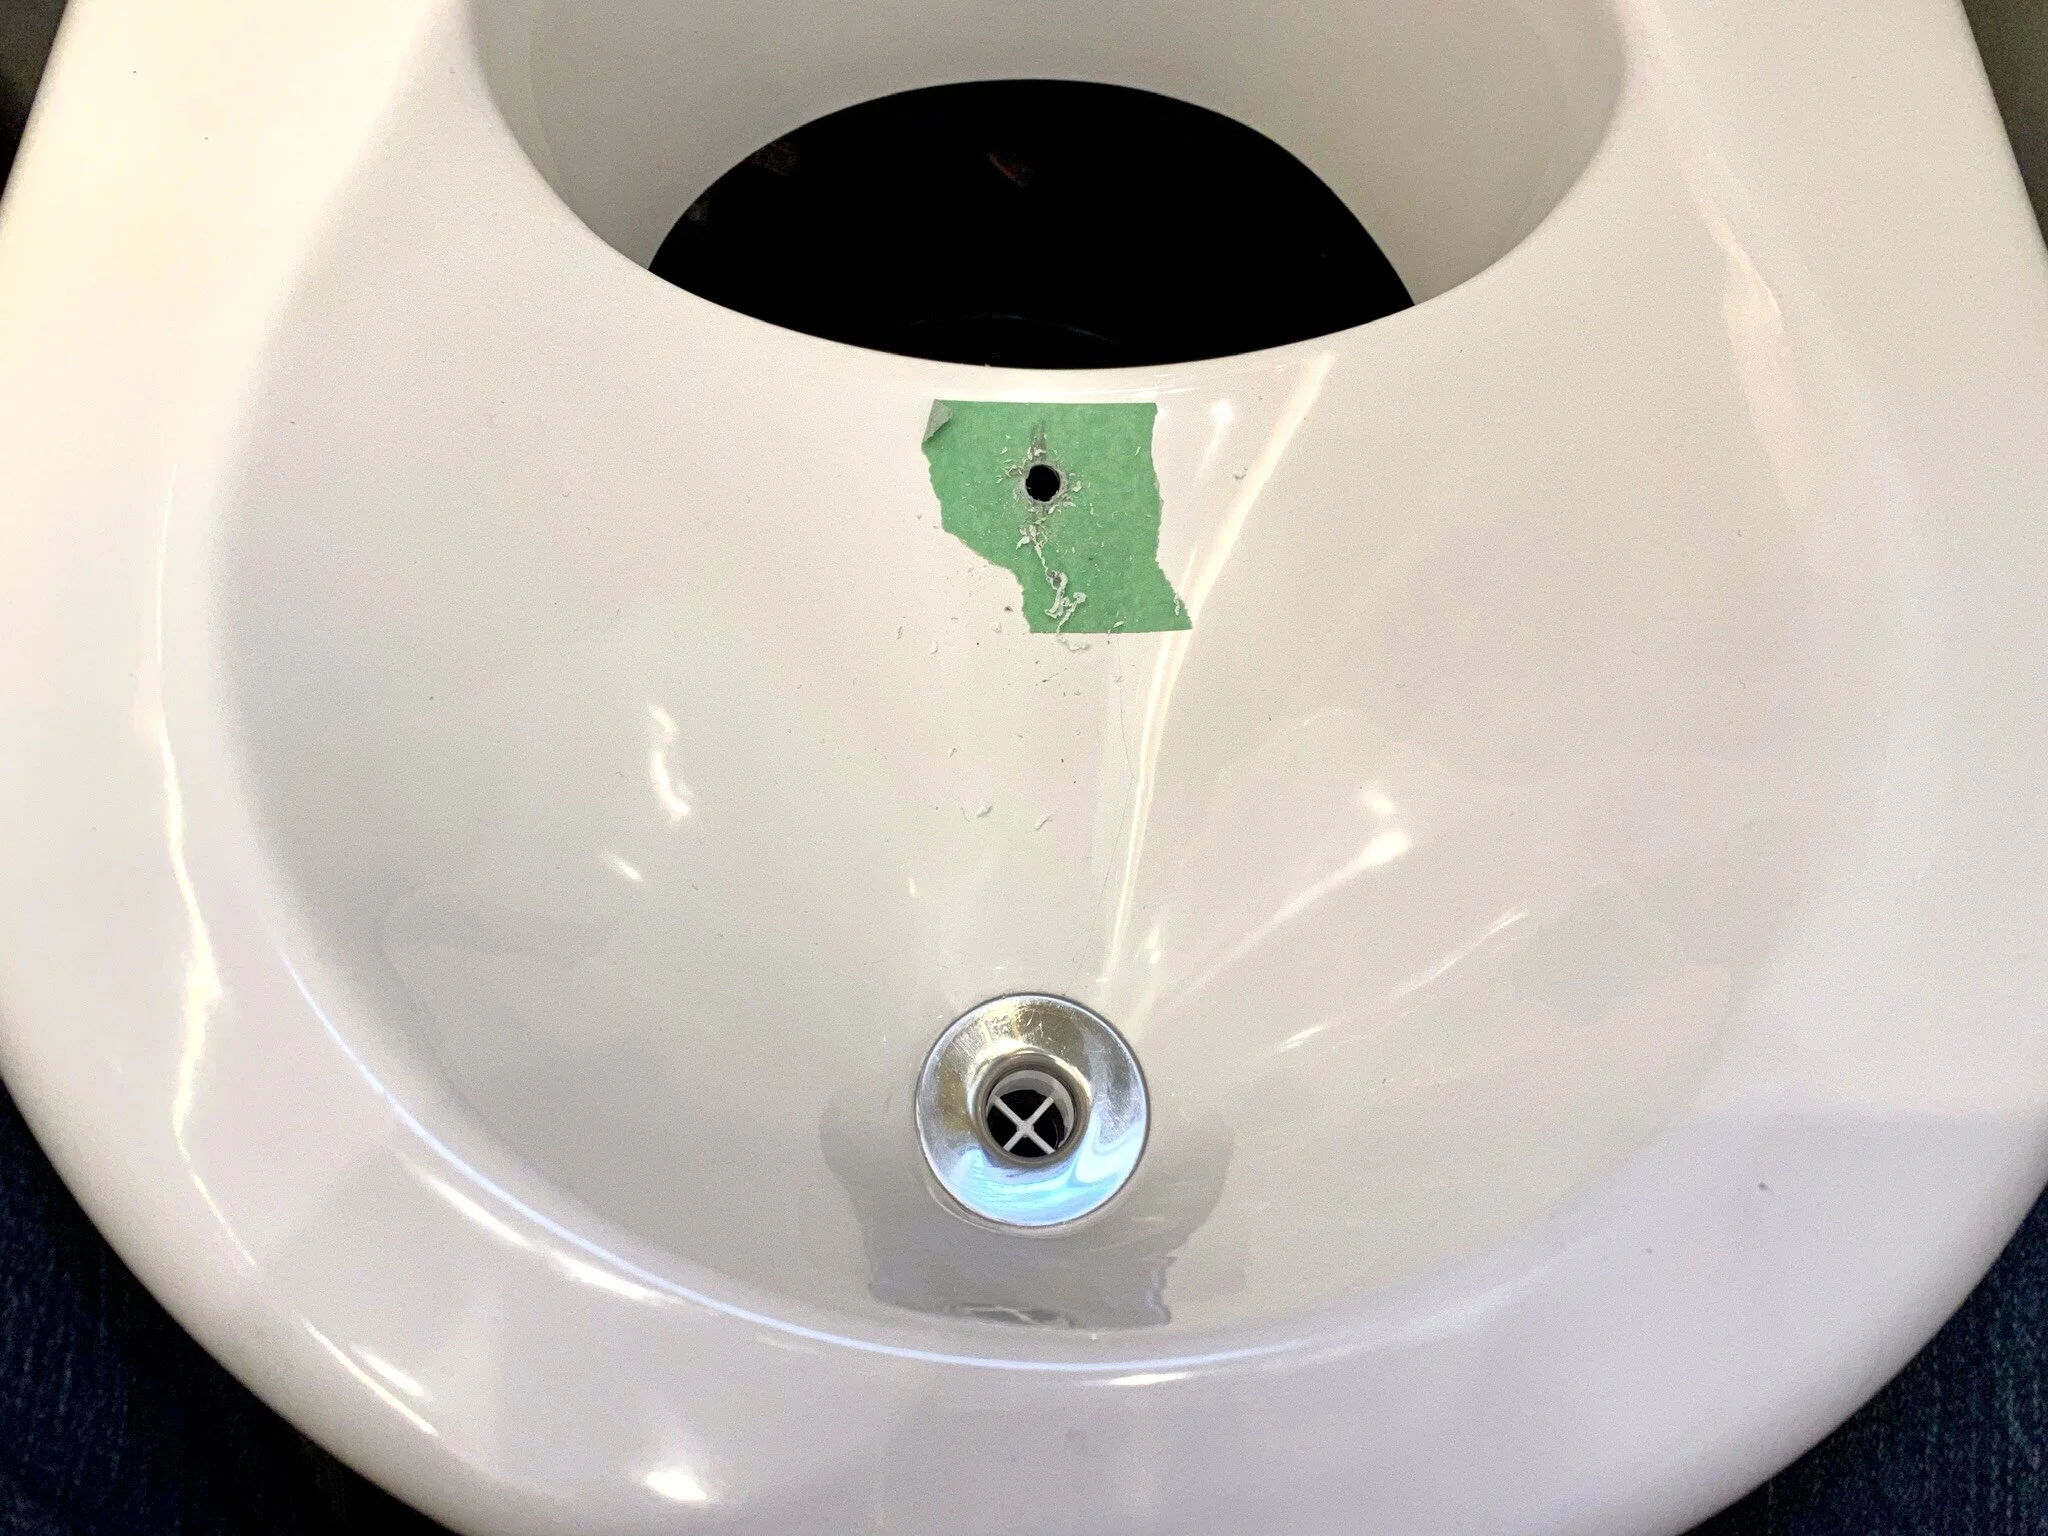
Secondly, the toilet bowl/urine separator is also a highly finished one-piece fiberglass casting which is attractive and easy to clean.
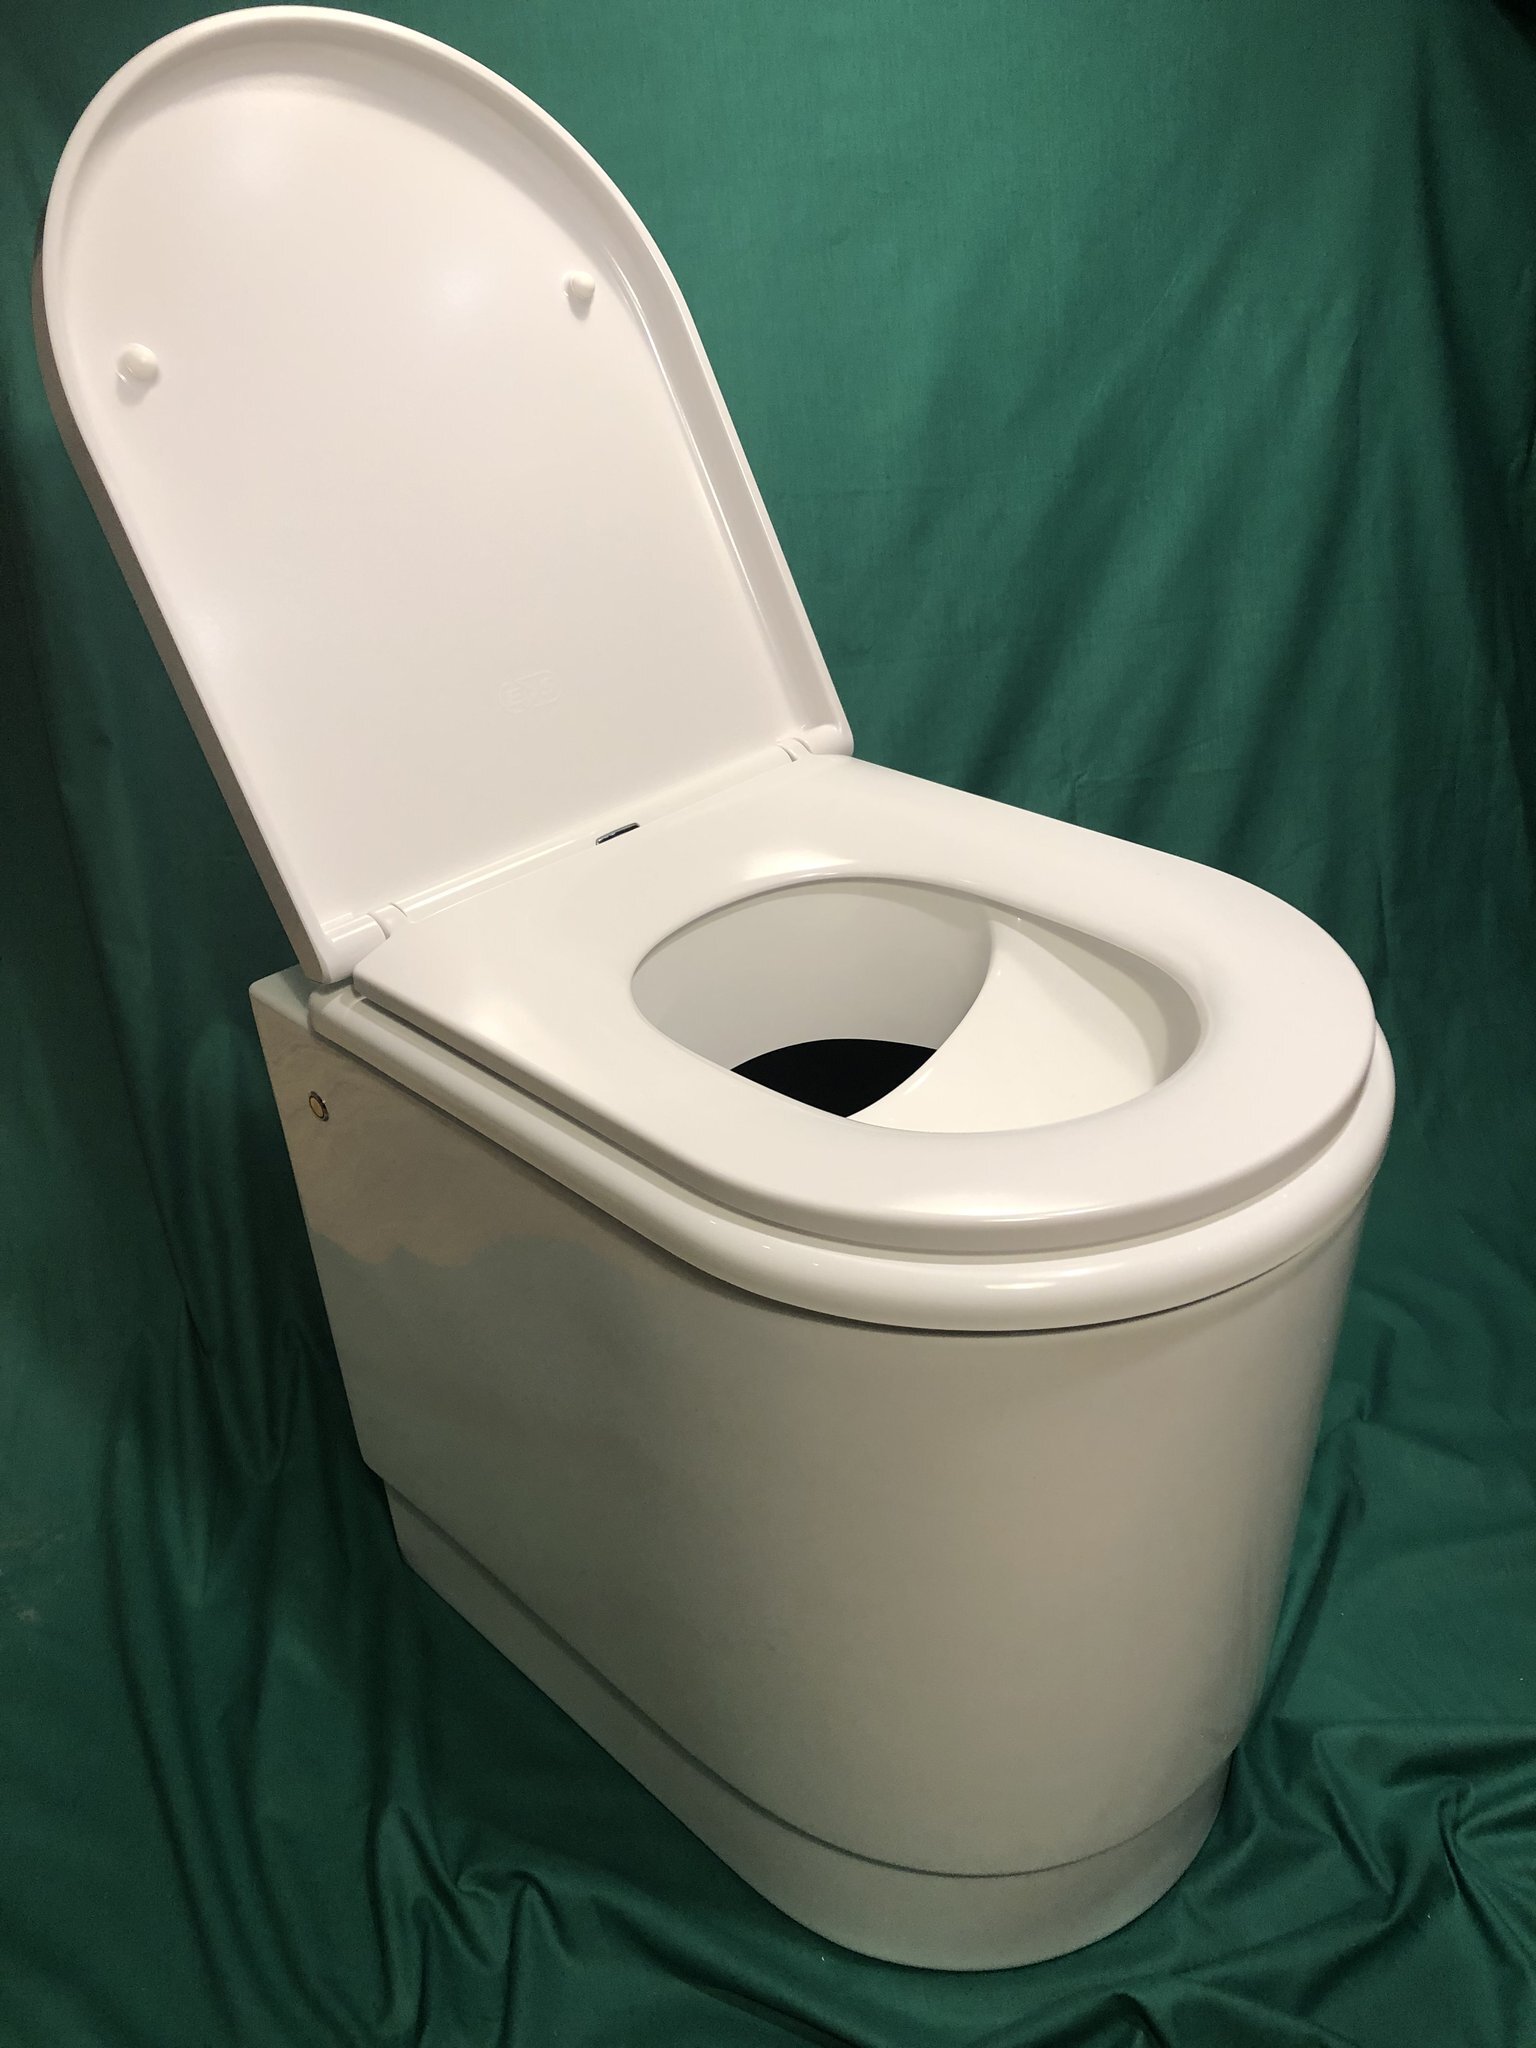
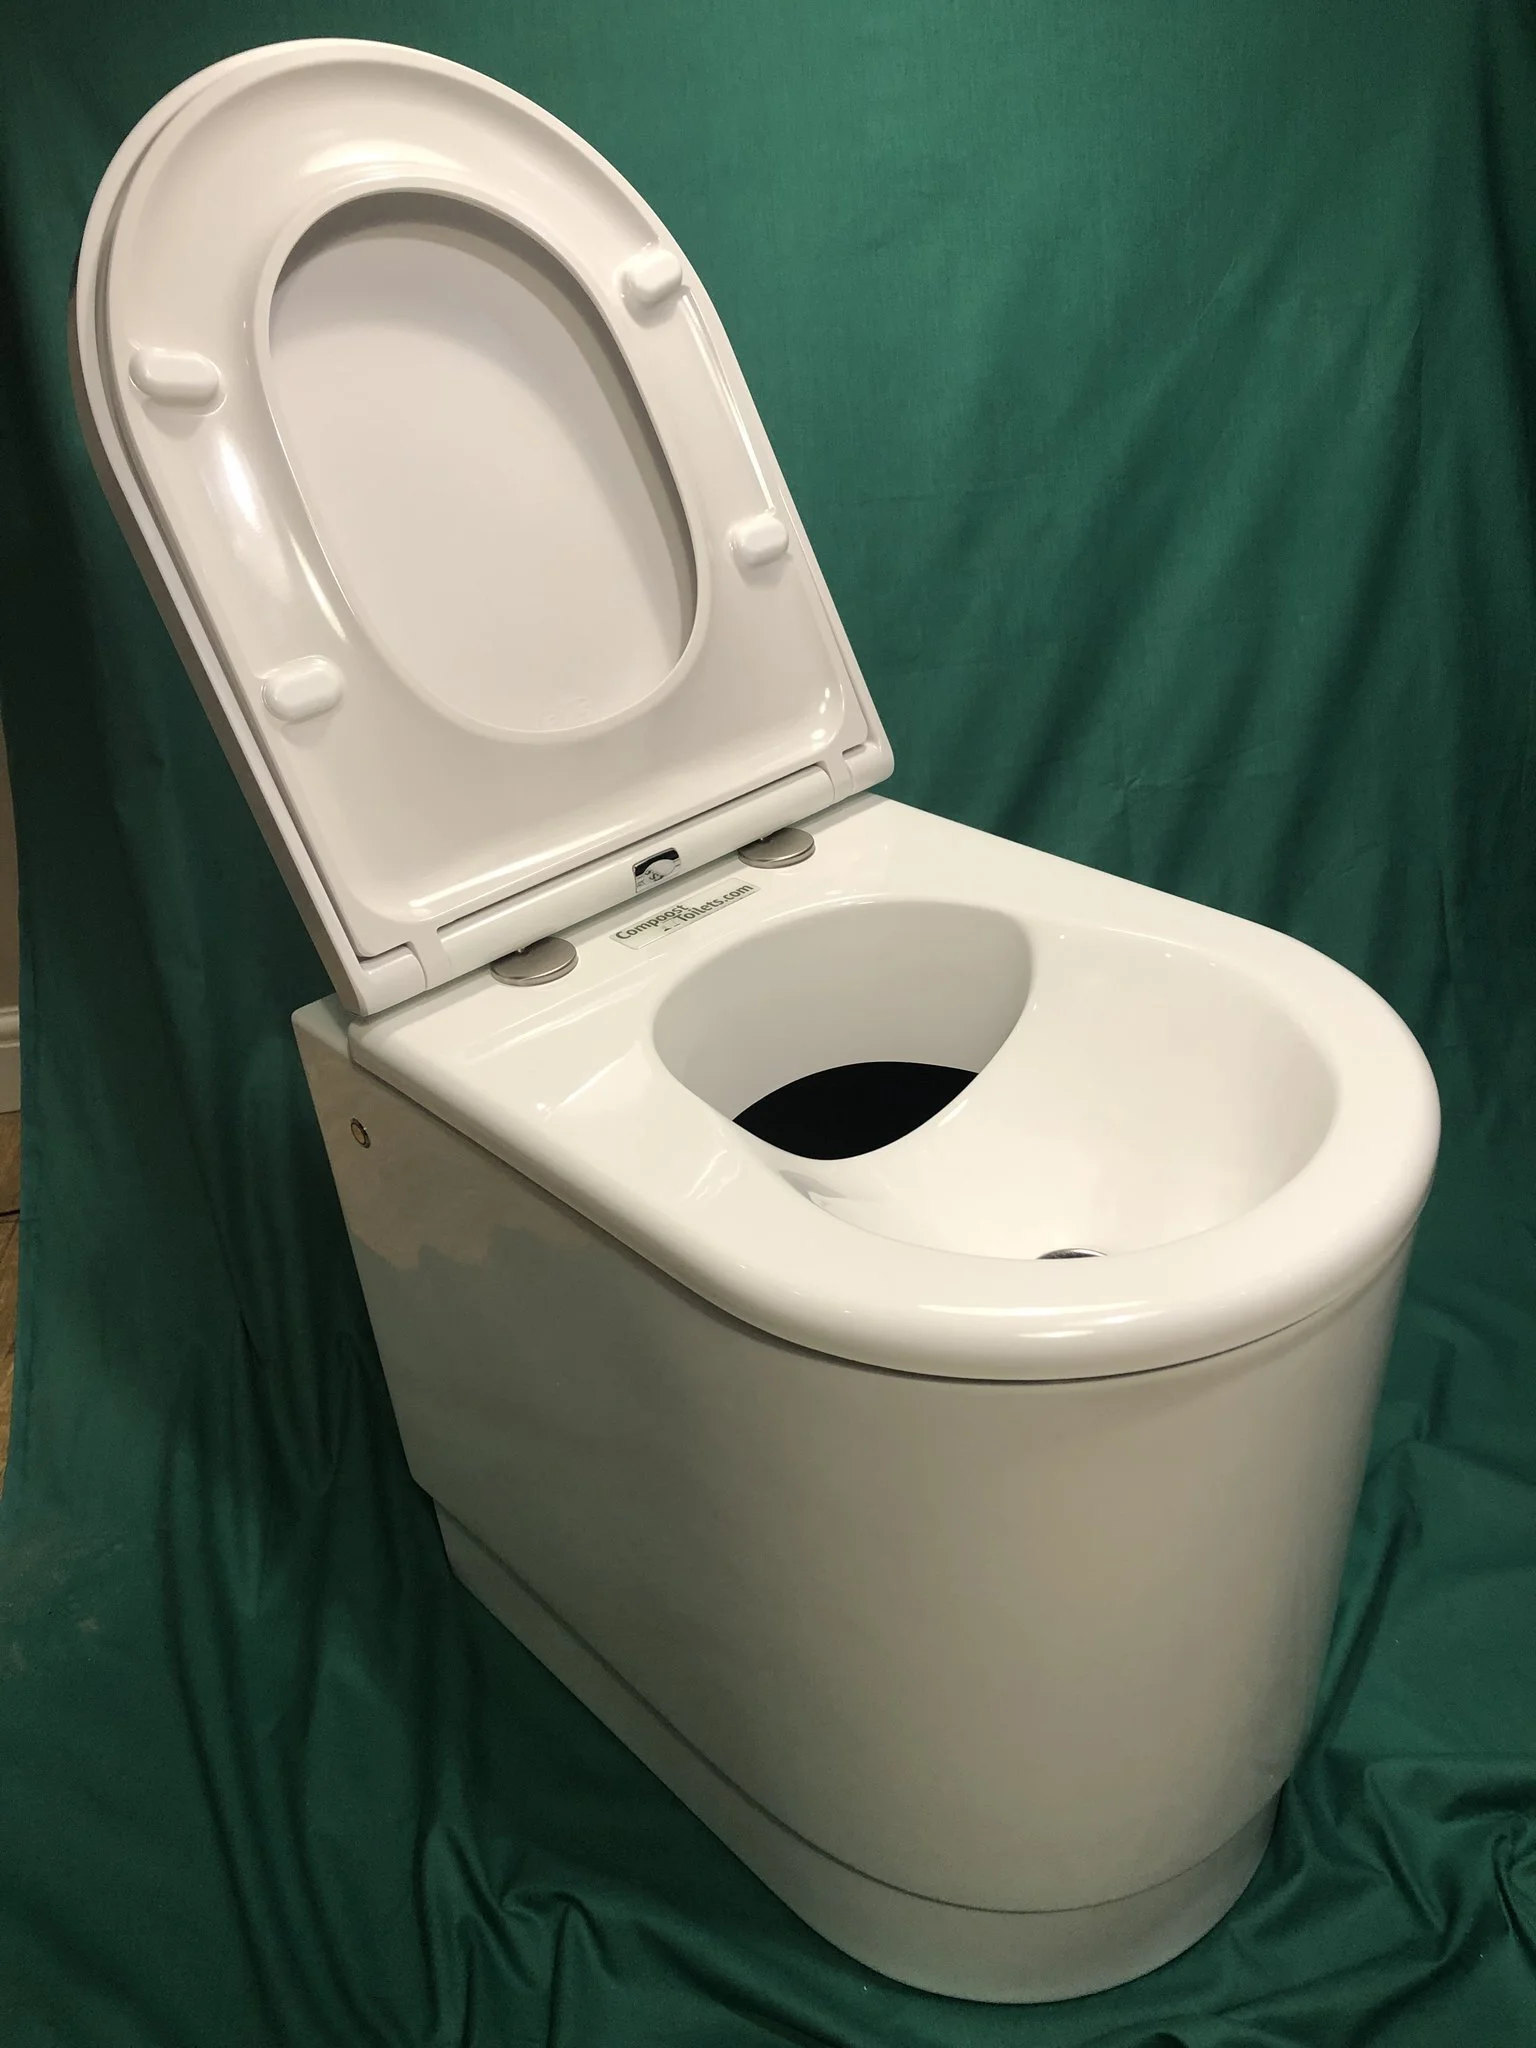
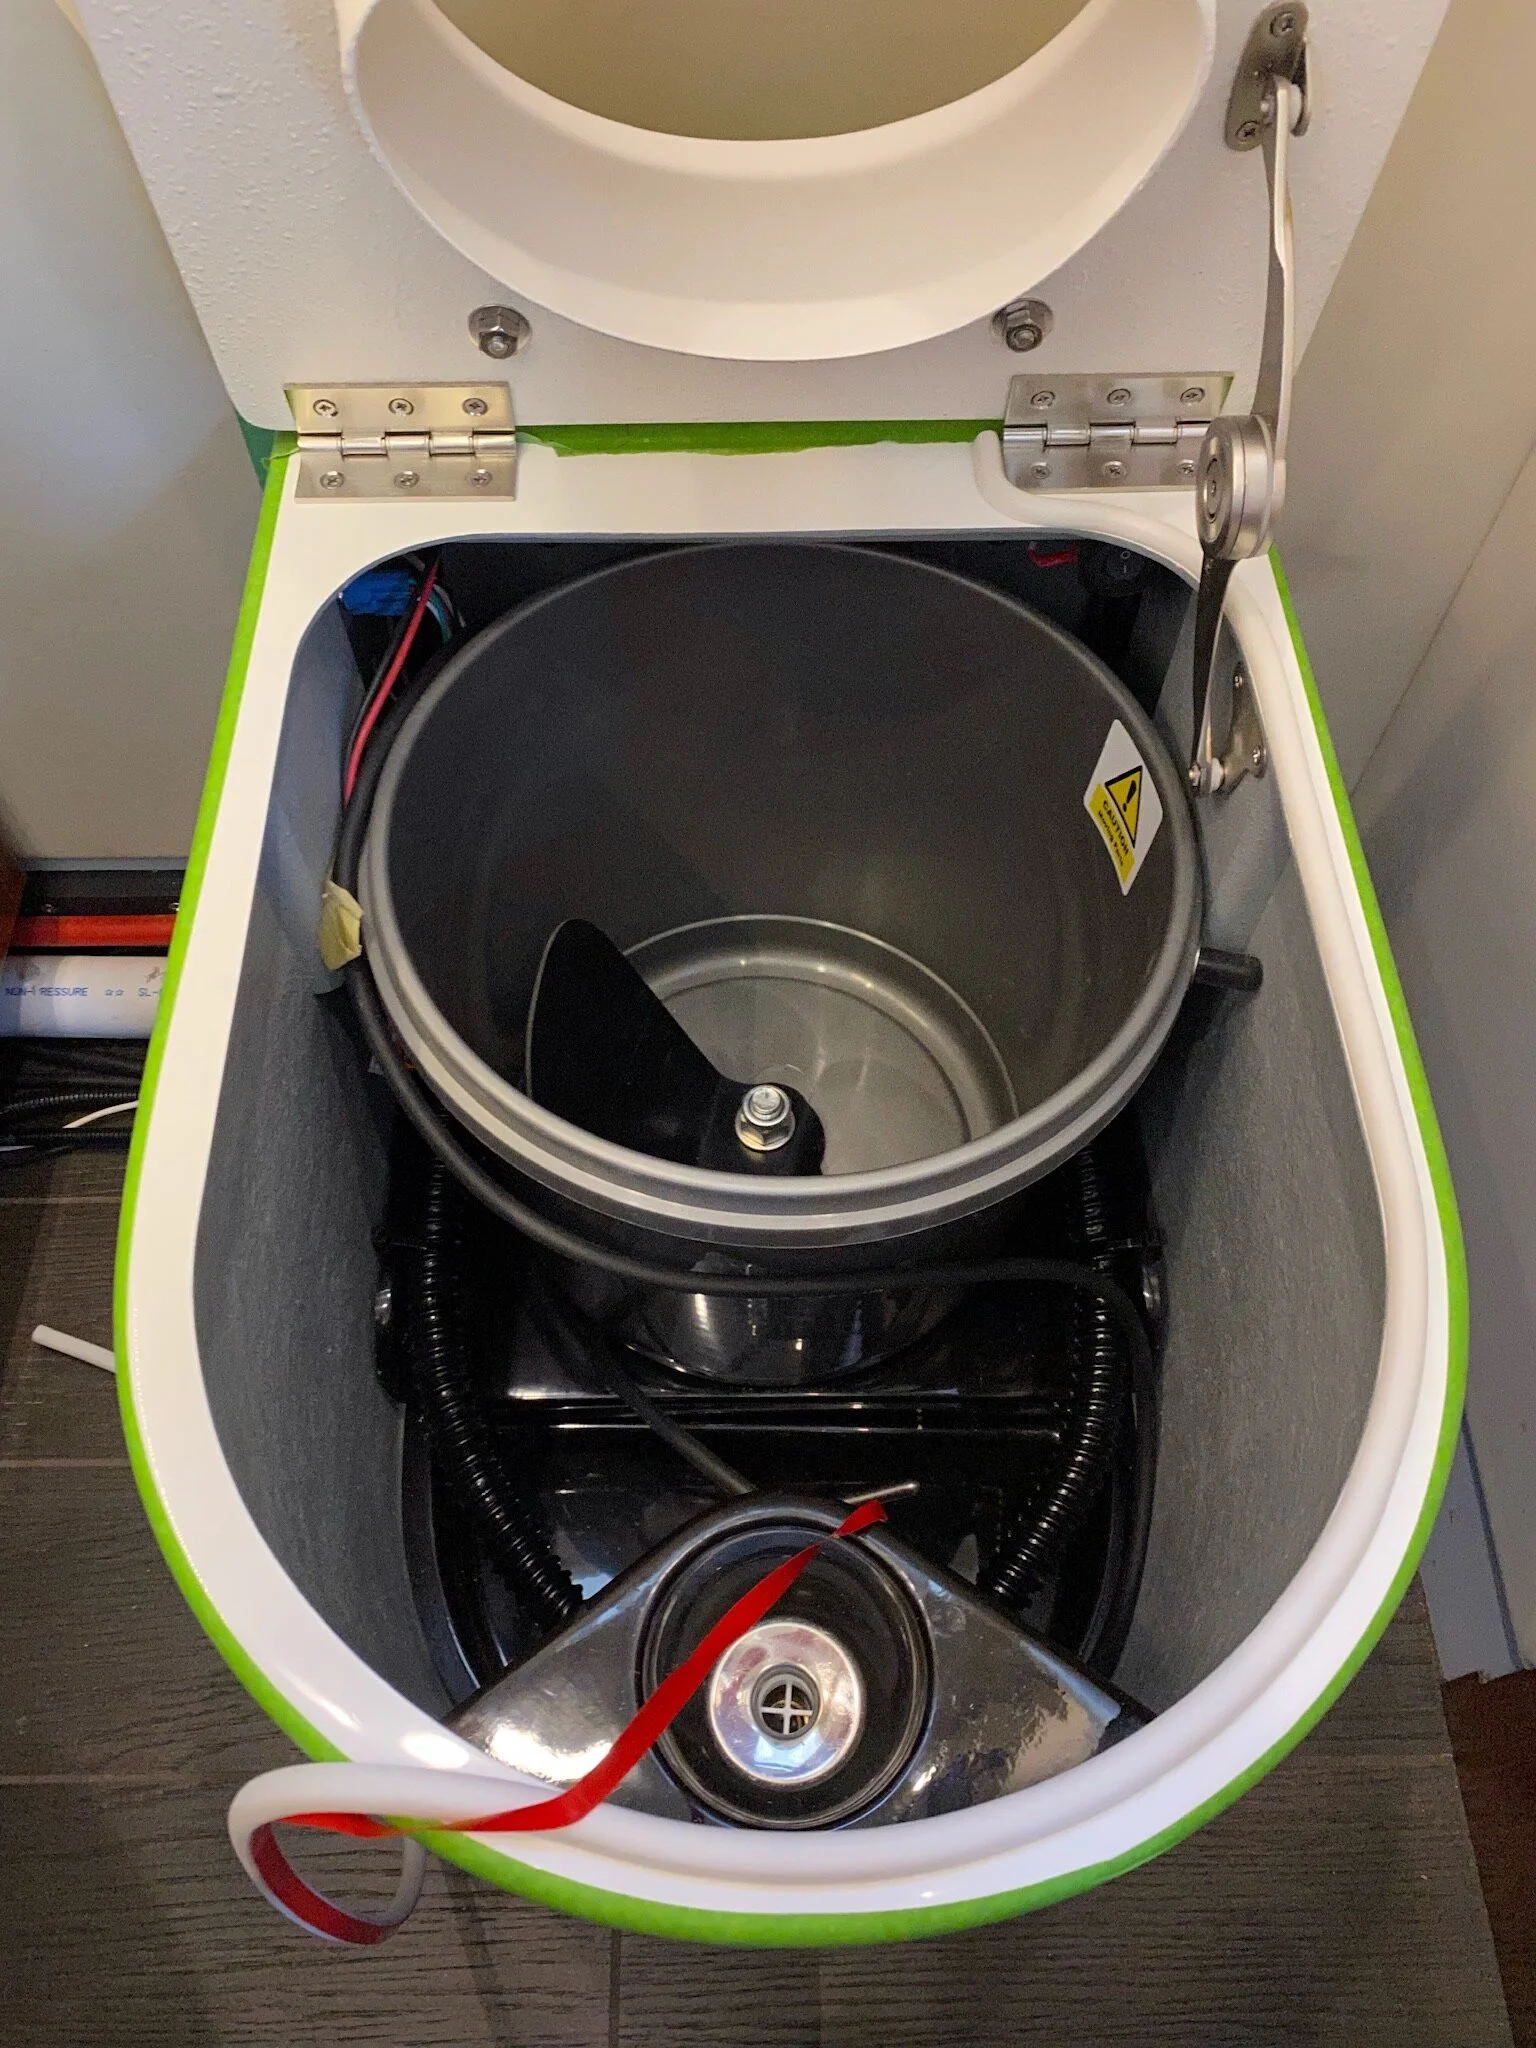
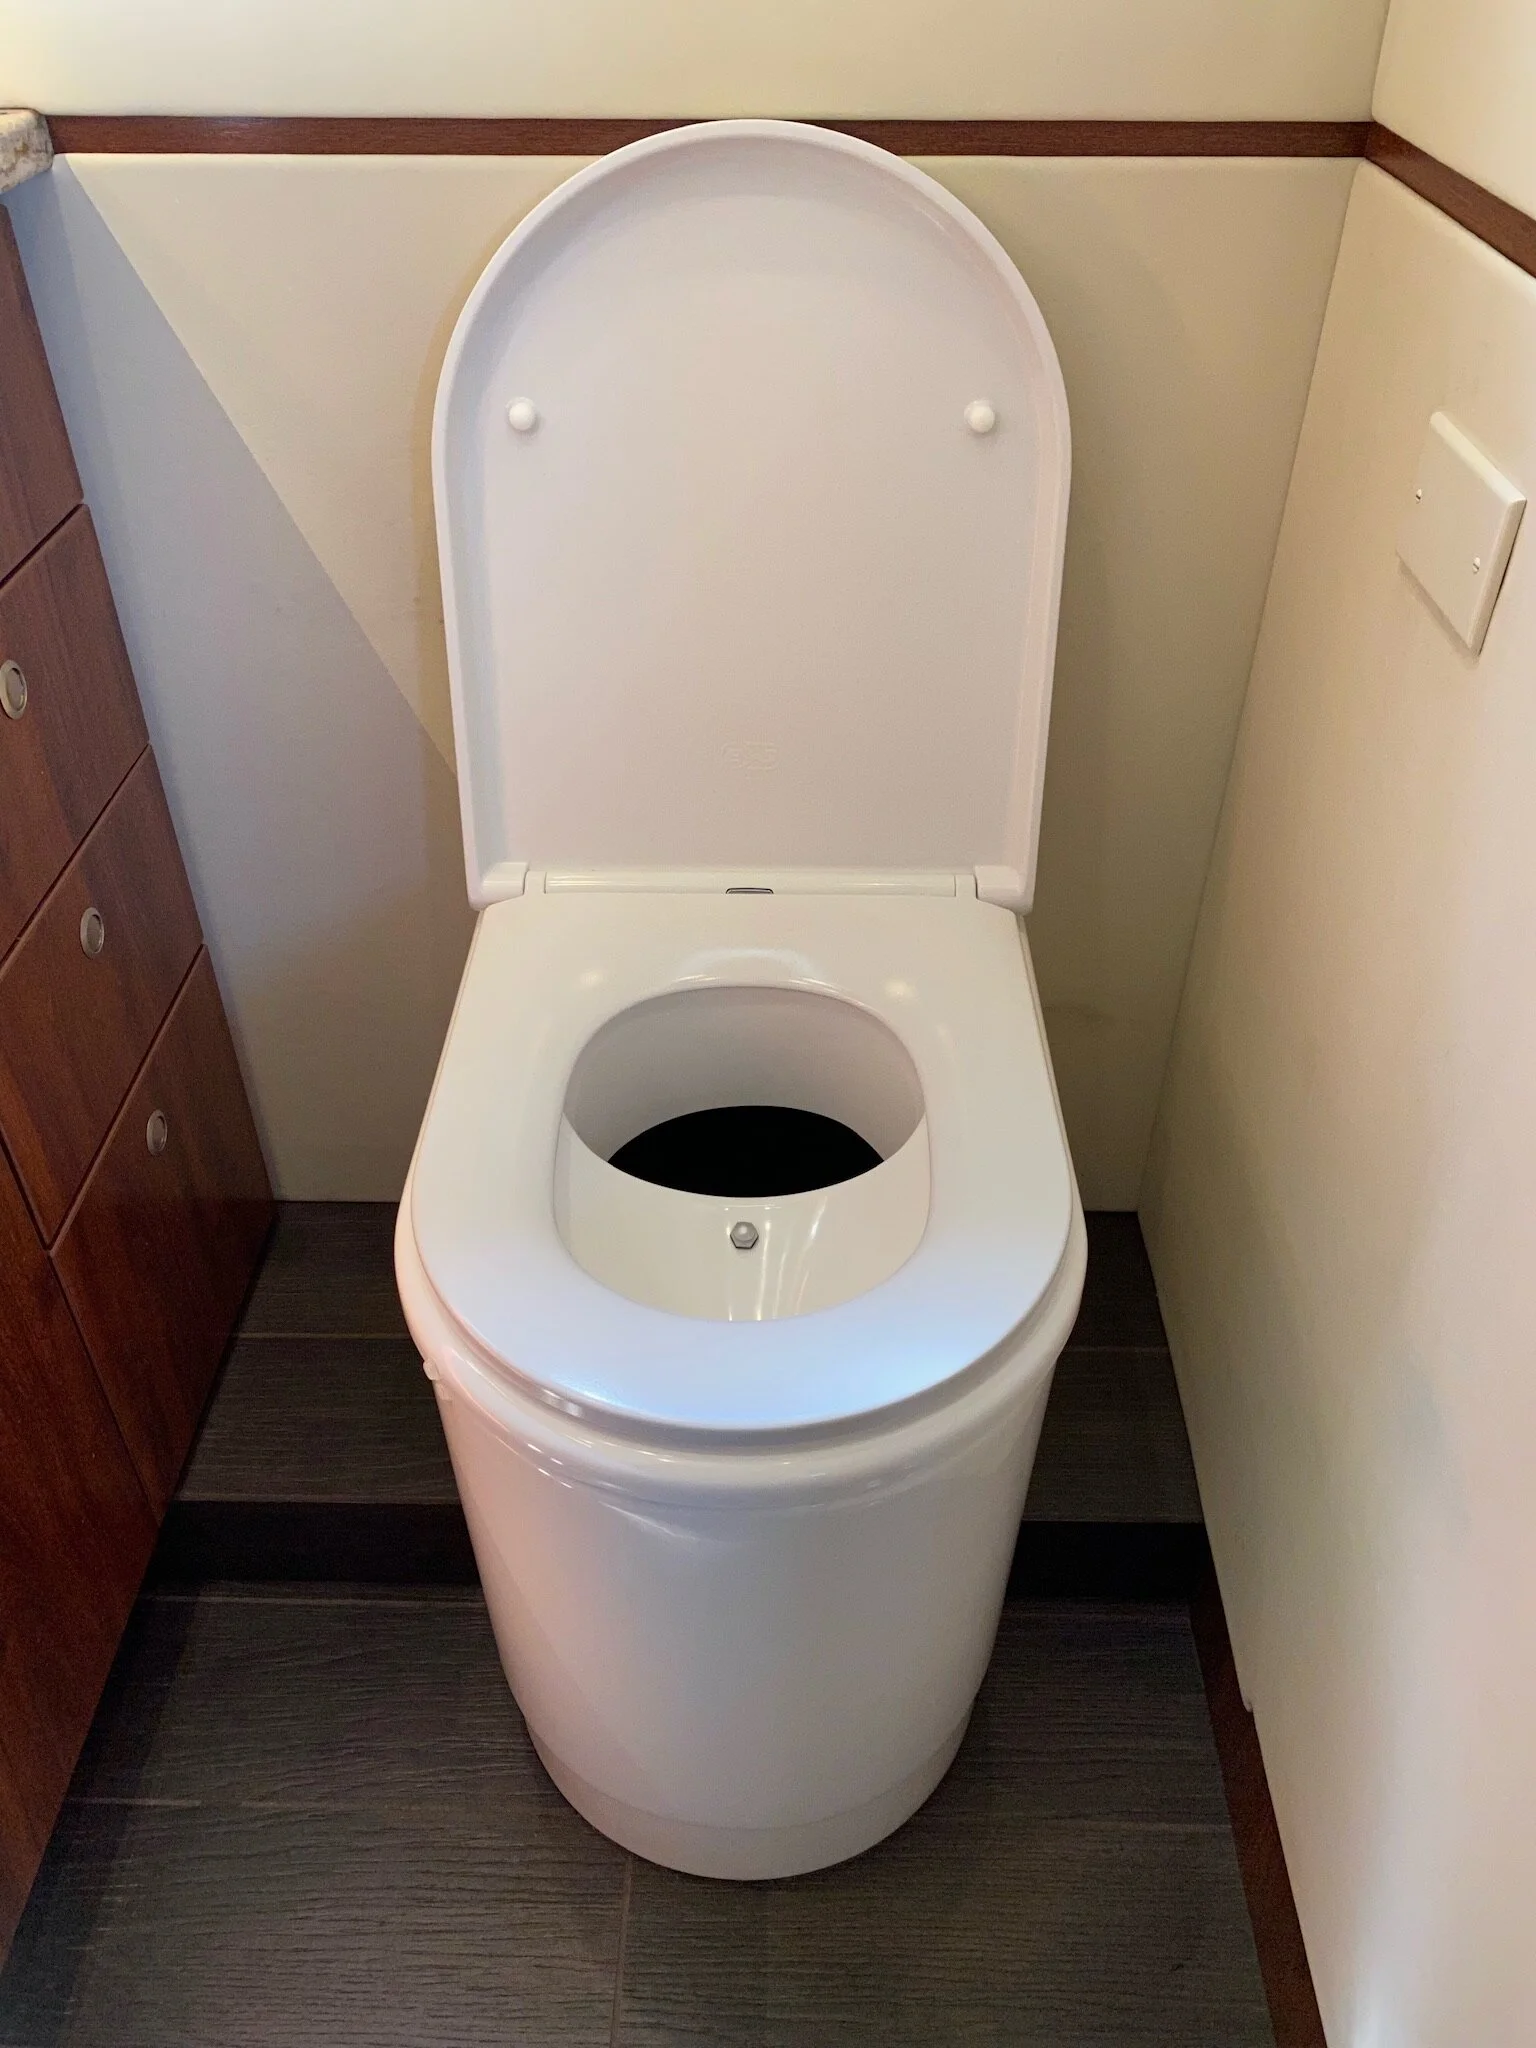
Thirdly, and perhaps most important of all, what makes this product so much better than the others is how it’s emptied. Instead of having to undue multiple screws and dismantle the toilet so half of it can be taken outside to empty and clean, one simply raises the hinged toilet bowl/urine collector at the front to lift out the urine bottle or solids bucket. That’s it. The main toilet assembly remains unaltered and firmly attached to the floor of the bathroom. The toilet seat and lid are also easily cleaned as the push of a single button allows them to be removed from the toilet body.
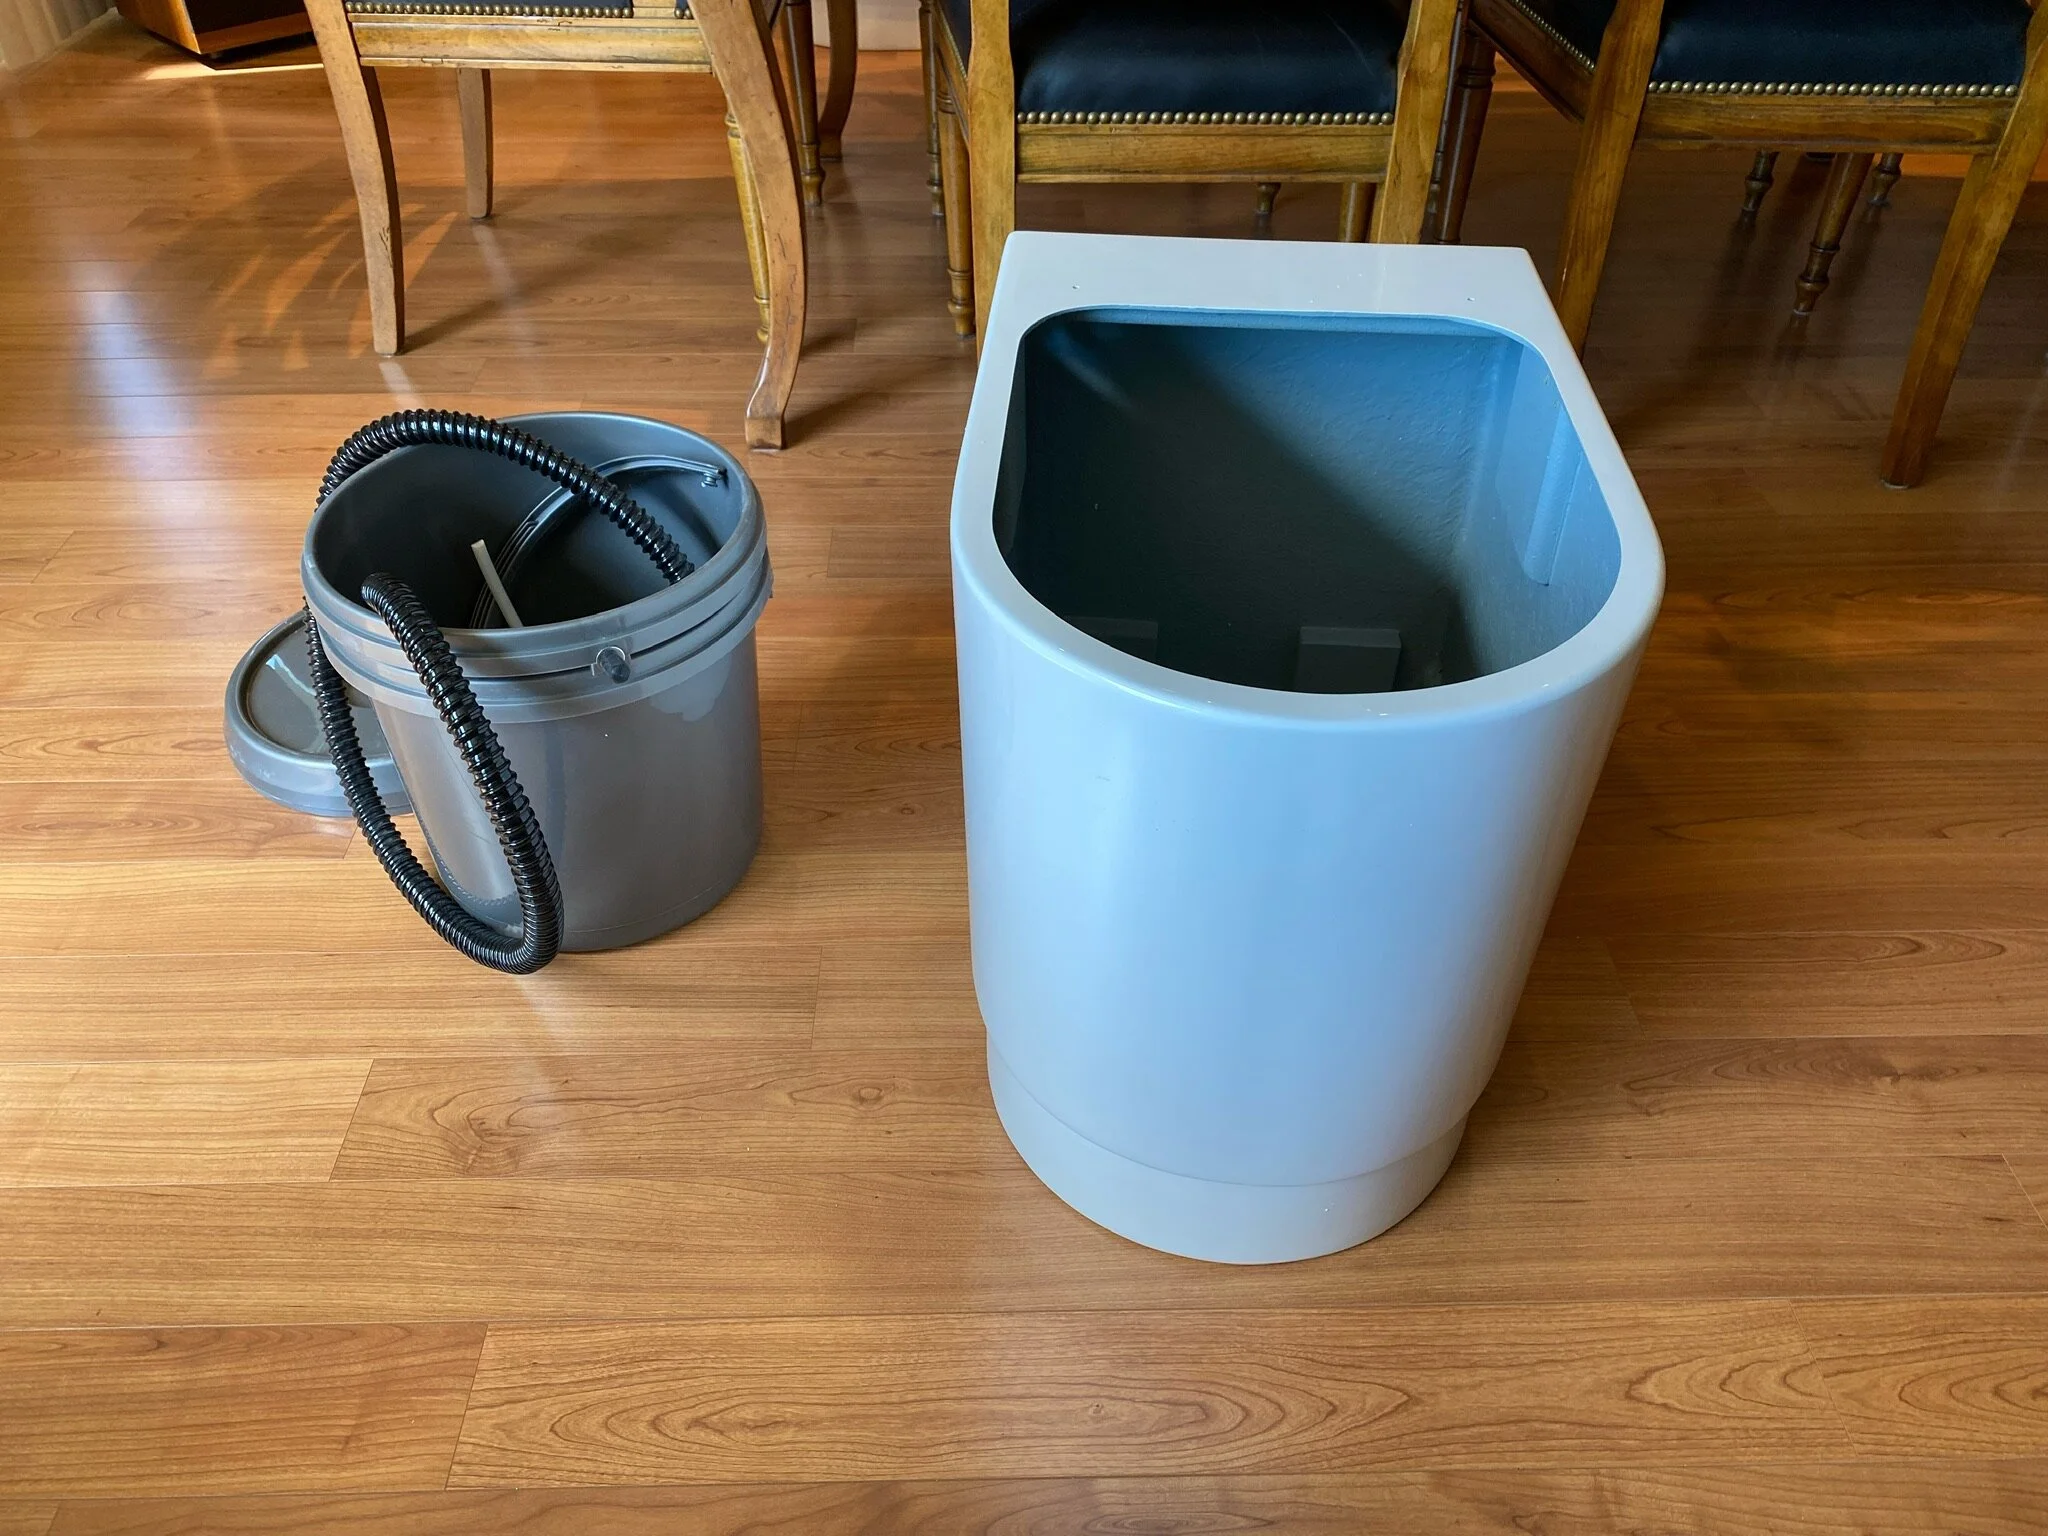
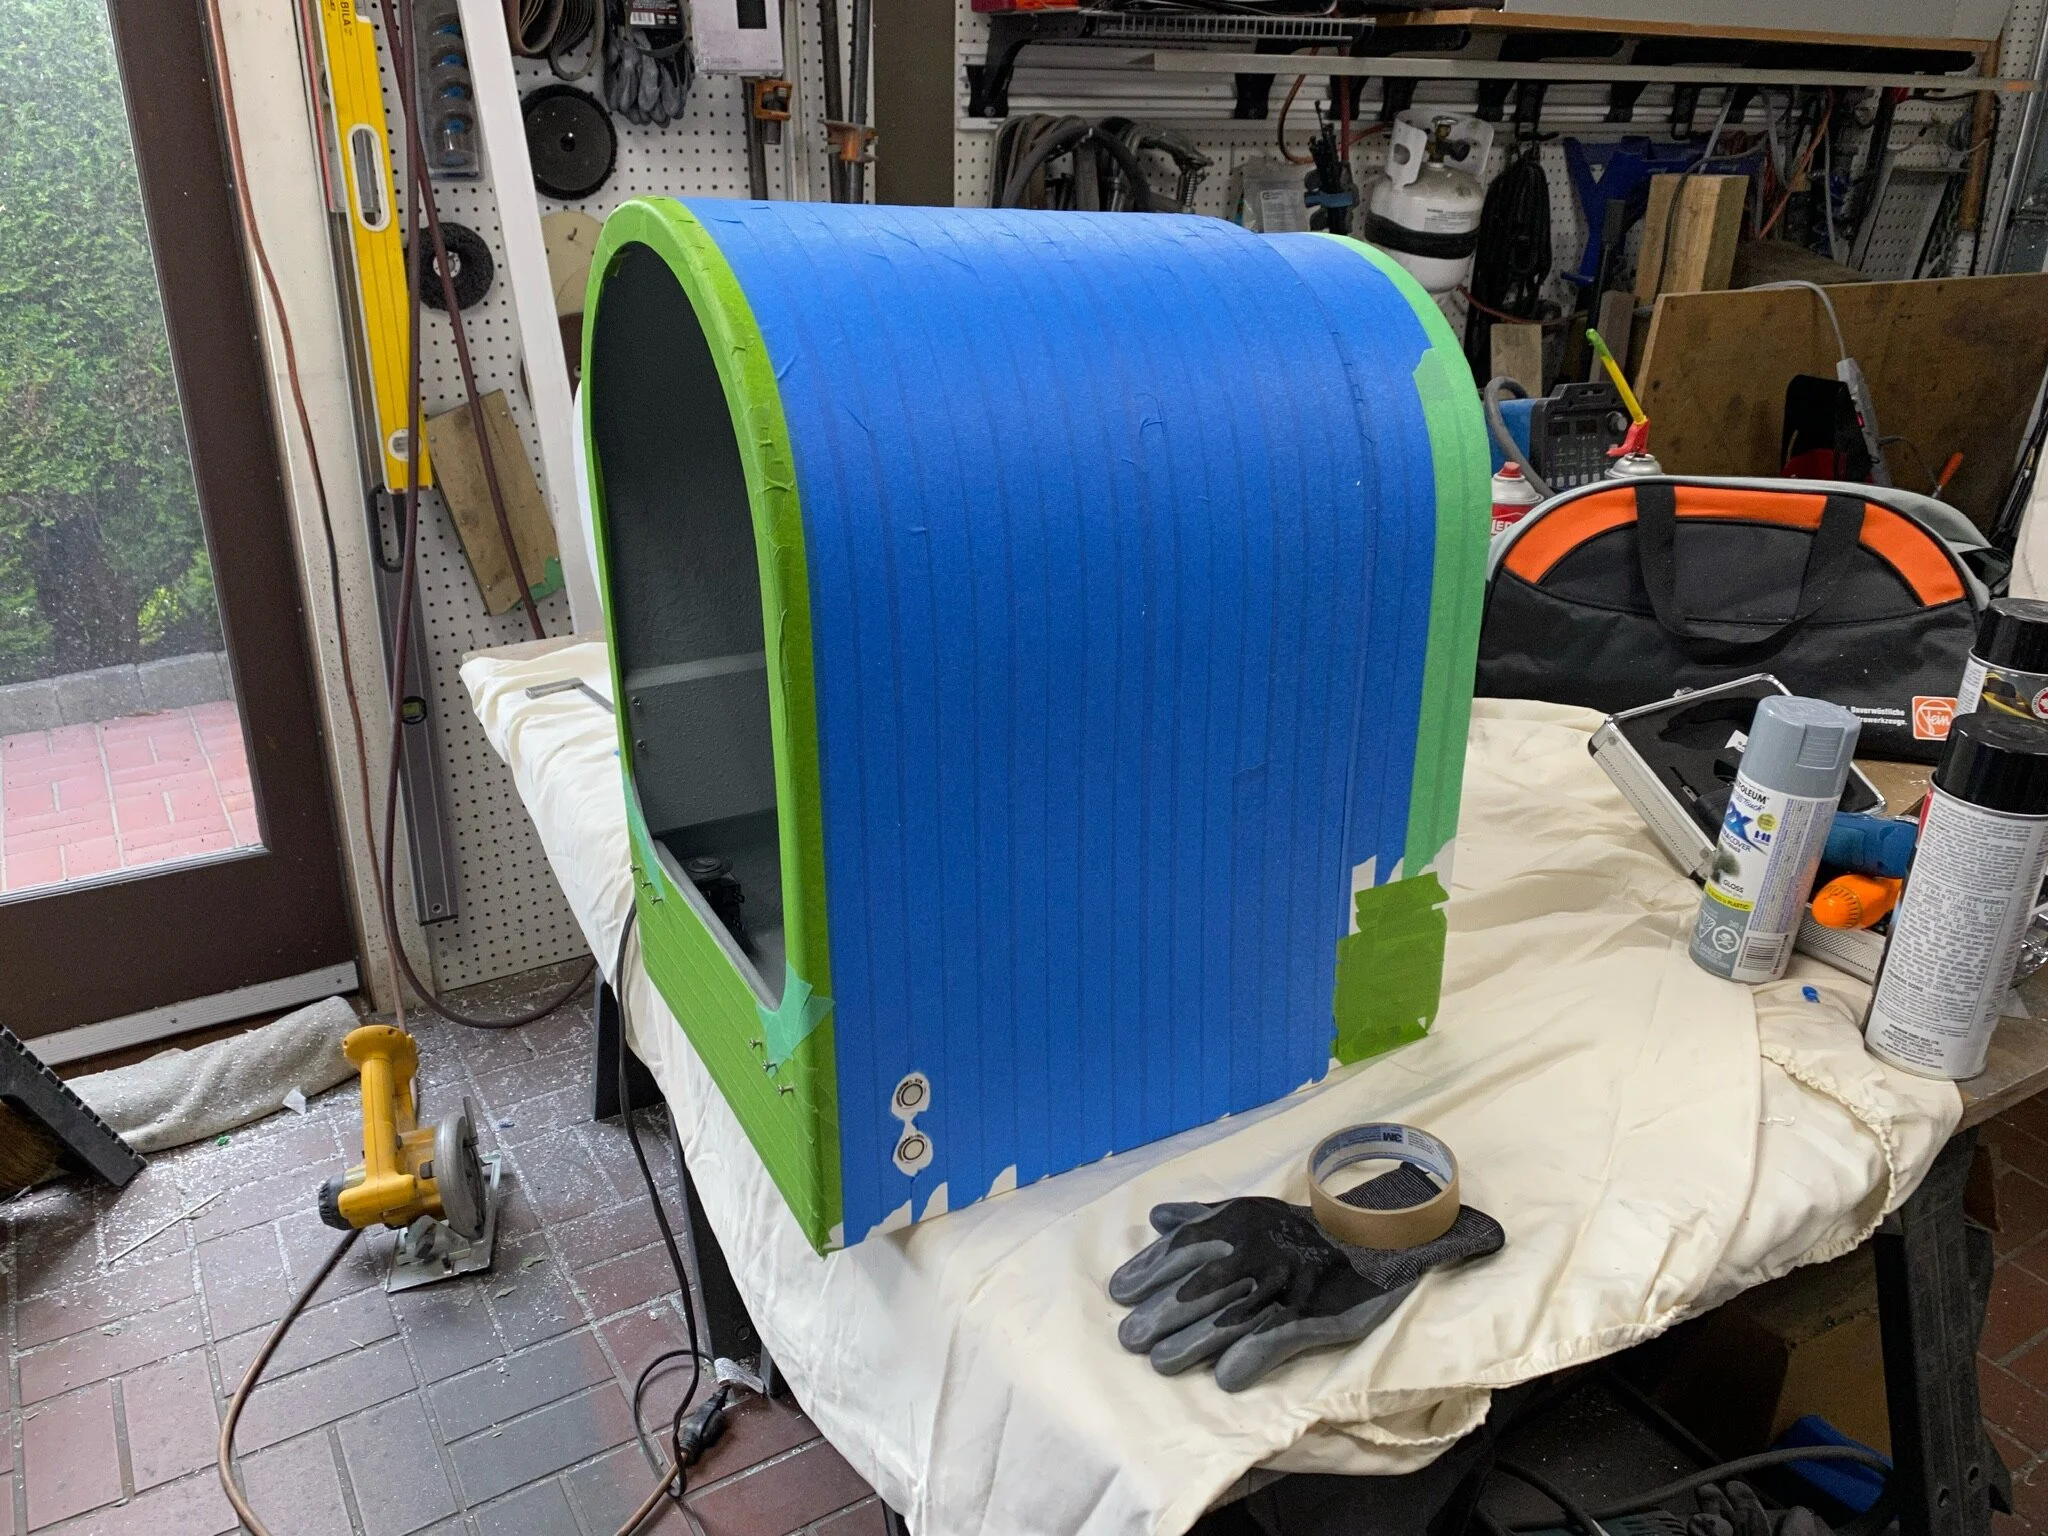
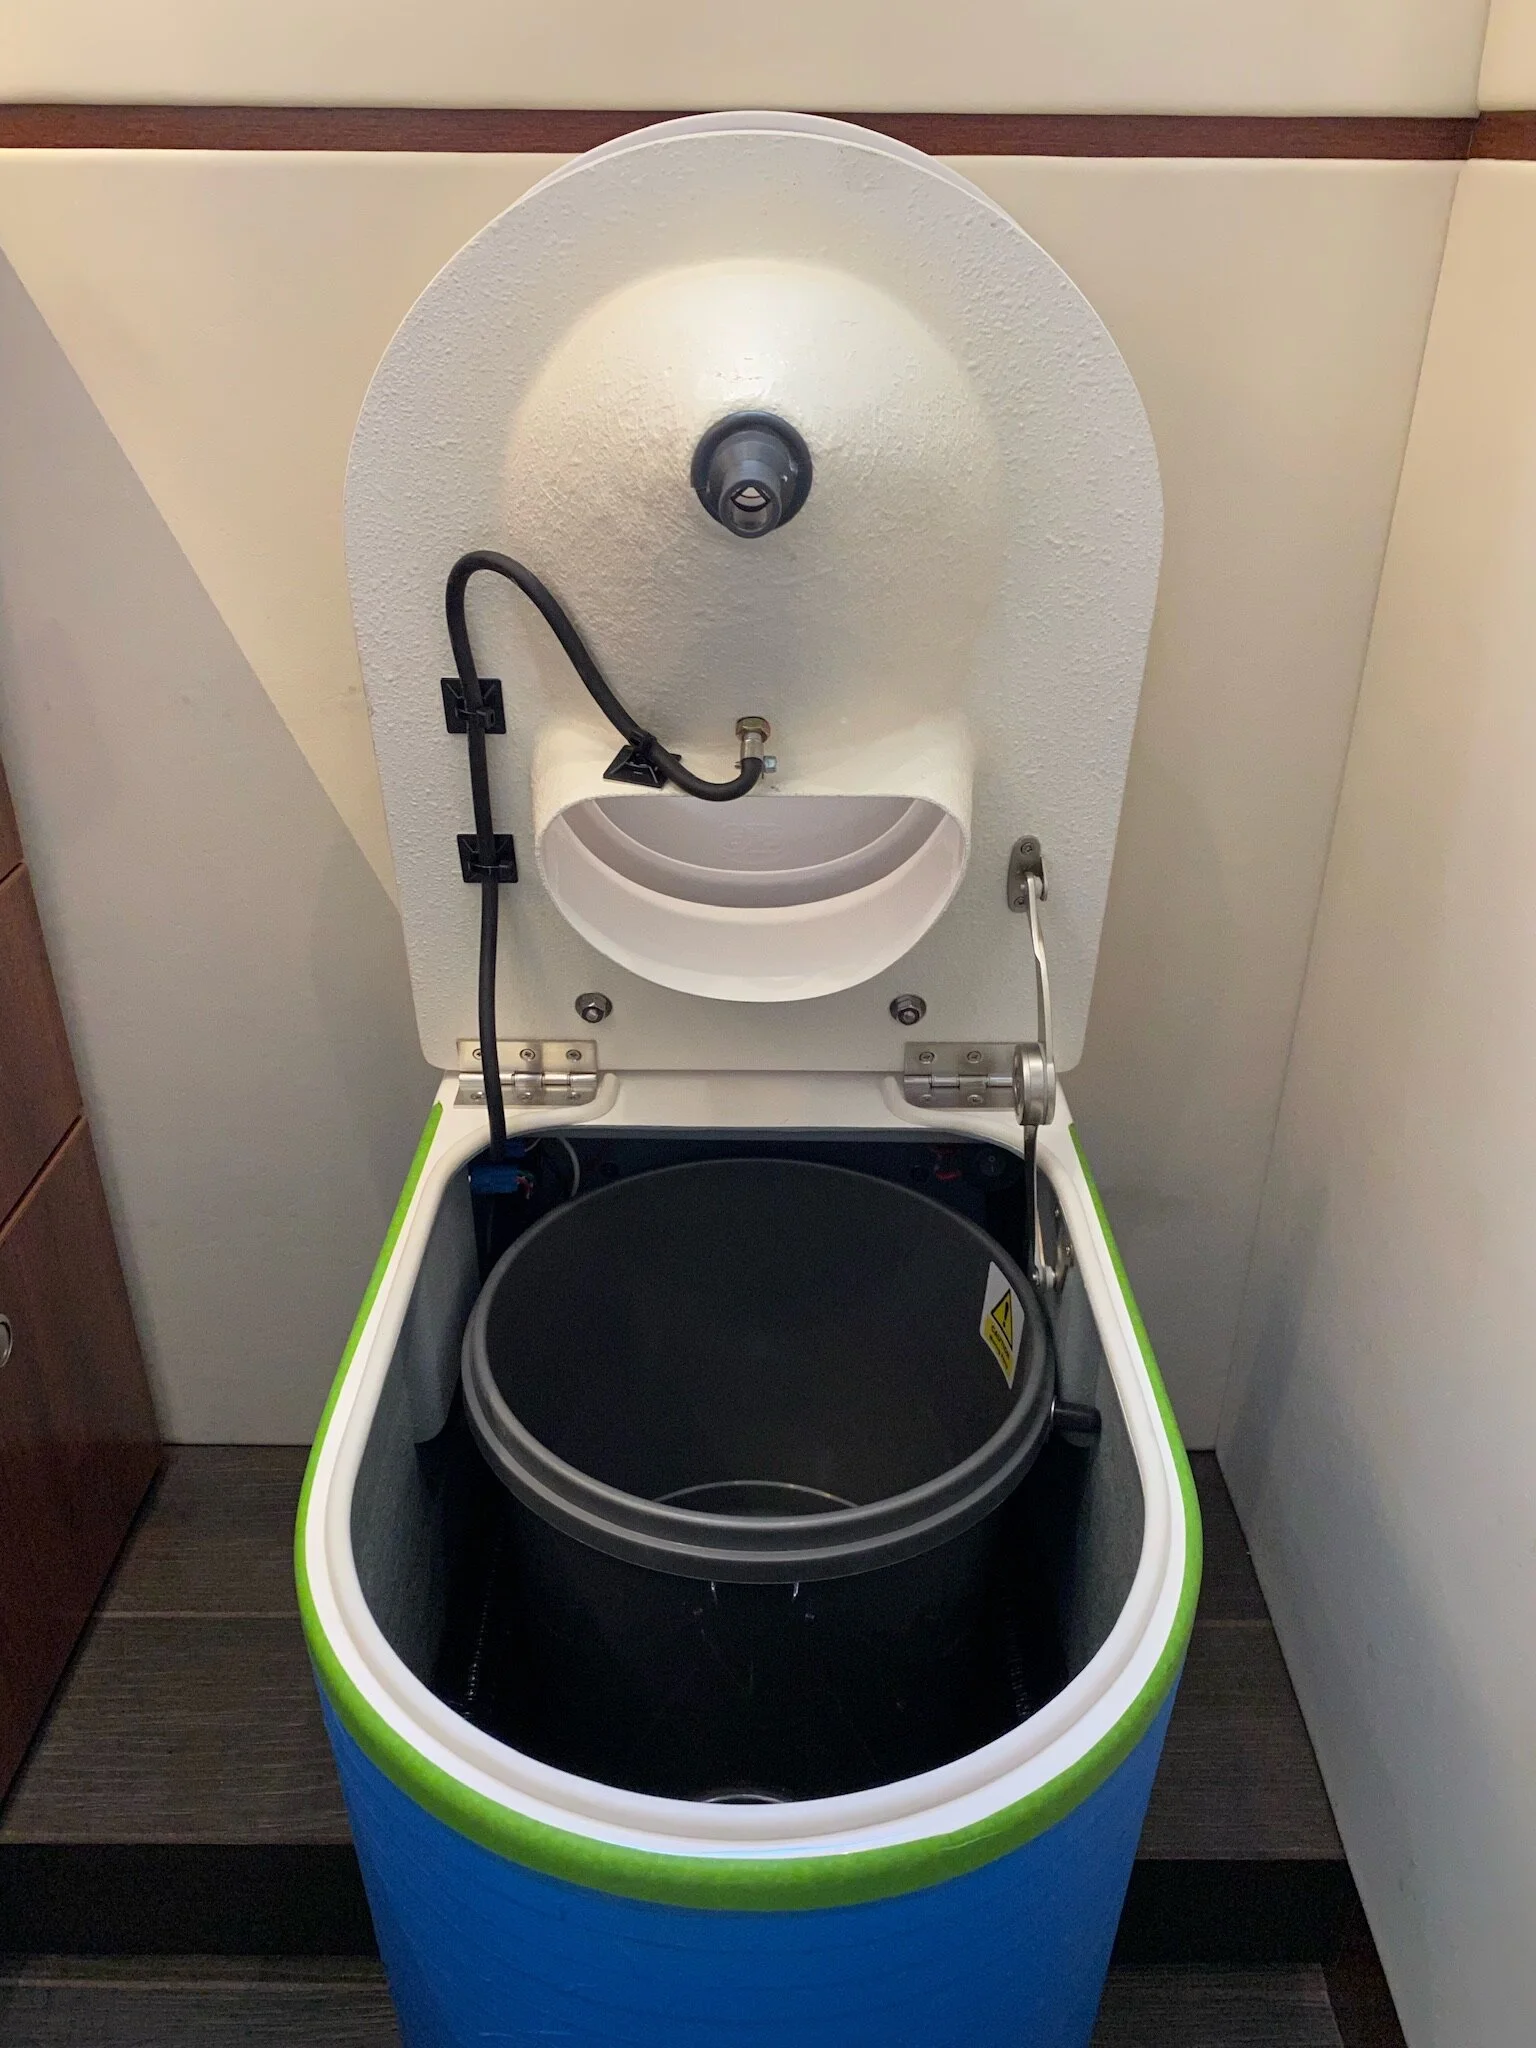
A Compoost toilet with self-stirring solids bucket and piped away urine collection.
The other big advantage of the Compoost toilet is that it can be purchased for use with a conventional urine bottle, or for use with the urine collector hard plumbed into a urine tank. Since we already have a black tank that we’ll repurpose as a urine tank, this is the model that we bought.
The final improvement of this toilet over the competition is that one doesn’t have to hand crank a mixing paddle to agitate the solids with the compost media. Instead, it has an inconspicuous little button on the side of the body that activates an electric stir motor to do the job.
The Conversion Process Begins
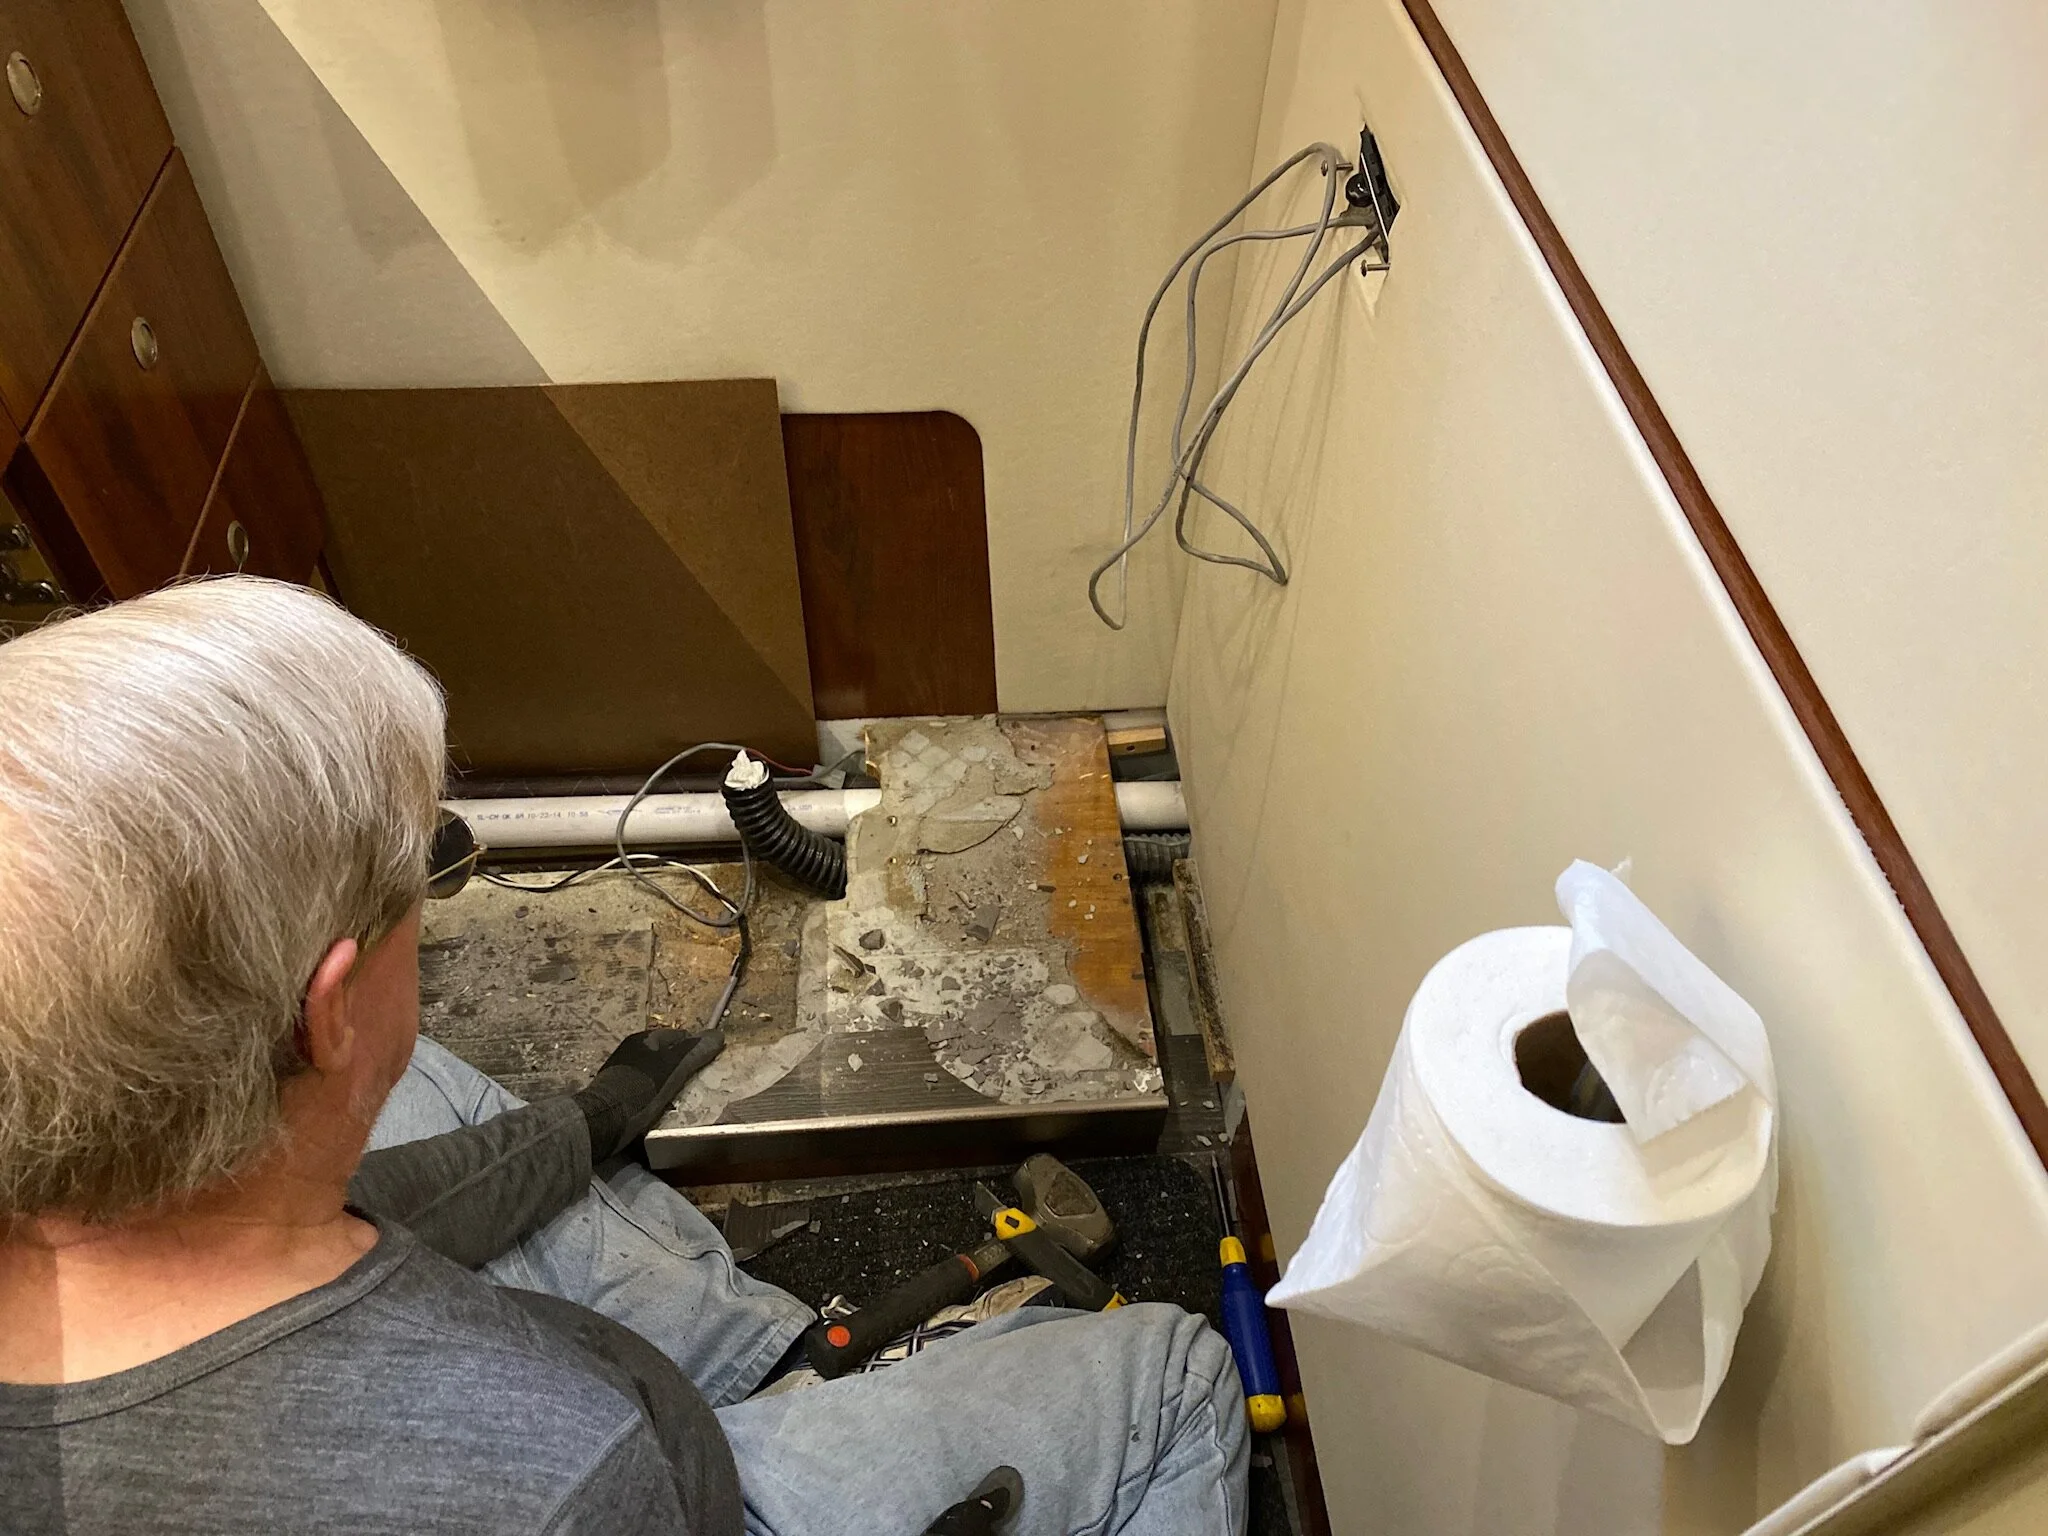
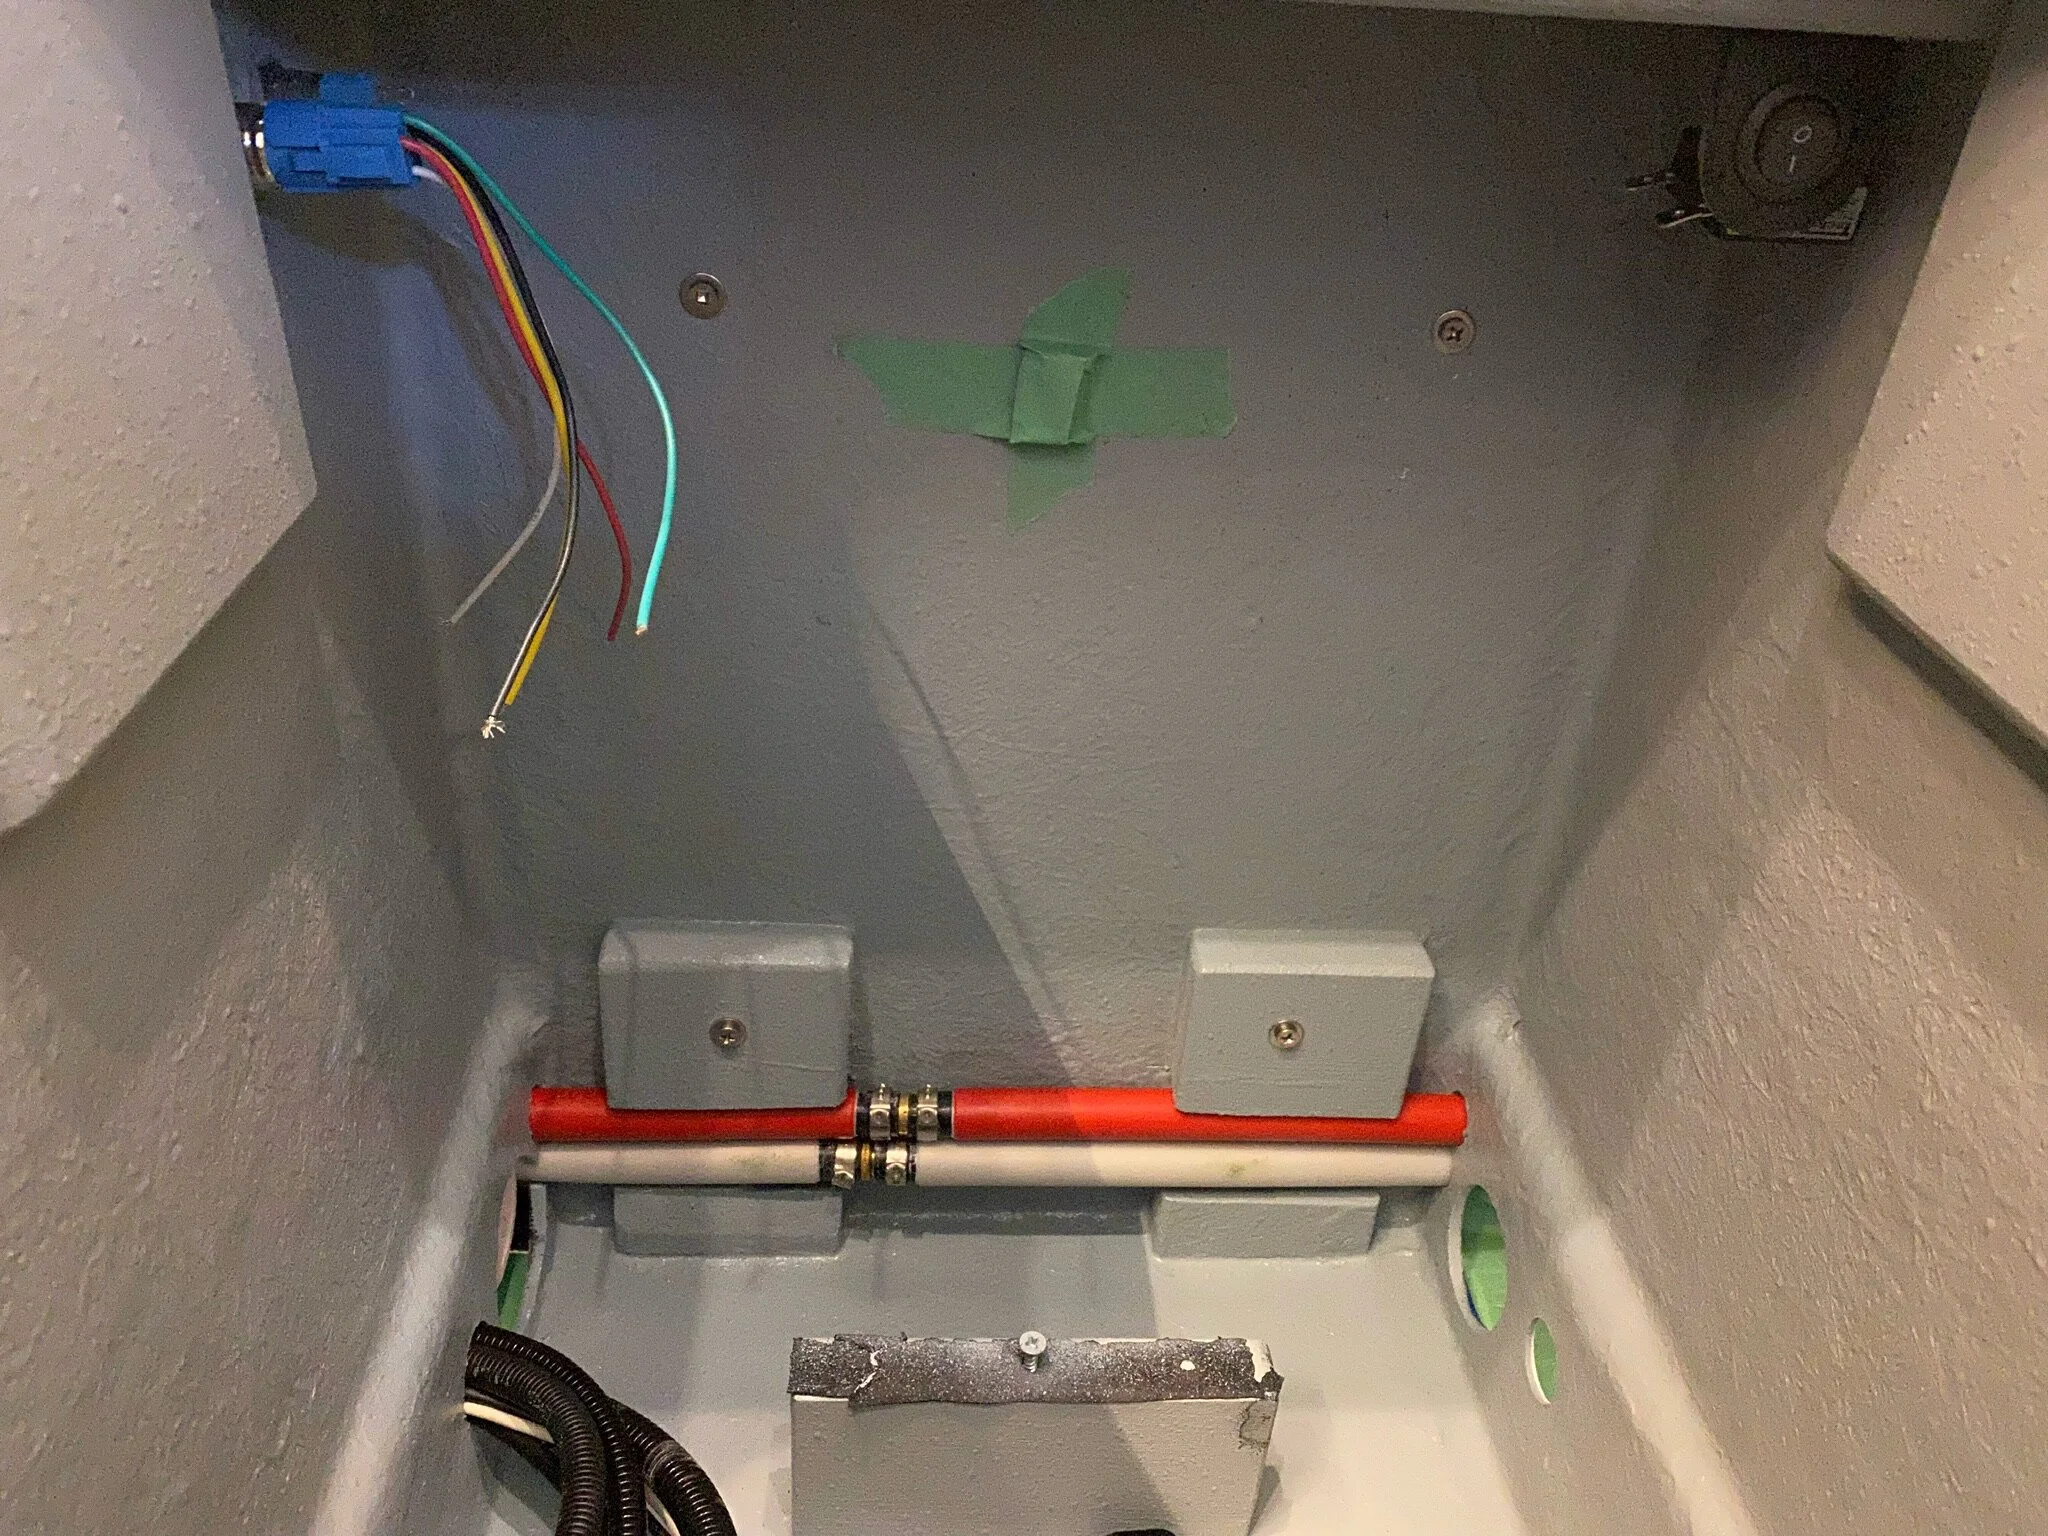
The old toilet was a complicated device with a lot of electronic and plumbing connections.
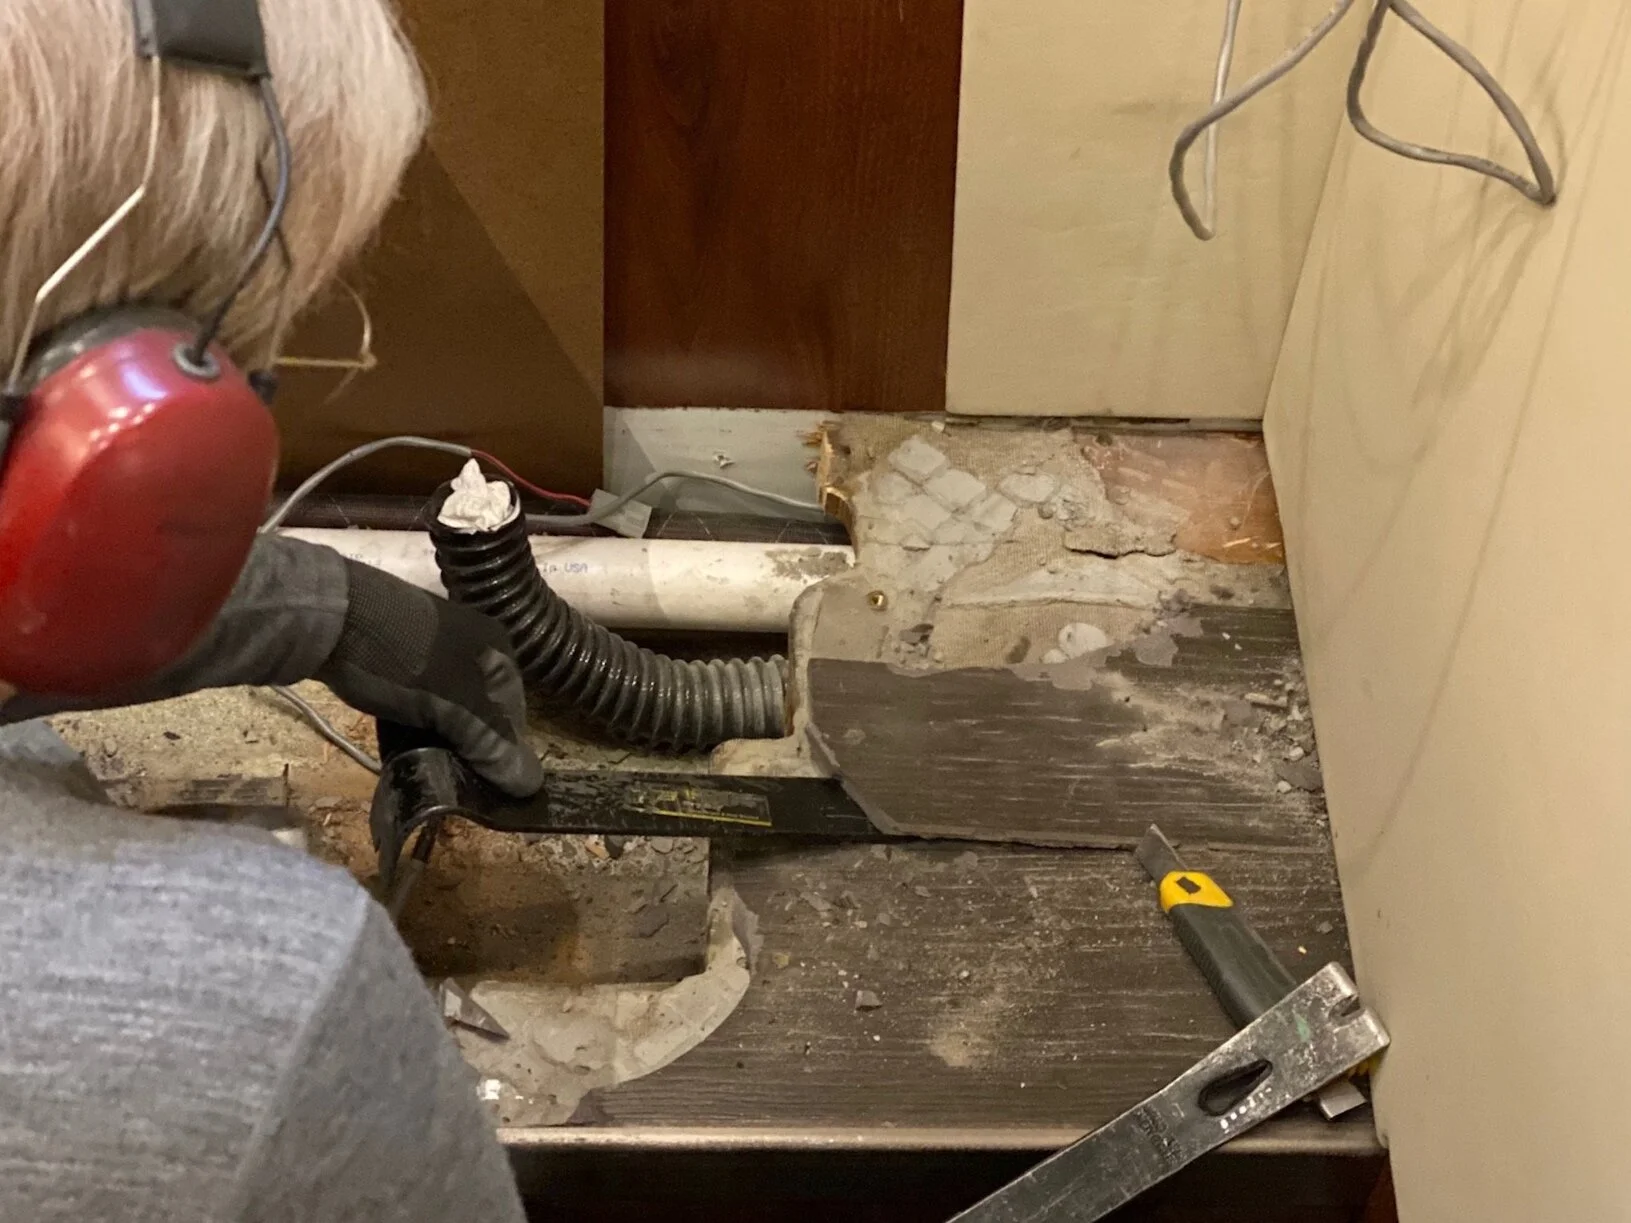
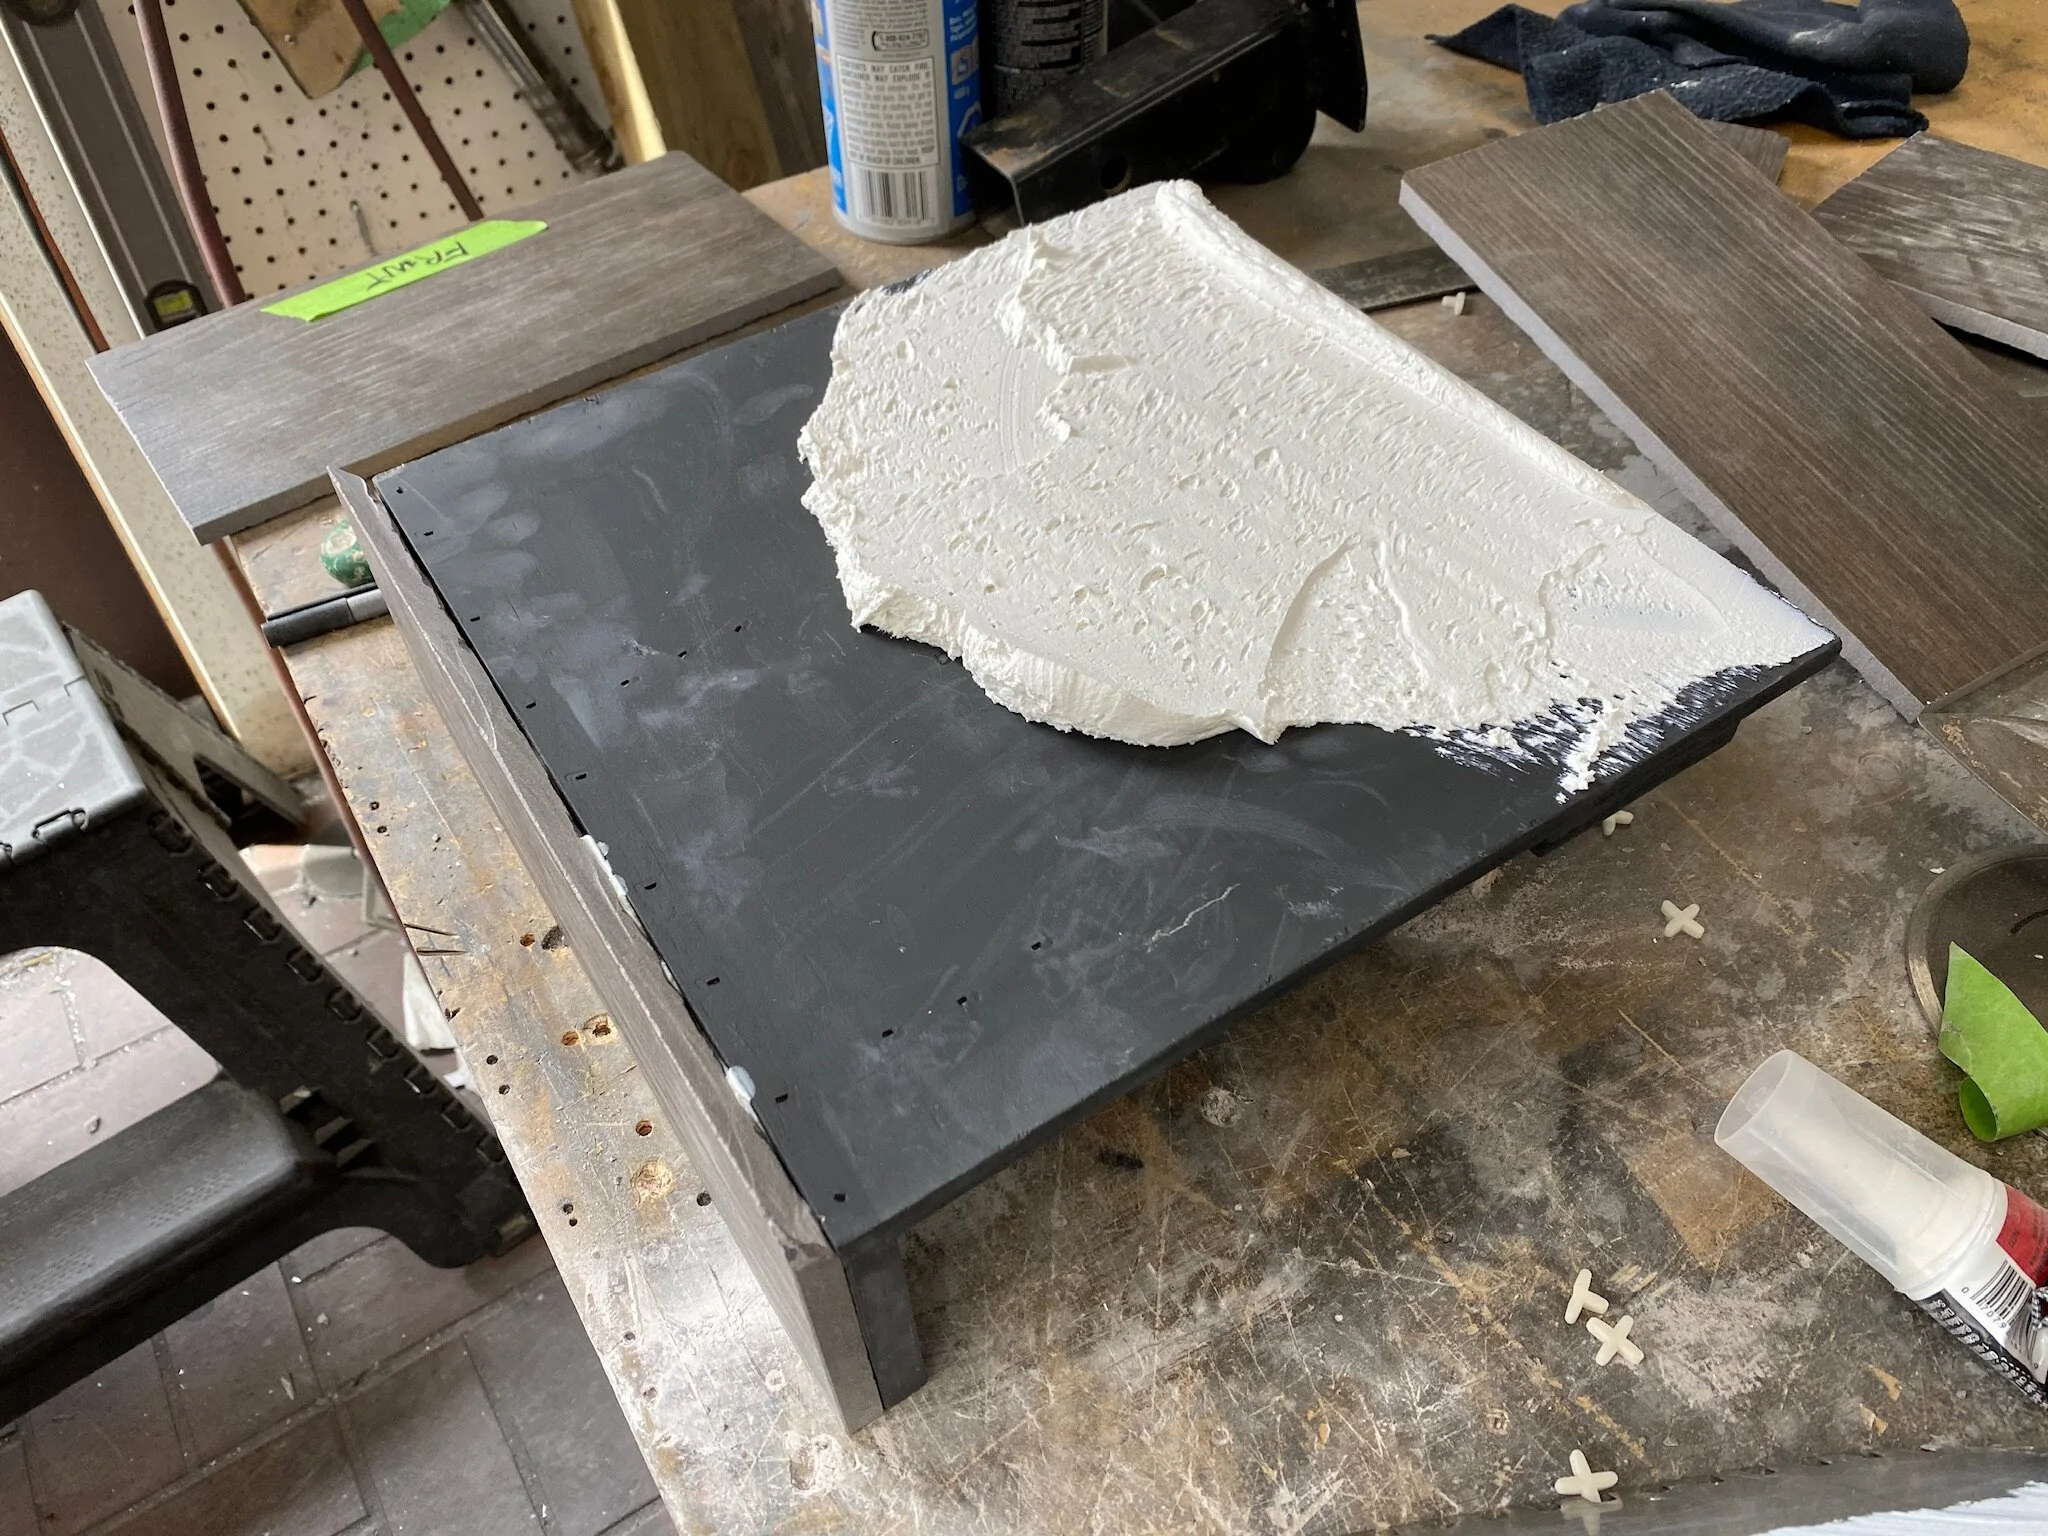
To convert to a composting toilet we first had to remove the old toilet and the plinth it was mounted on that accommodated the plumbing system. The toilet came out easily, but the plinth was another thing entirely.
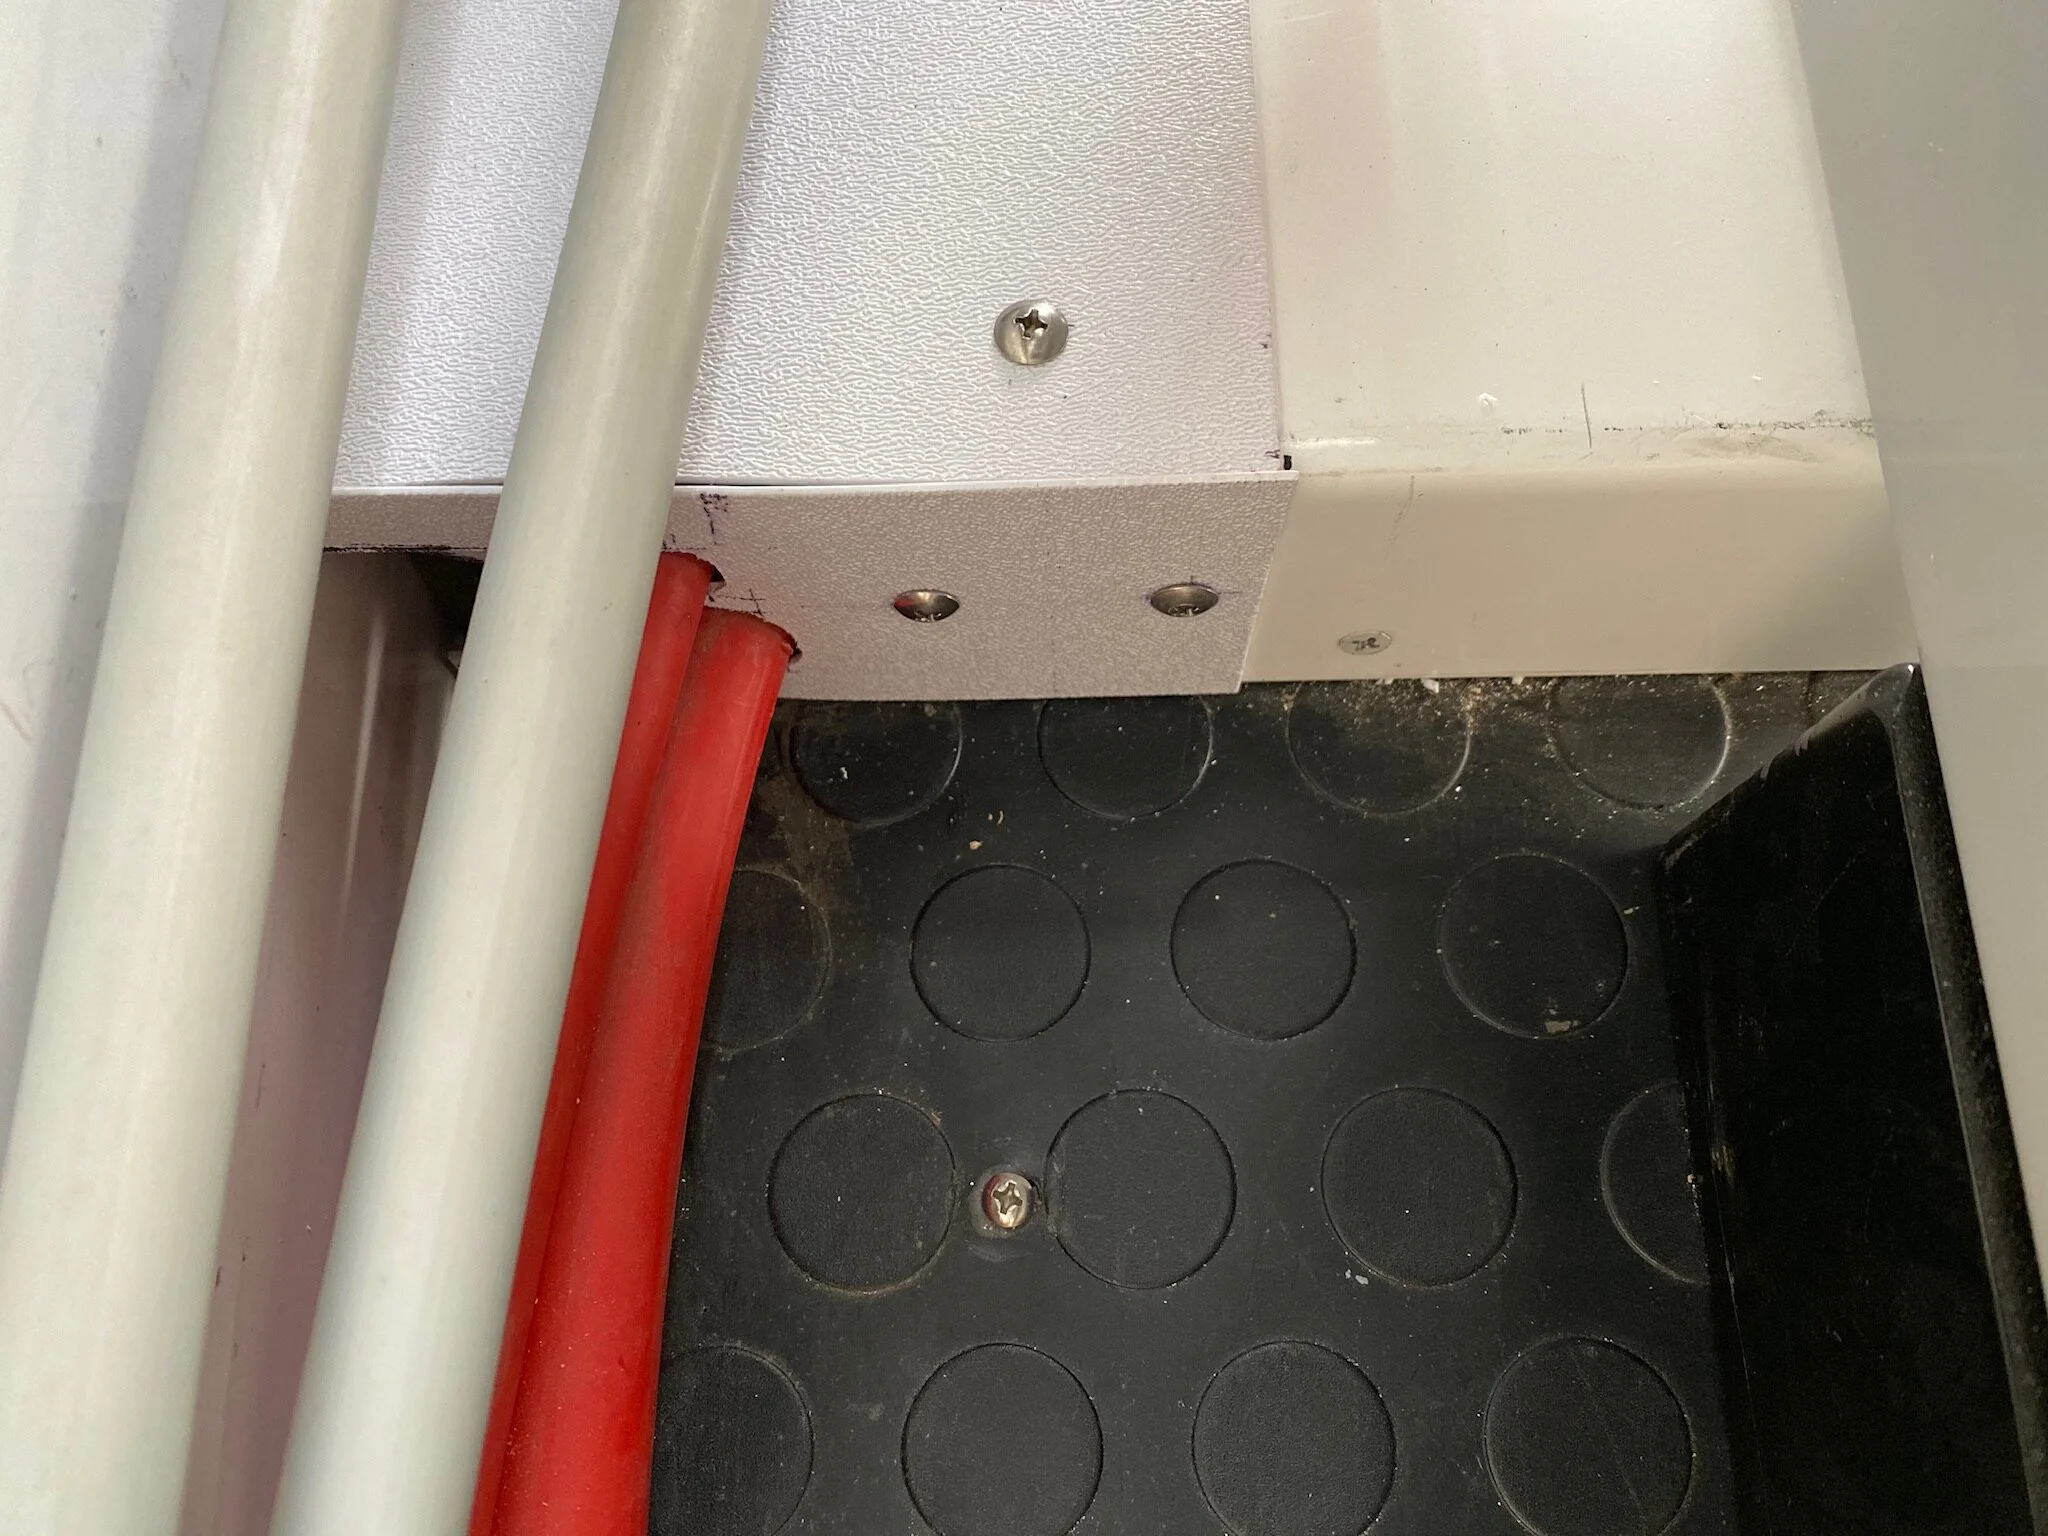
After removing the toilet, the plinth itself couldn’t simply be unbolted and lifted out. The fasteners that held it in place were covered by the ceramic floor tile. So to get at them, all the tile had to be chipped away. But once the fasteners were removed, the plinth still couldn’t be lifted out. Other things that were installed after the plinth still keyed the plinth in place. So instead of removing those other items, such as the wall bolsters and bathroom cabinet, we removed the plinth by cutting it into small enough pieces that it could be pulled out one bit at a time.


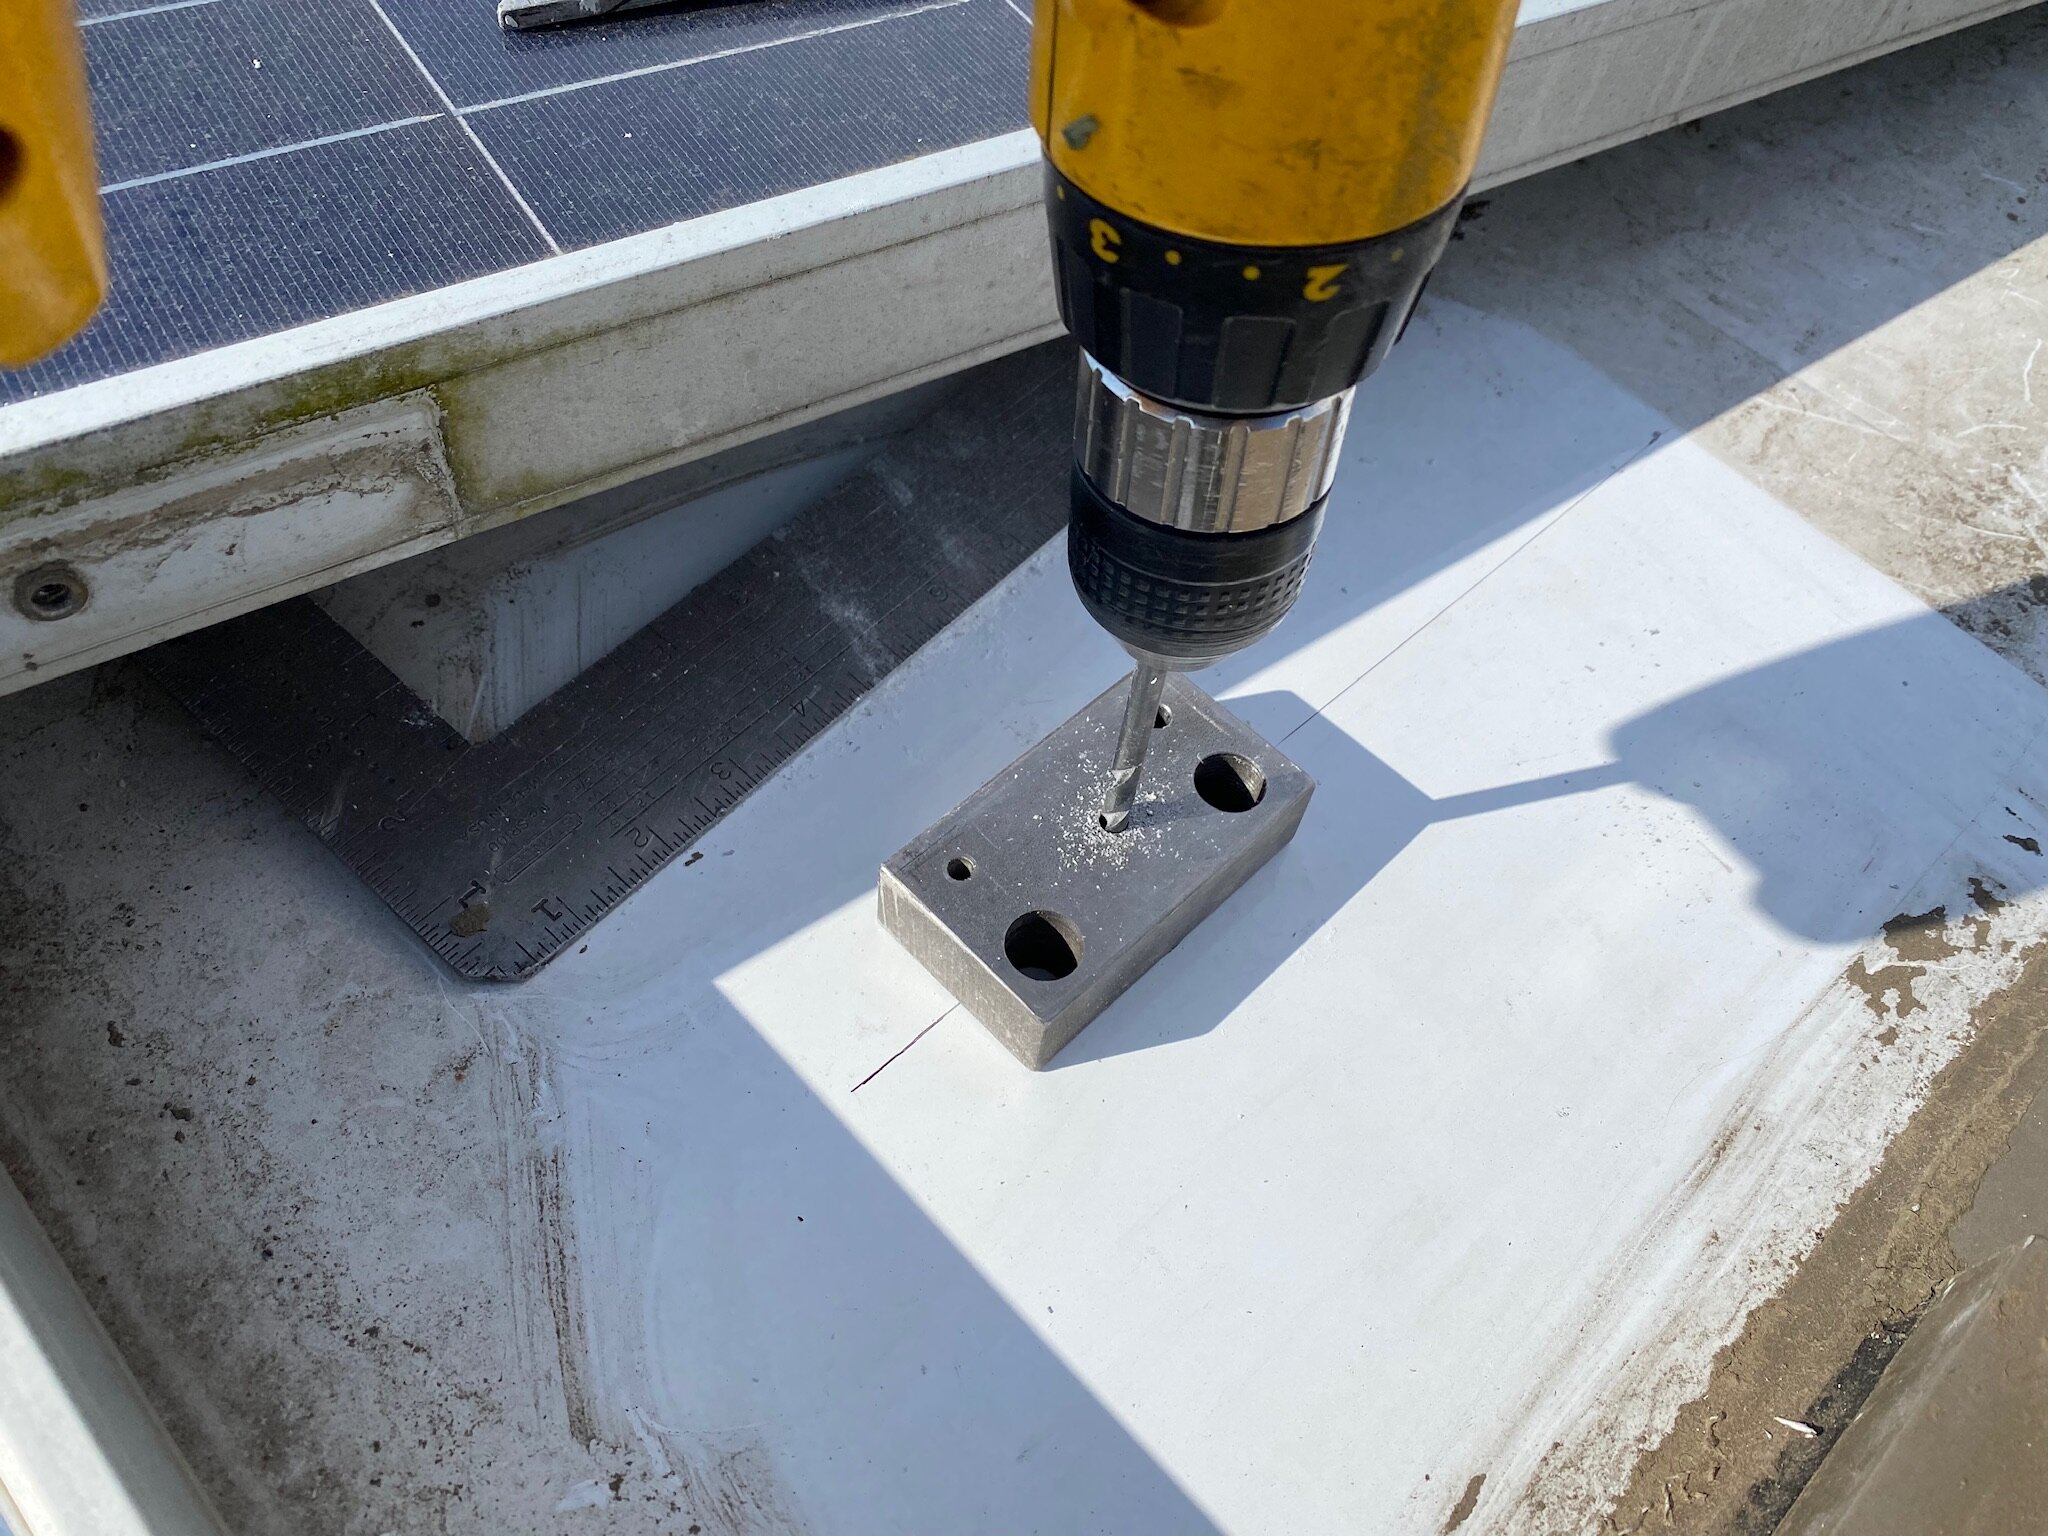
Custom Modifications to the CompoOst Toilet
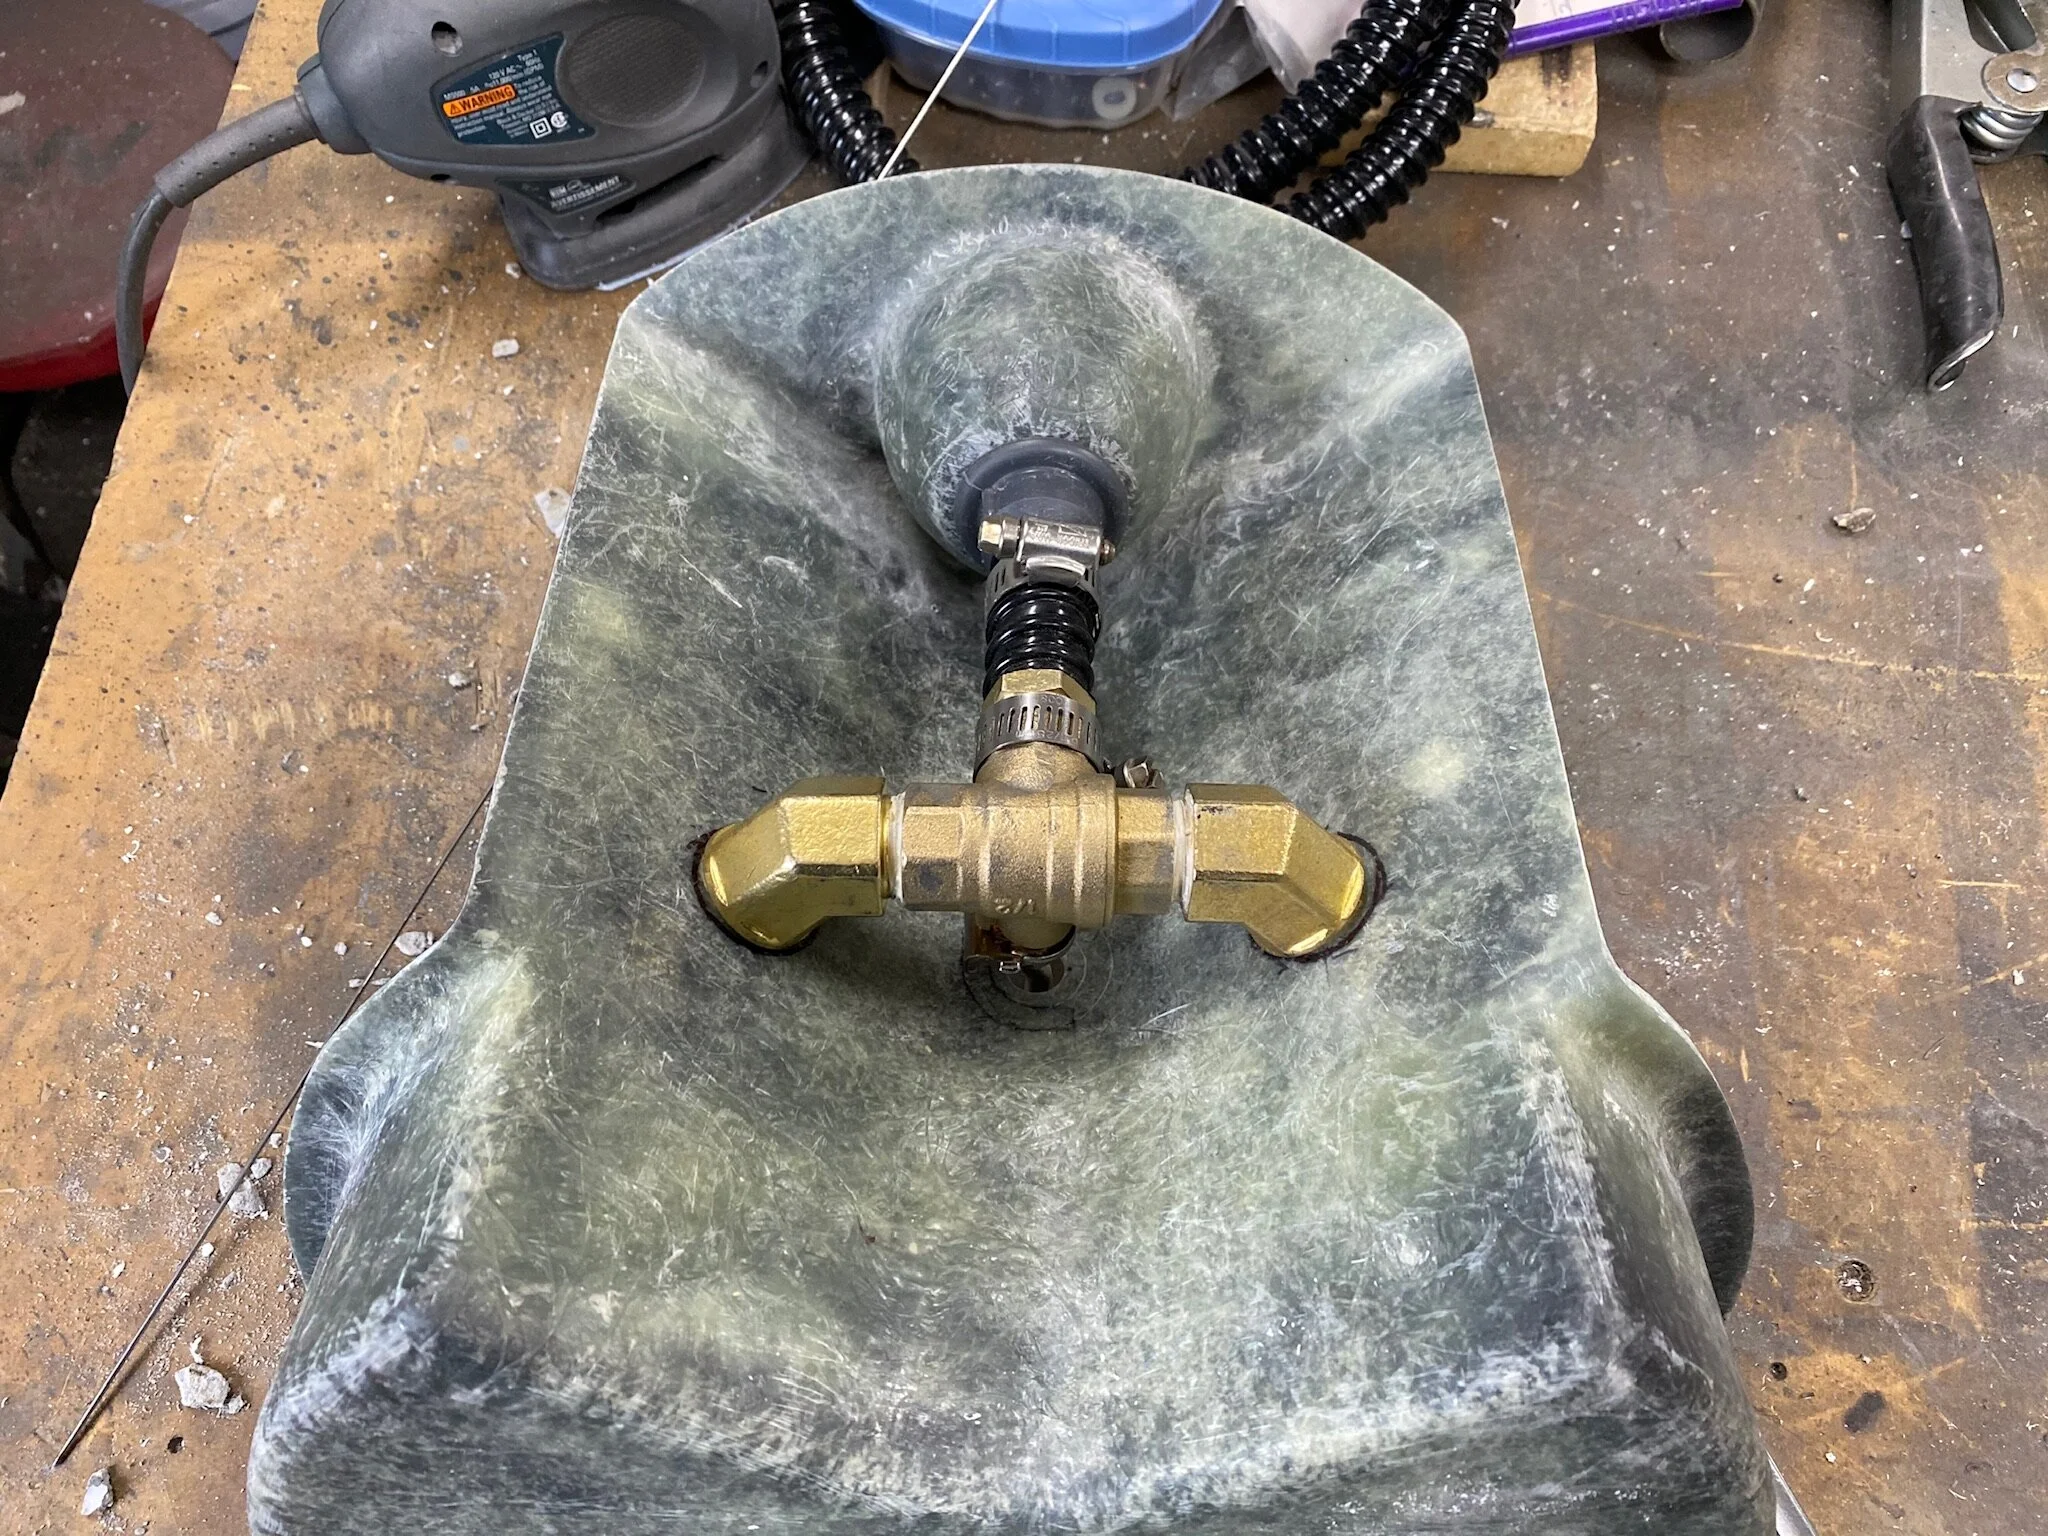
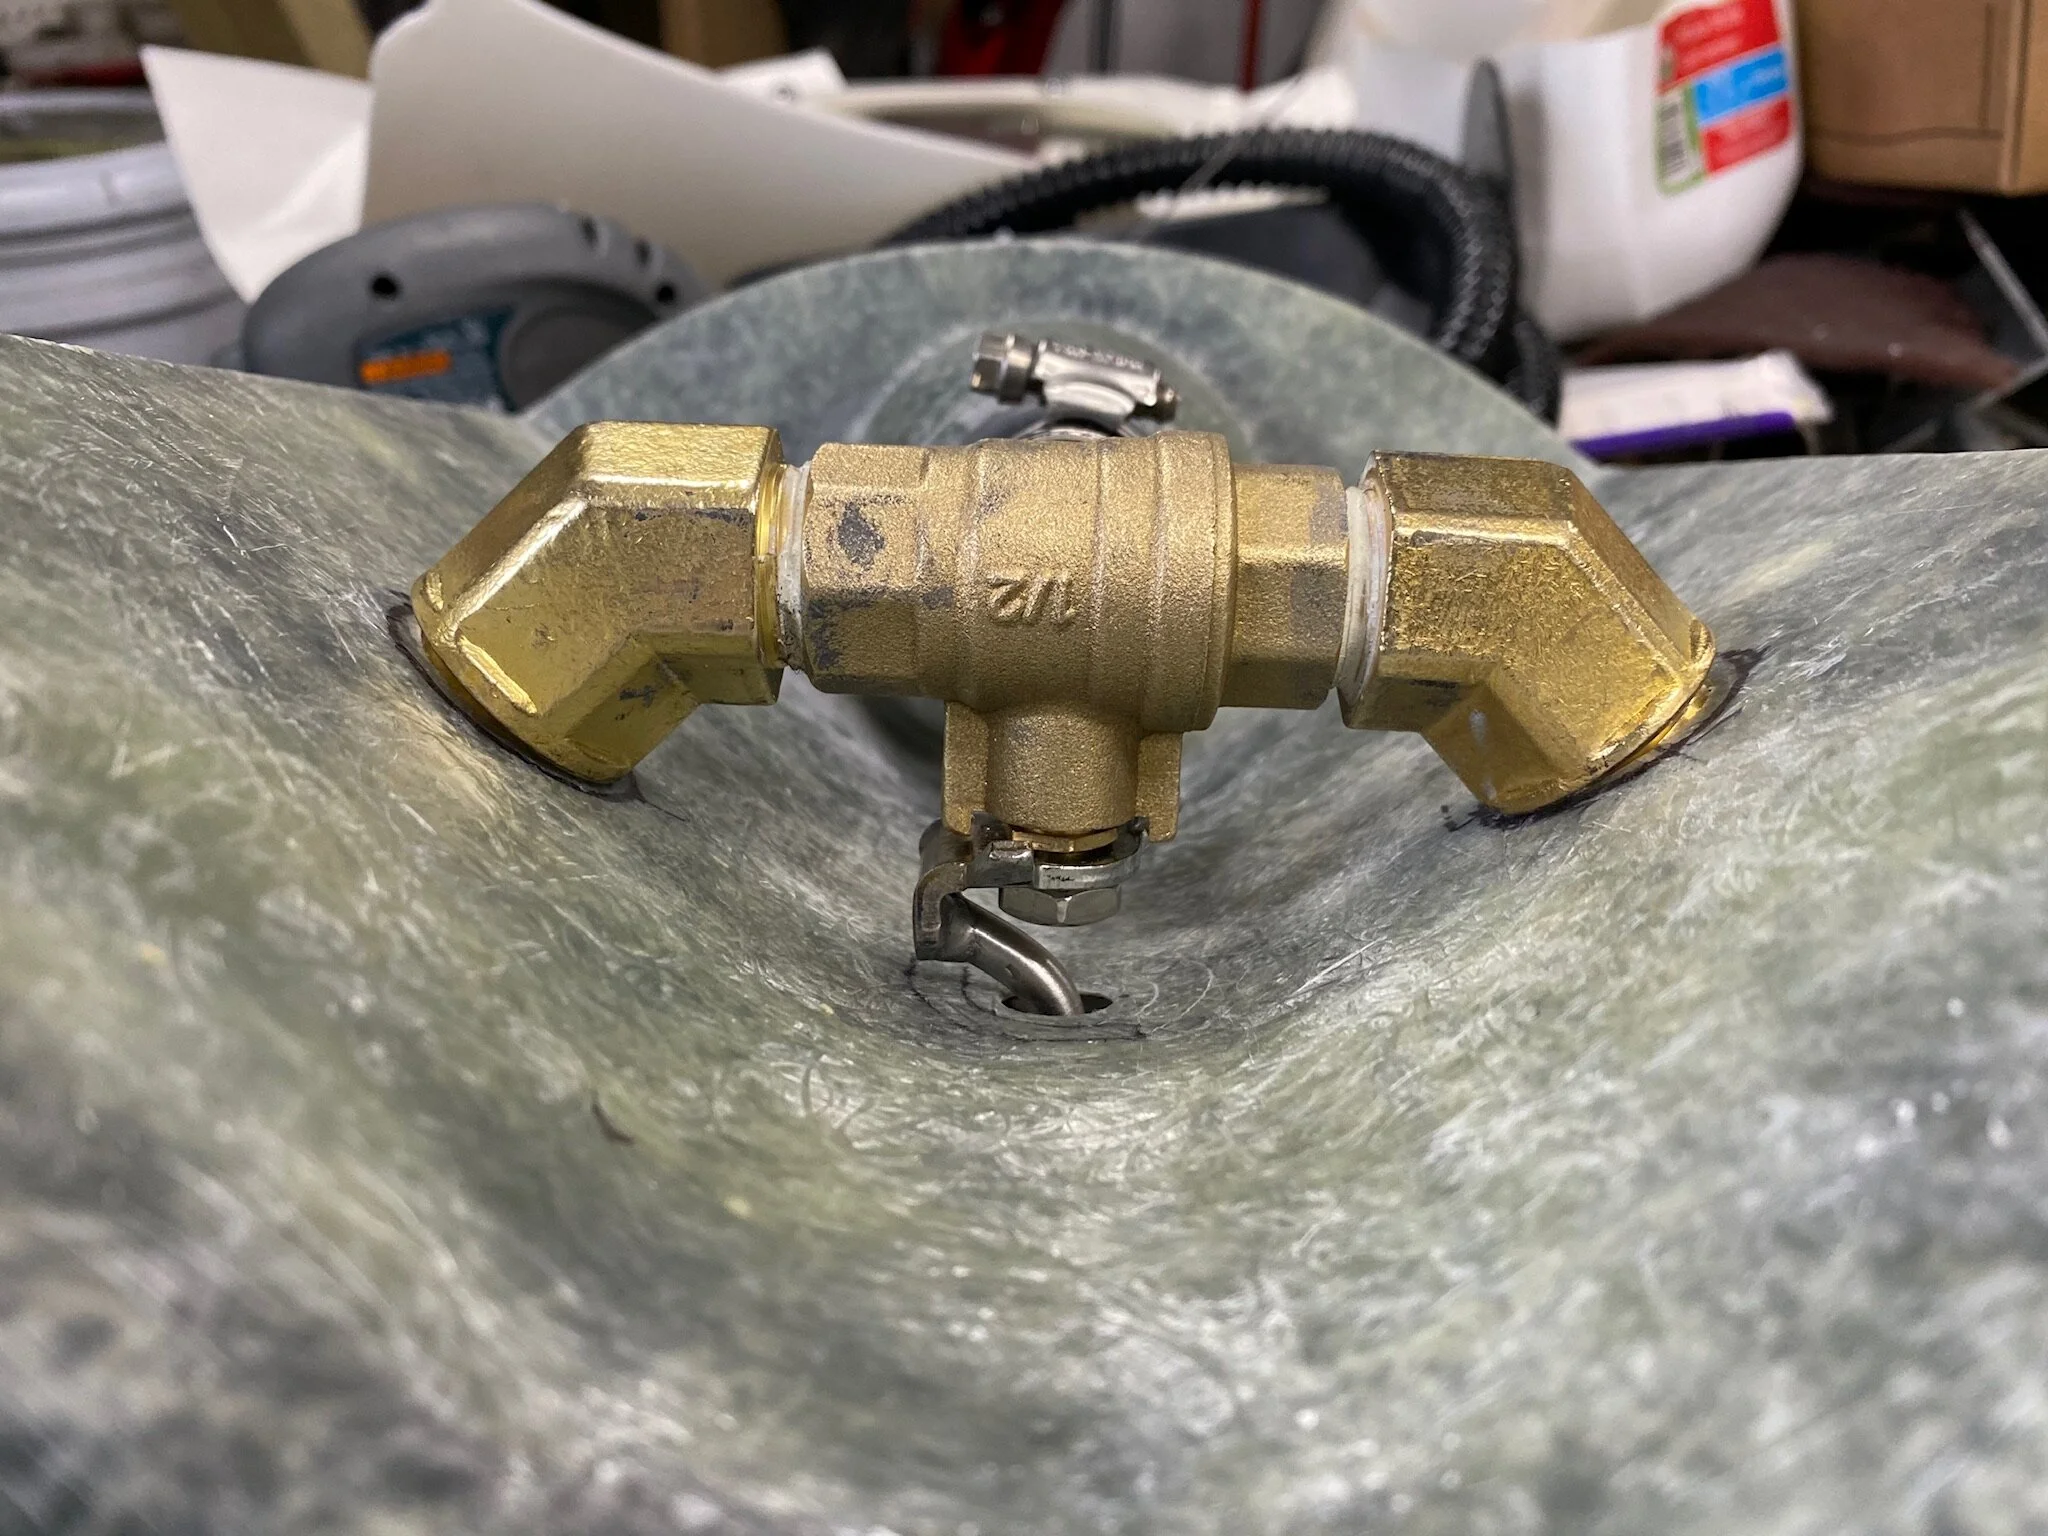
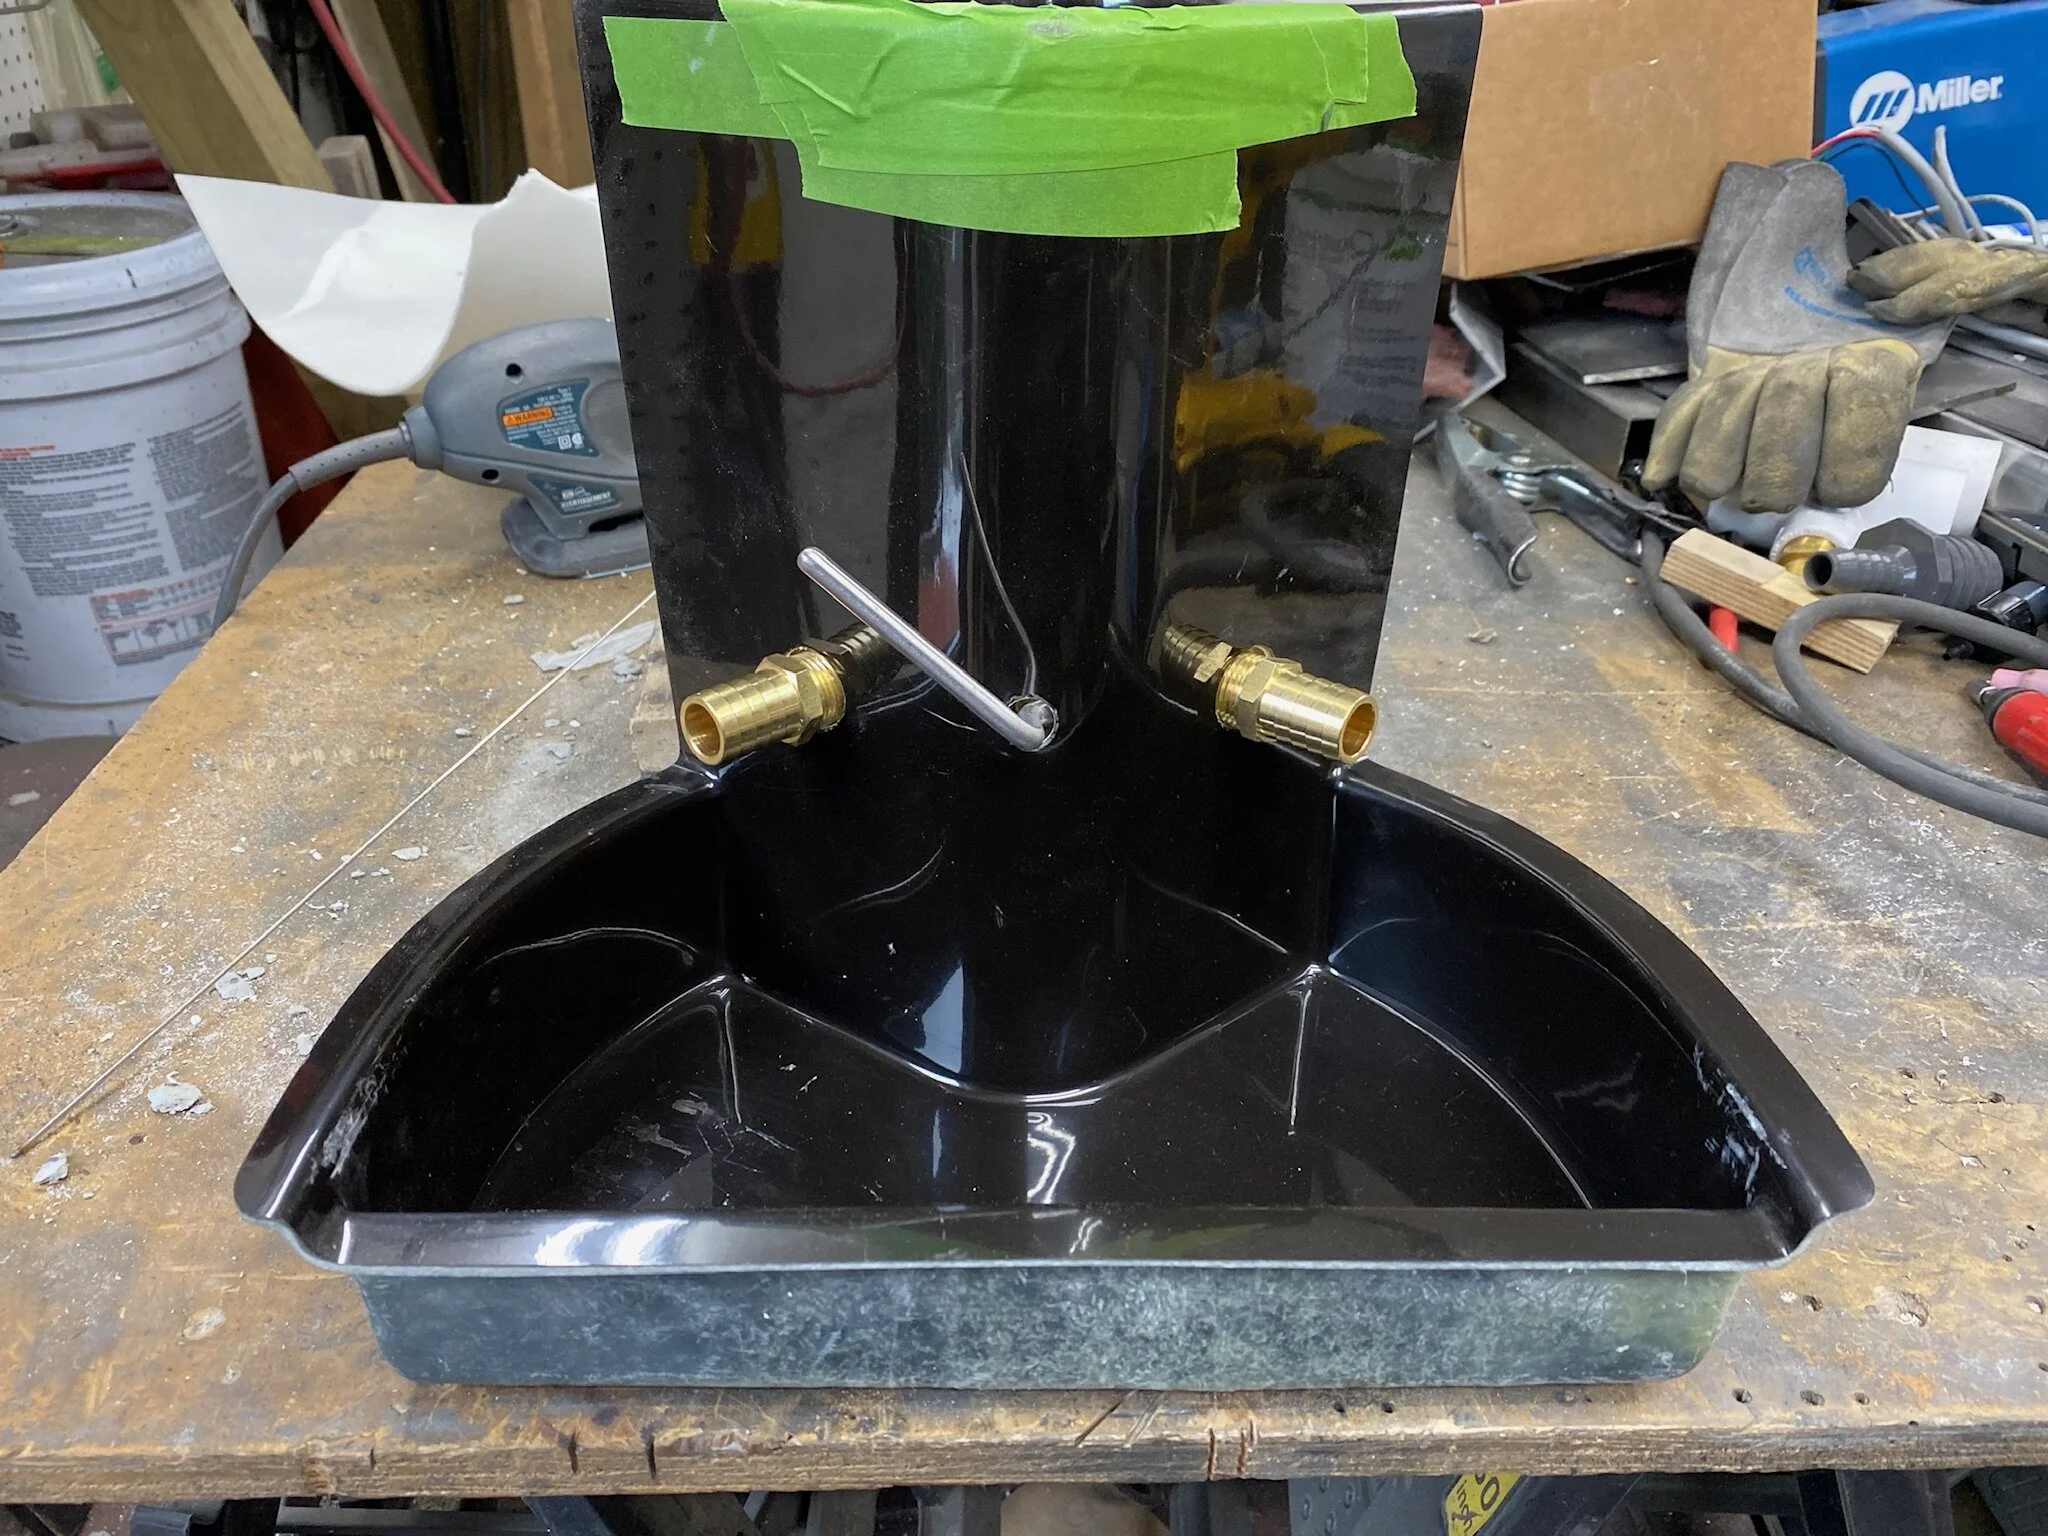
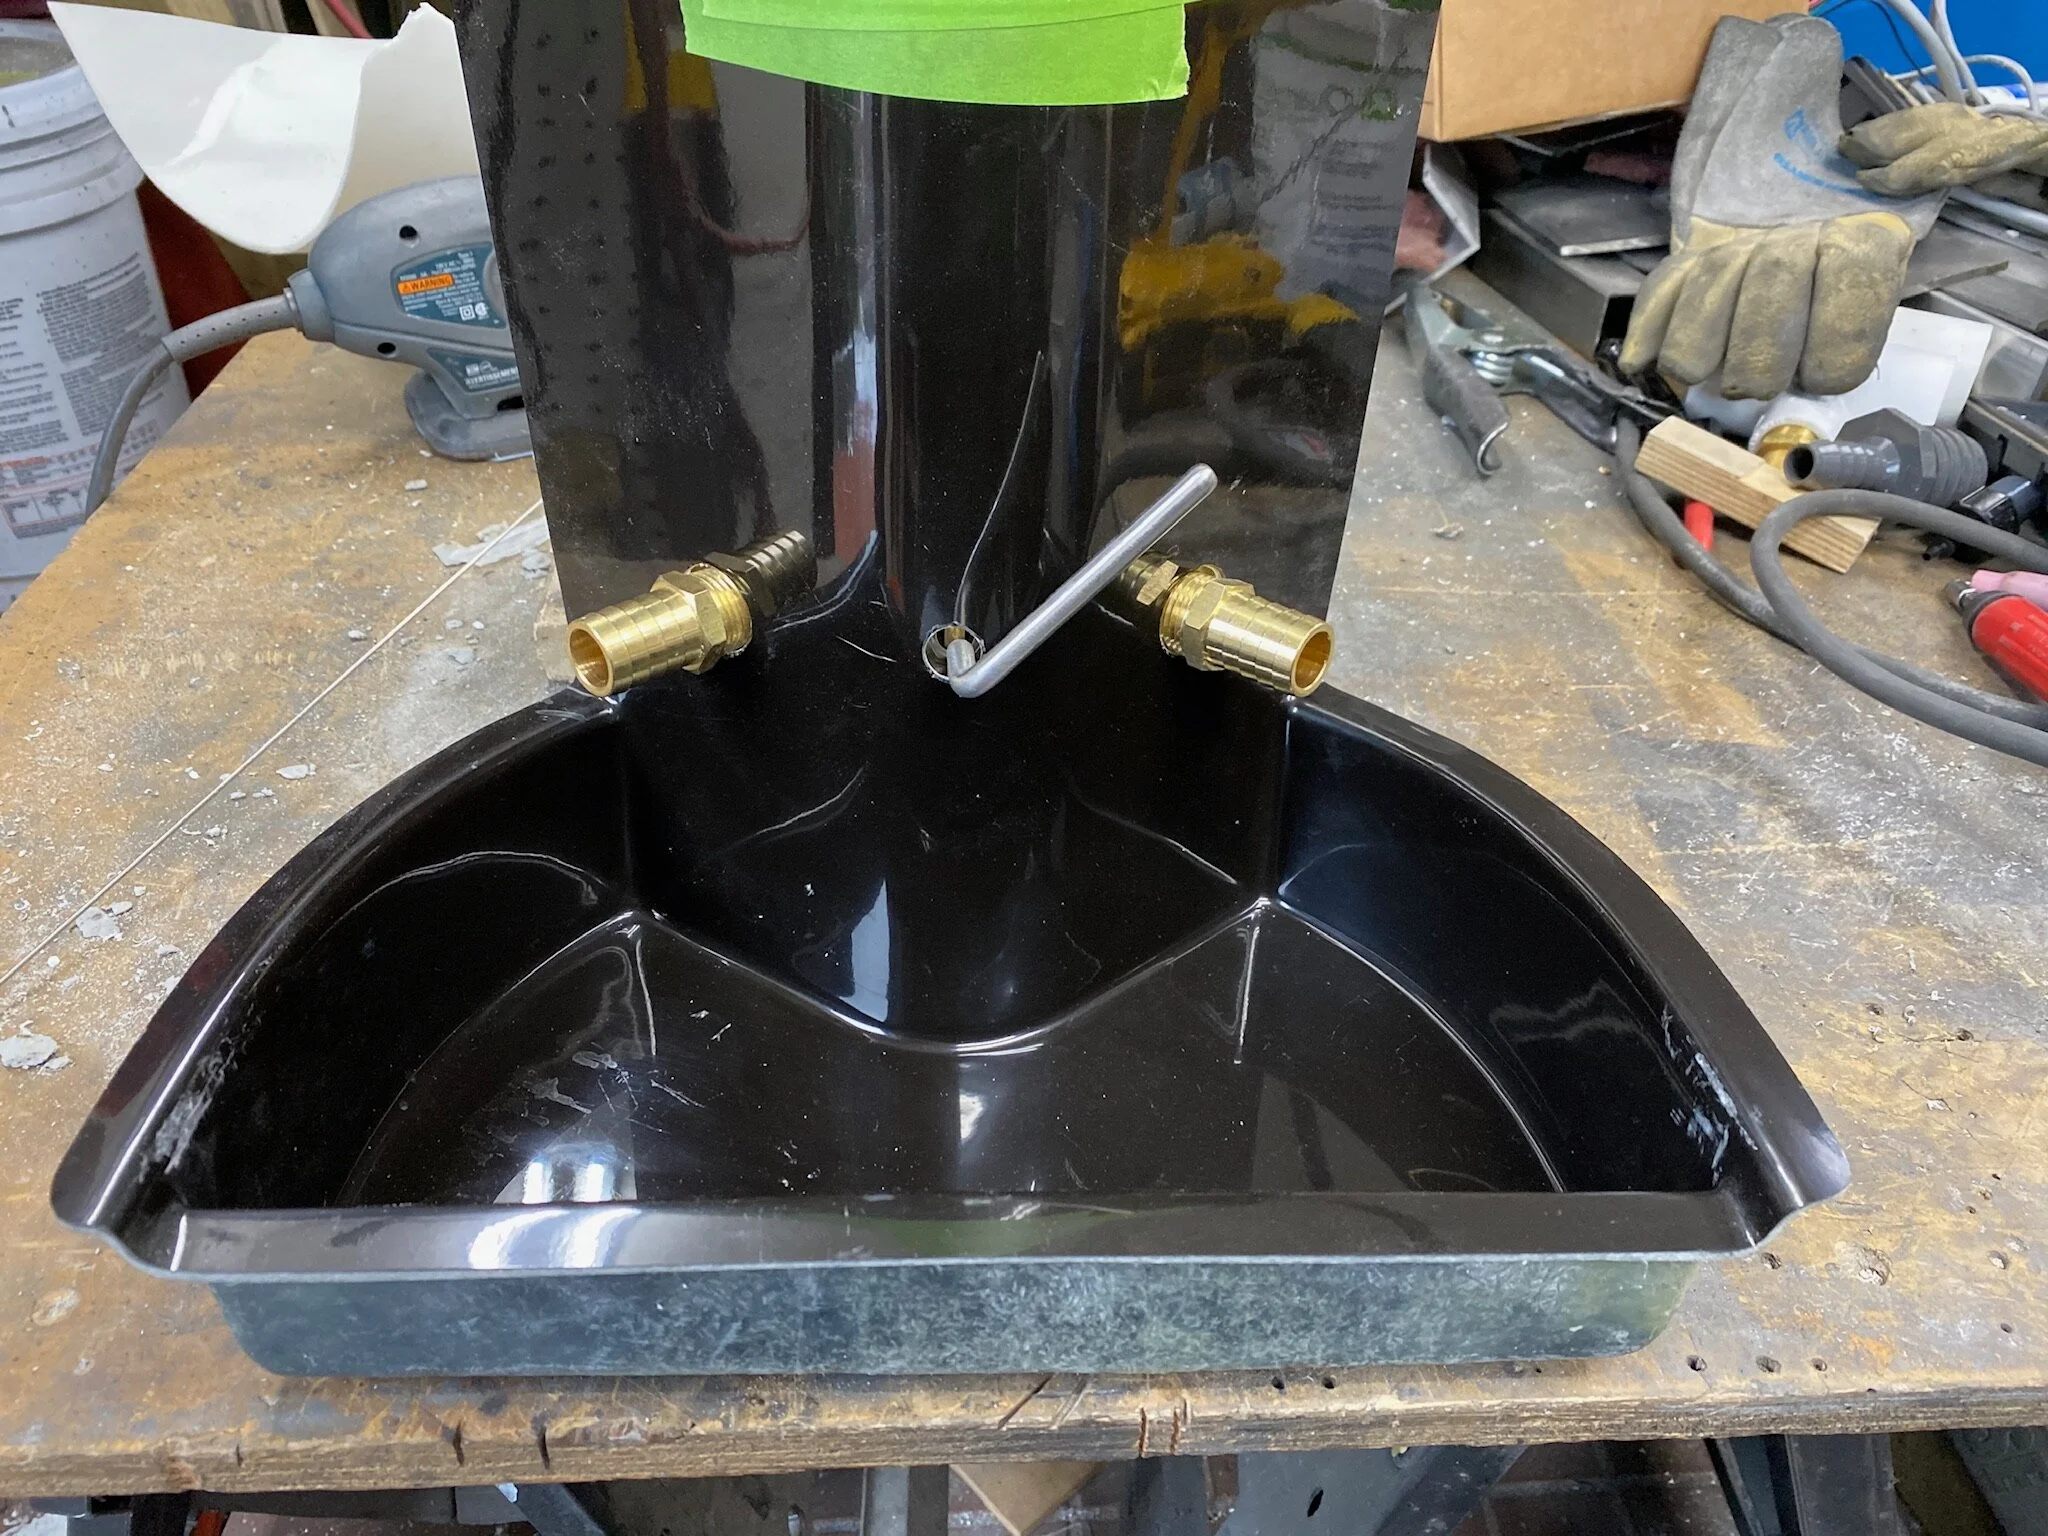
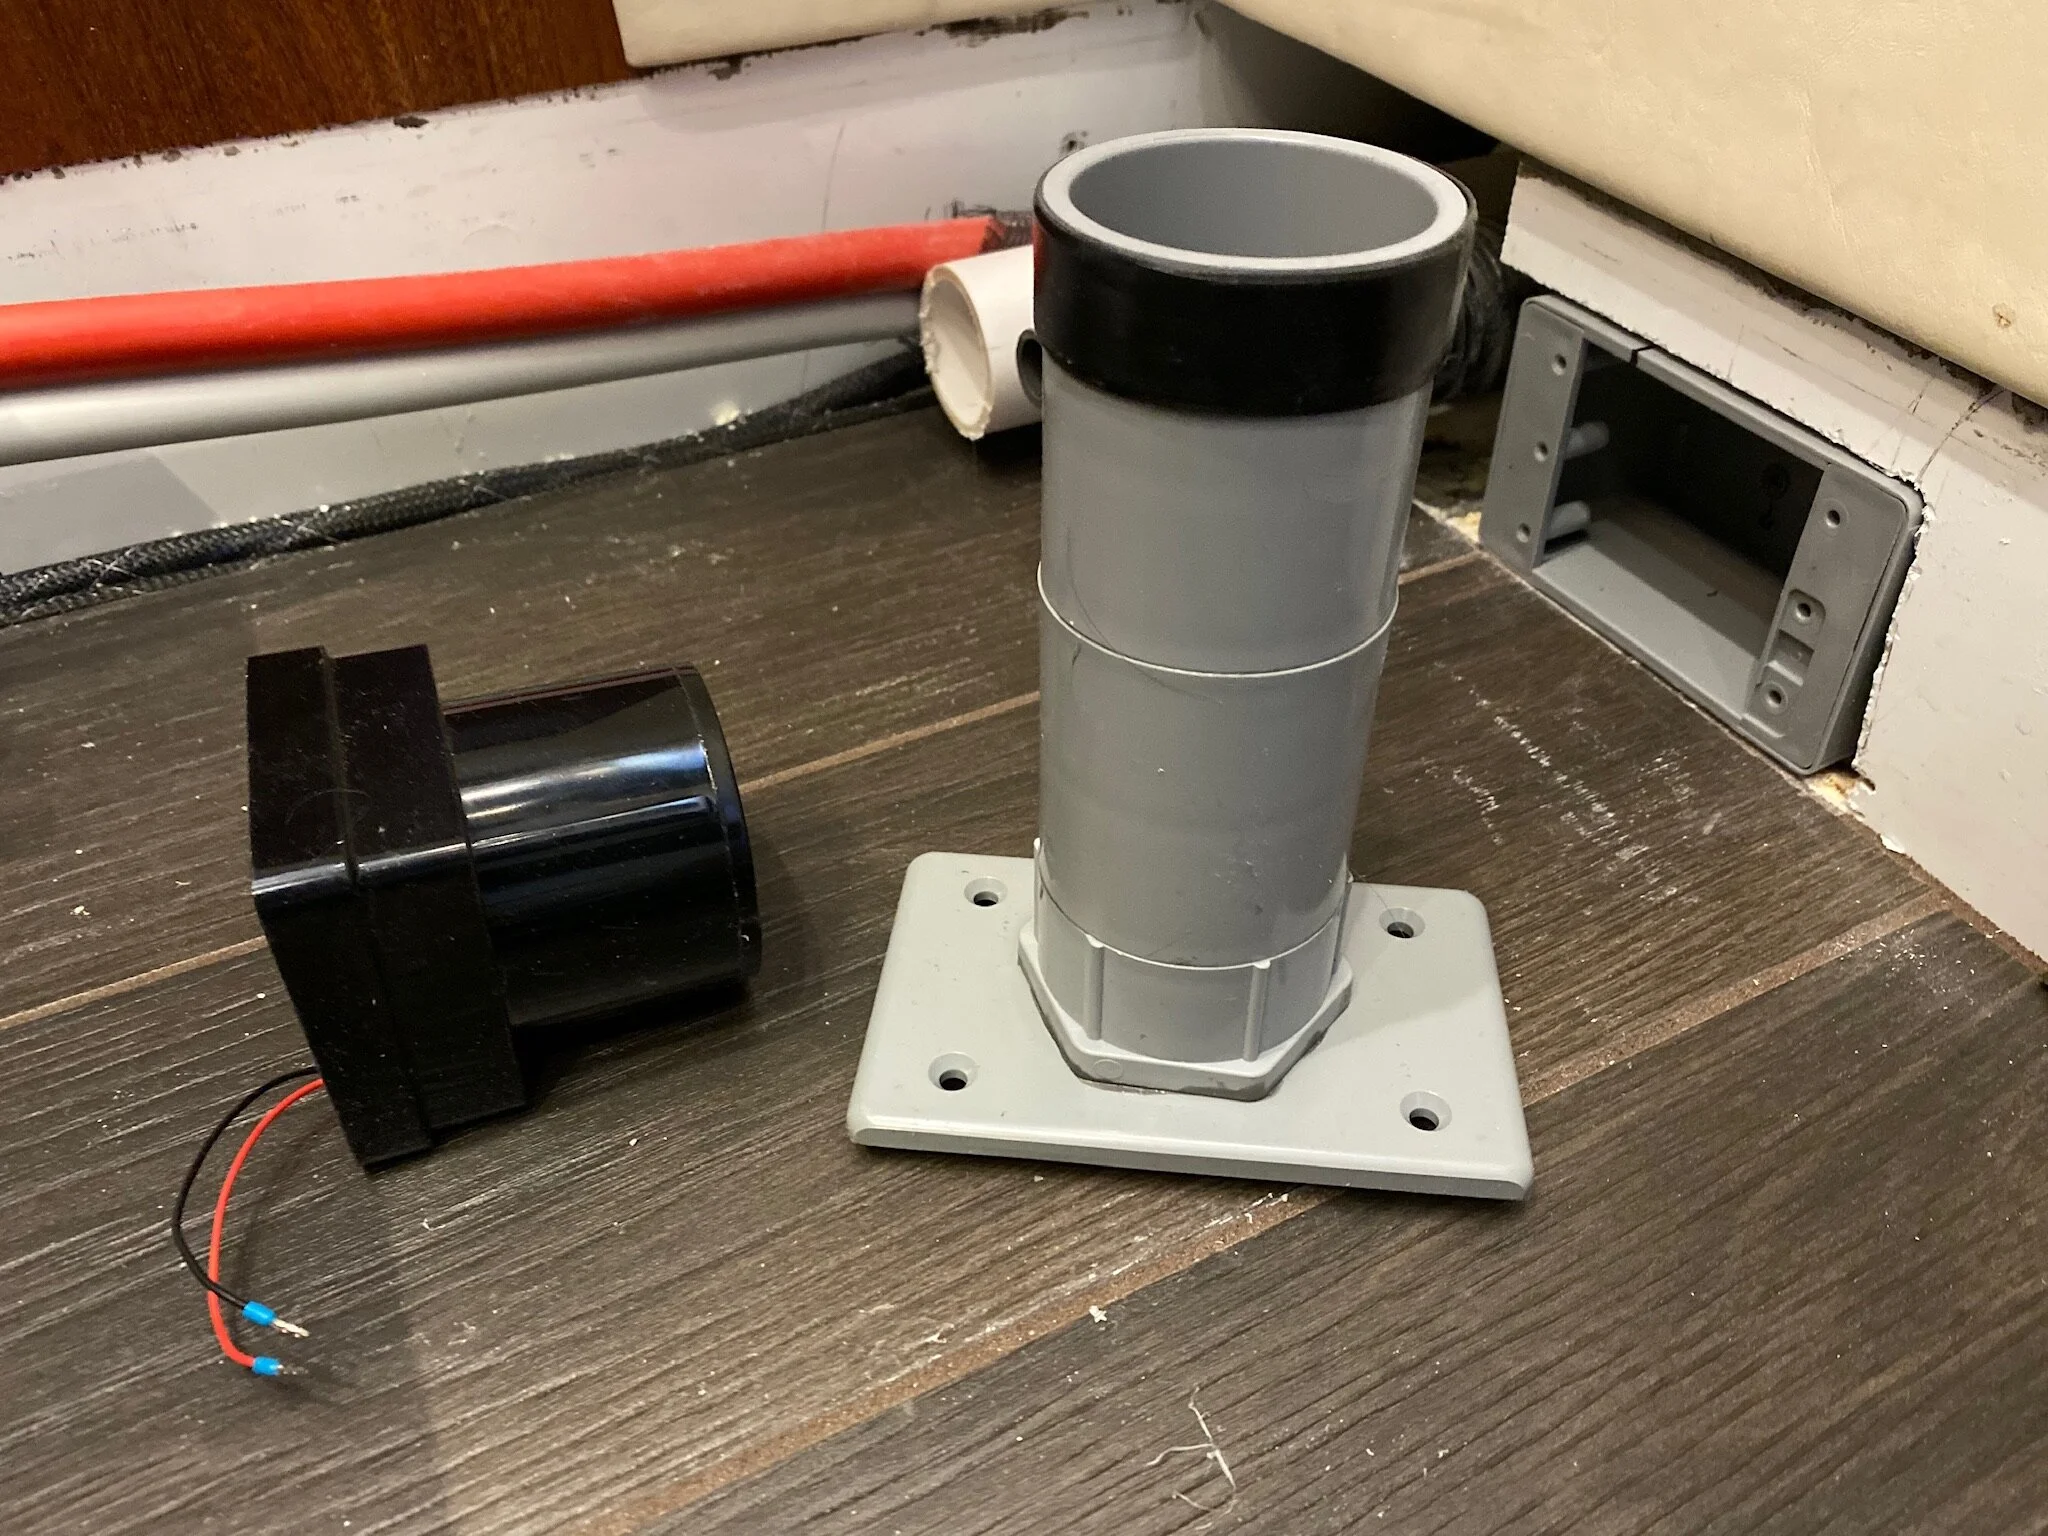
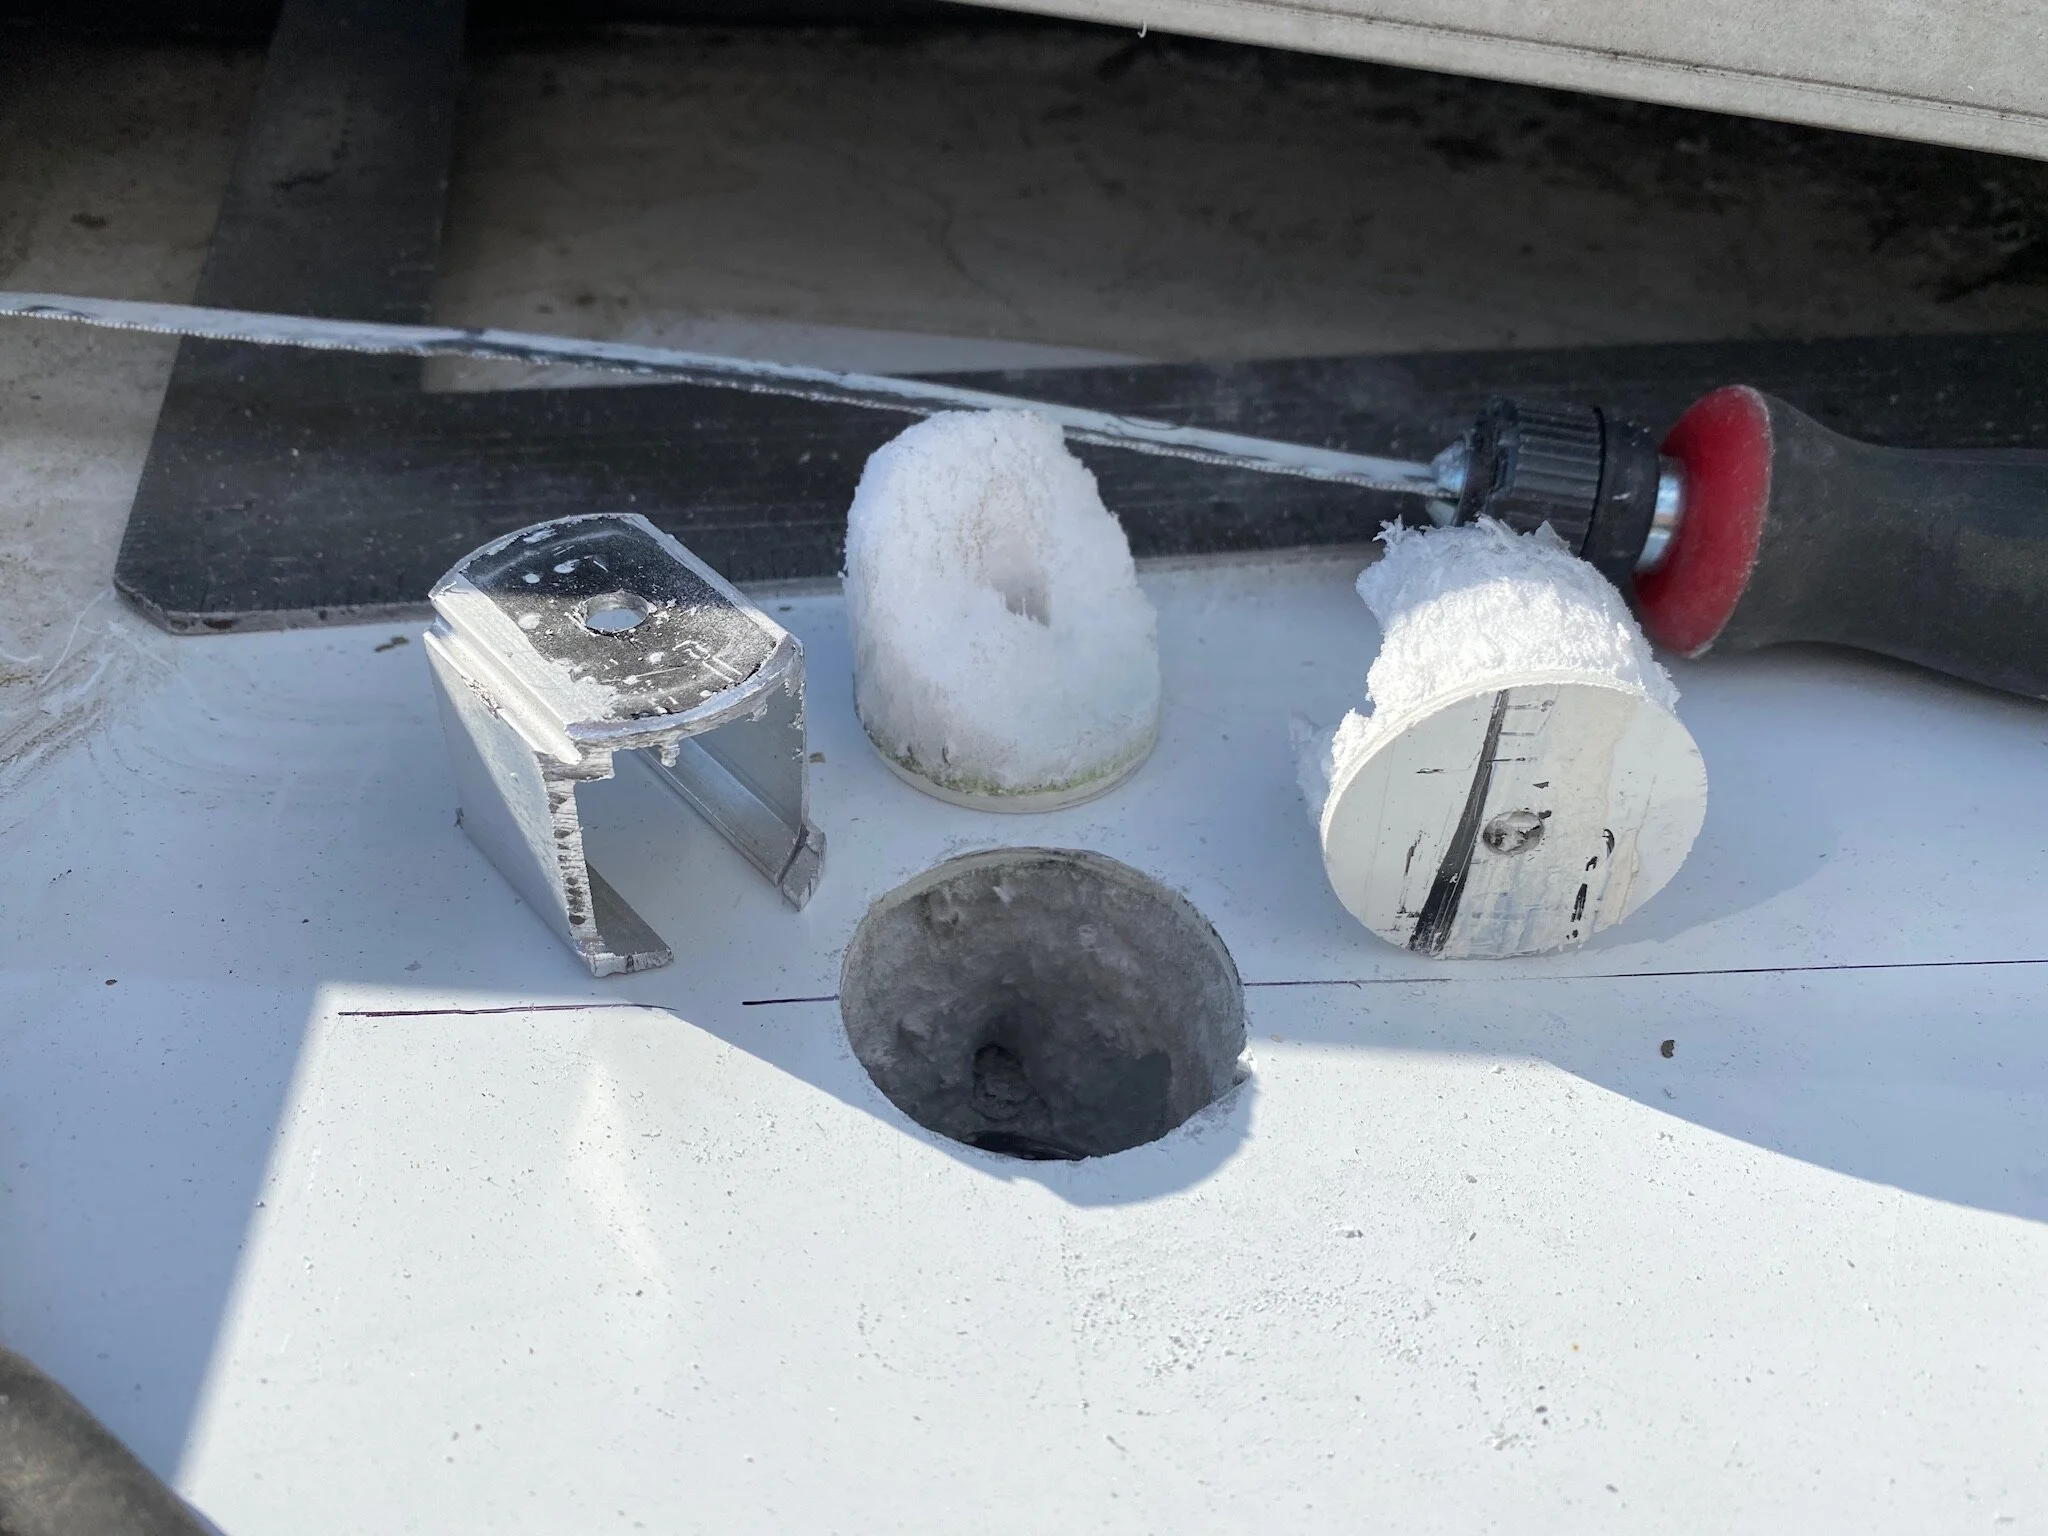
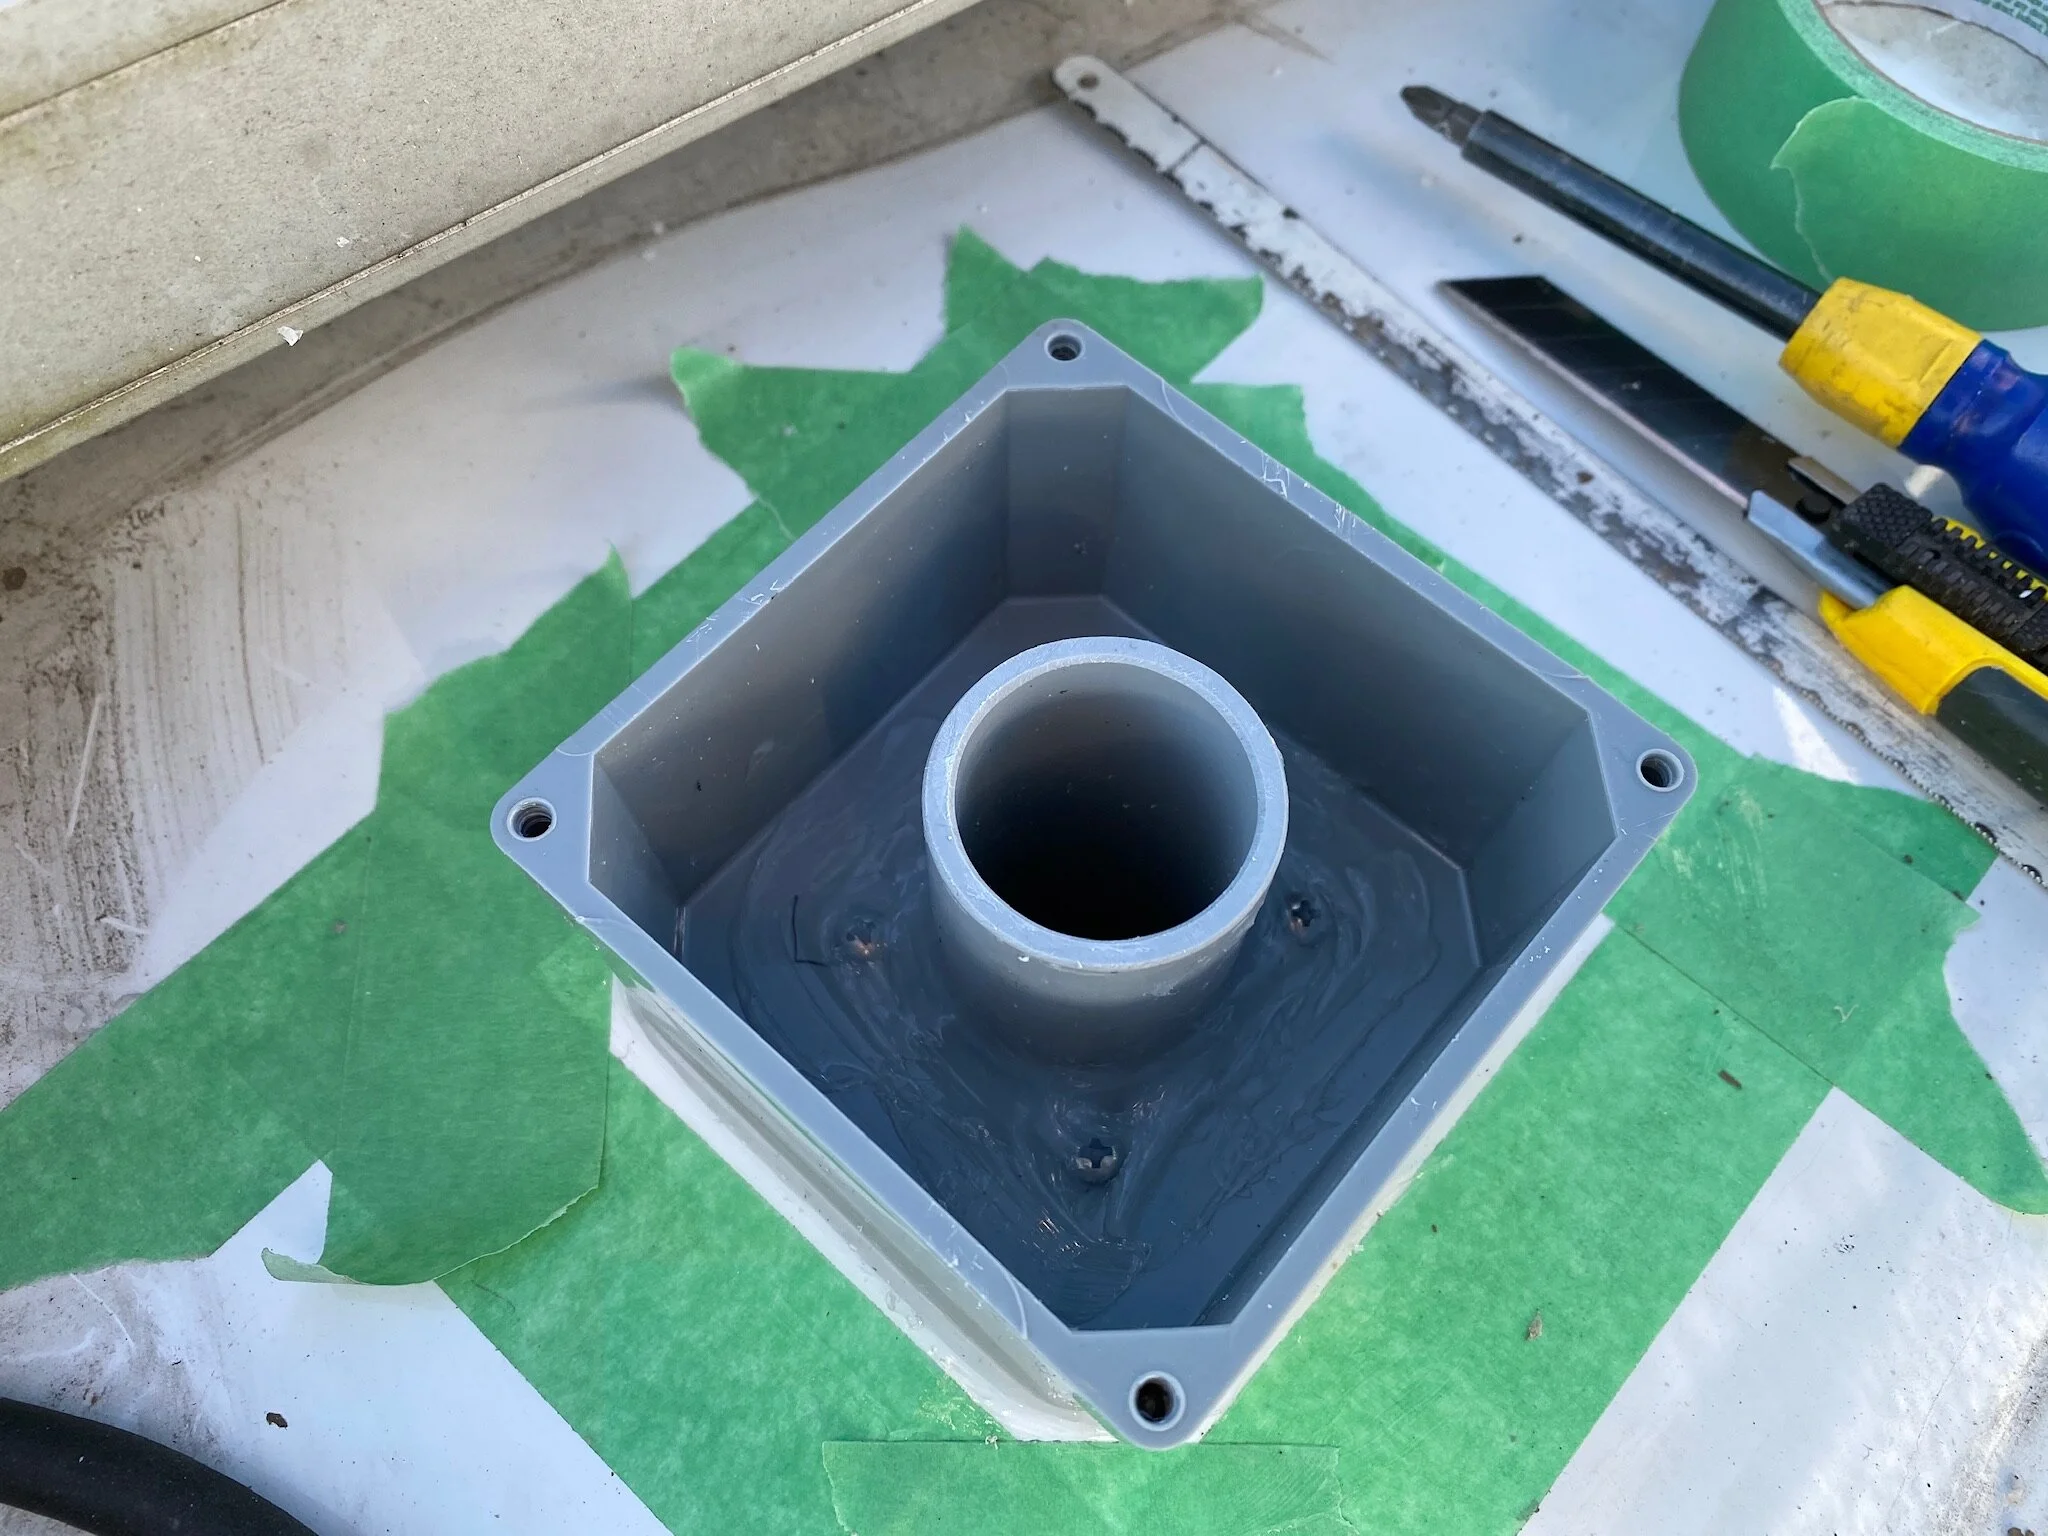
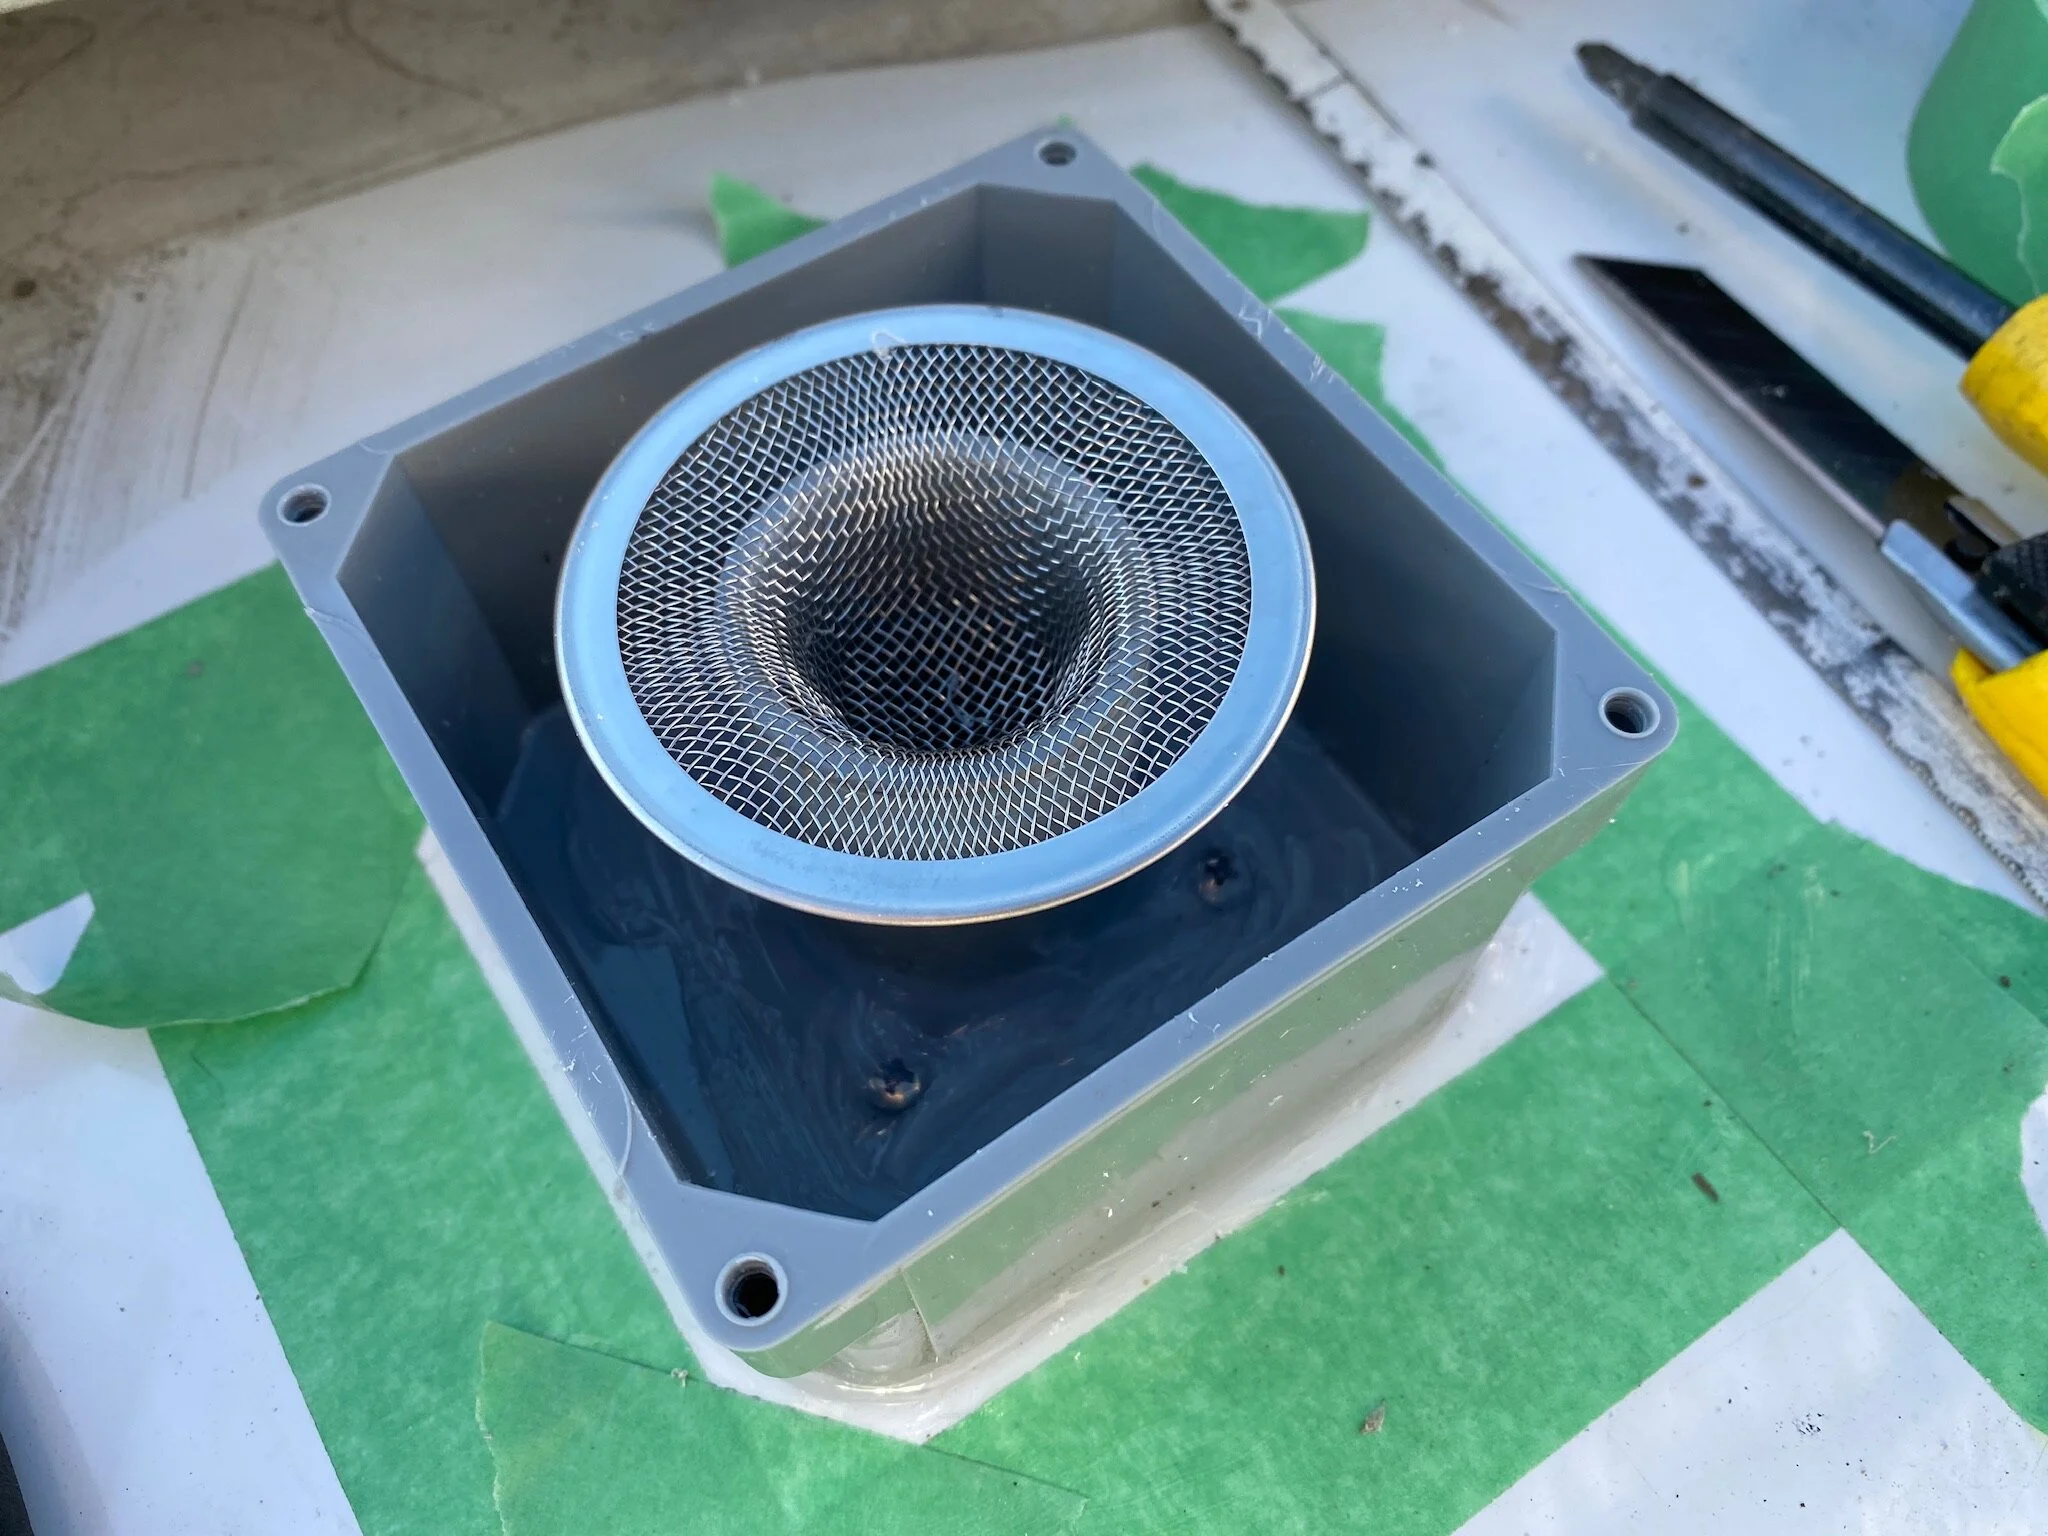
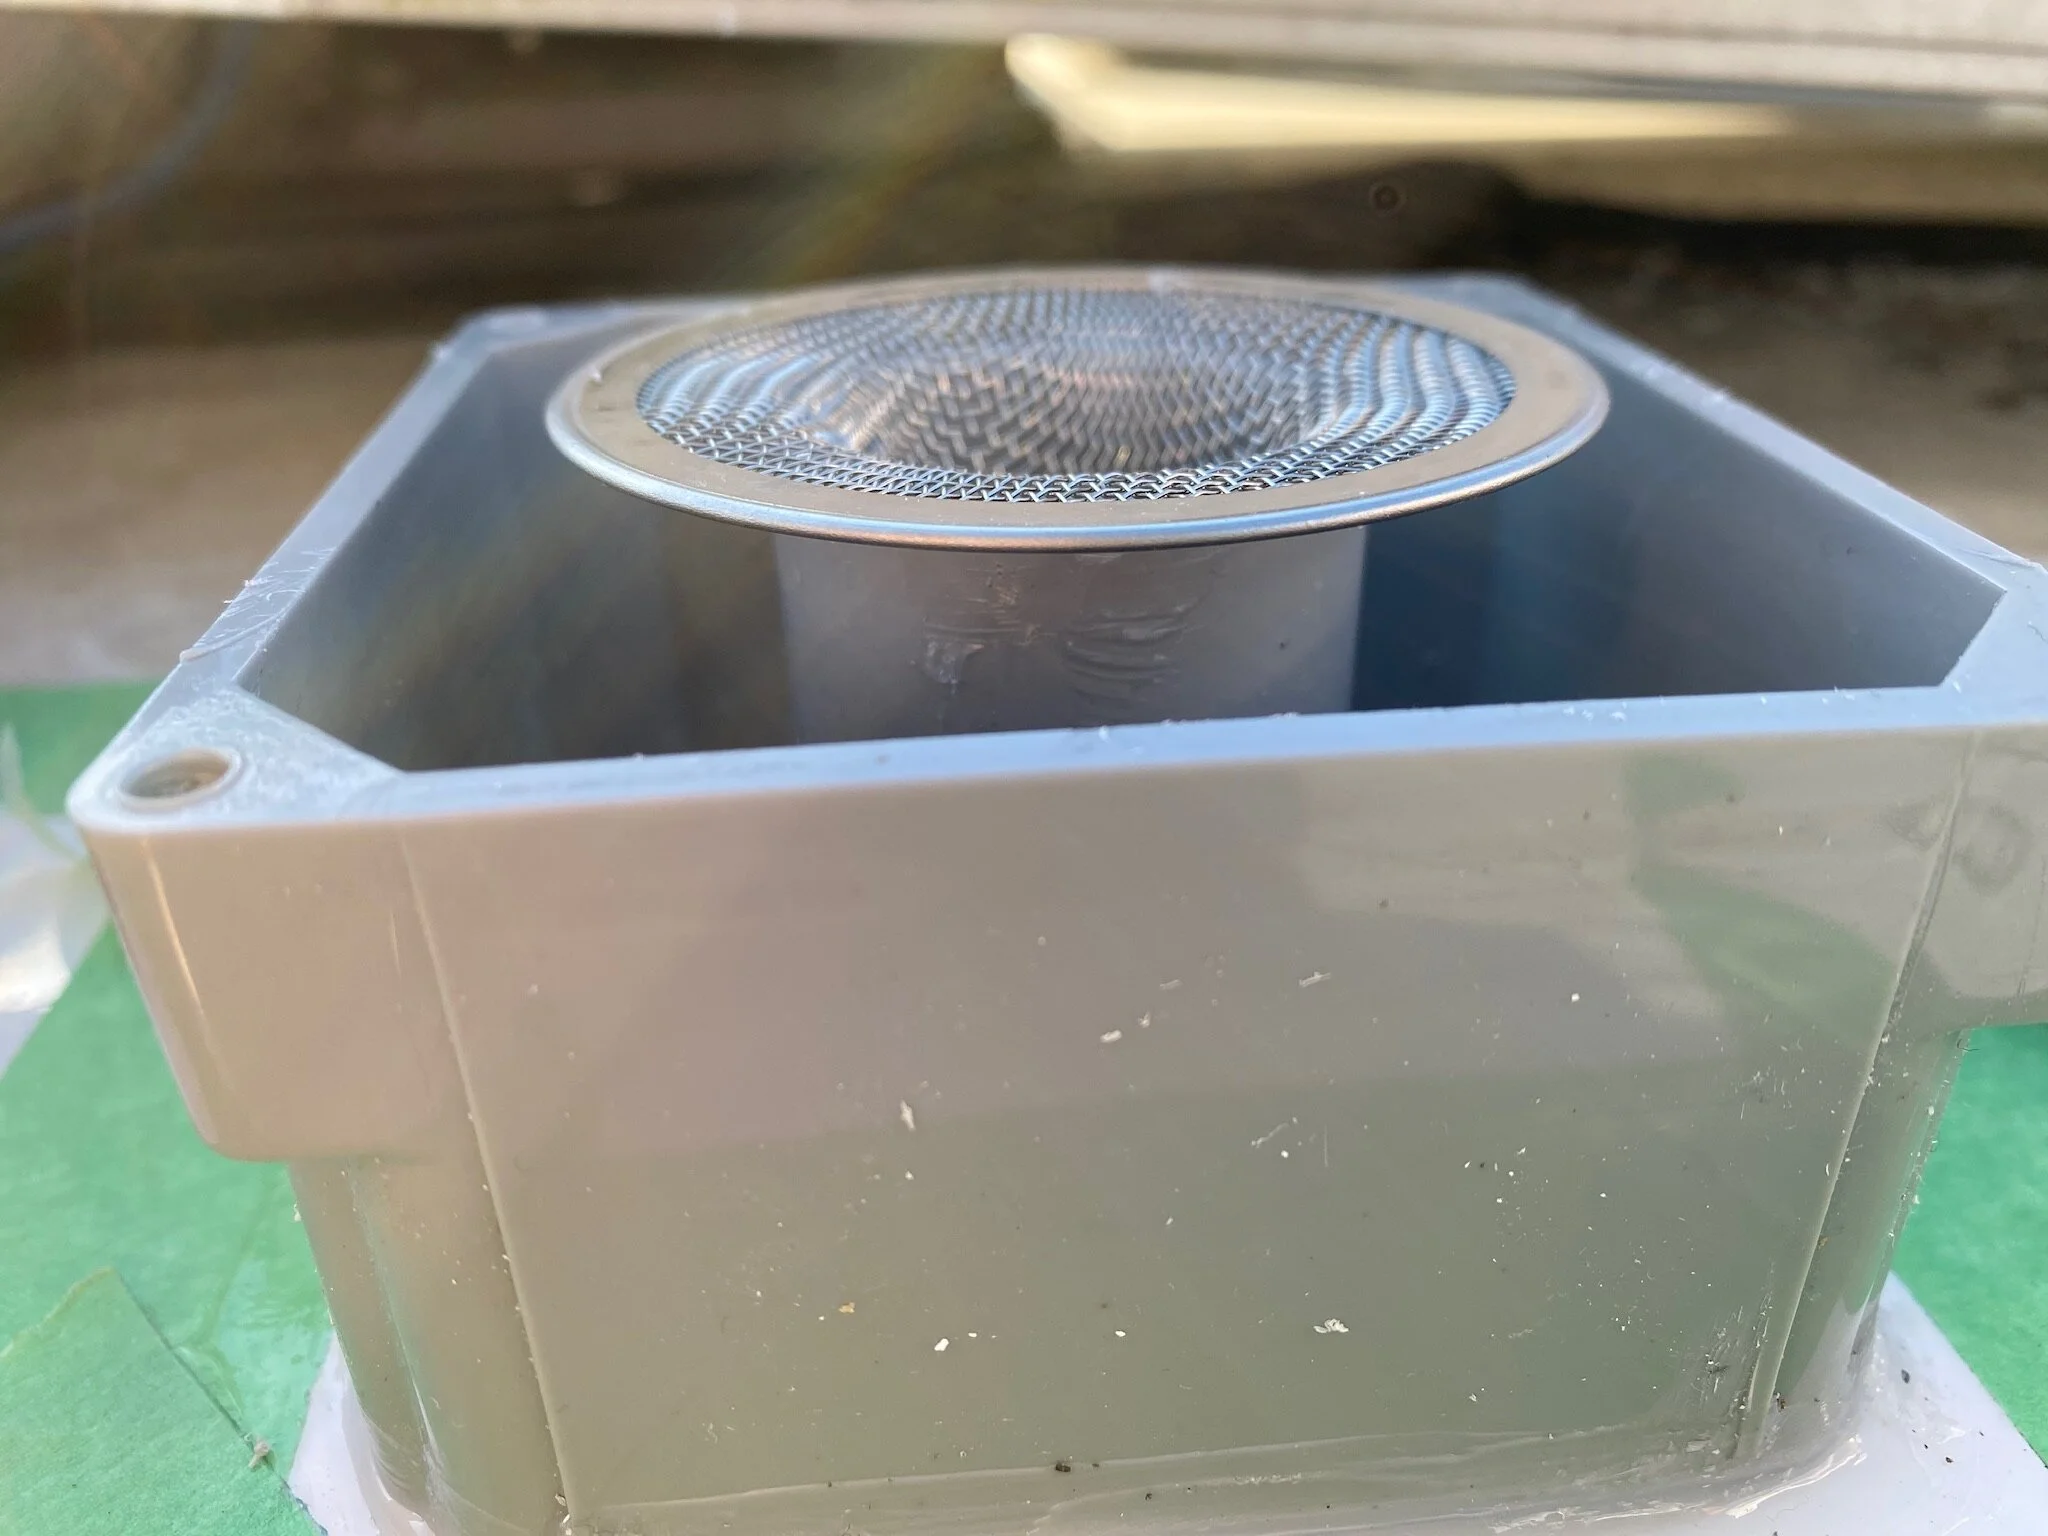
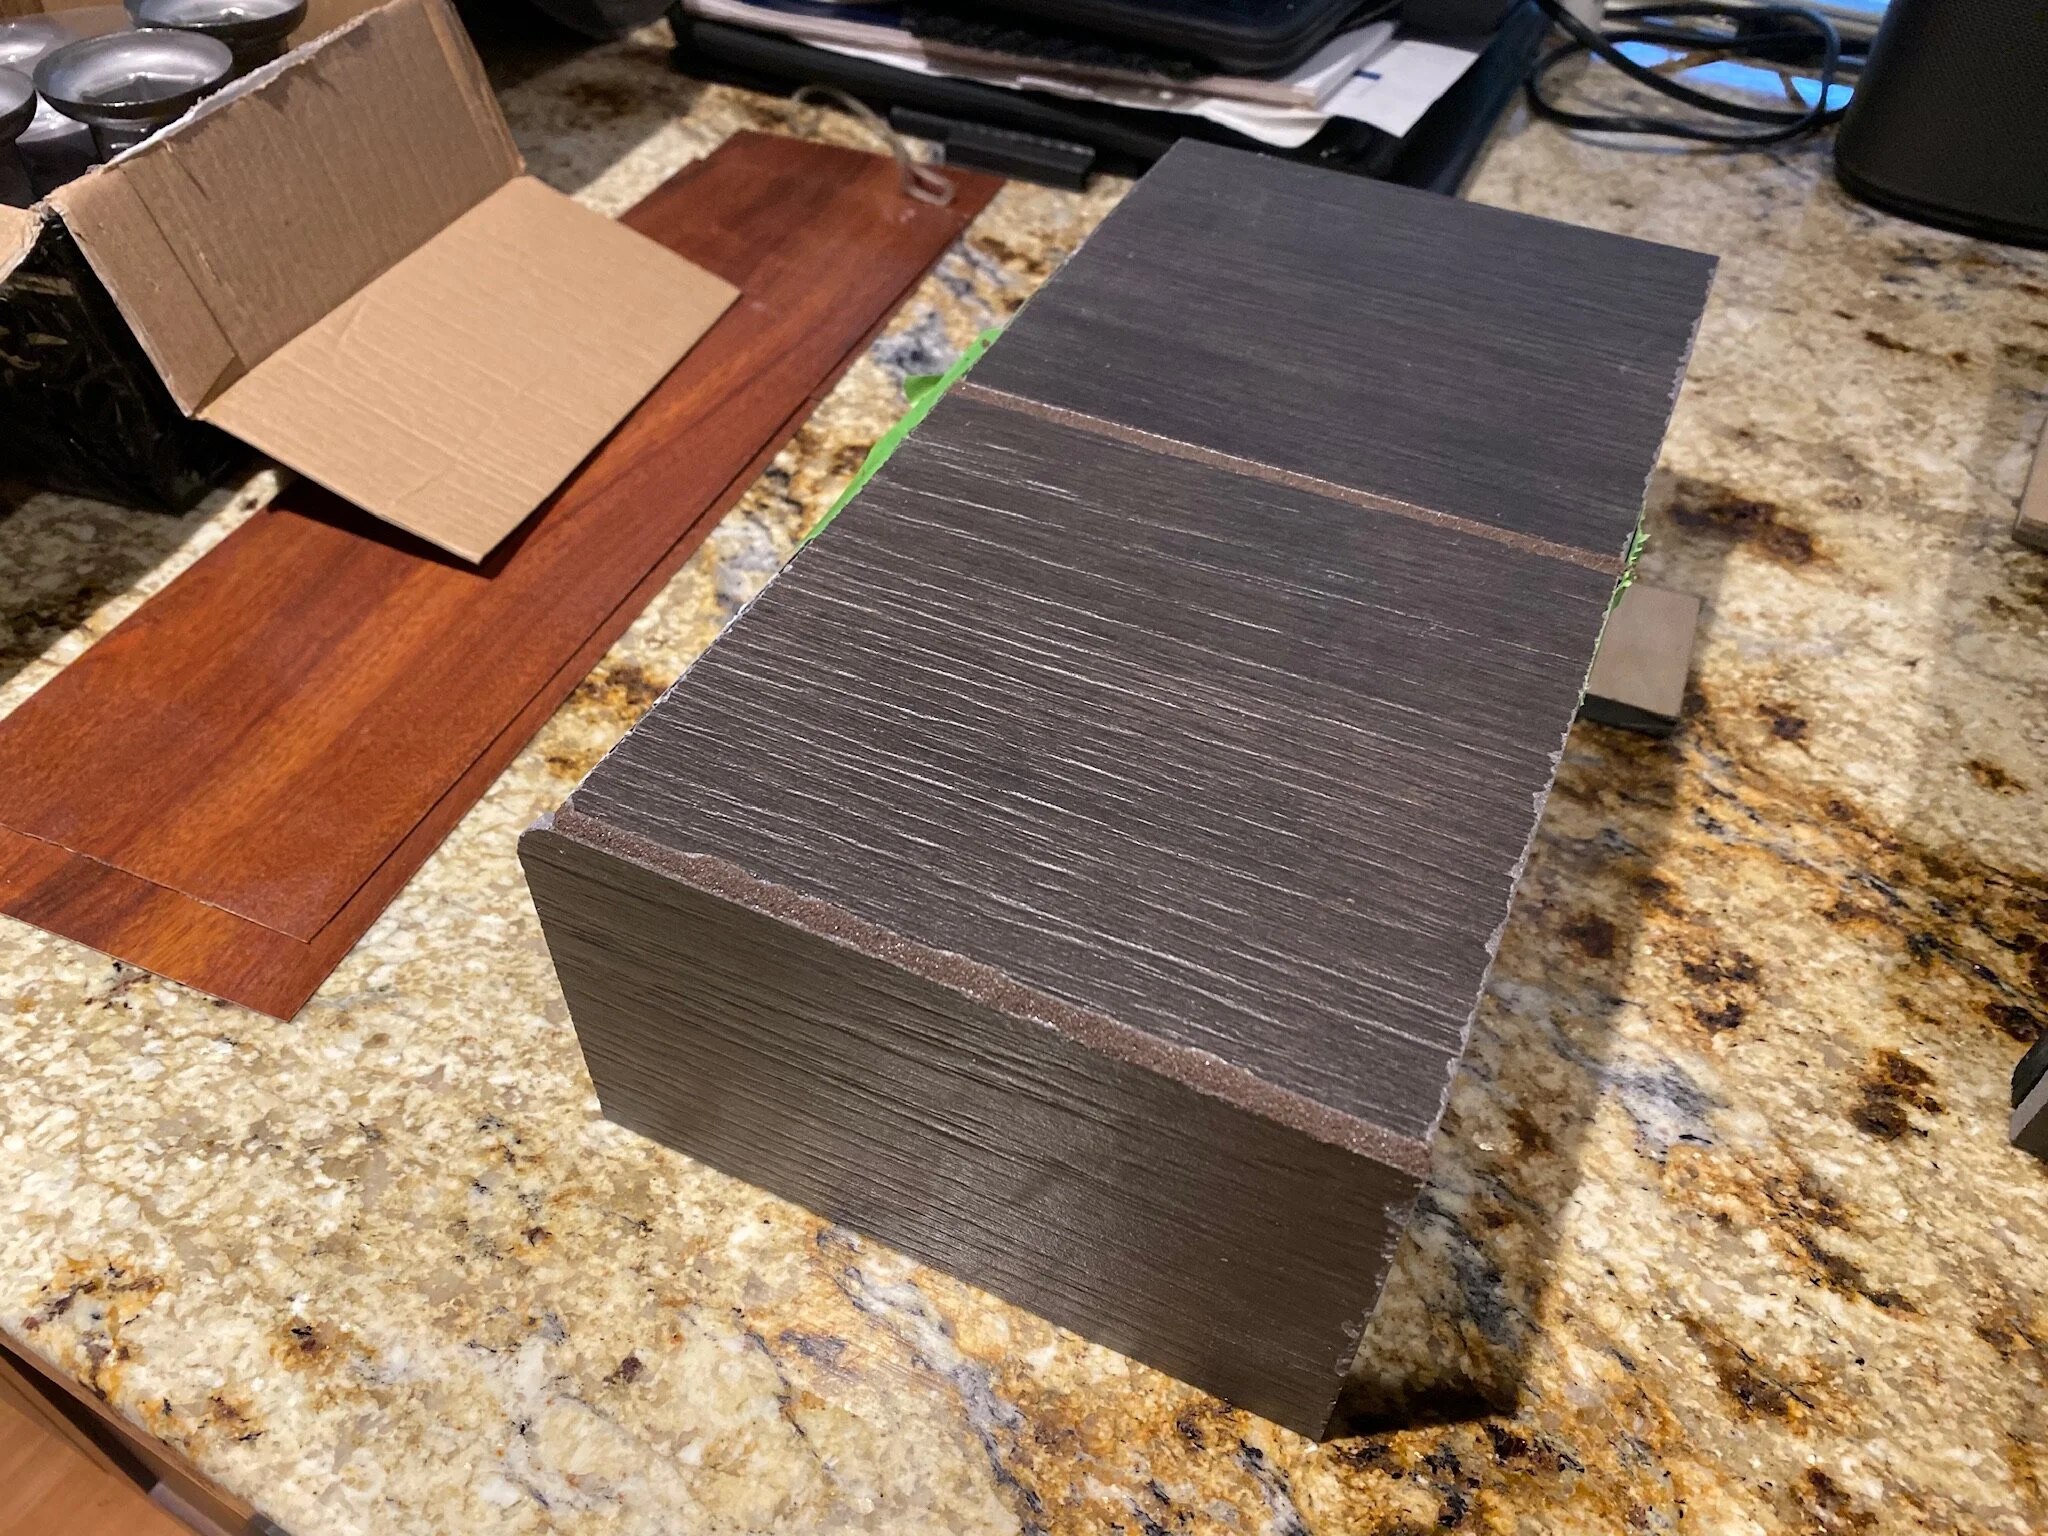
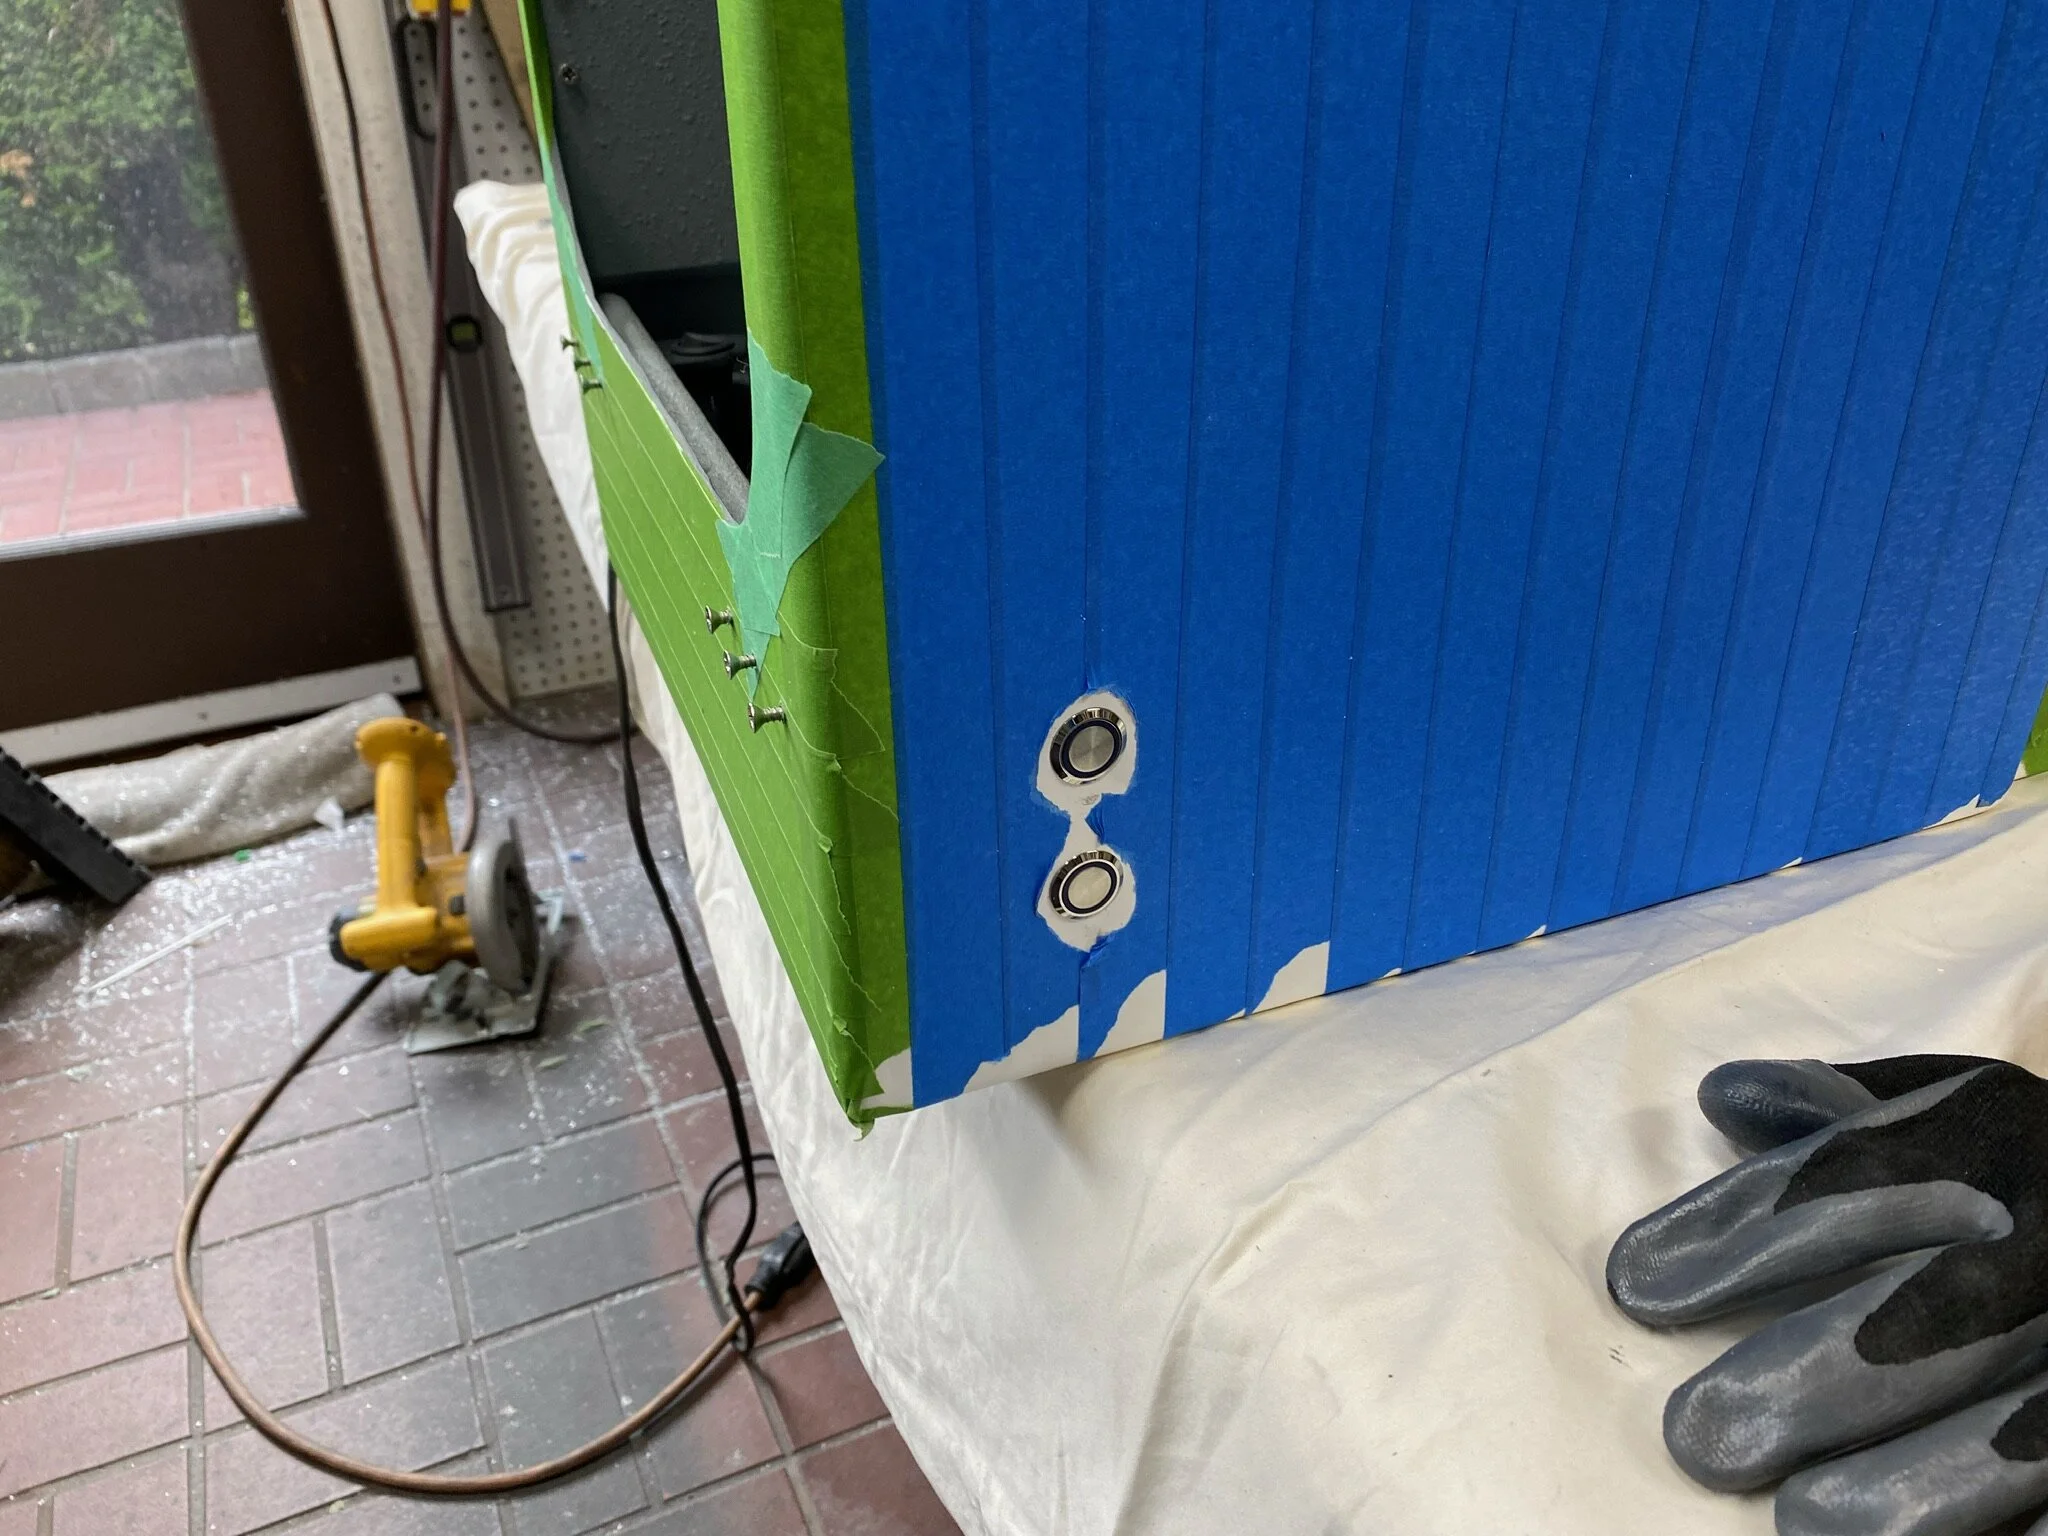
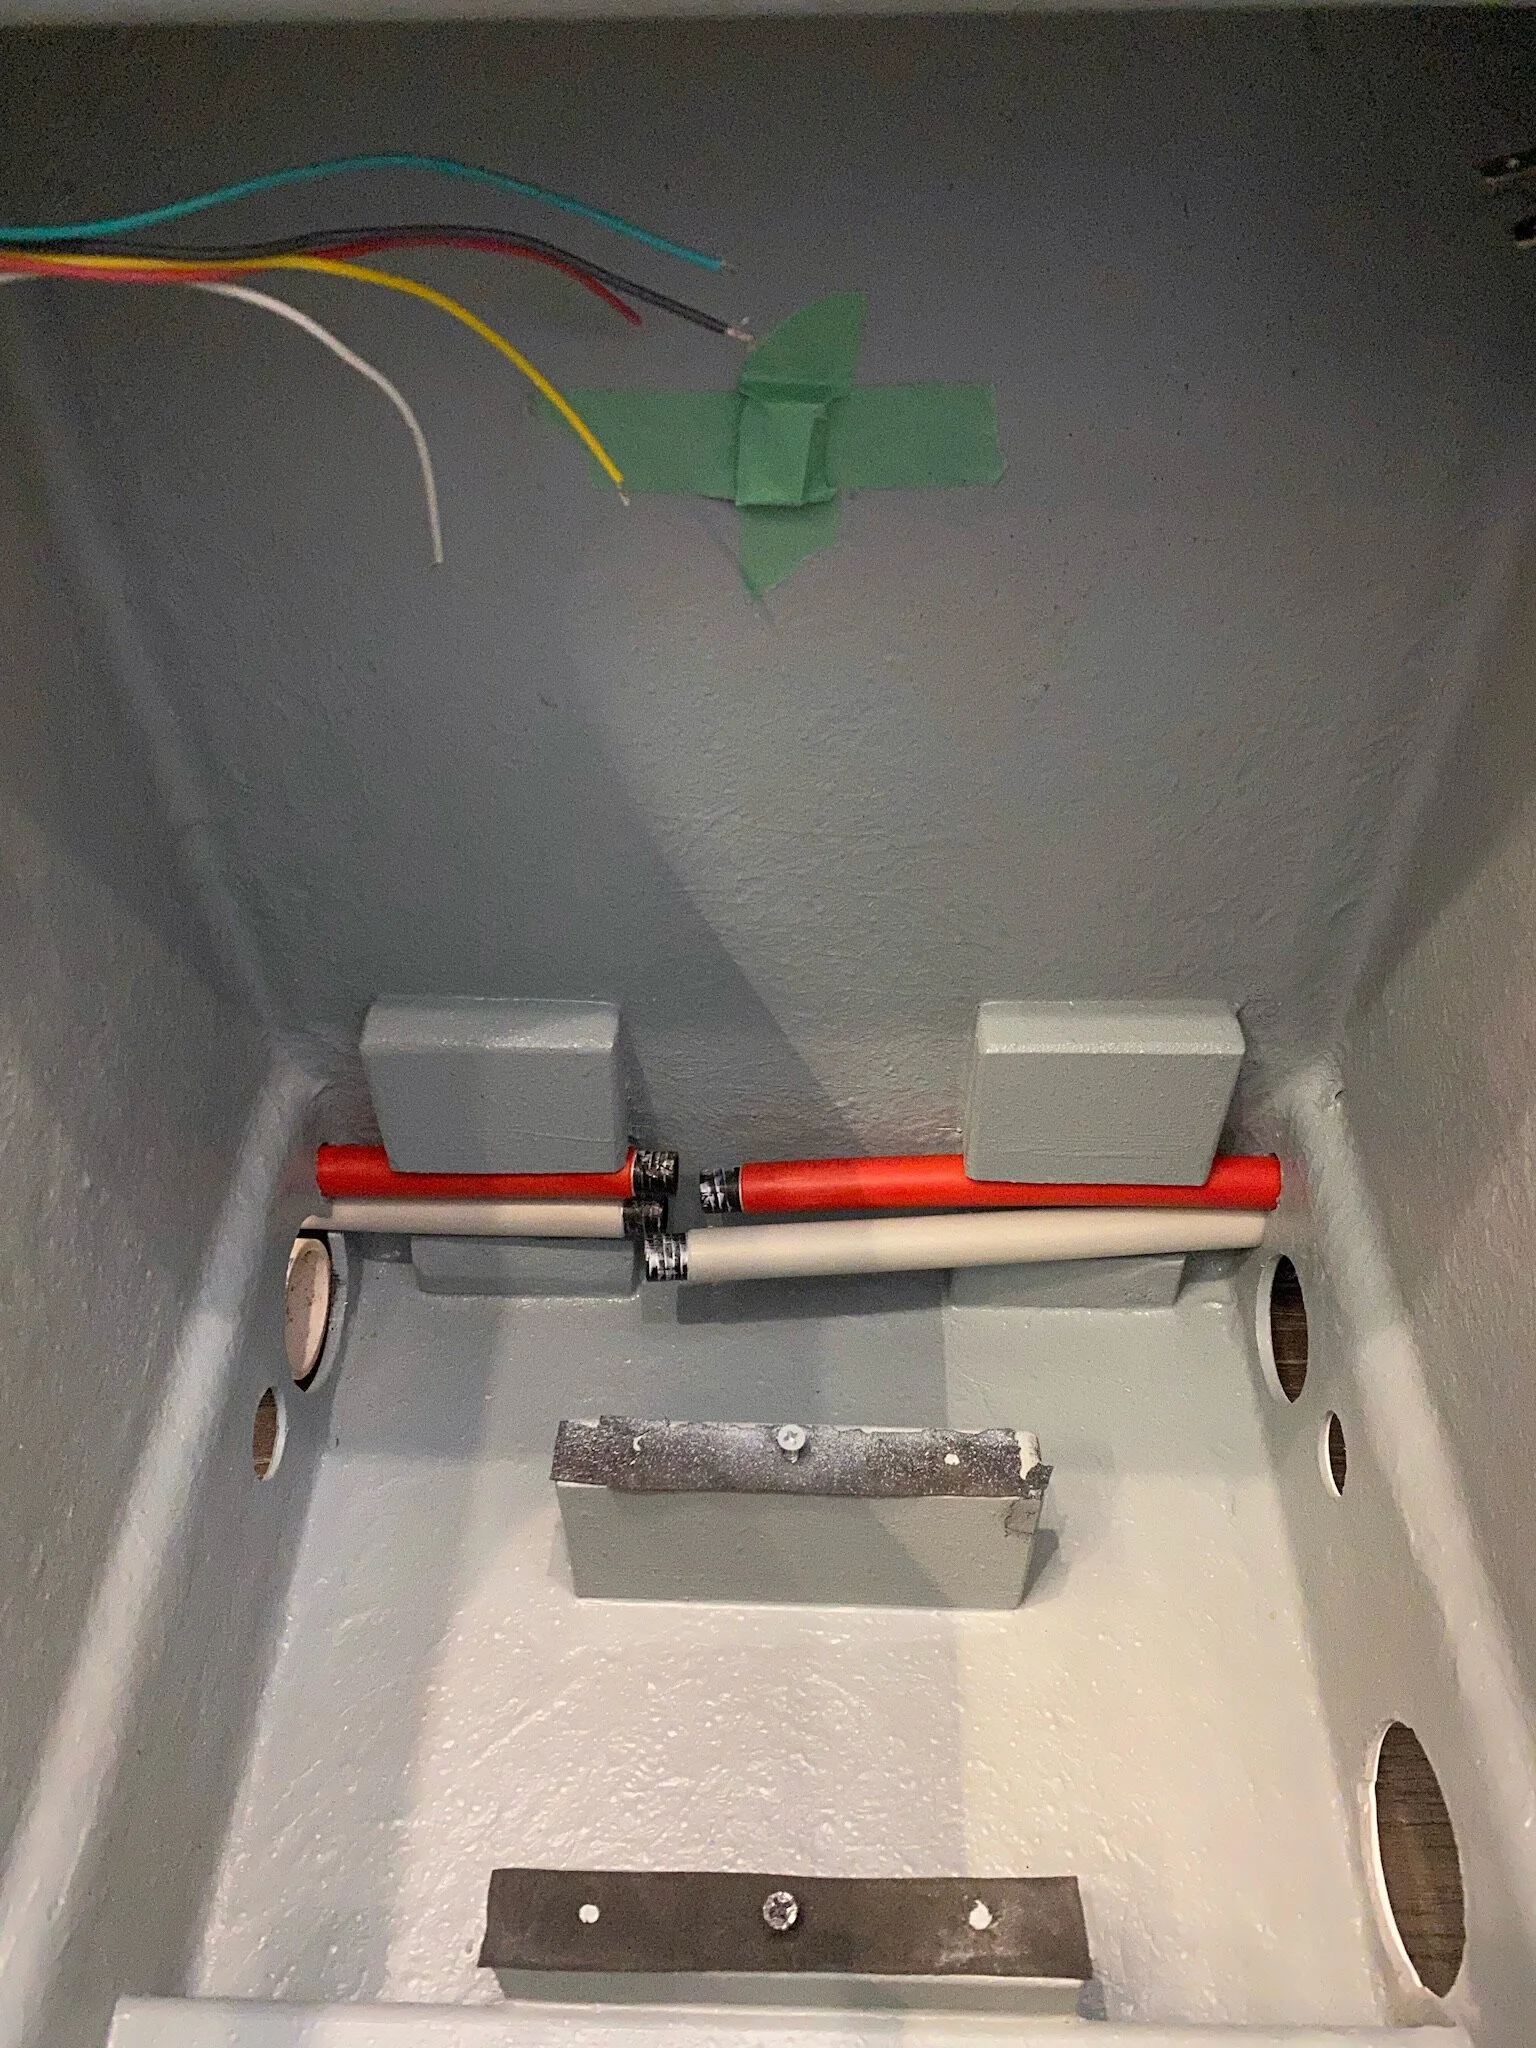
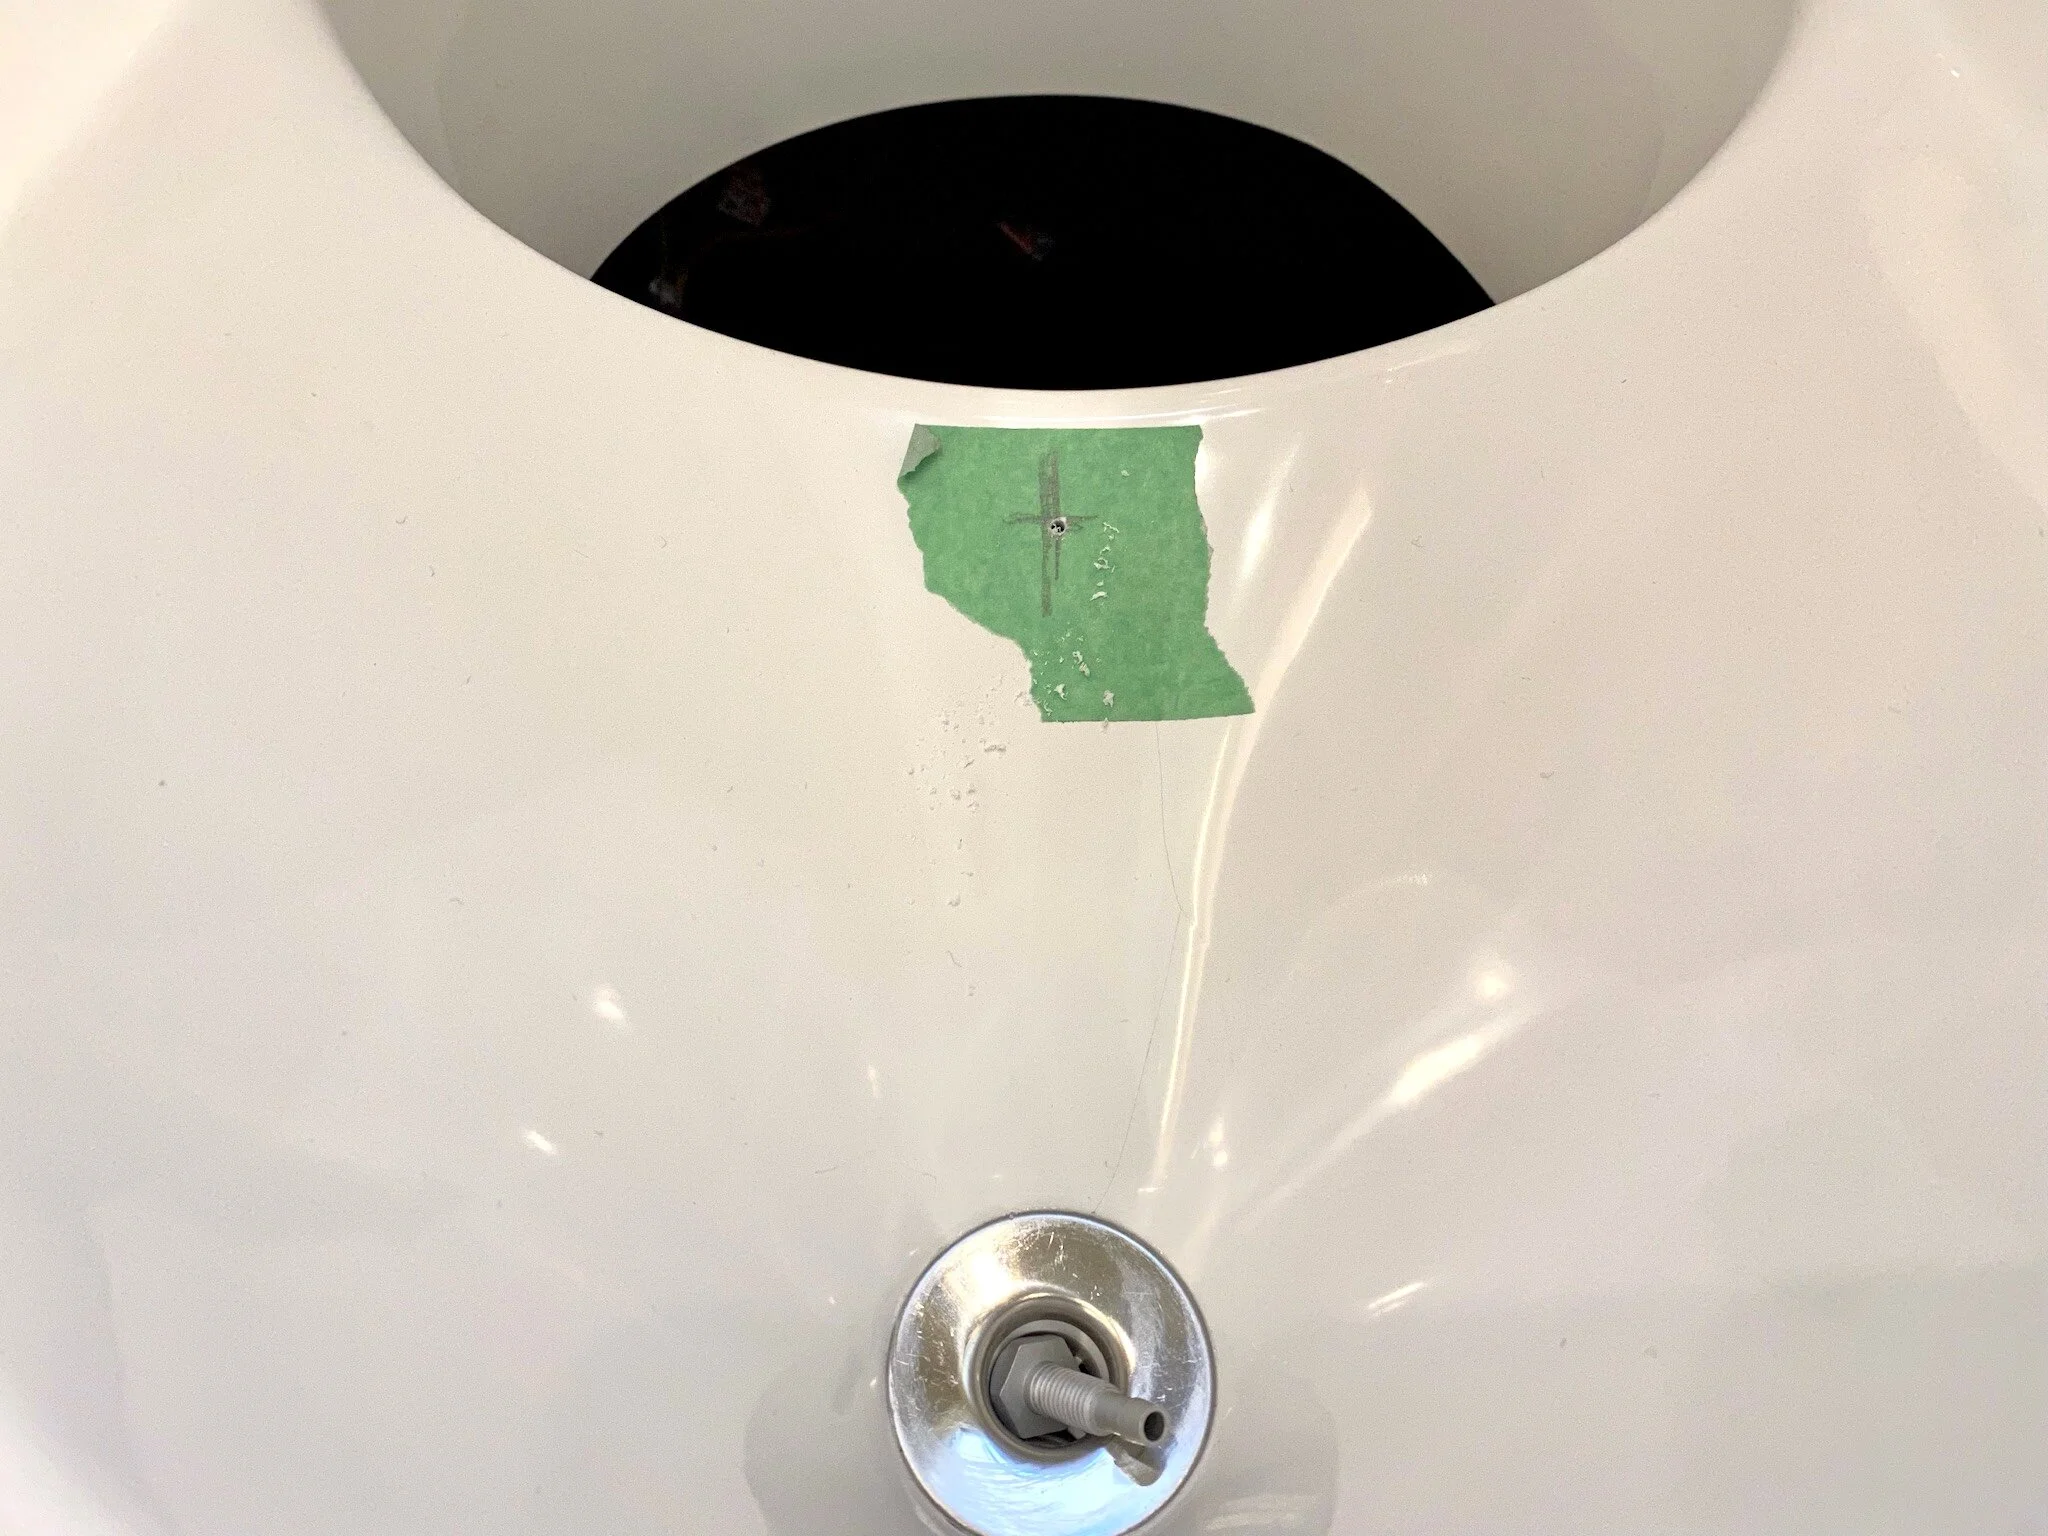
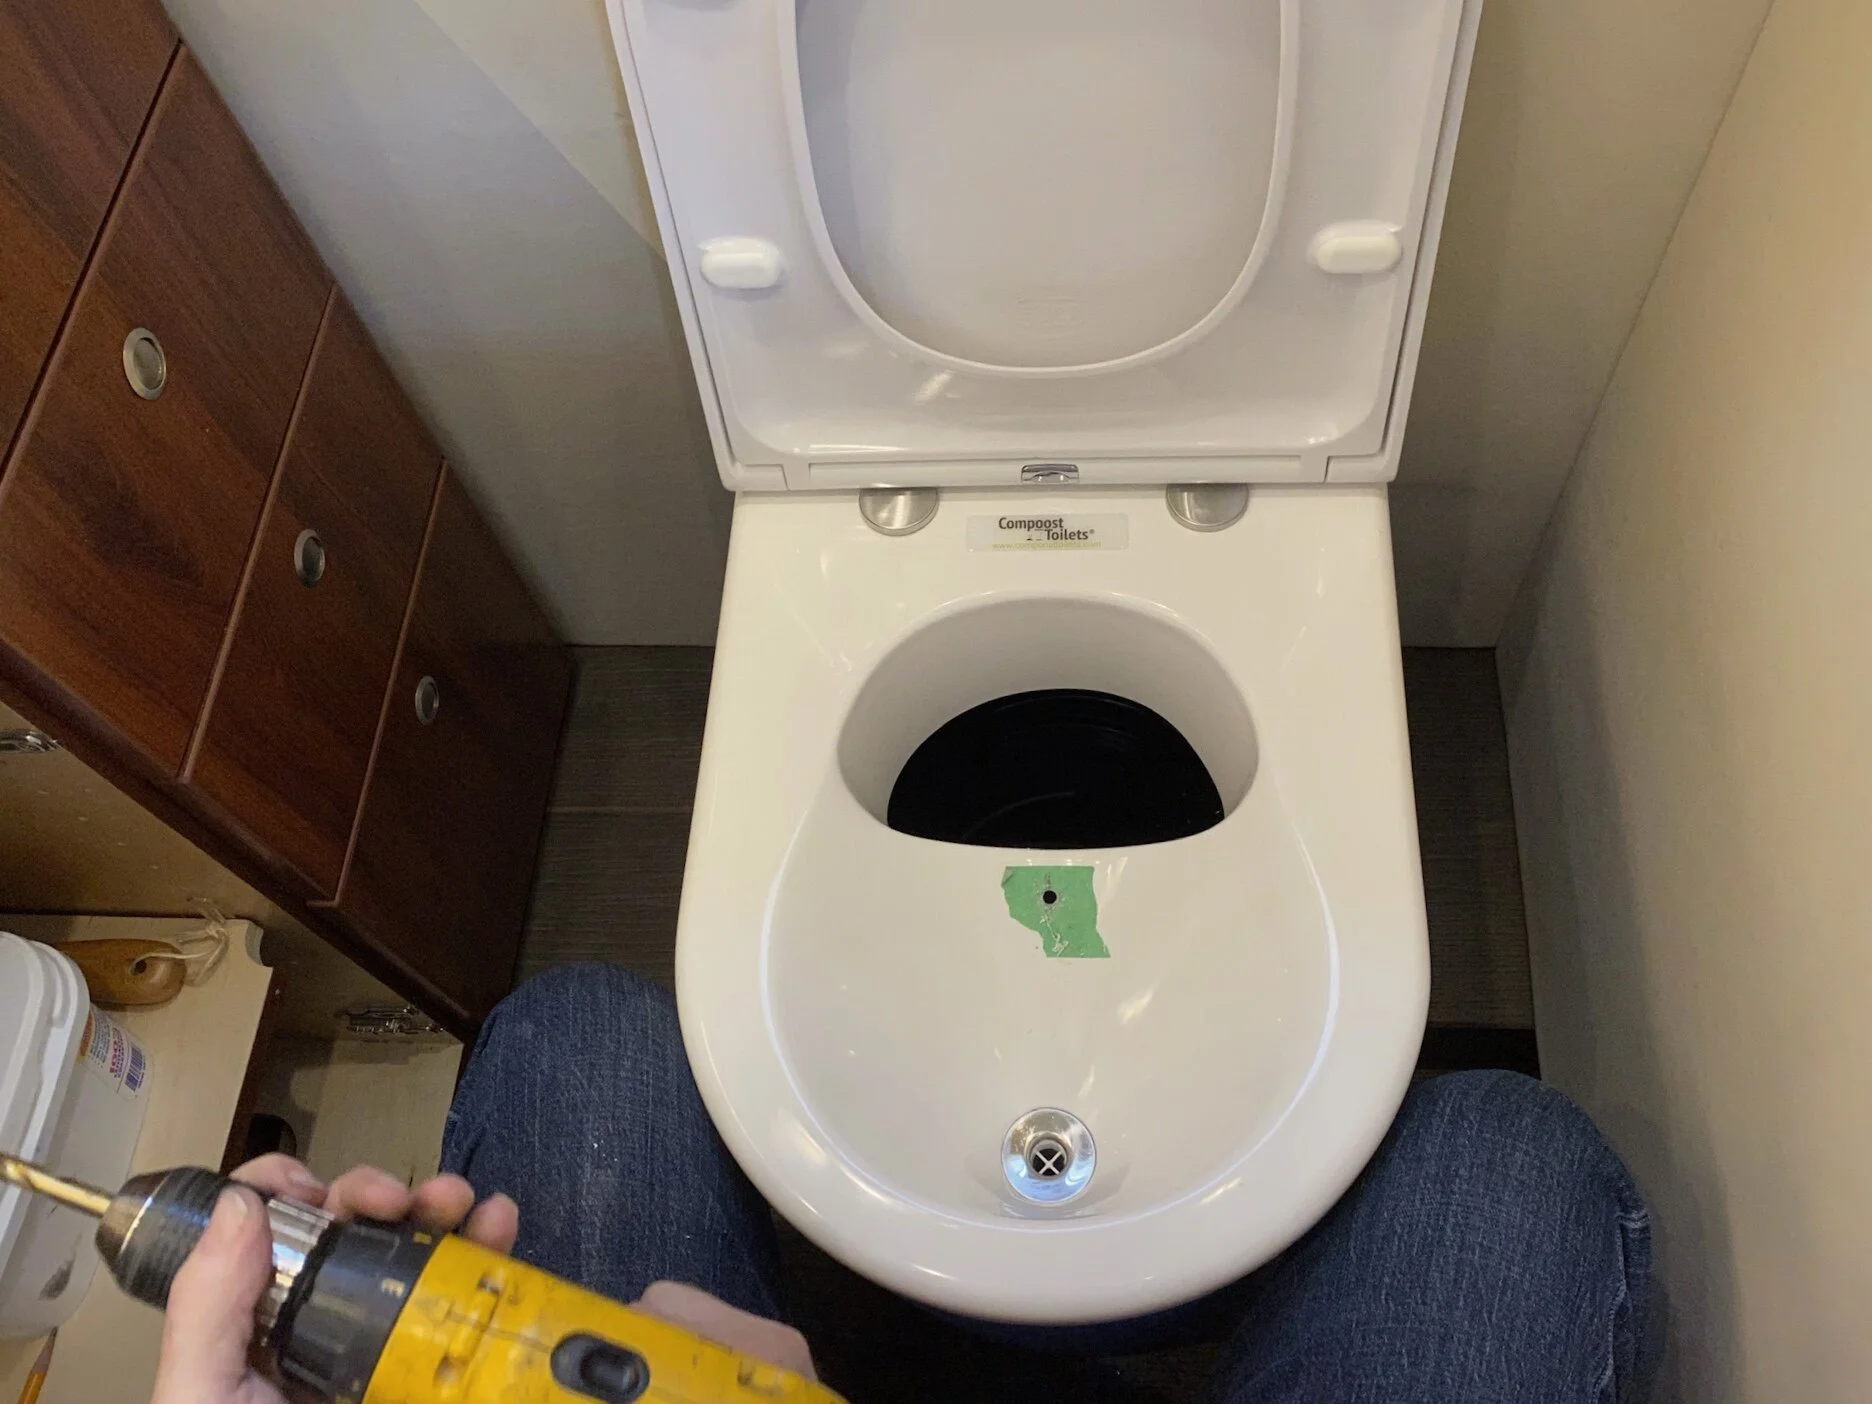
Some of the parts we bought to modify the toilet for our installation.
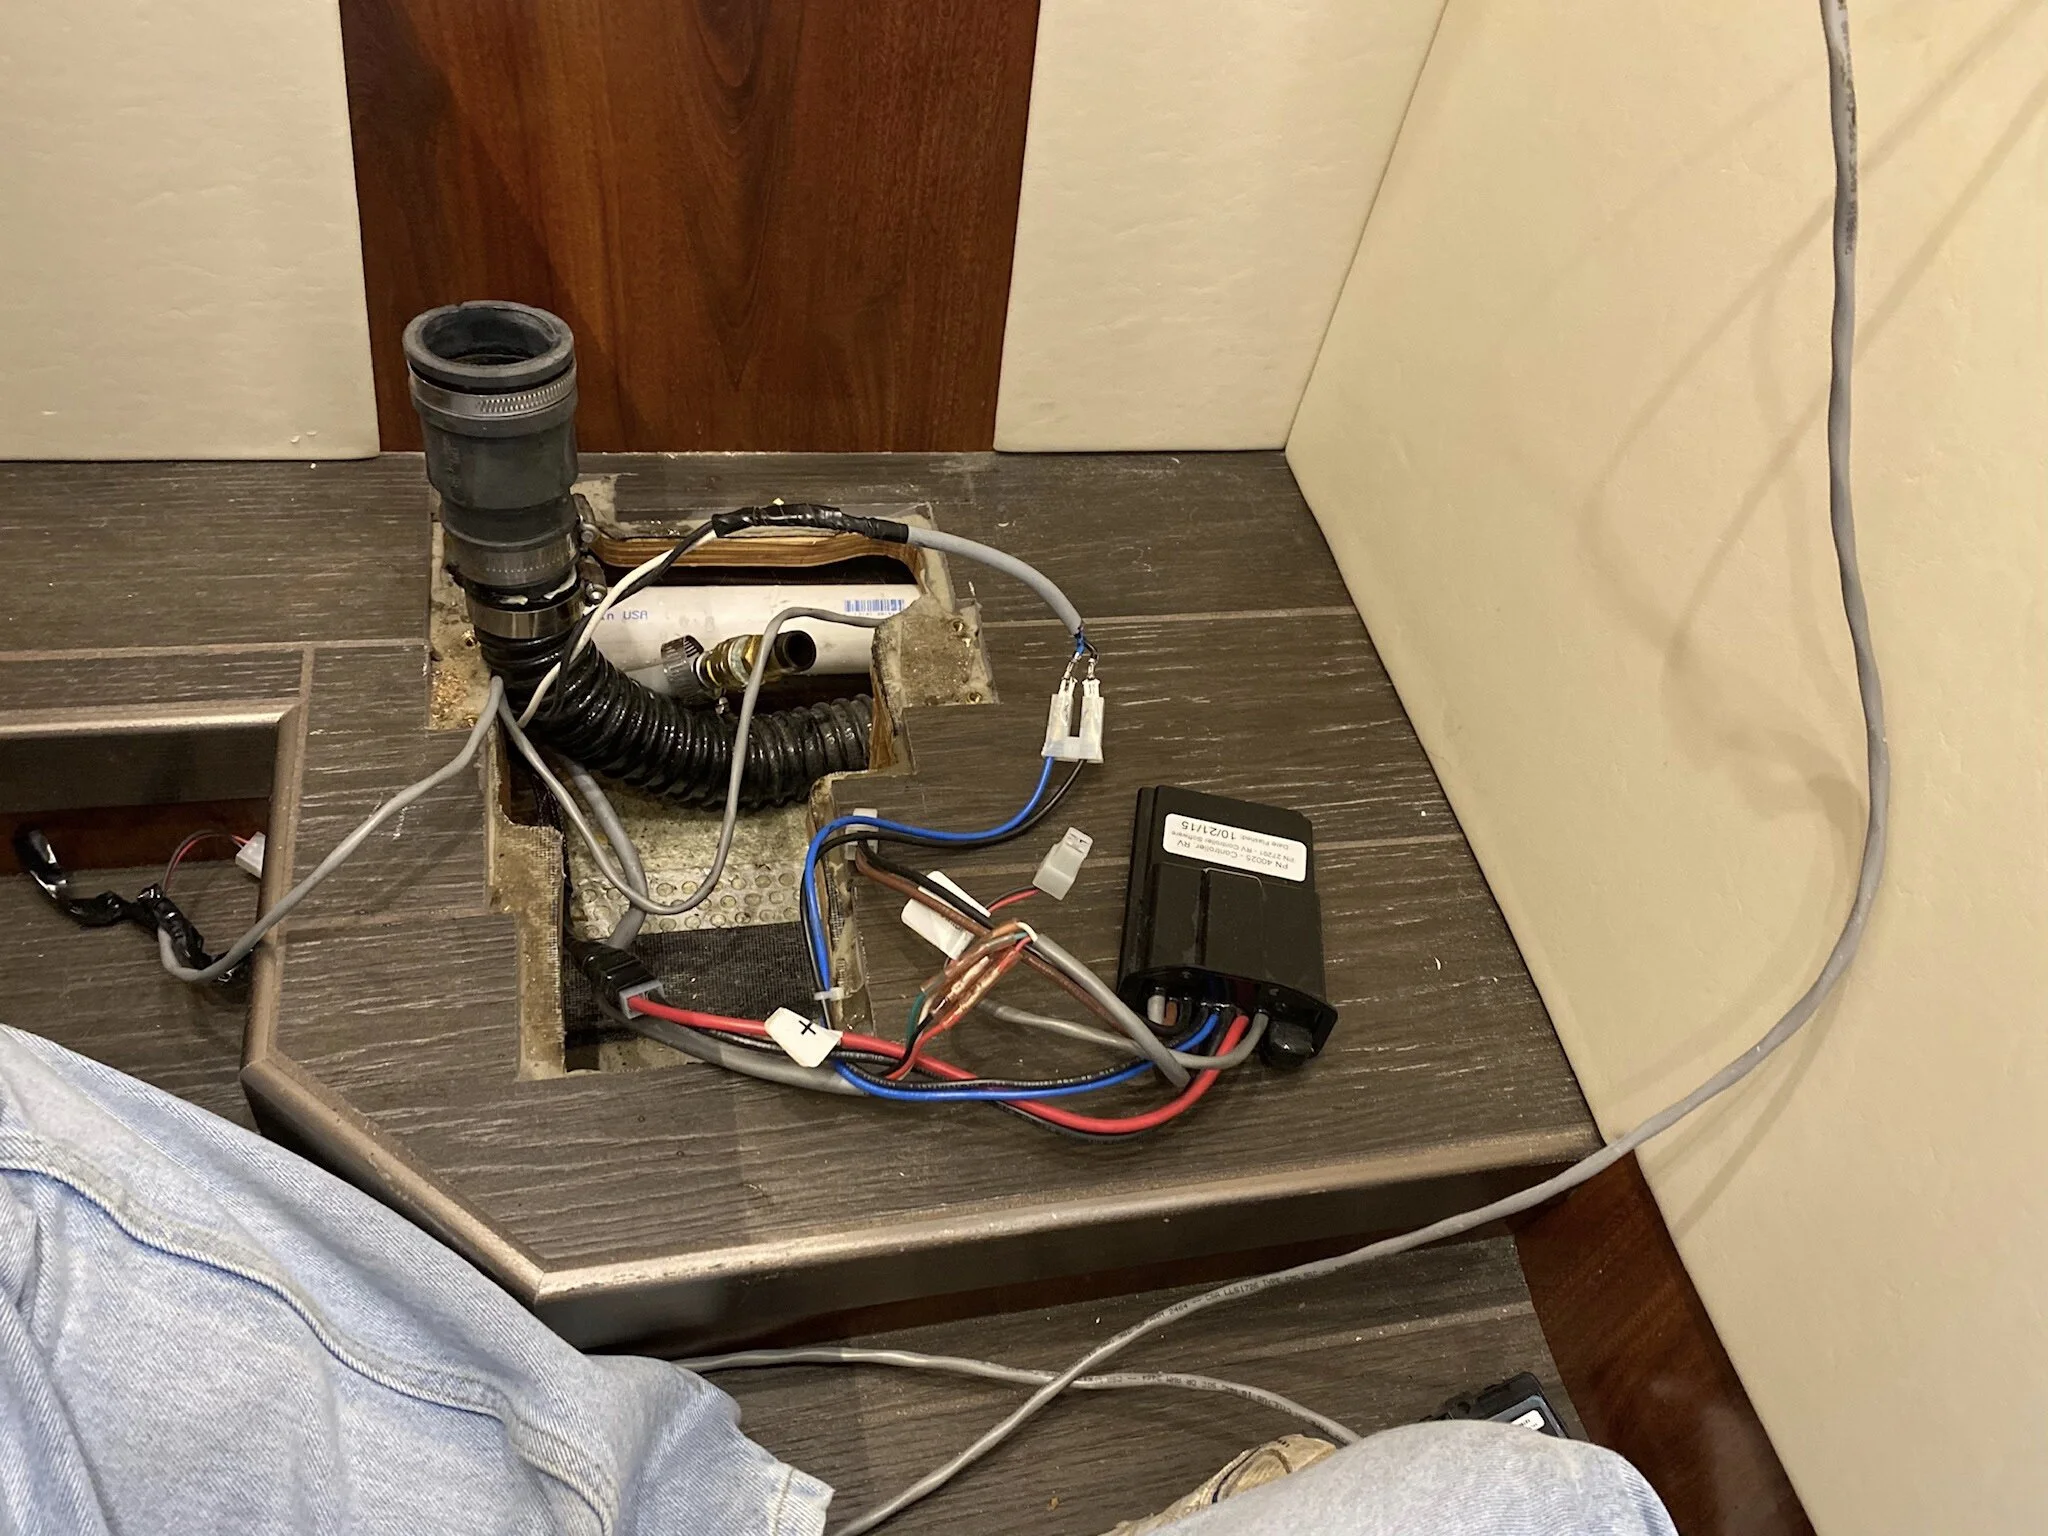
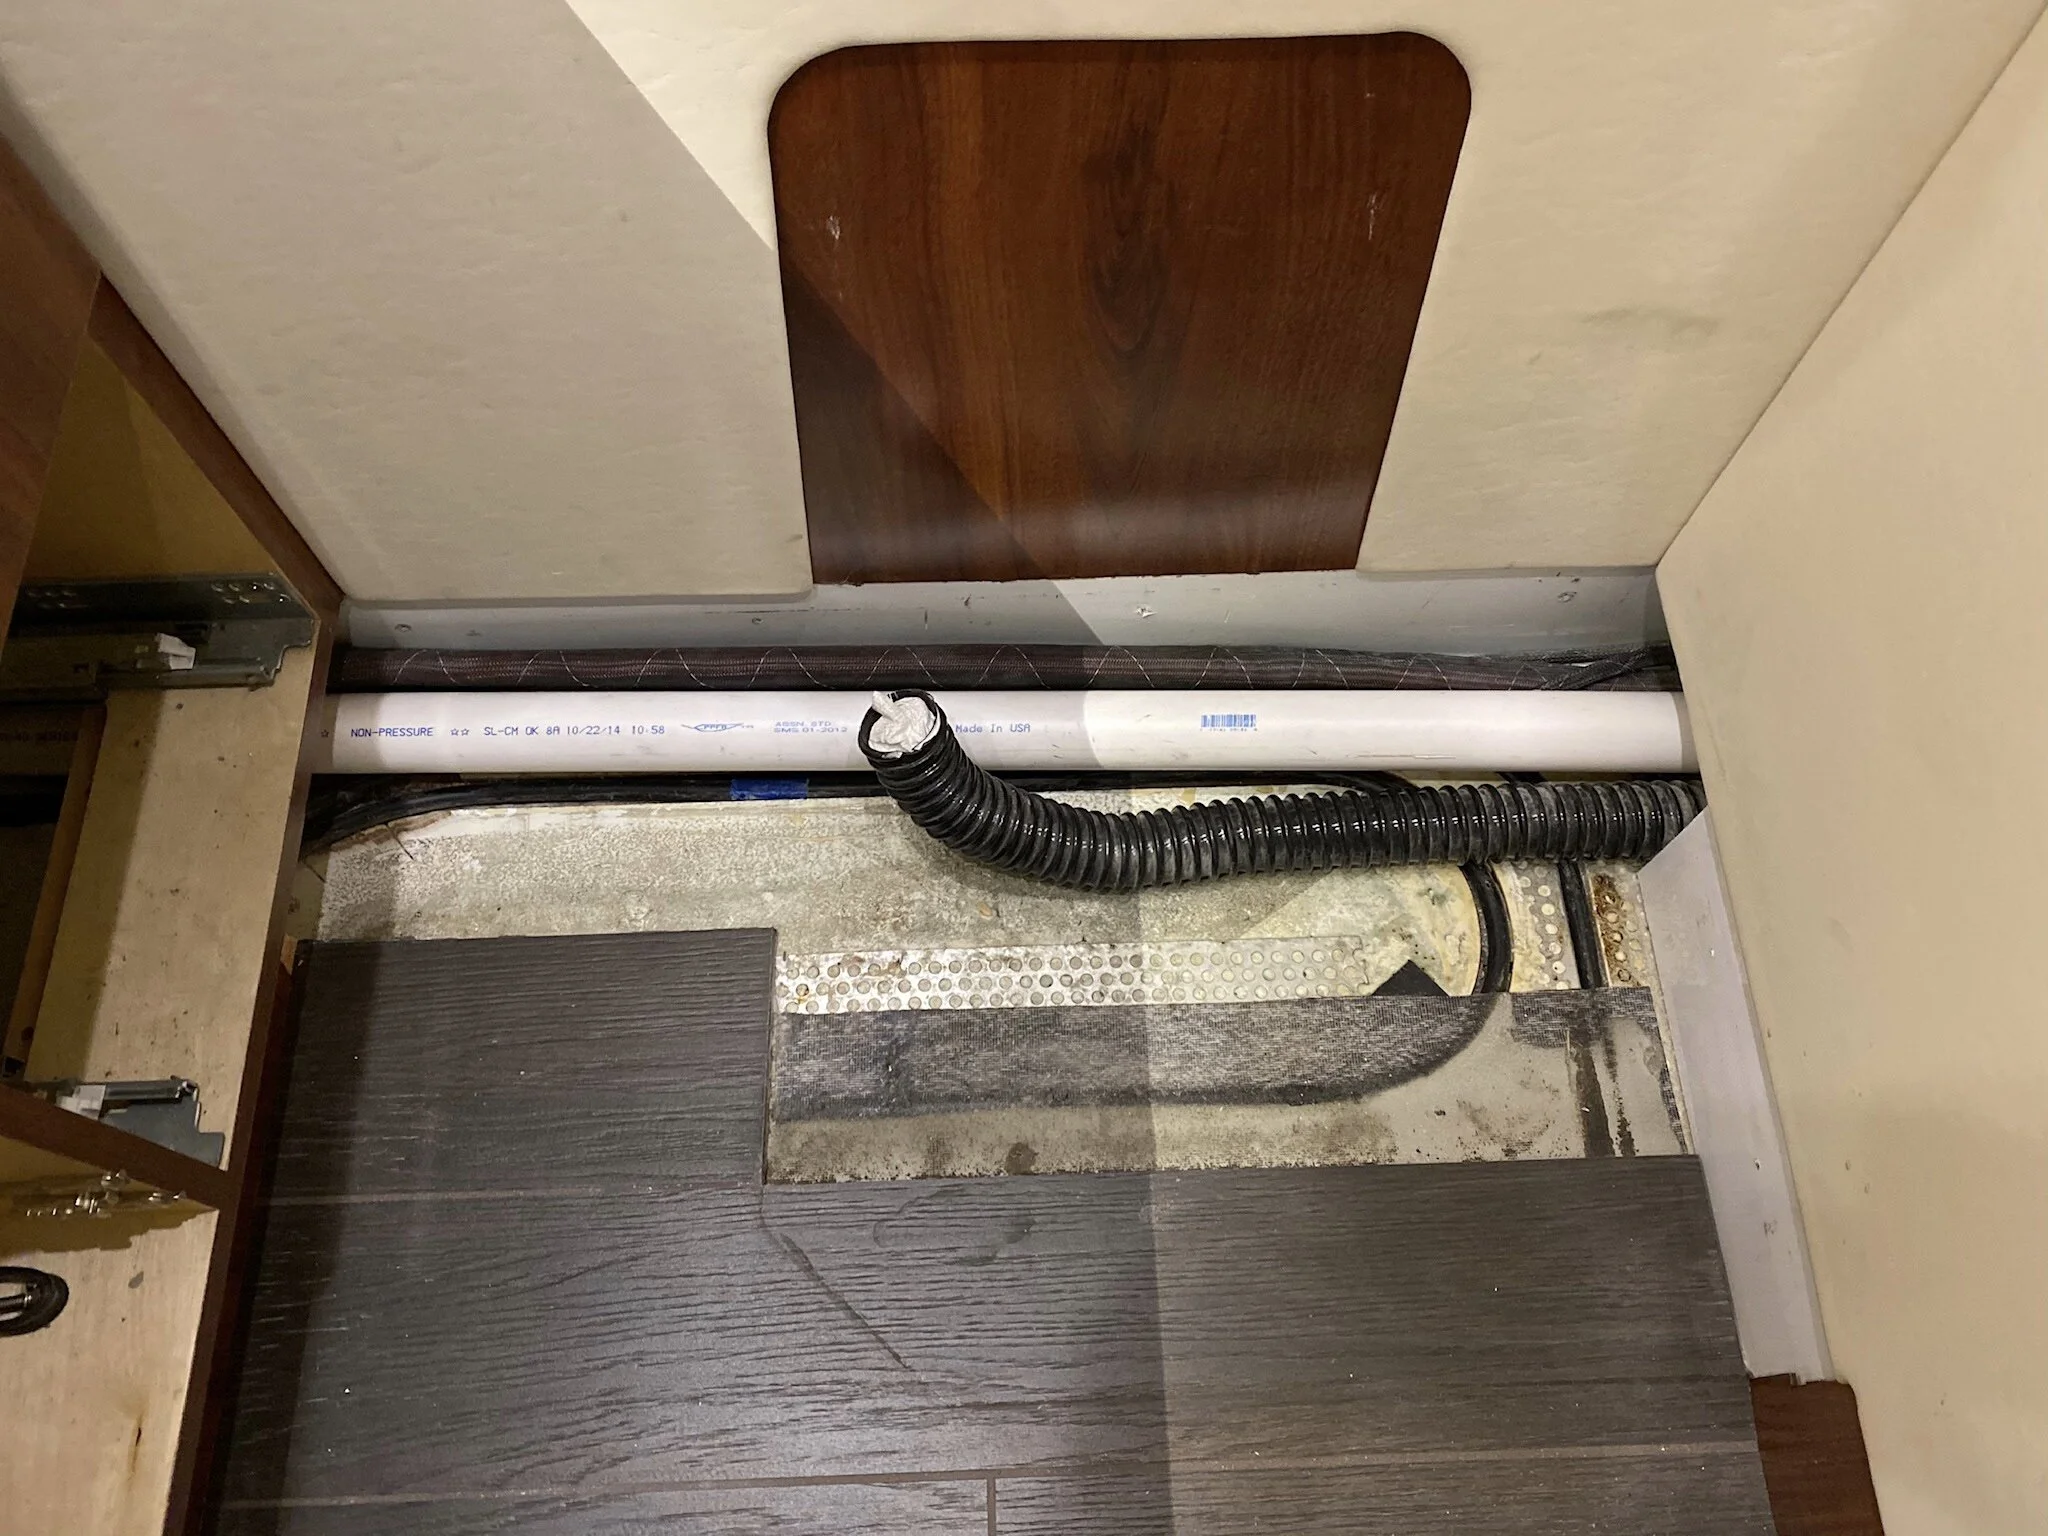
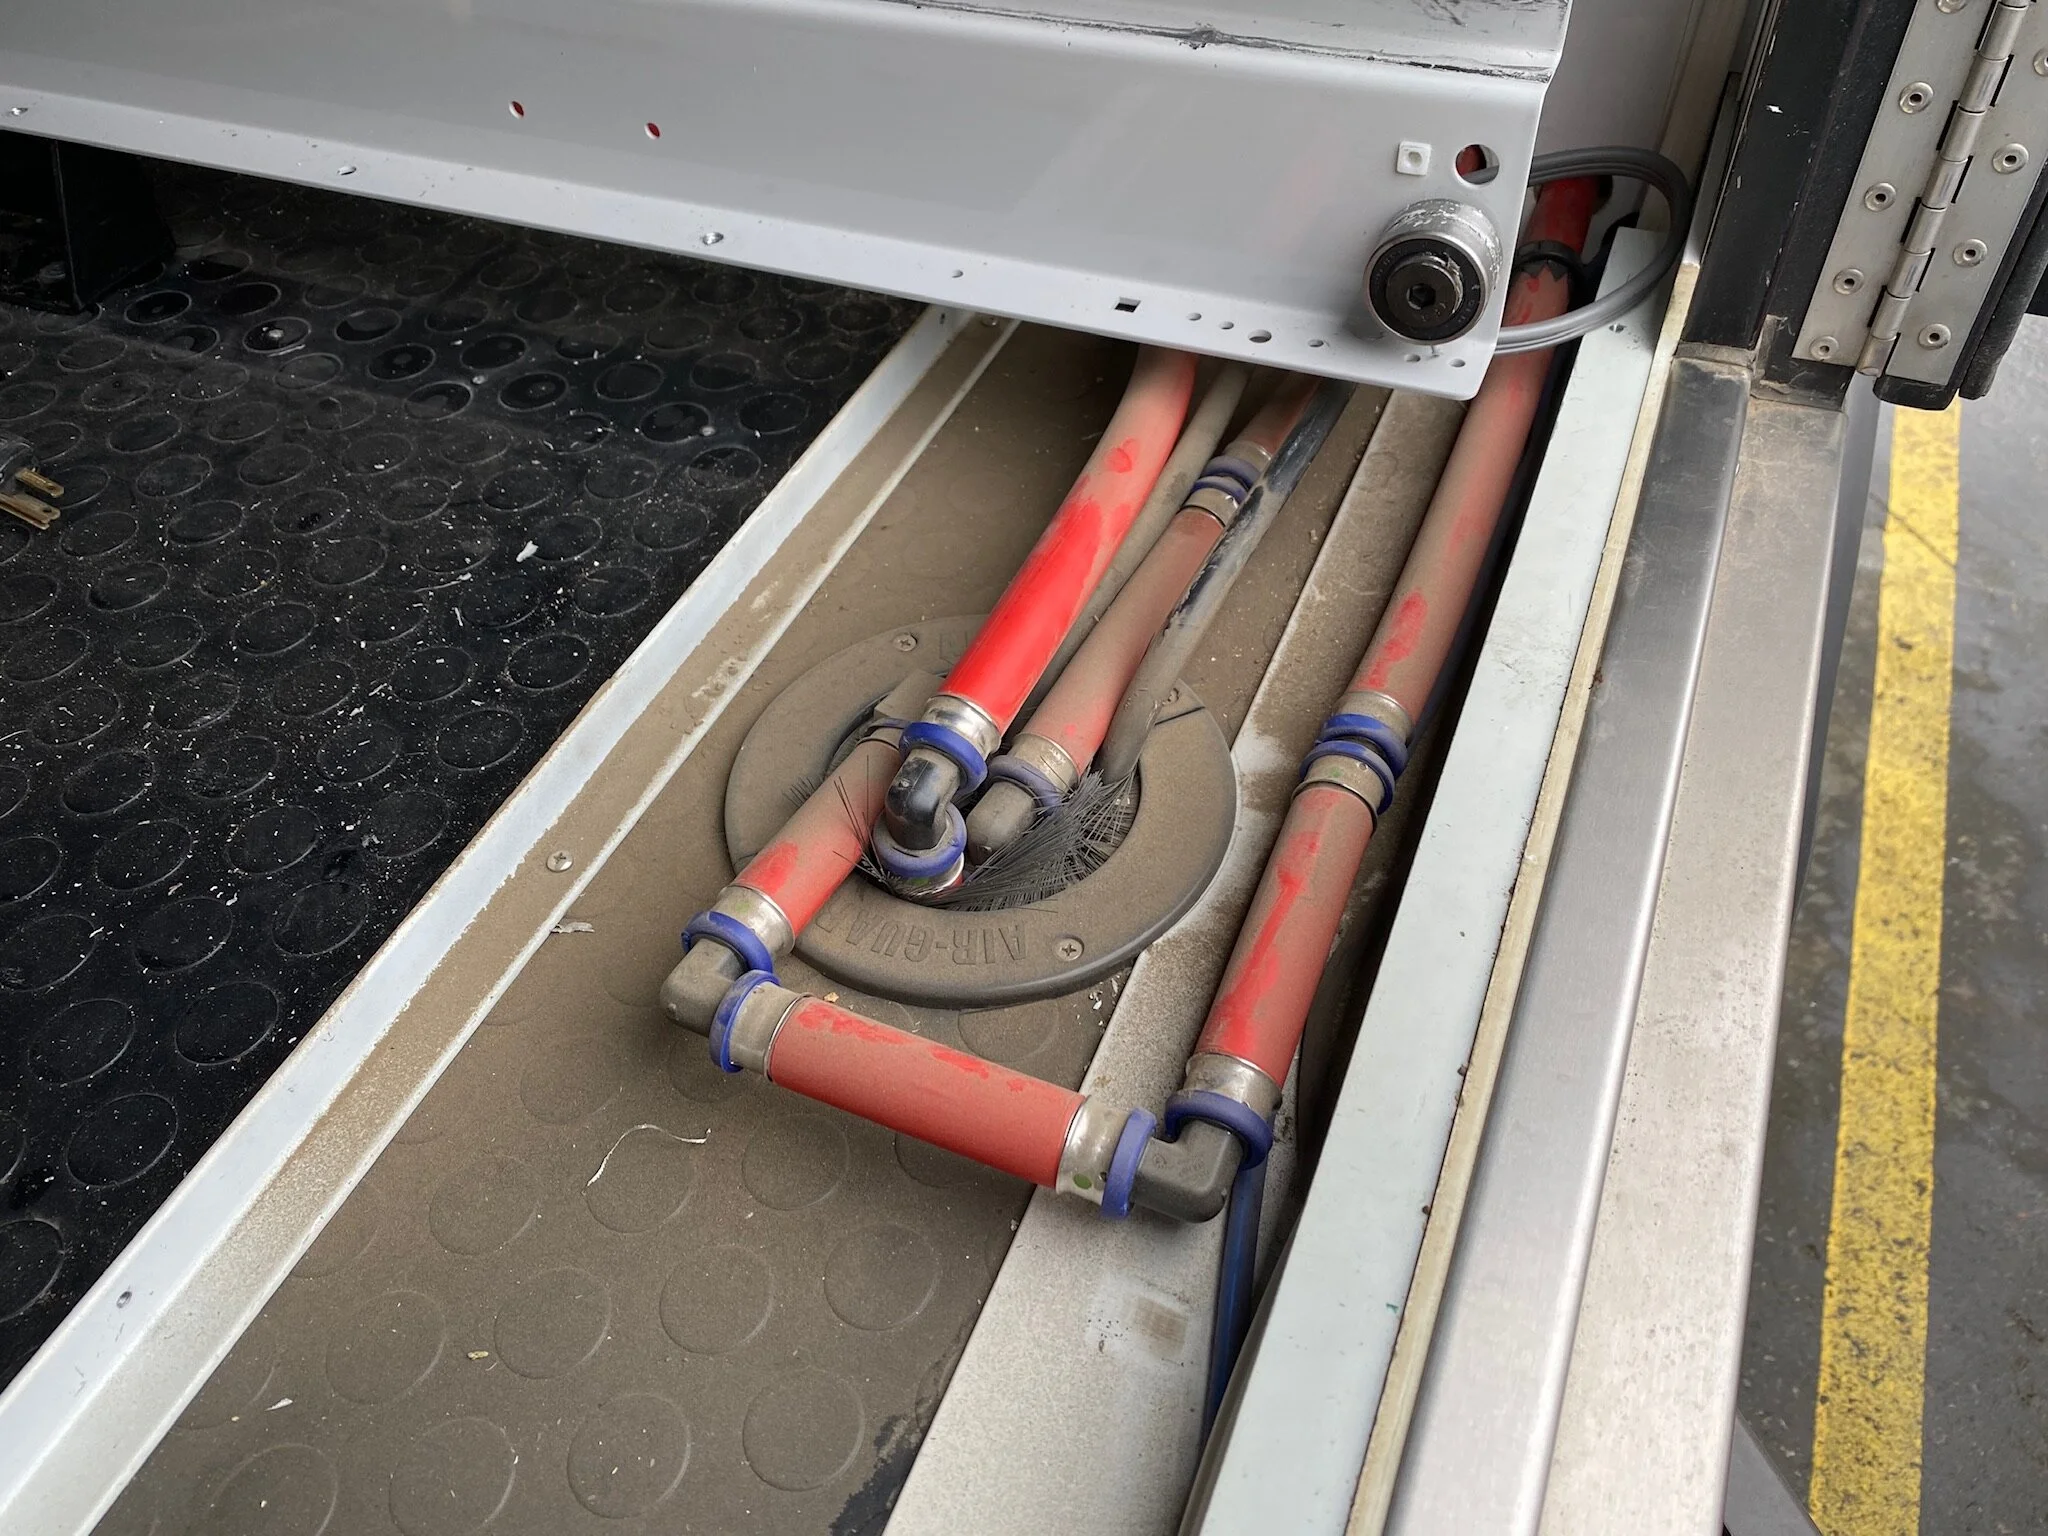
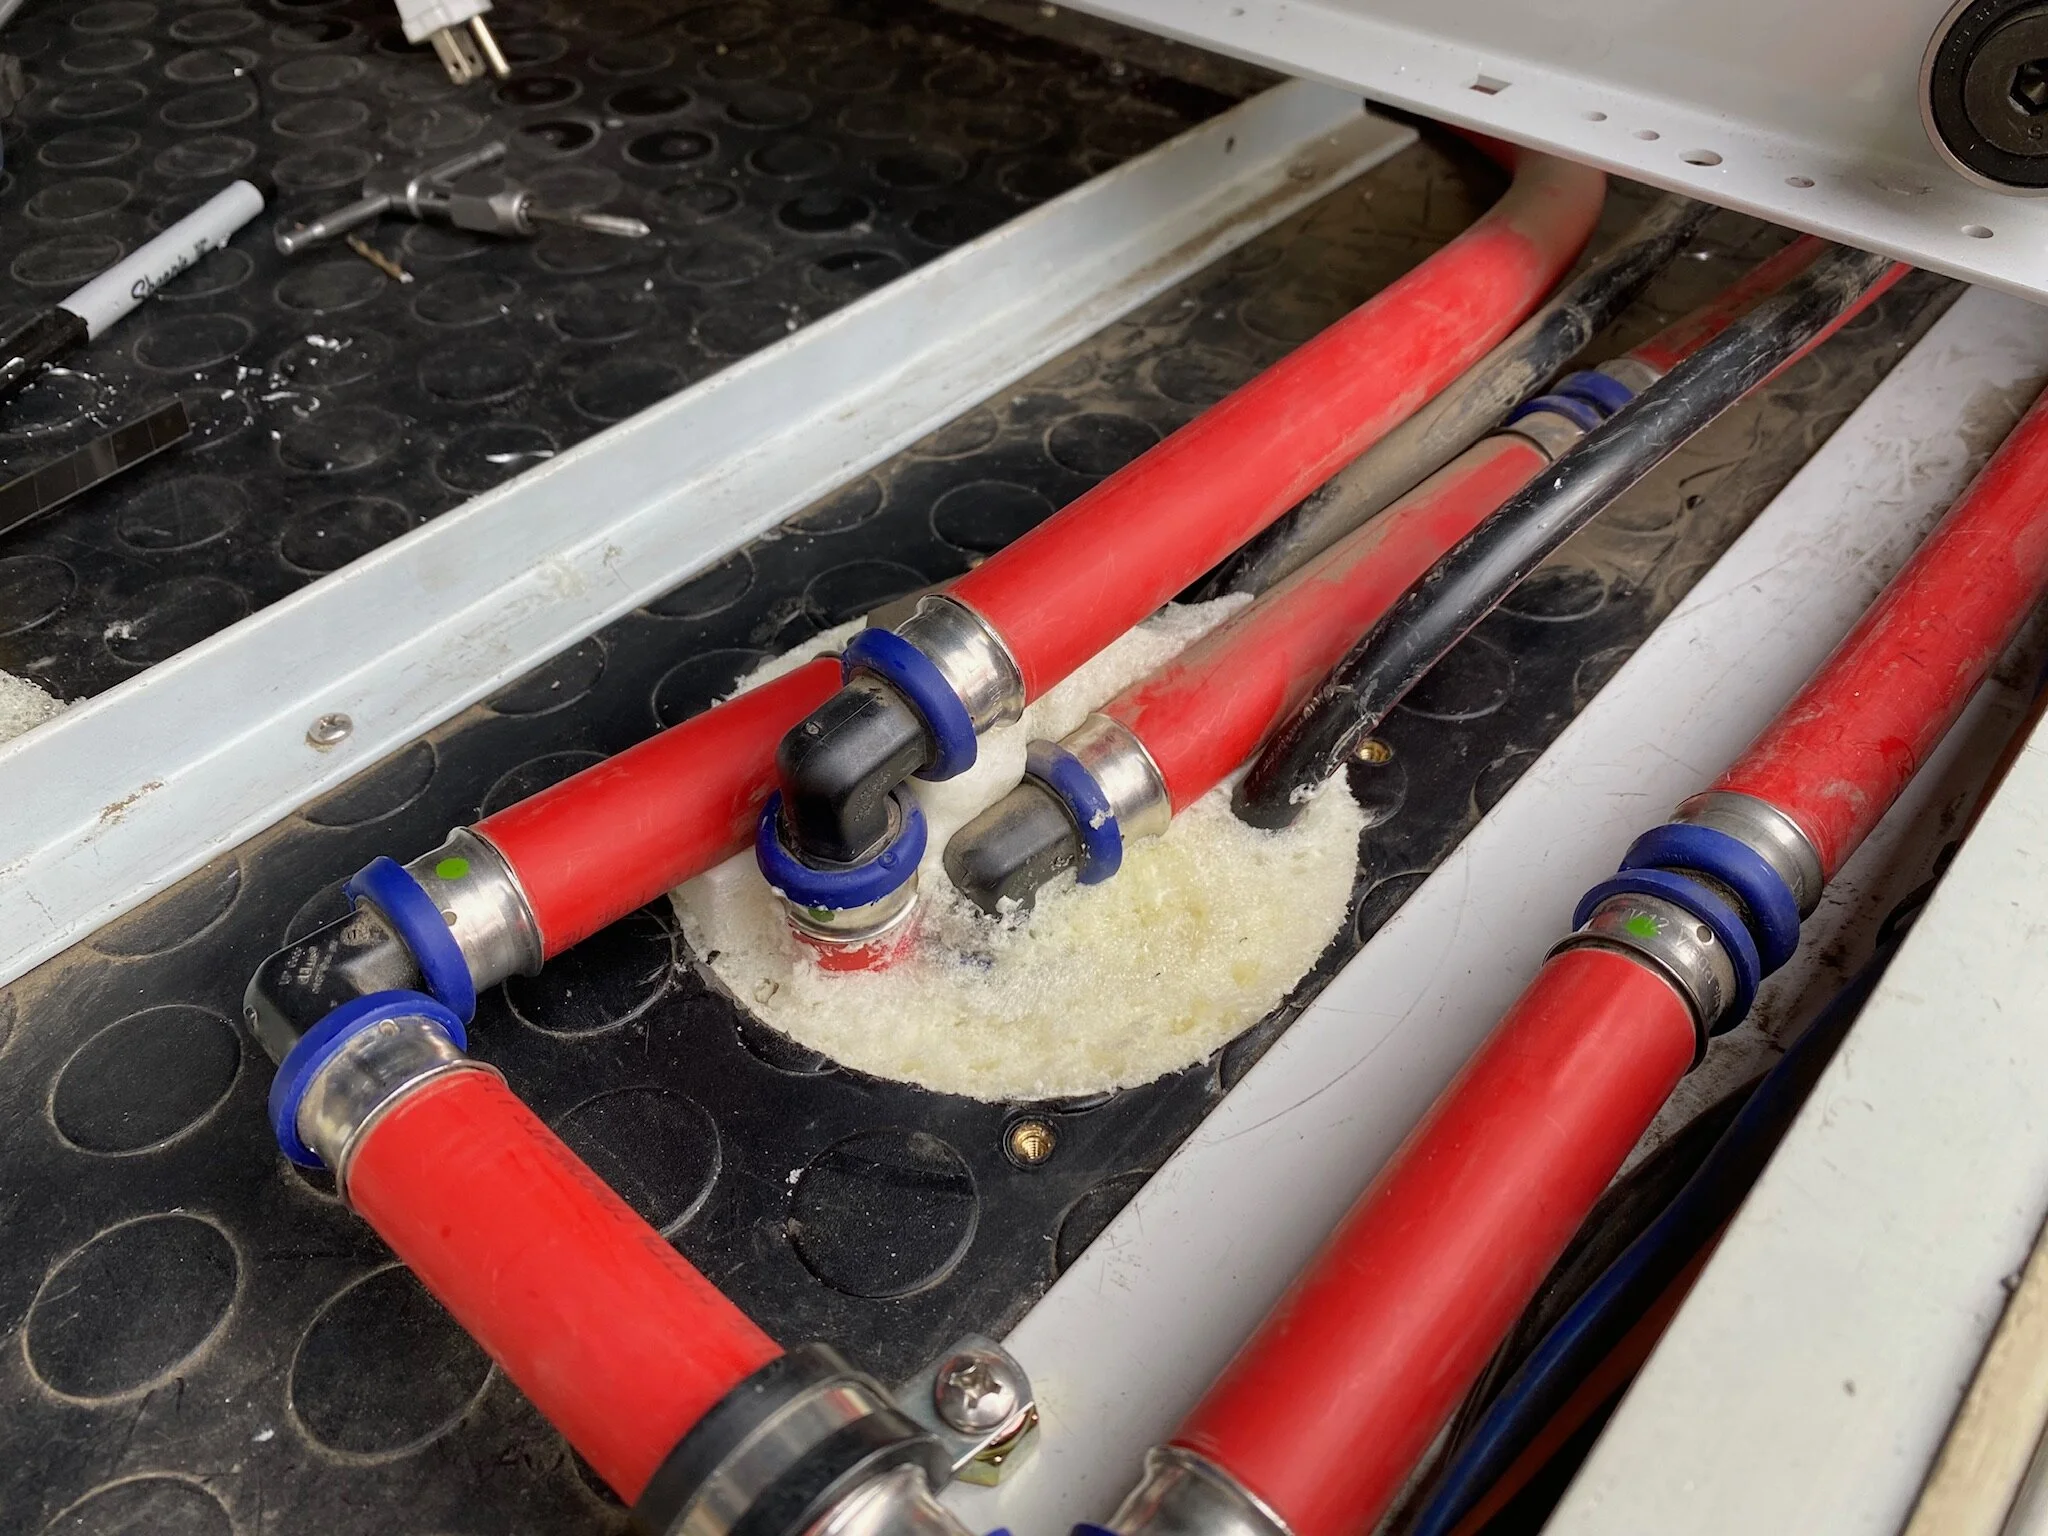
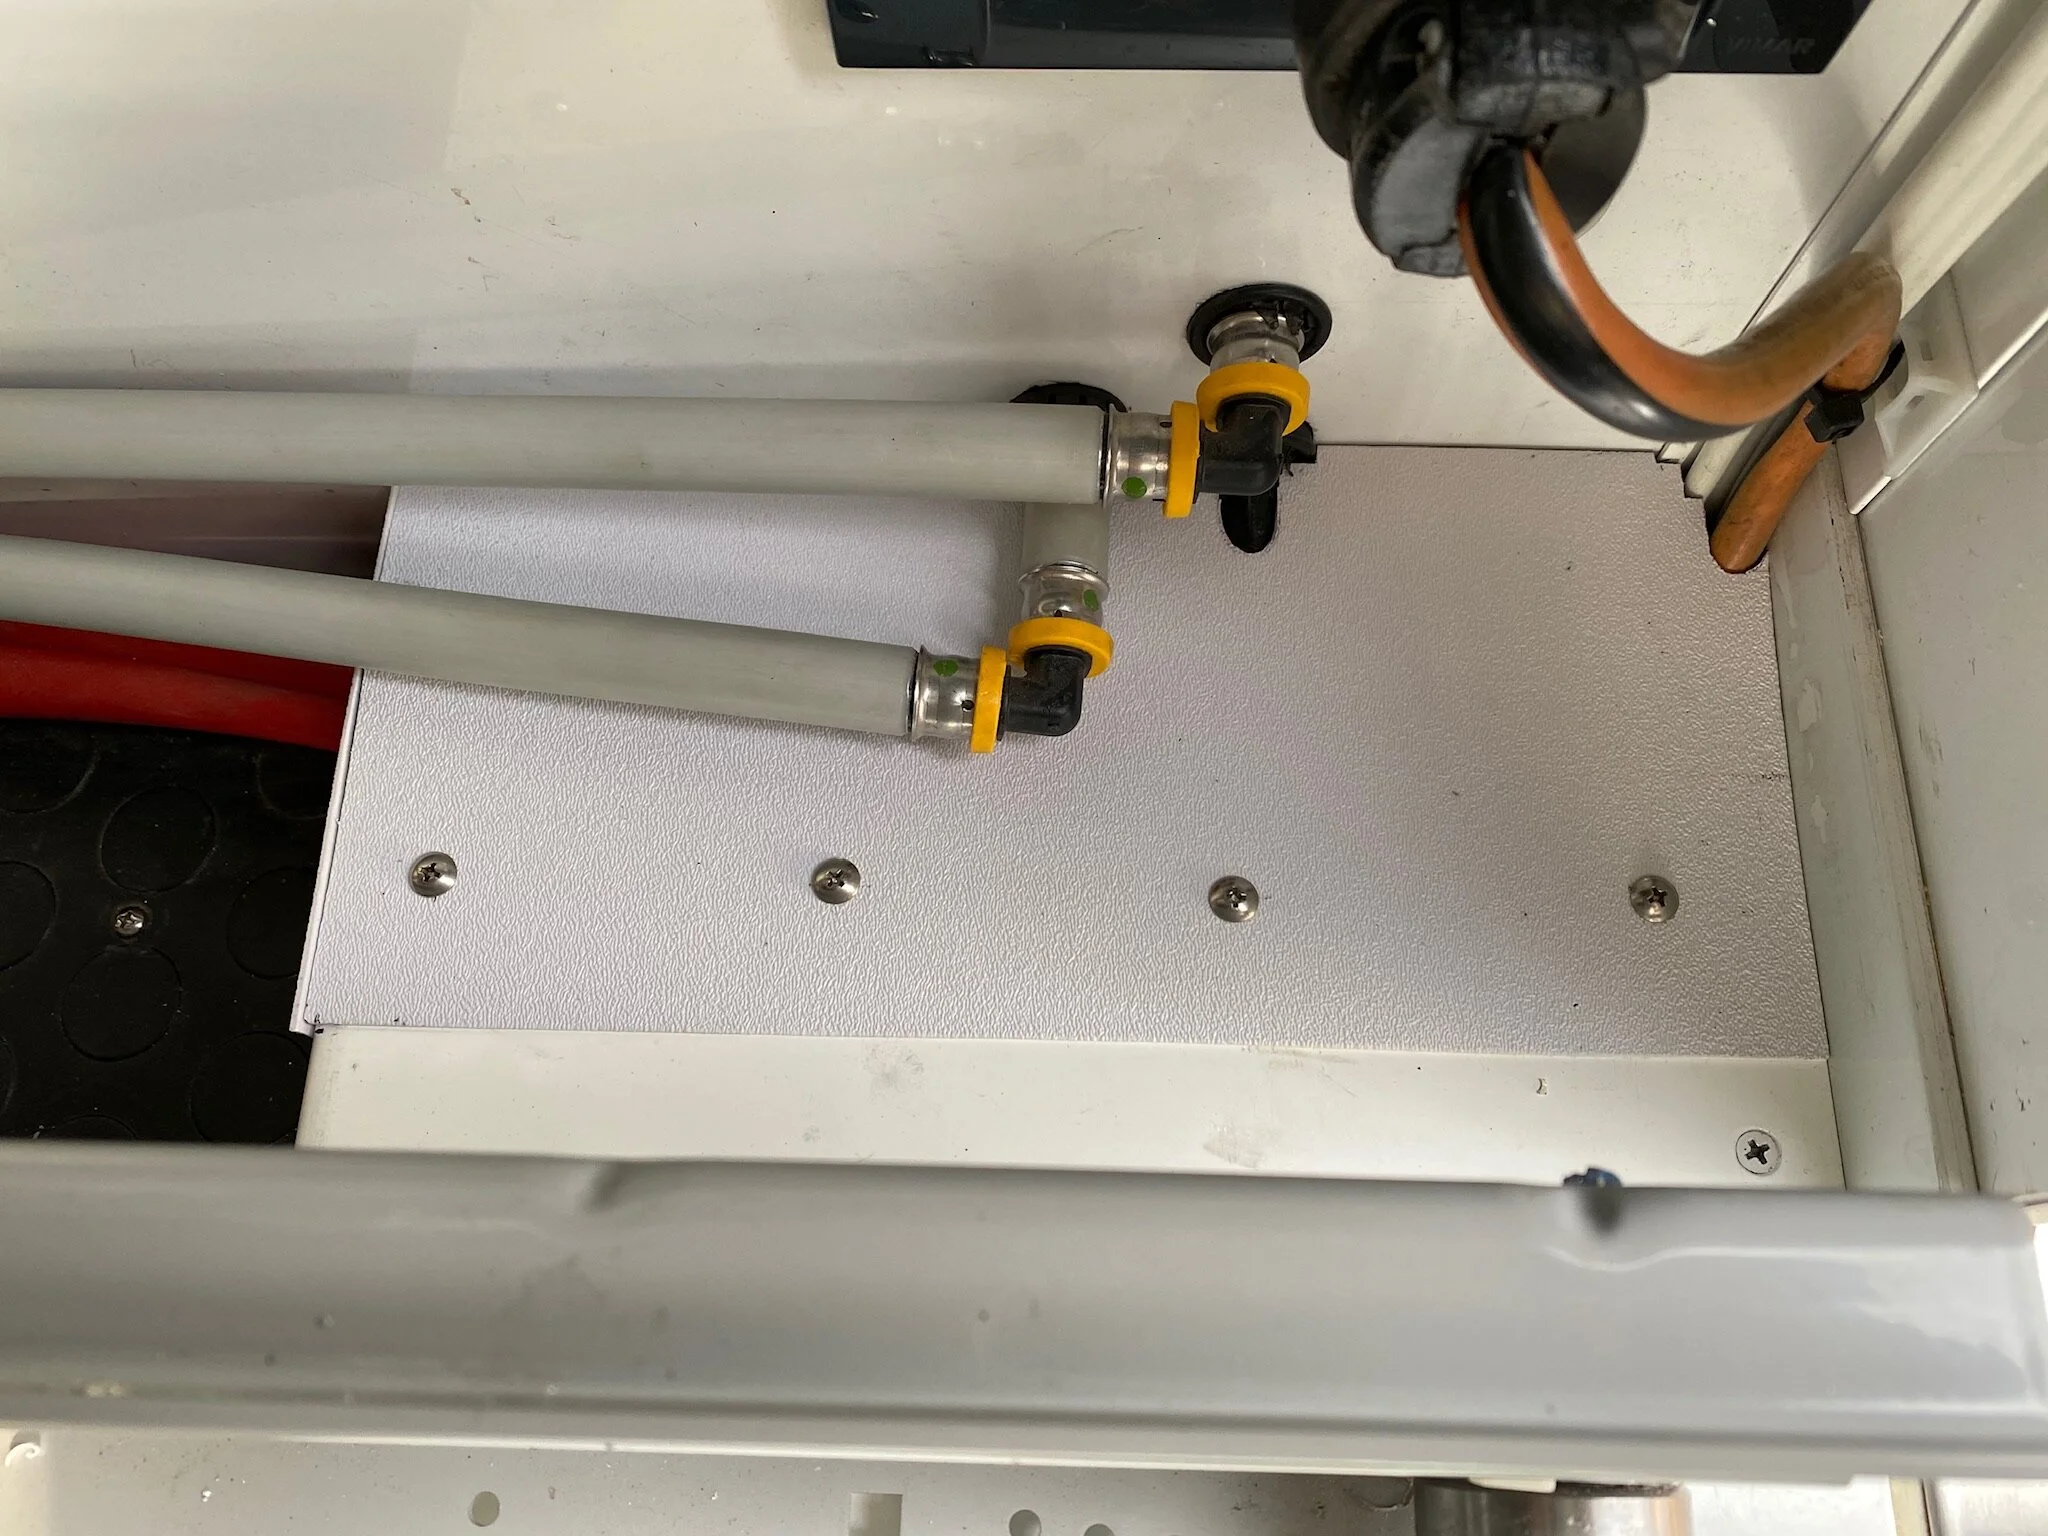
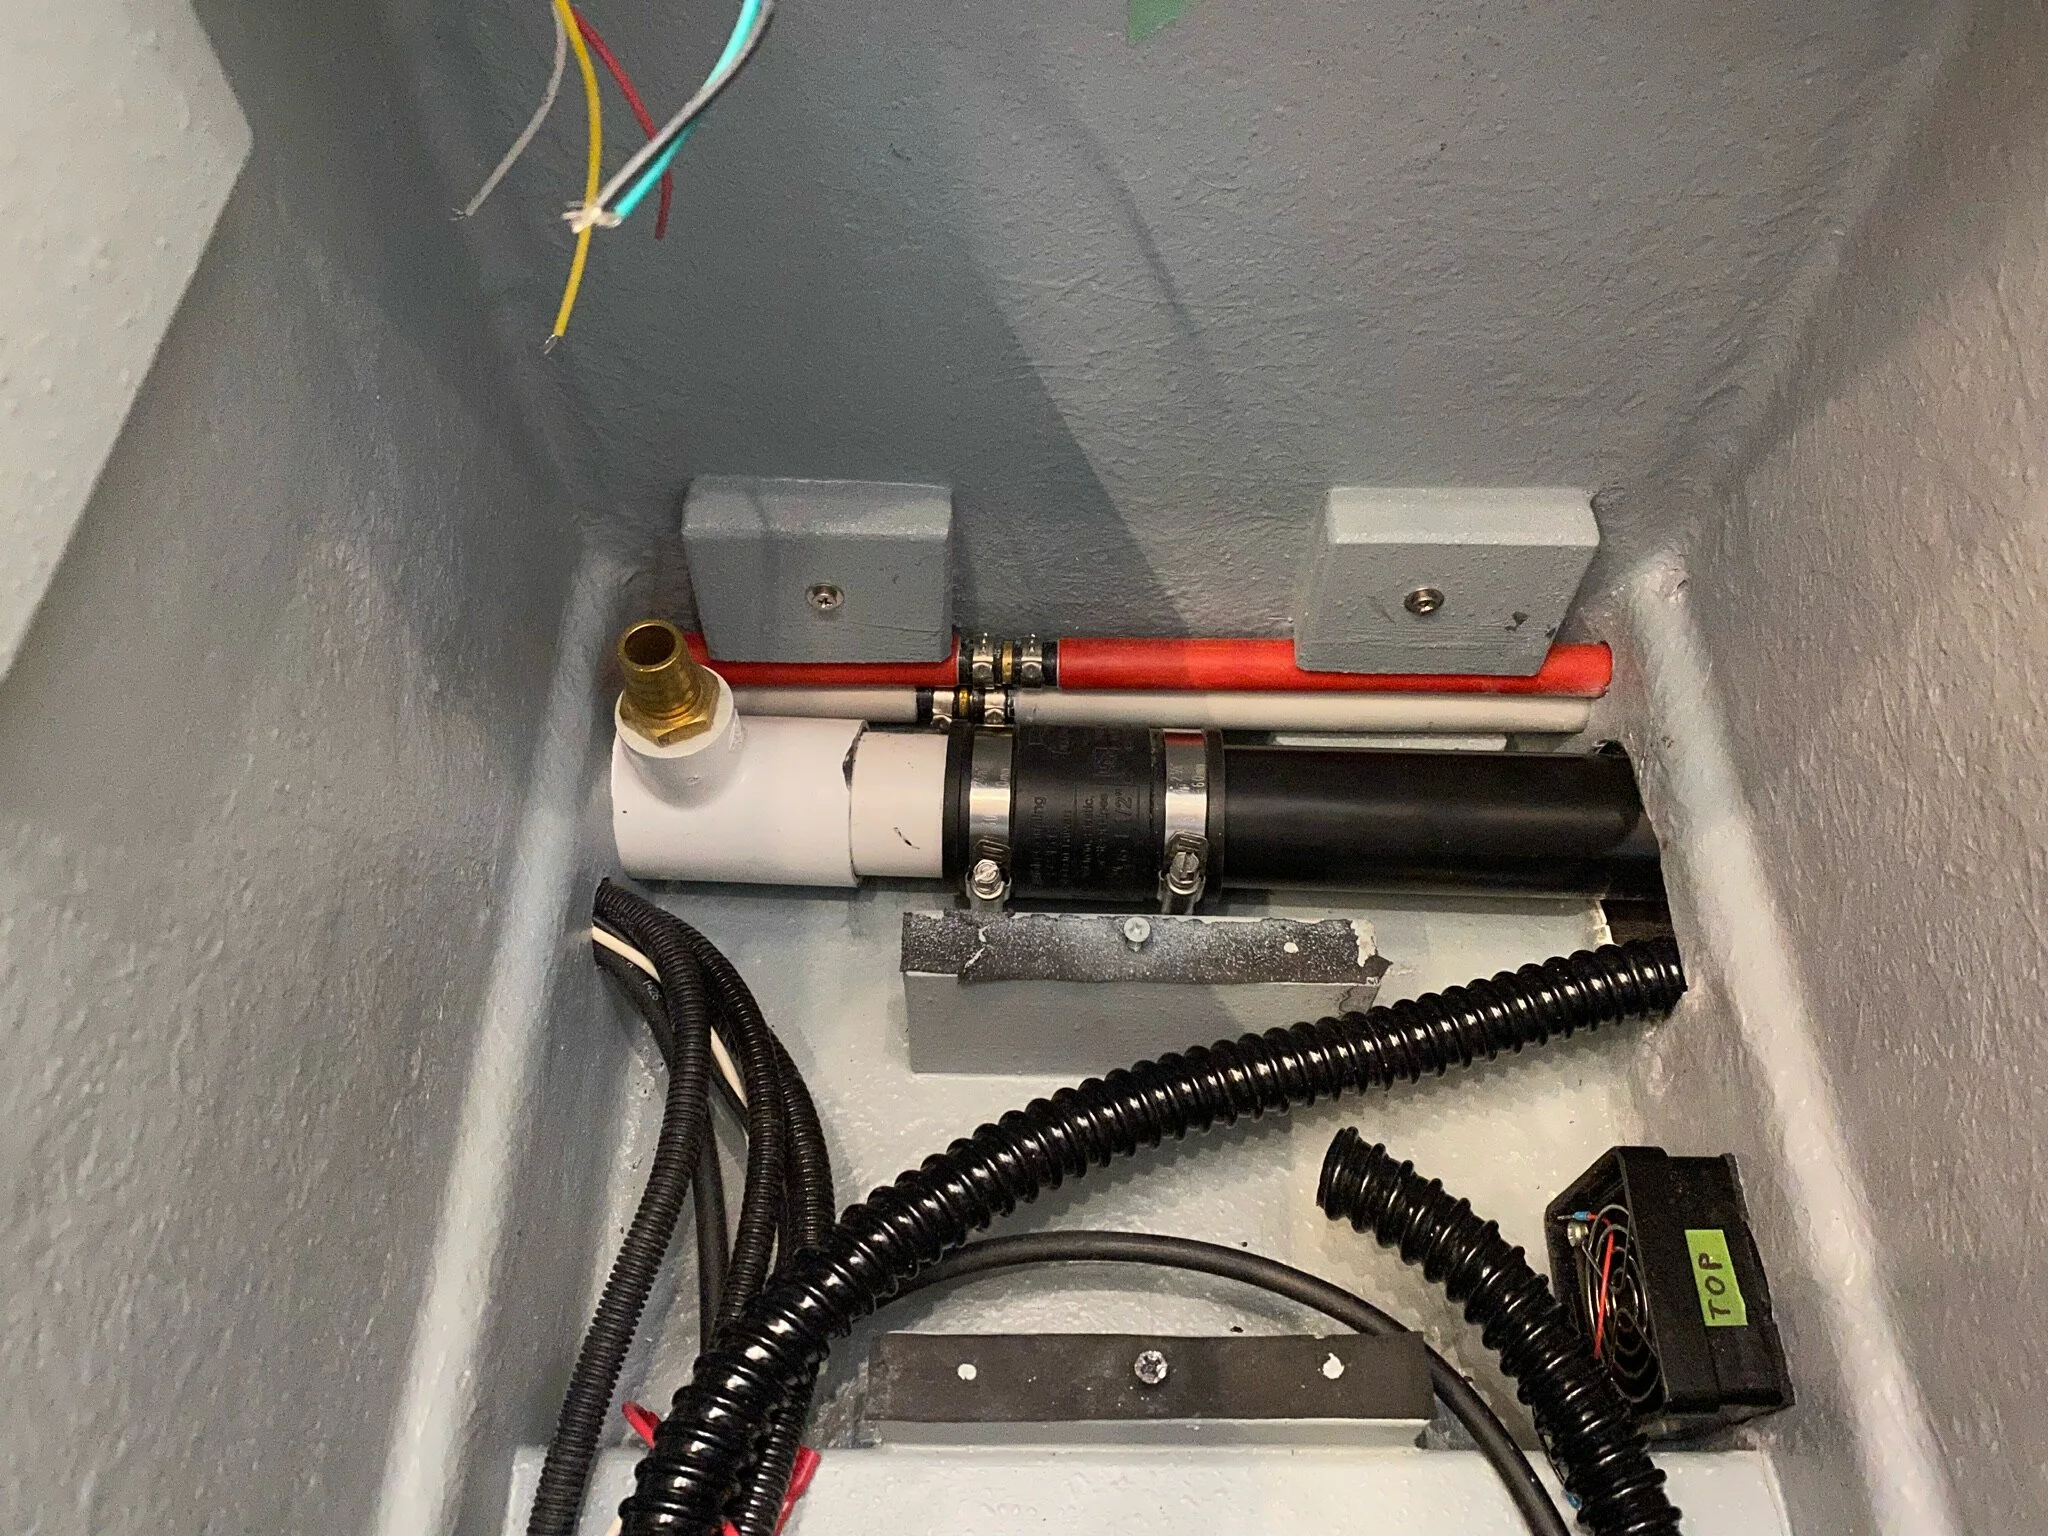
Although the Compoost toilet is dramatically better than the alternatives we looked at, there were a few things that we wanted to do to it so it would fit our installation better. Since we now had two waste water storage tanks, we wanted a way to divert the liquid outflow from the toilet to one or the other tank. We also had to alter the toilet to accommodate the plumbing pipes running along the floor behind the toilet.
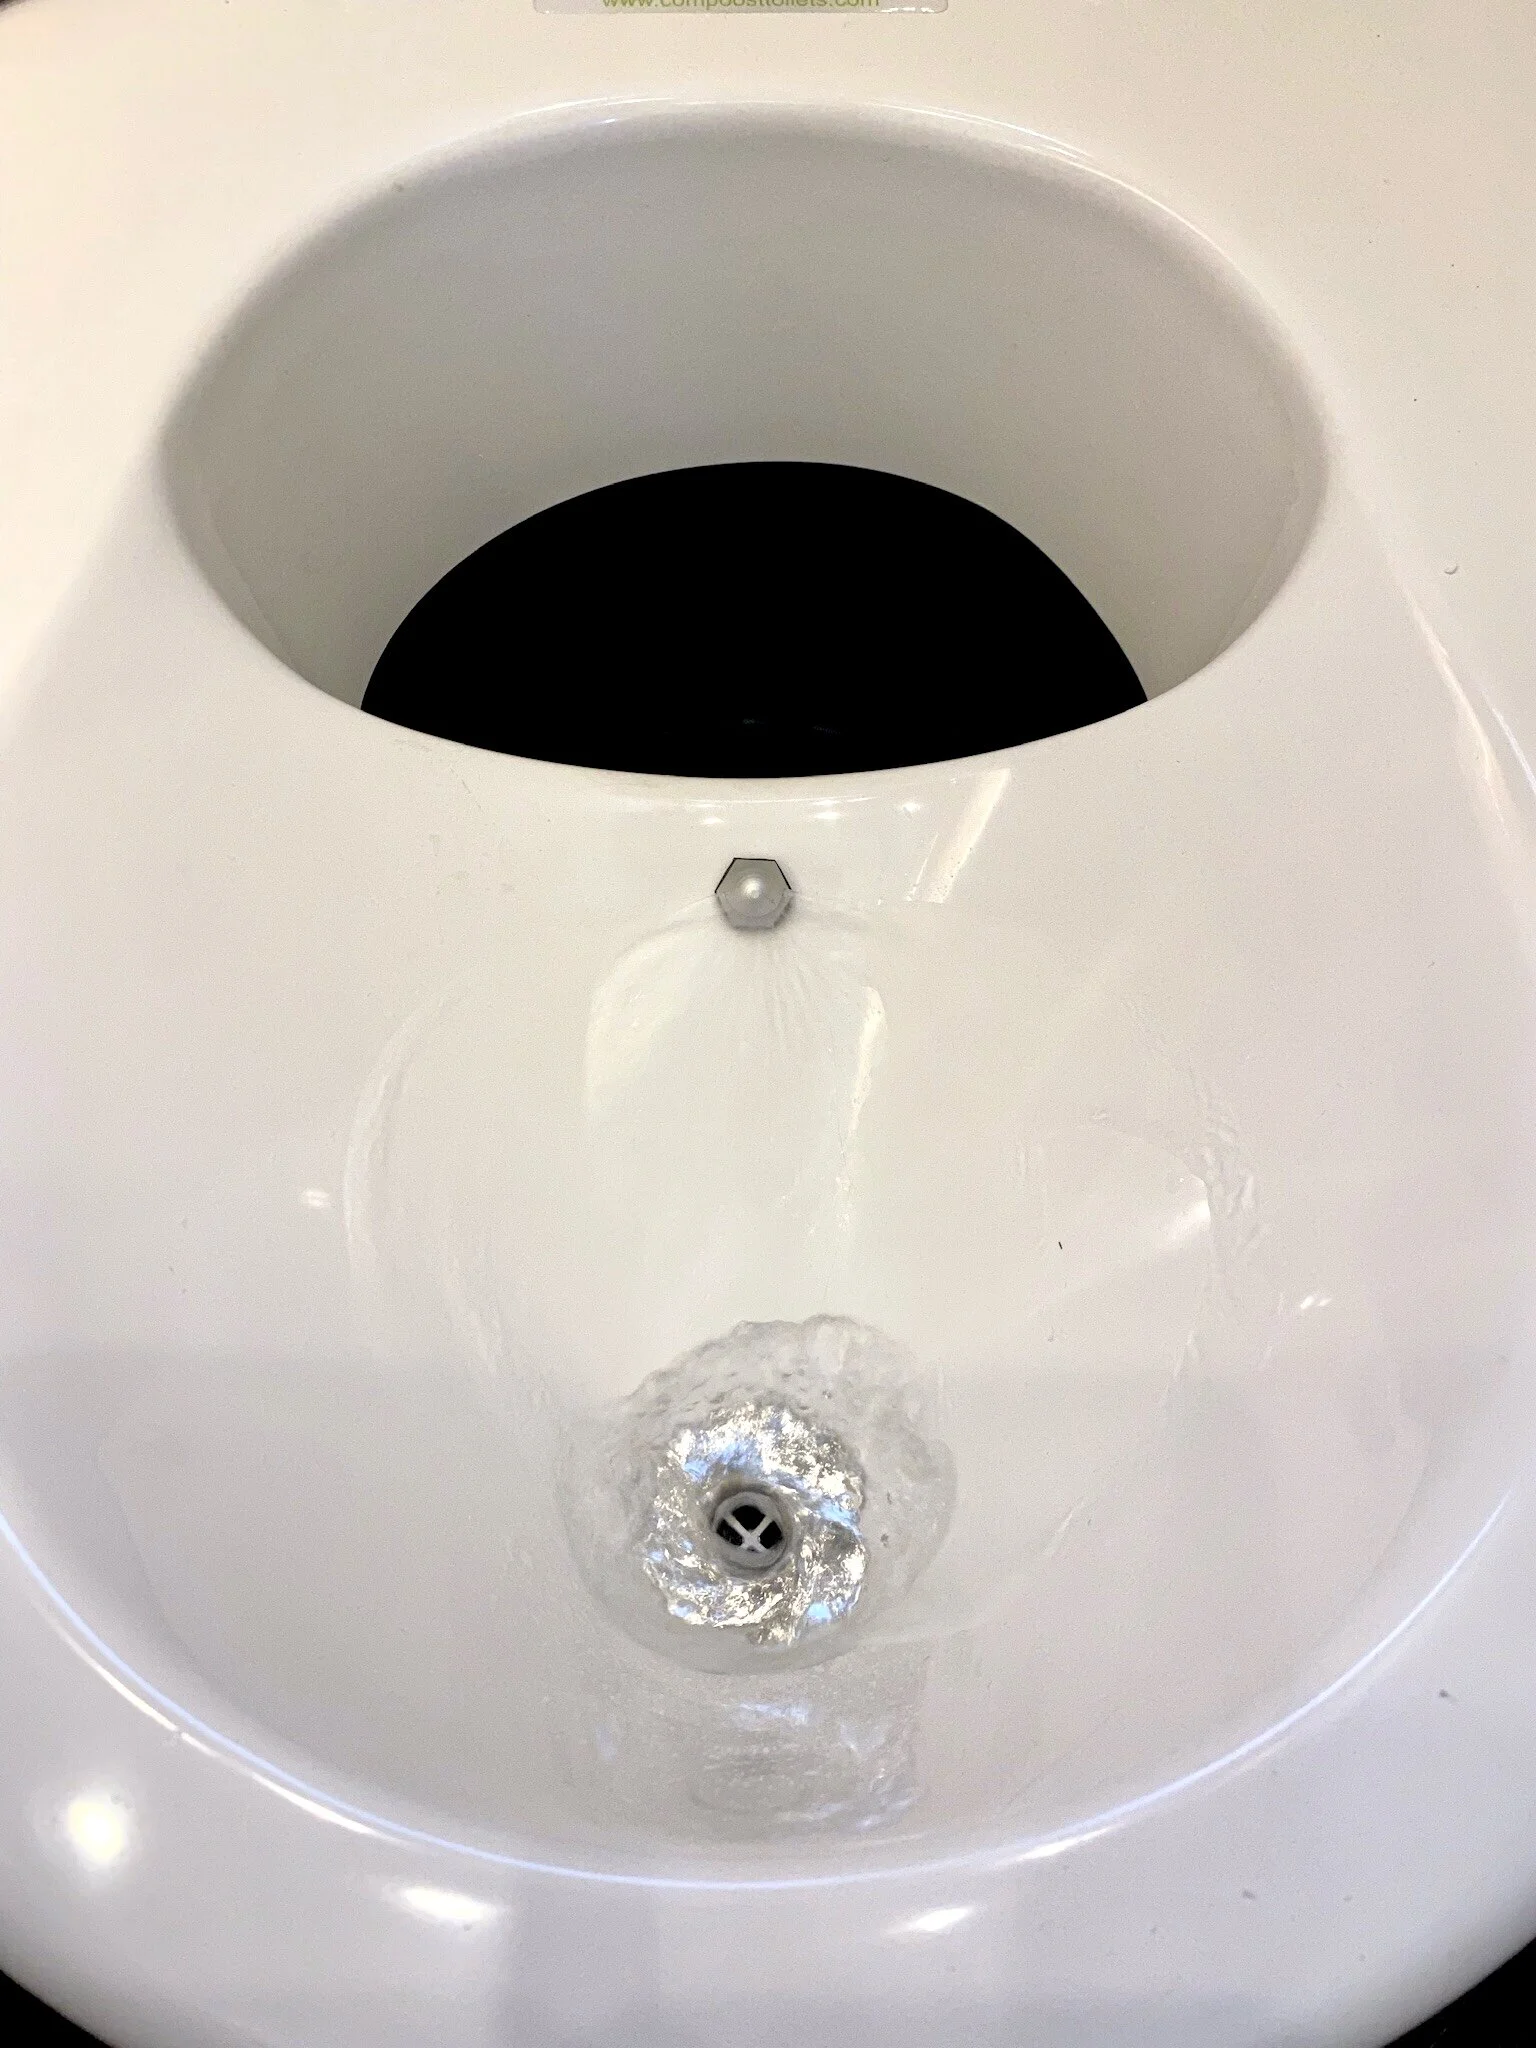
The only other thing we did to the toilet to improve it for our use was to take advantage of our existing, solenoid activated water source from the old toilet to provide water to a spritzer spray nozzle we installed in the urine bowl to easily rinse it after use. This prevents urine residue, and the associated odor, from building up after use.

Fresh Air Circulation
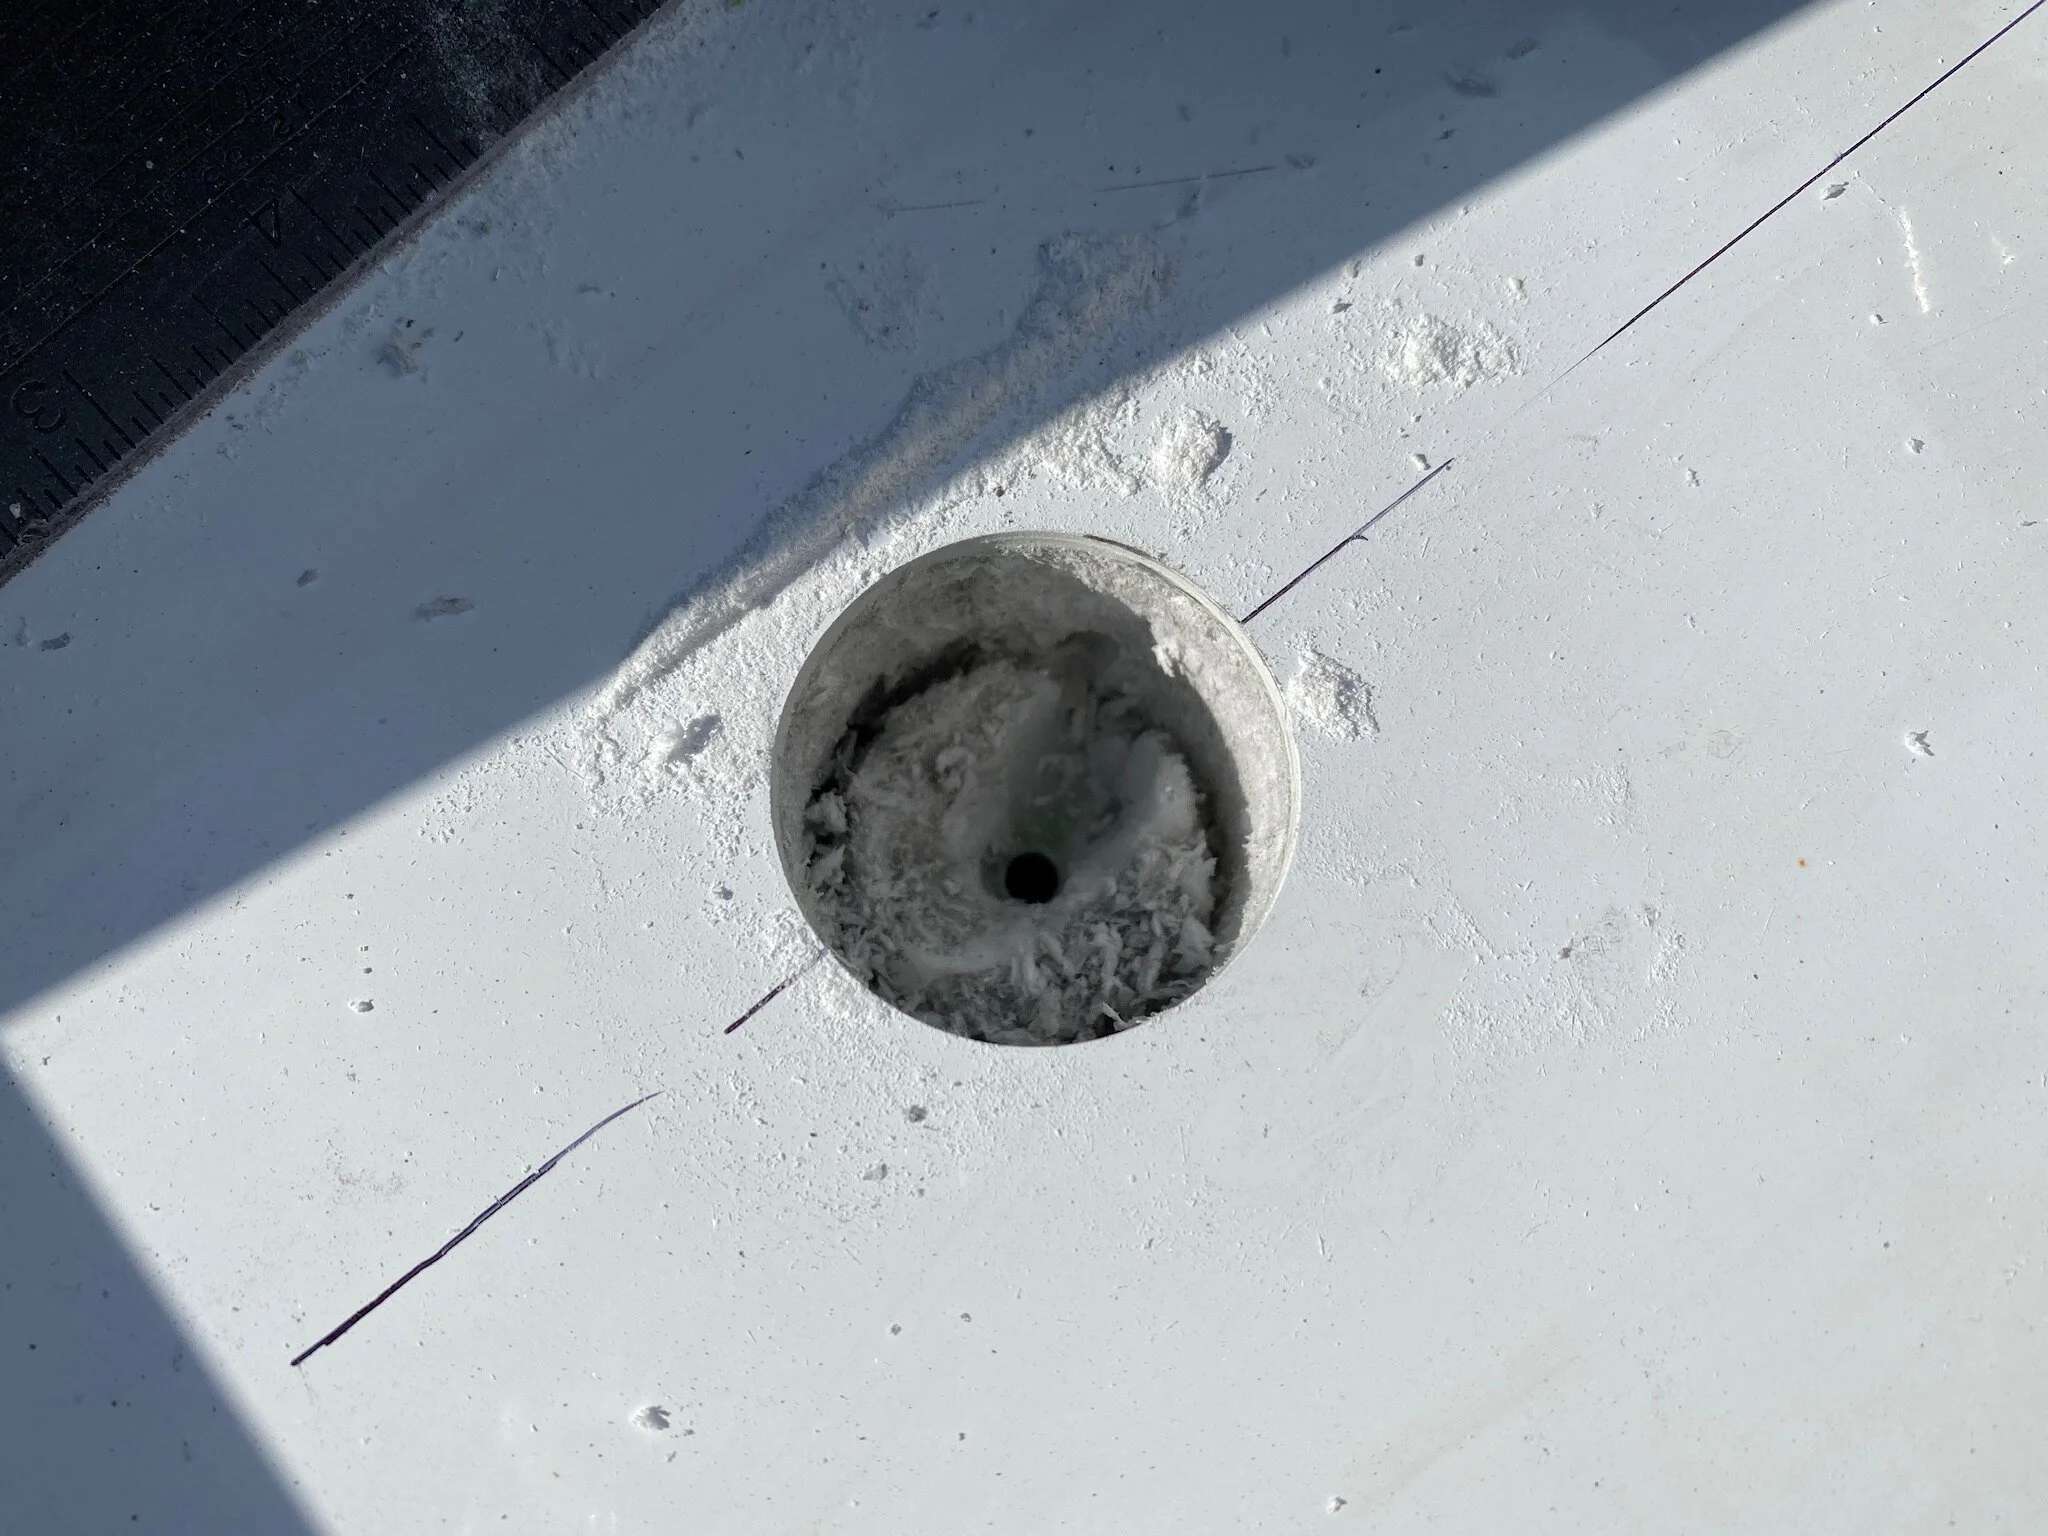
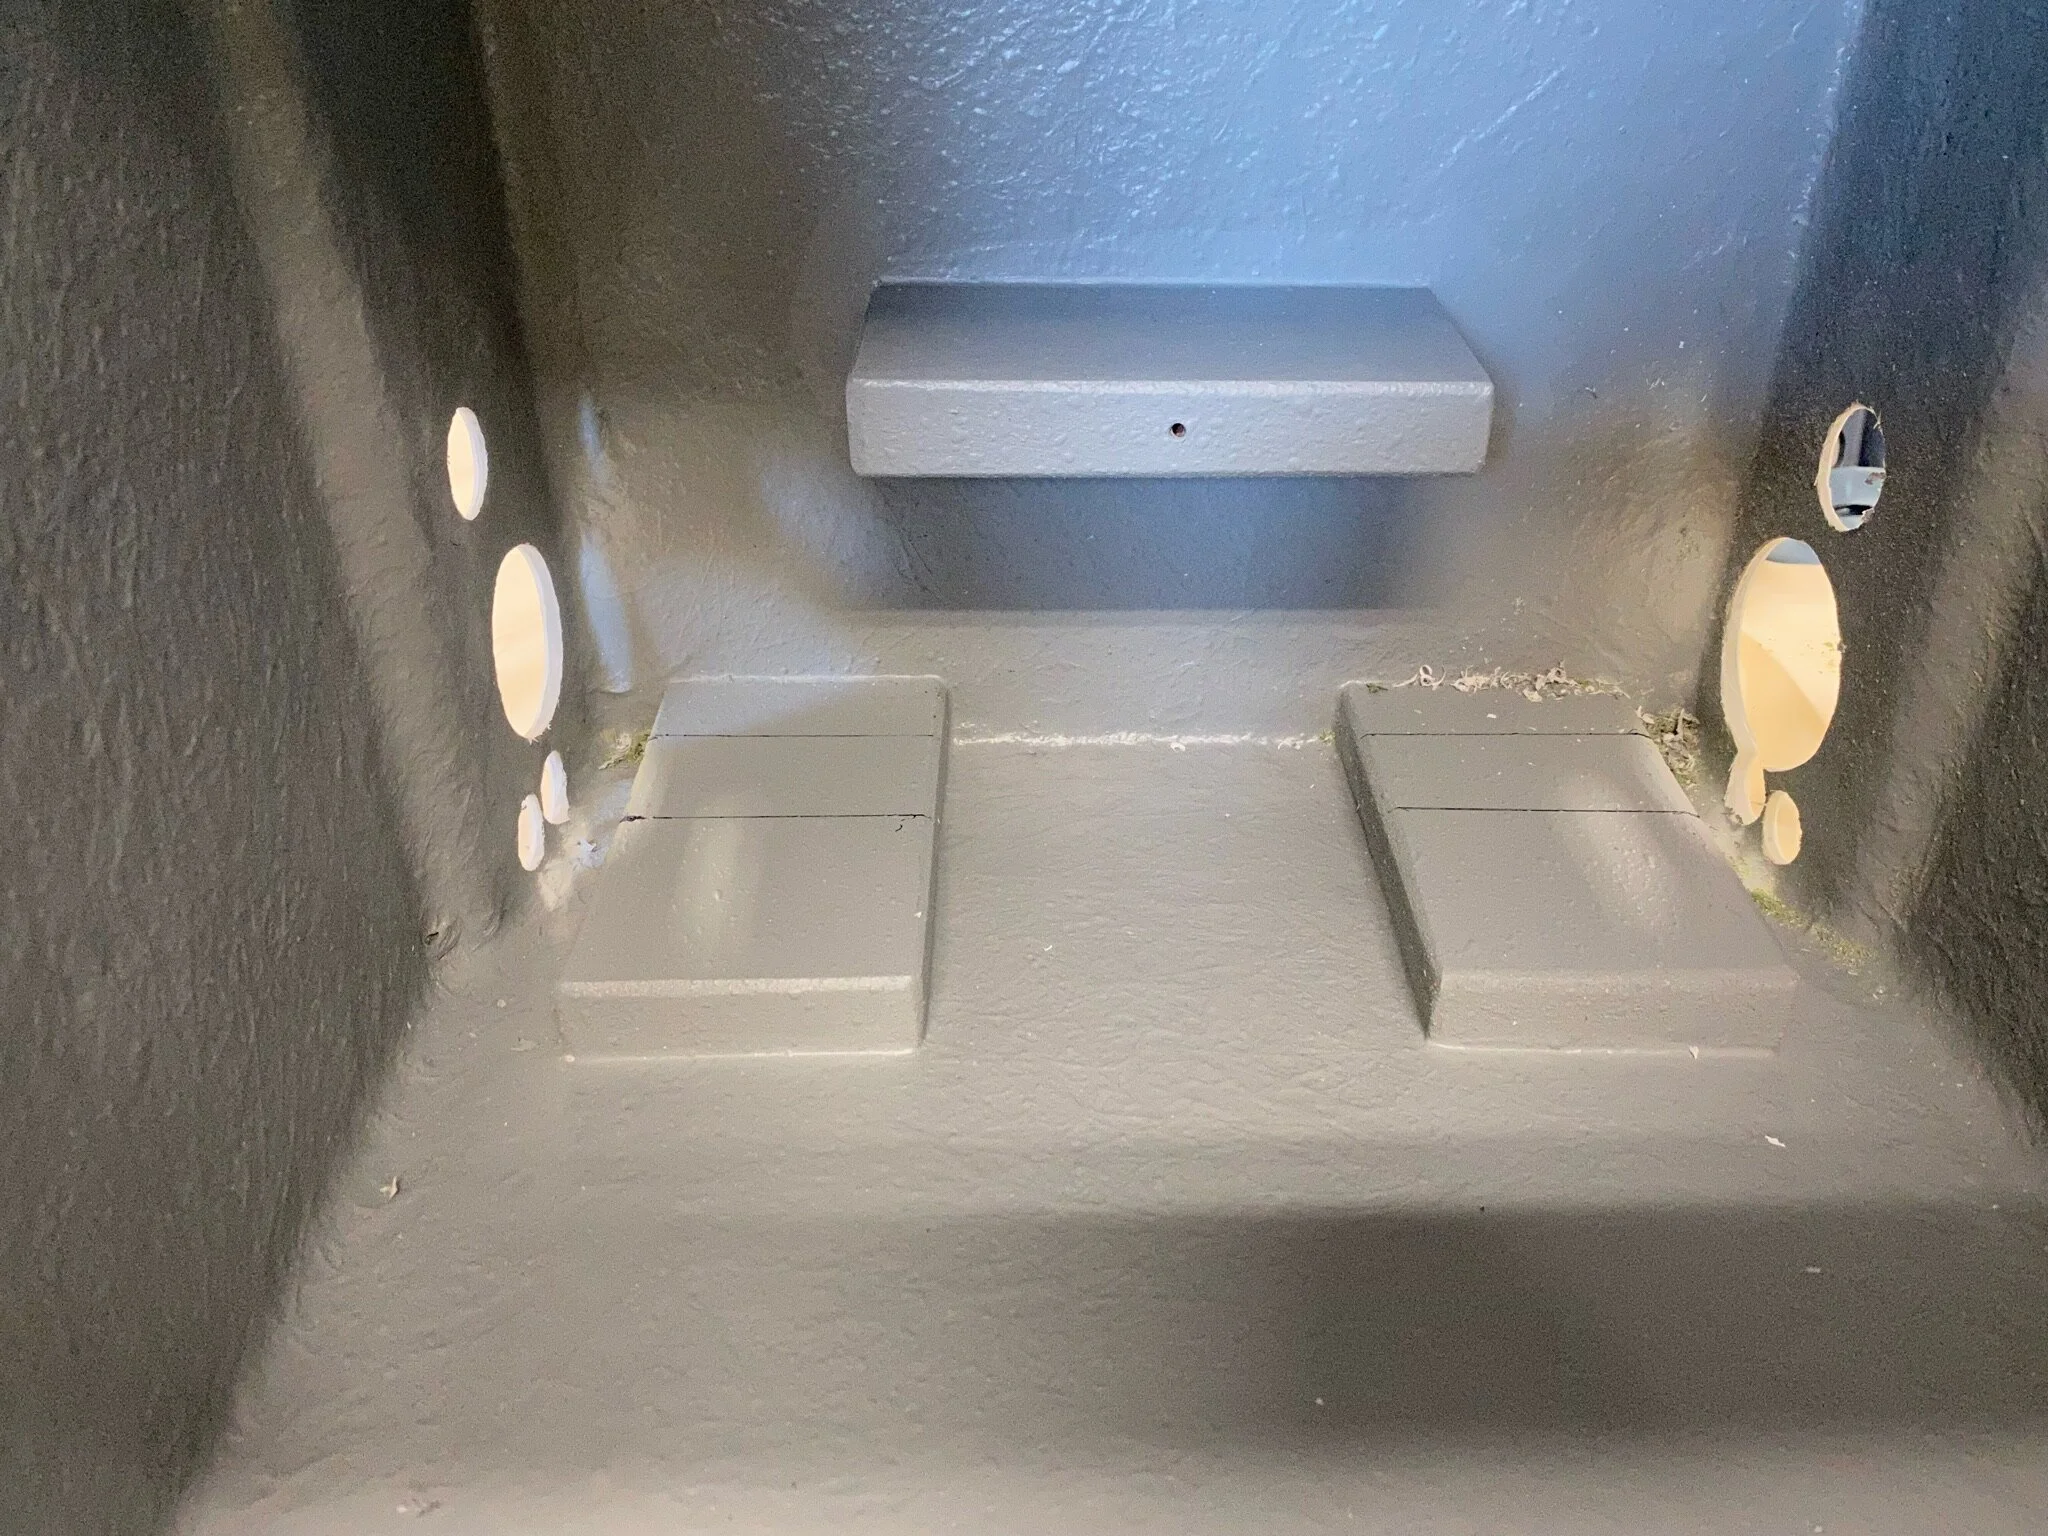
The cabin is so airtight that air has been pulled into it through this boiler tube port that goes to the exterior boiler compartment. The port was improperly sealed by the box builder, so dust has also entered the cabin along with the air. This was corrected when we cut in the fresh air ingress port.
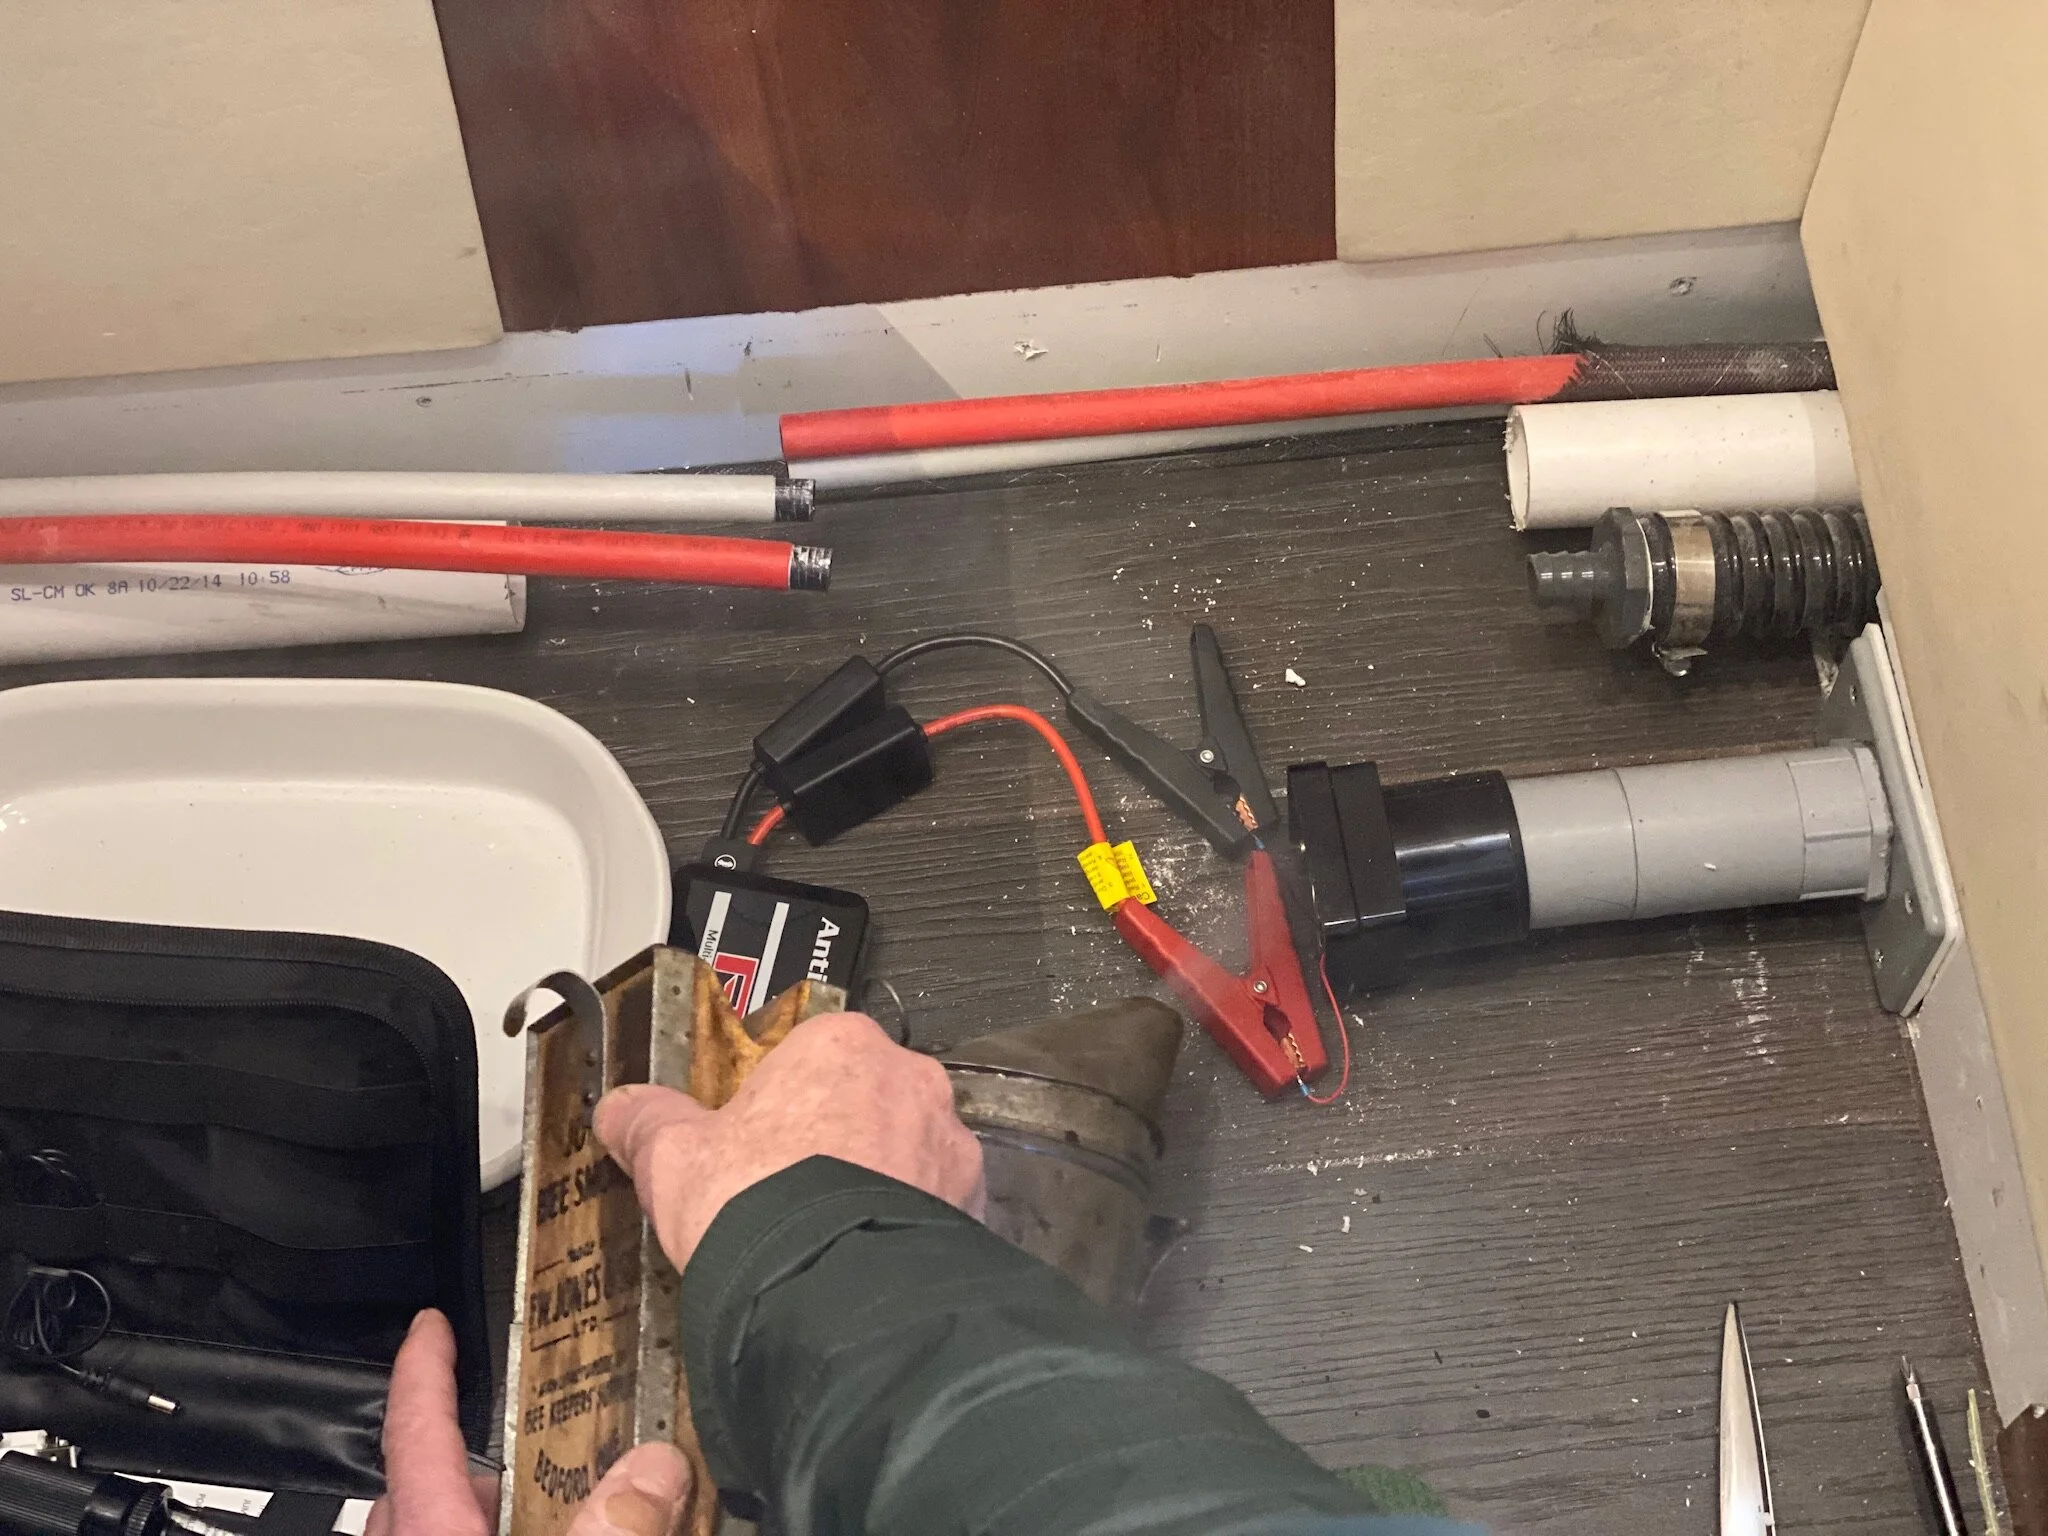
In order for composting to work, fresh air is needed for the decomposition process to take place. In a composting toilet a fan is used to pull fresh air through the composting chamber. This fan runs constantly, as long as the composting chamber has material in it, and also provides the secondary function of removing odors from the toilet and expelling them outside.
In our installation, this air circulation presented a small challenge. When our cabin is closed up with all the windows, doors and exhaust fan hatches closed, it’s close to a hermetically sealed enclosure. The toilet fan is very small and as such is not powerful enough to pull air in through the various seals in the doors and windows. So this prevents air from entering the cabin to replace the air that the fan is trying to draw out of the toilet. Aside from this interrupting the composting process, it would also allow odors from the toilet to infiltrate the cabin.
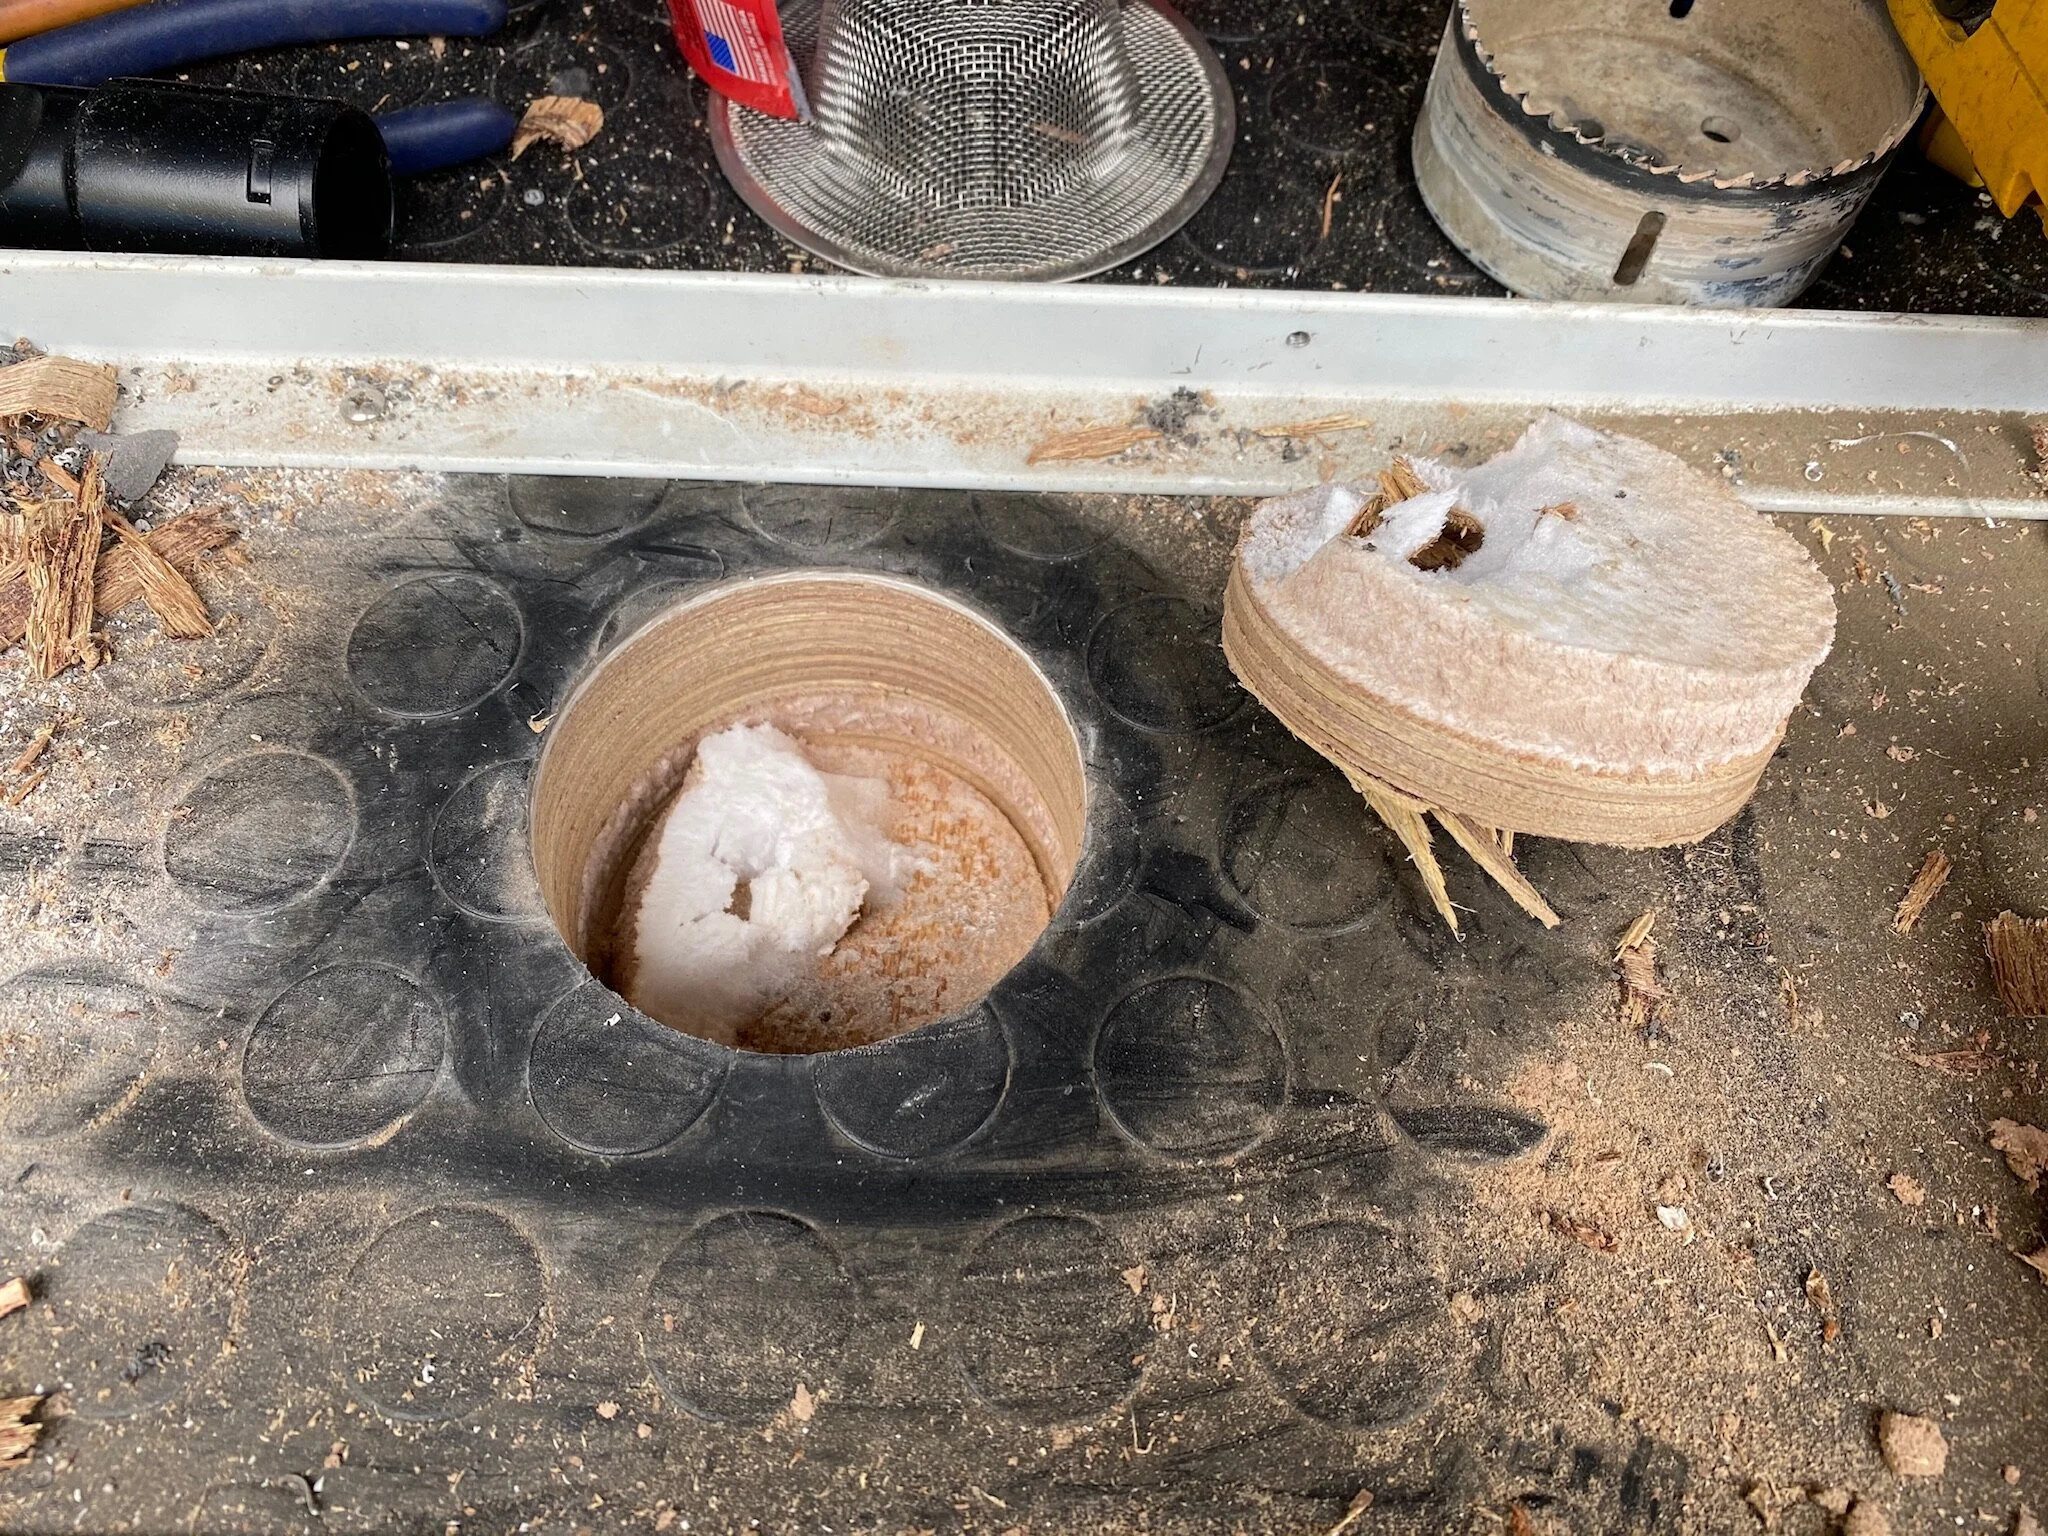
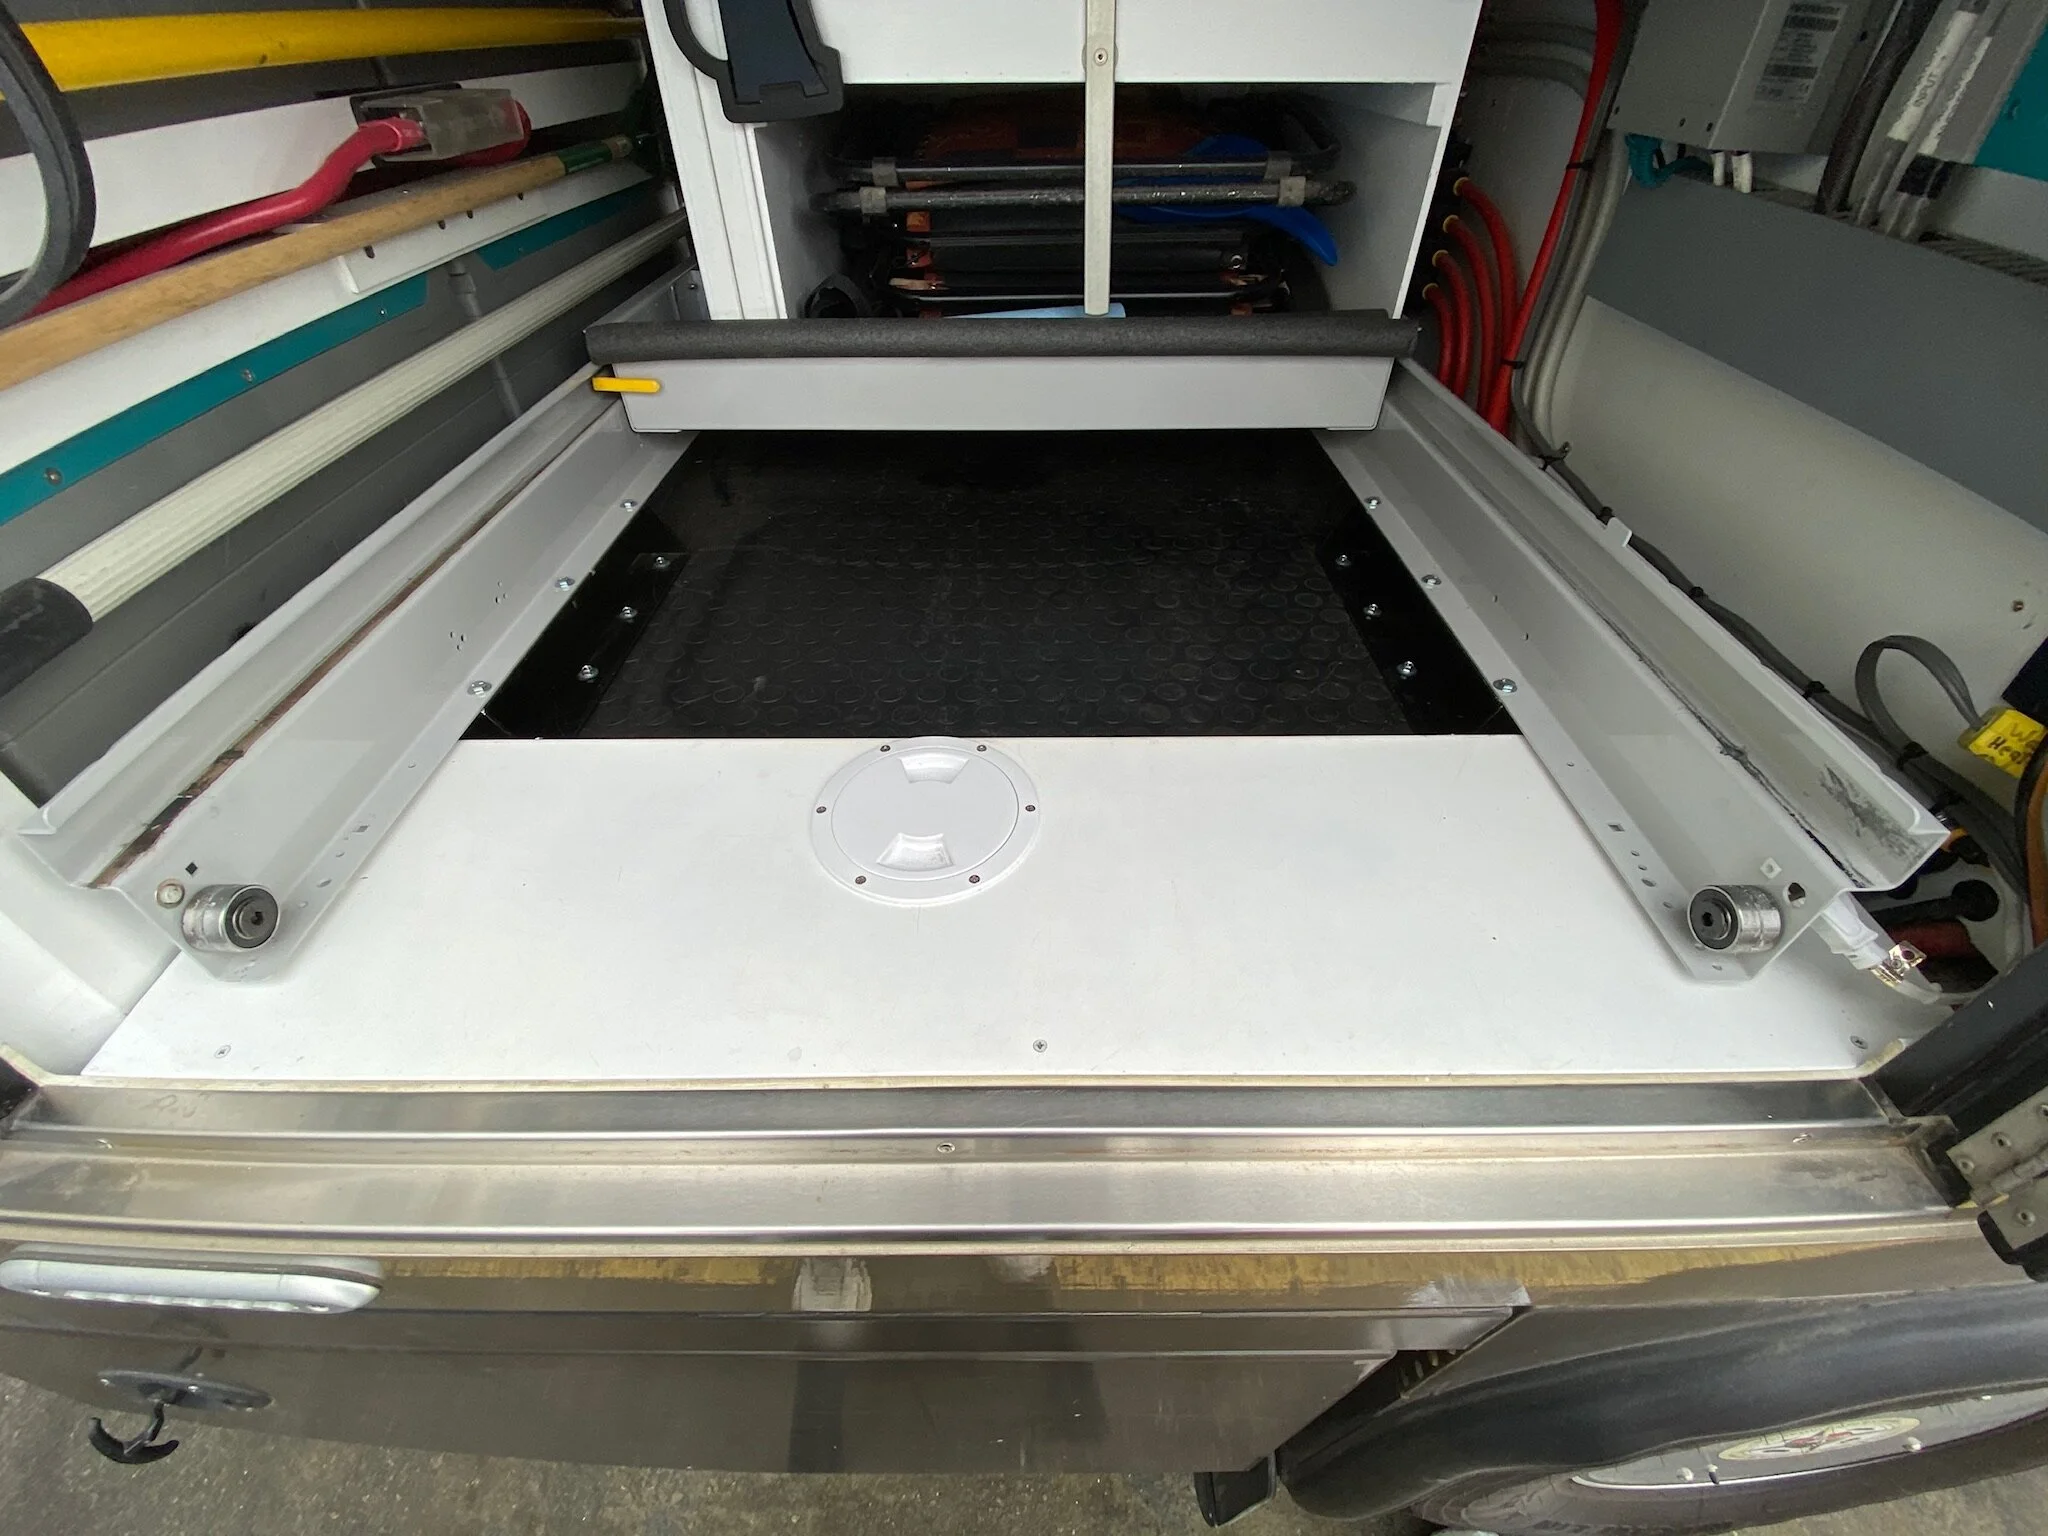
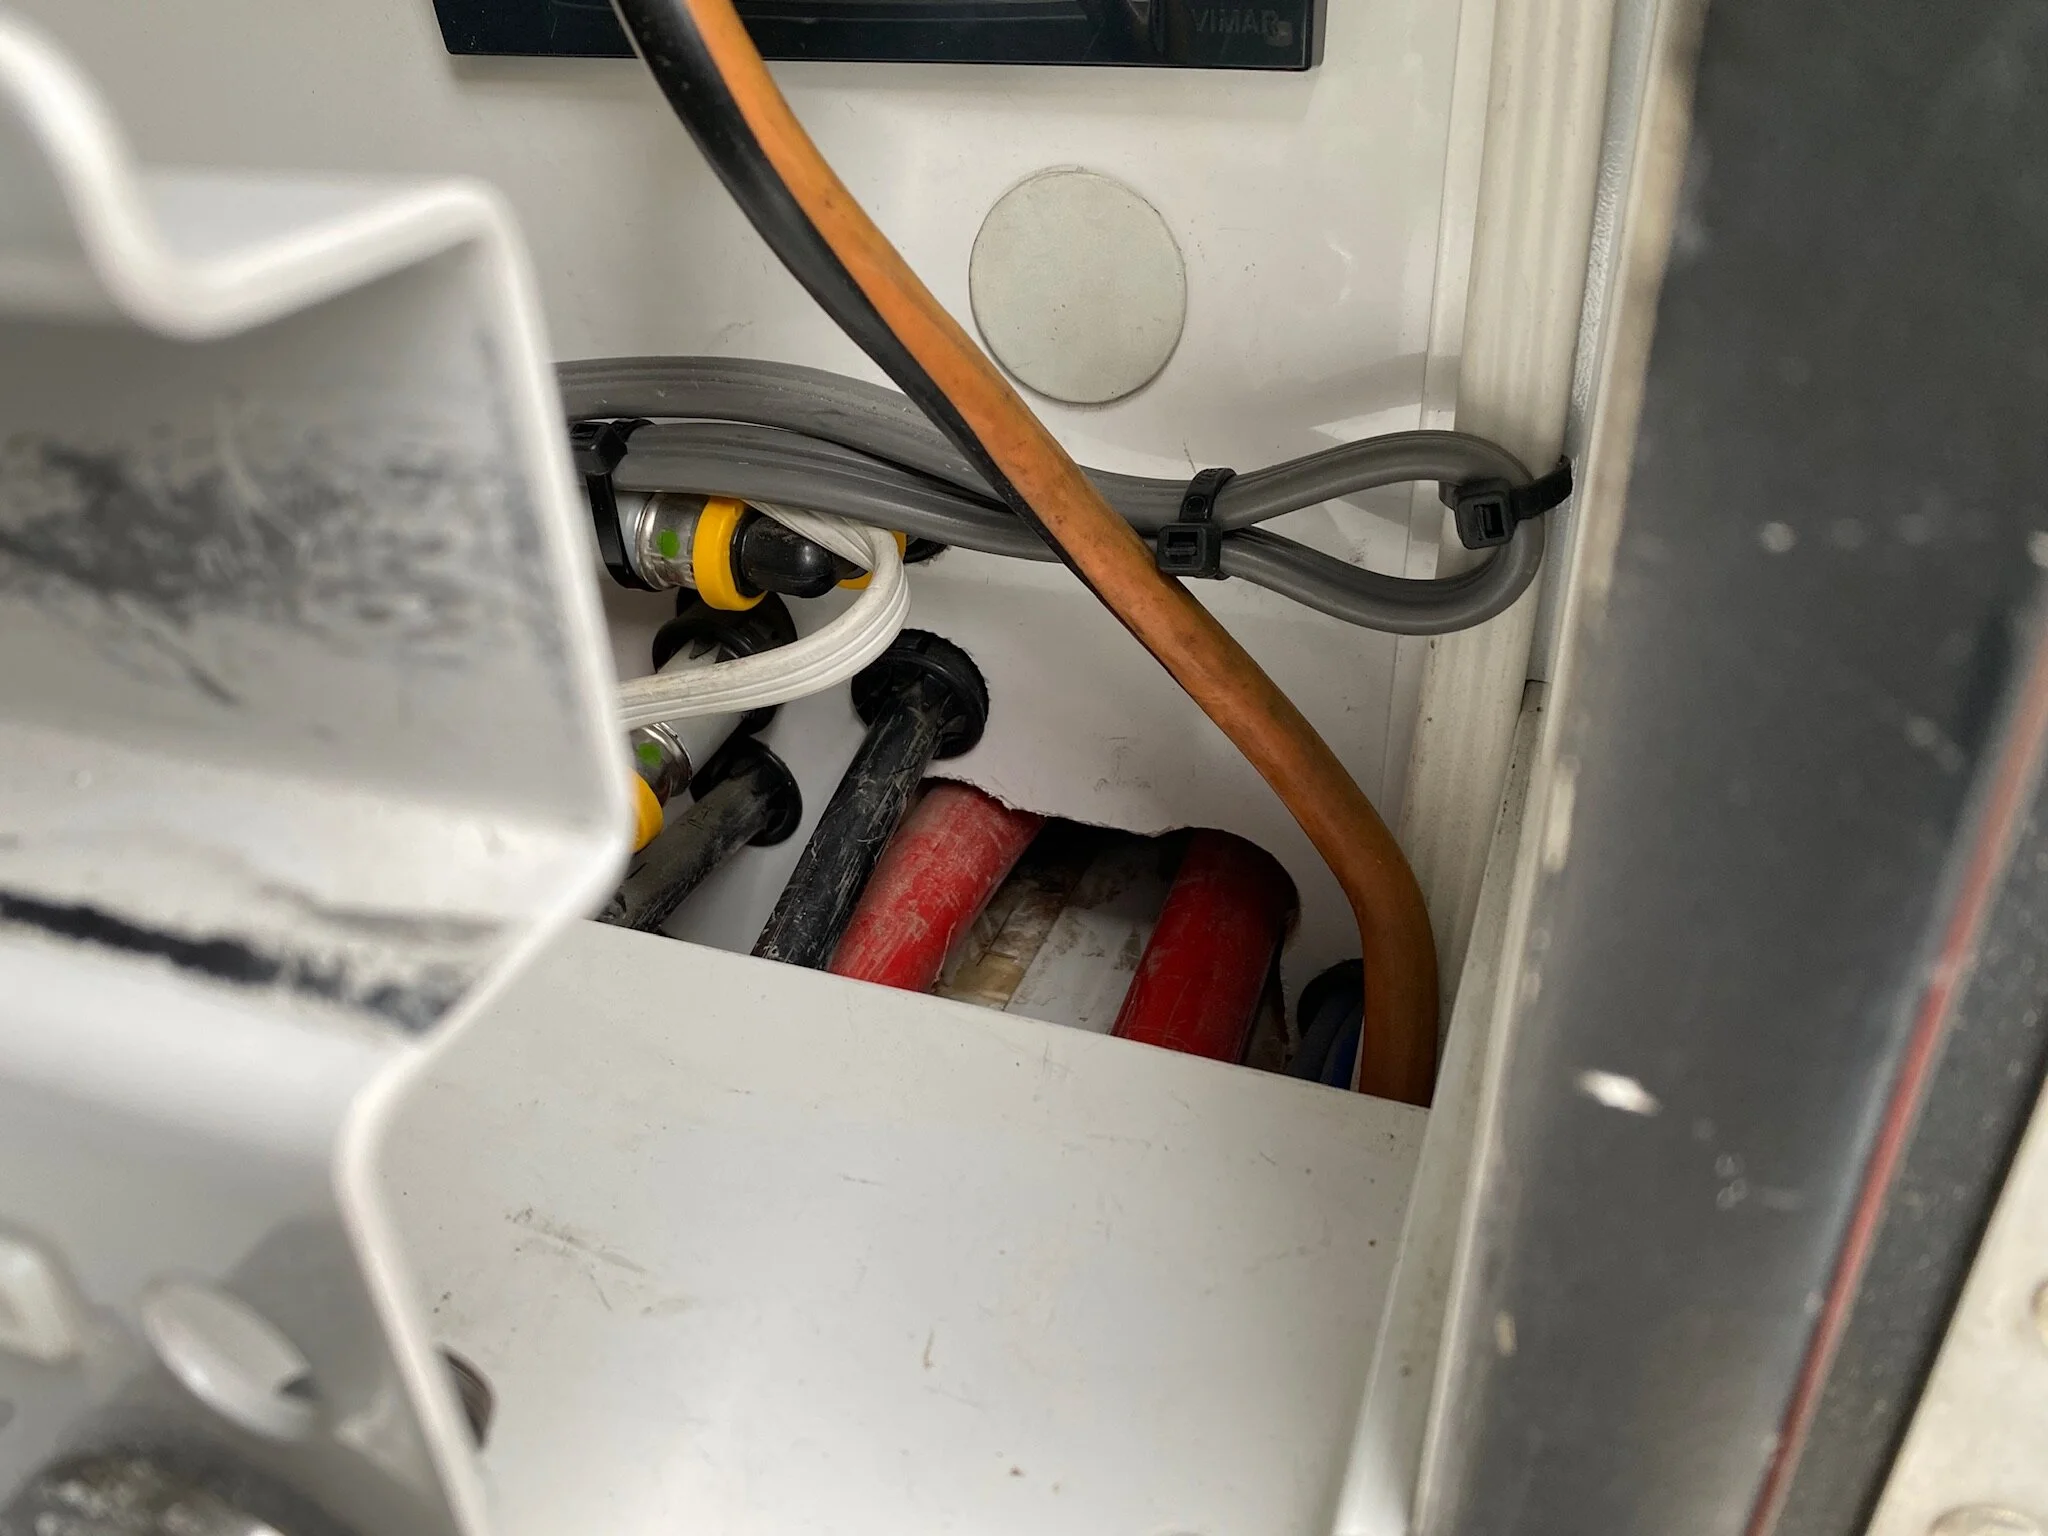
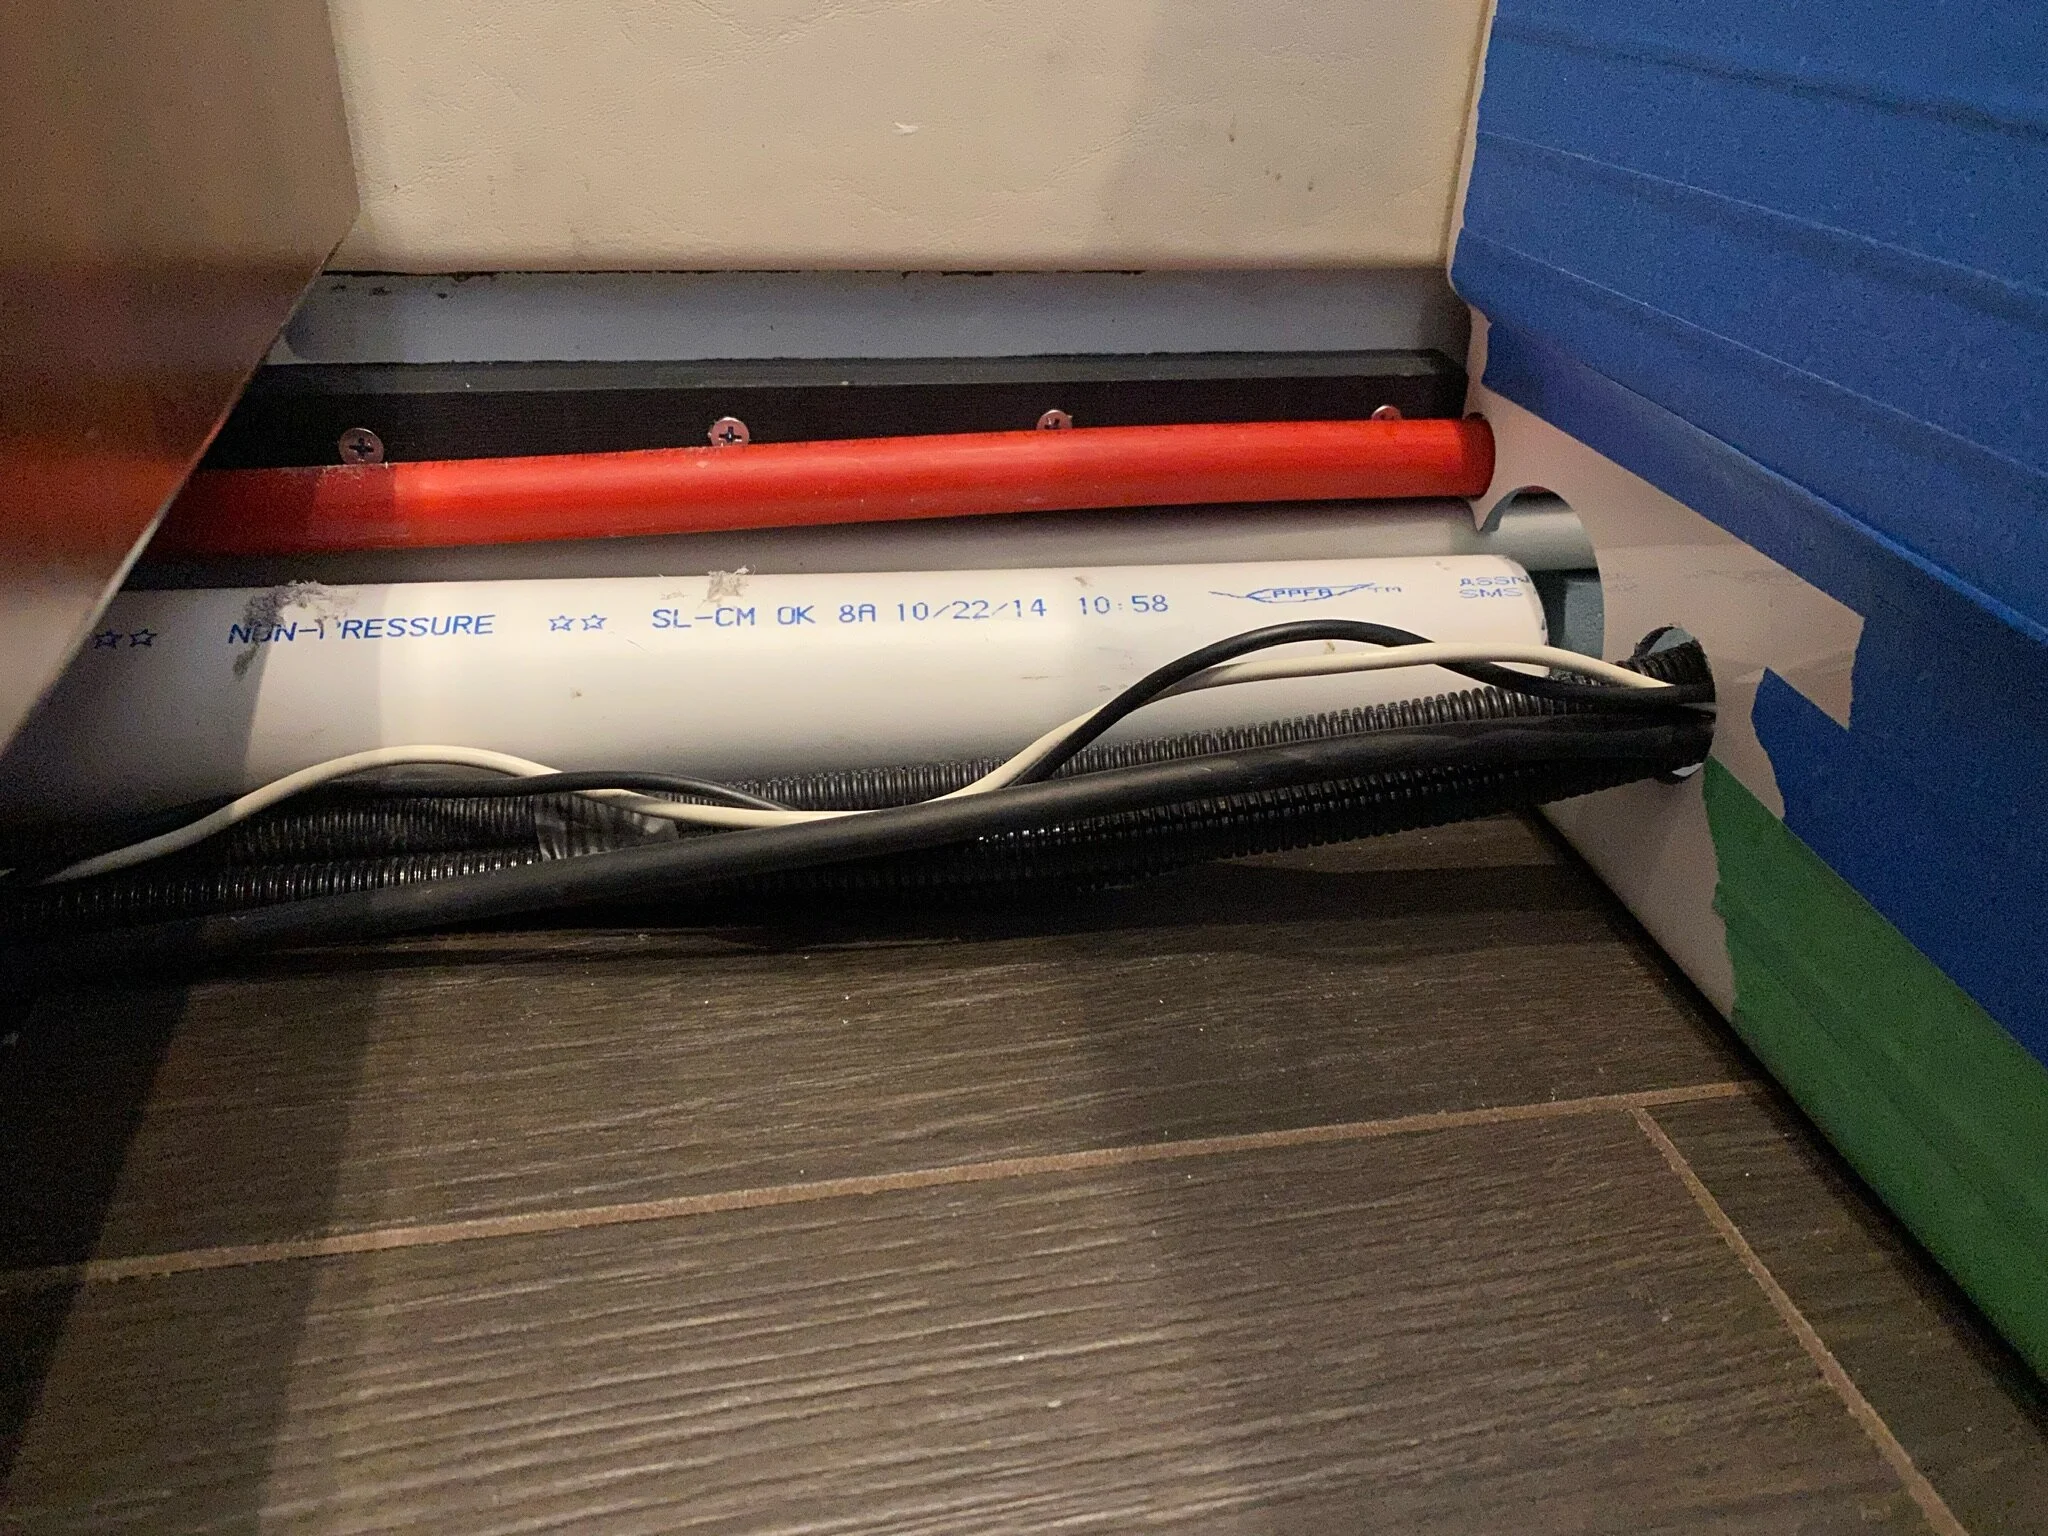
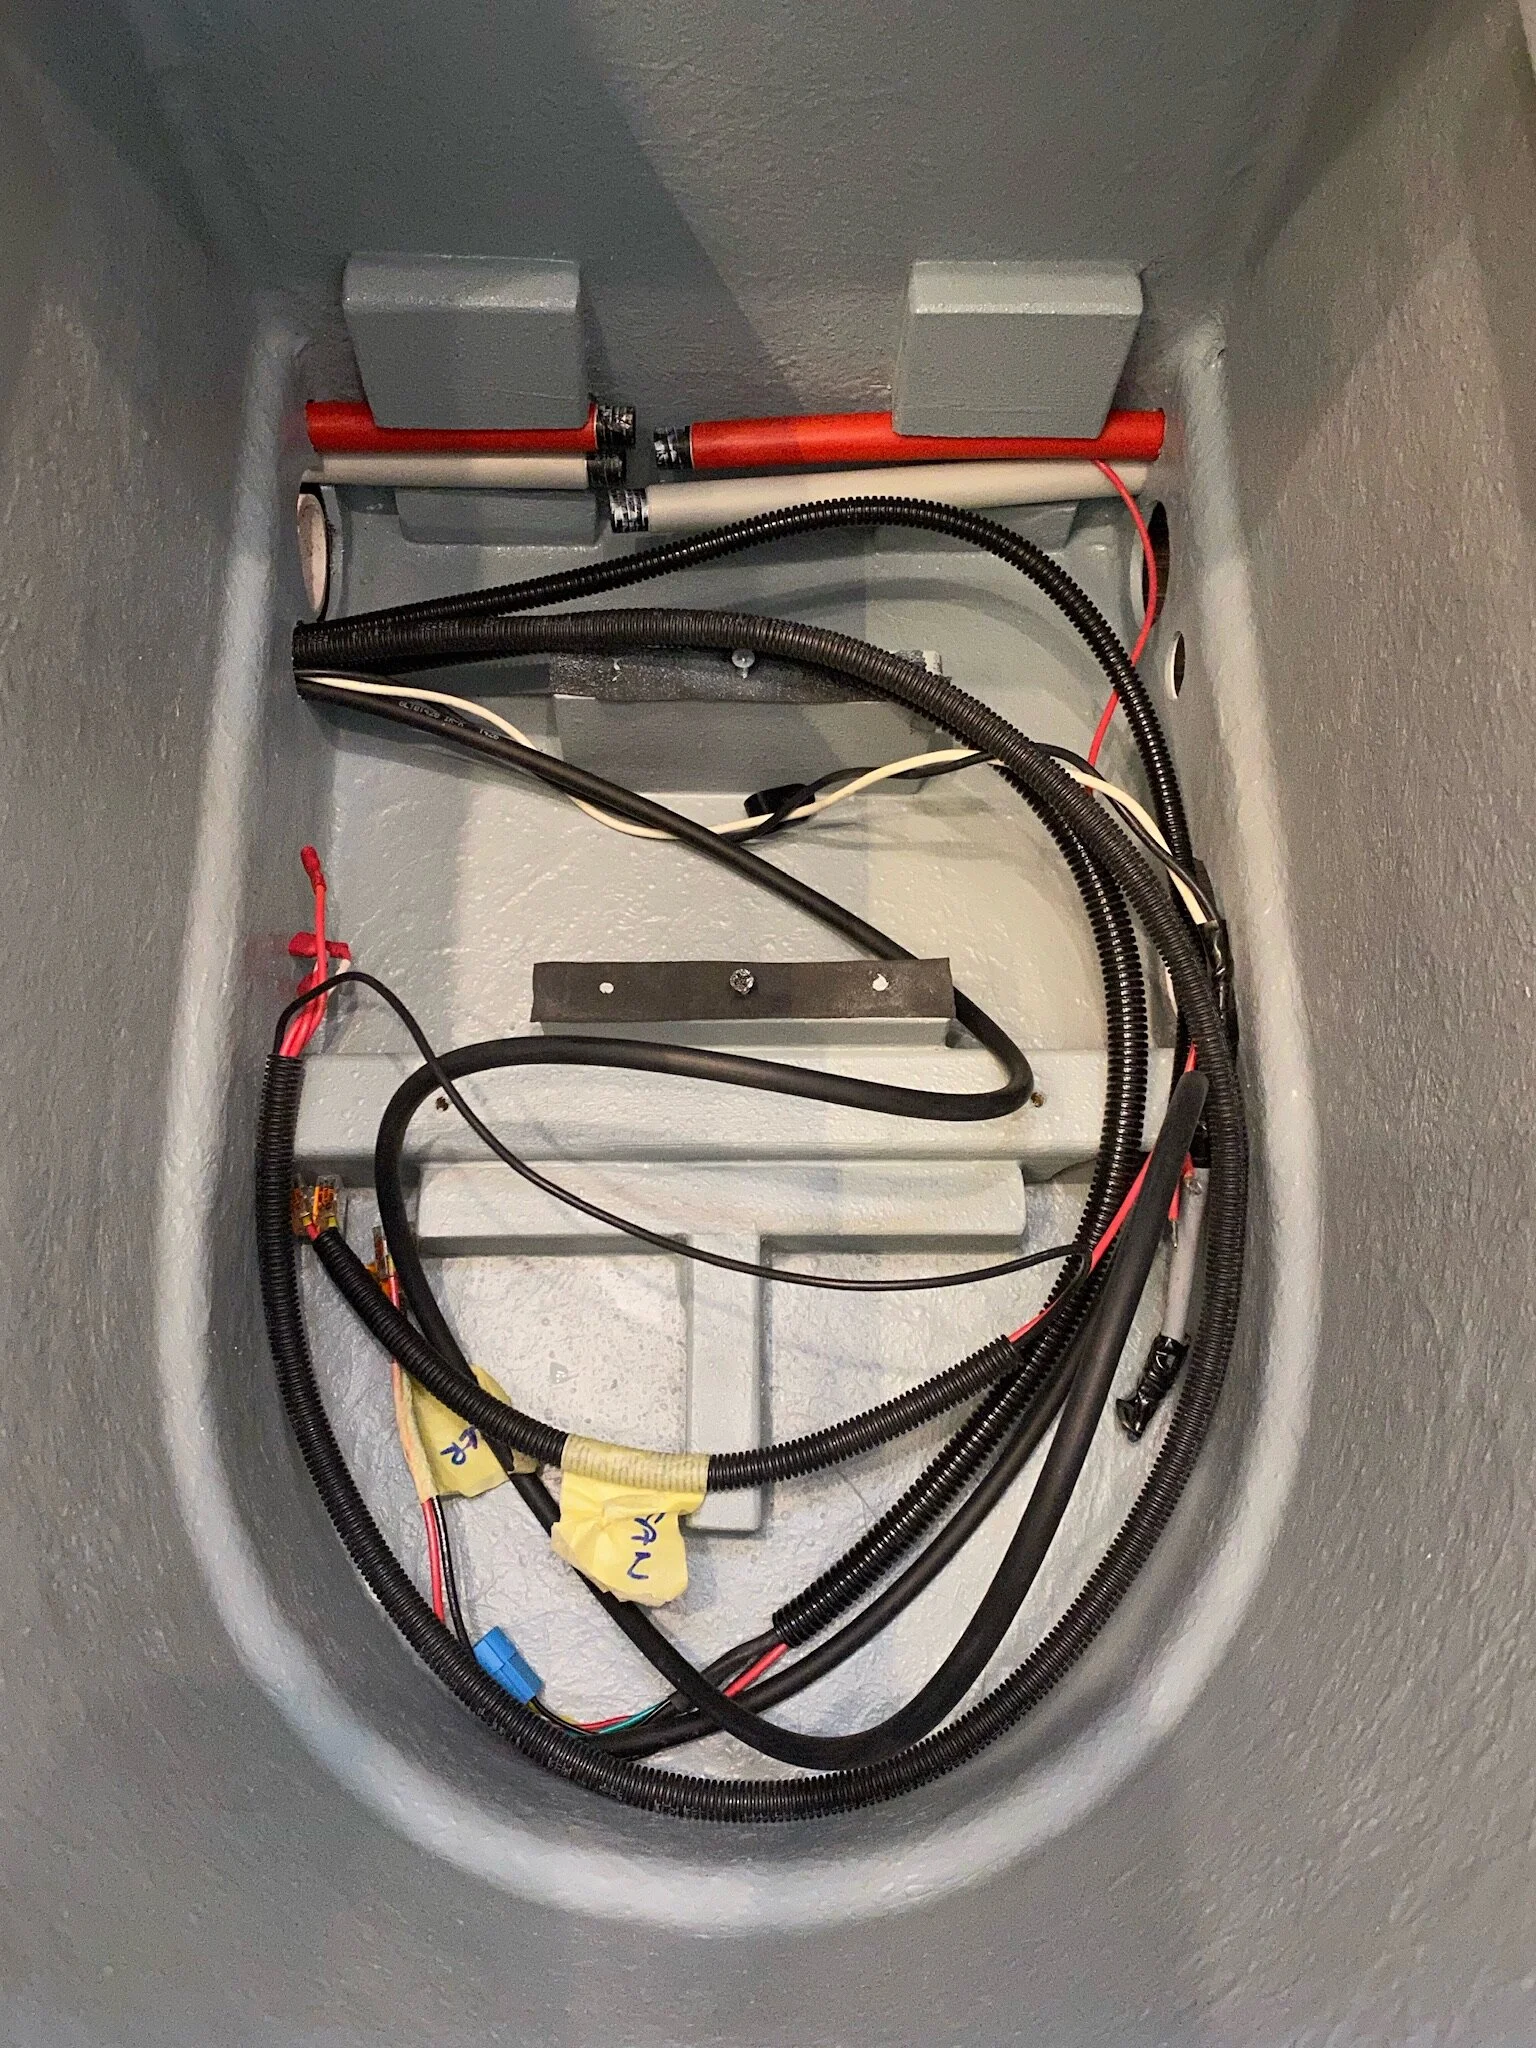
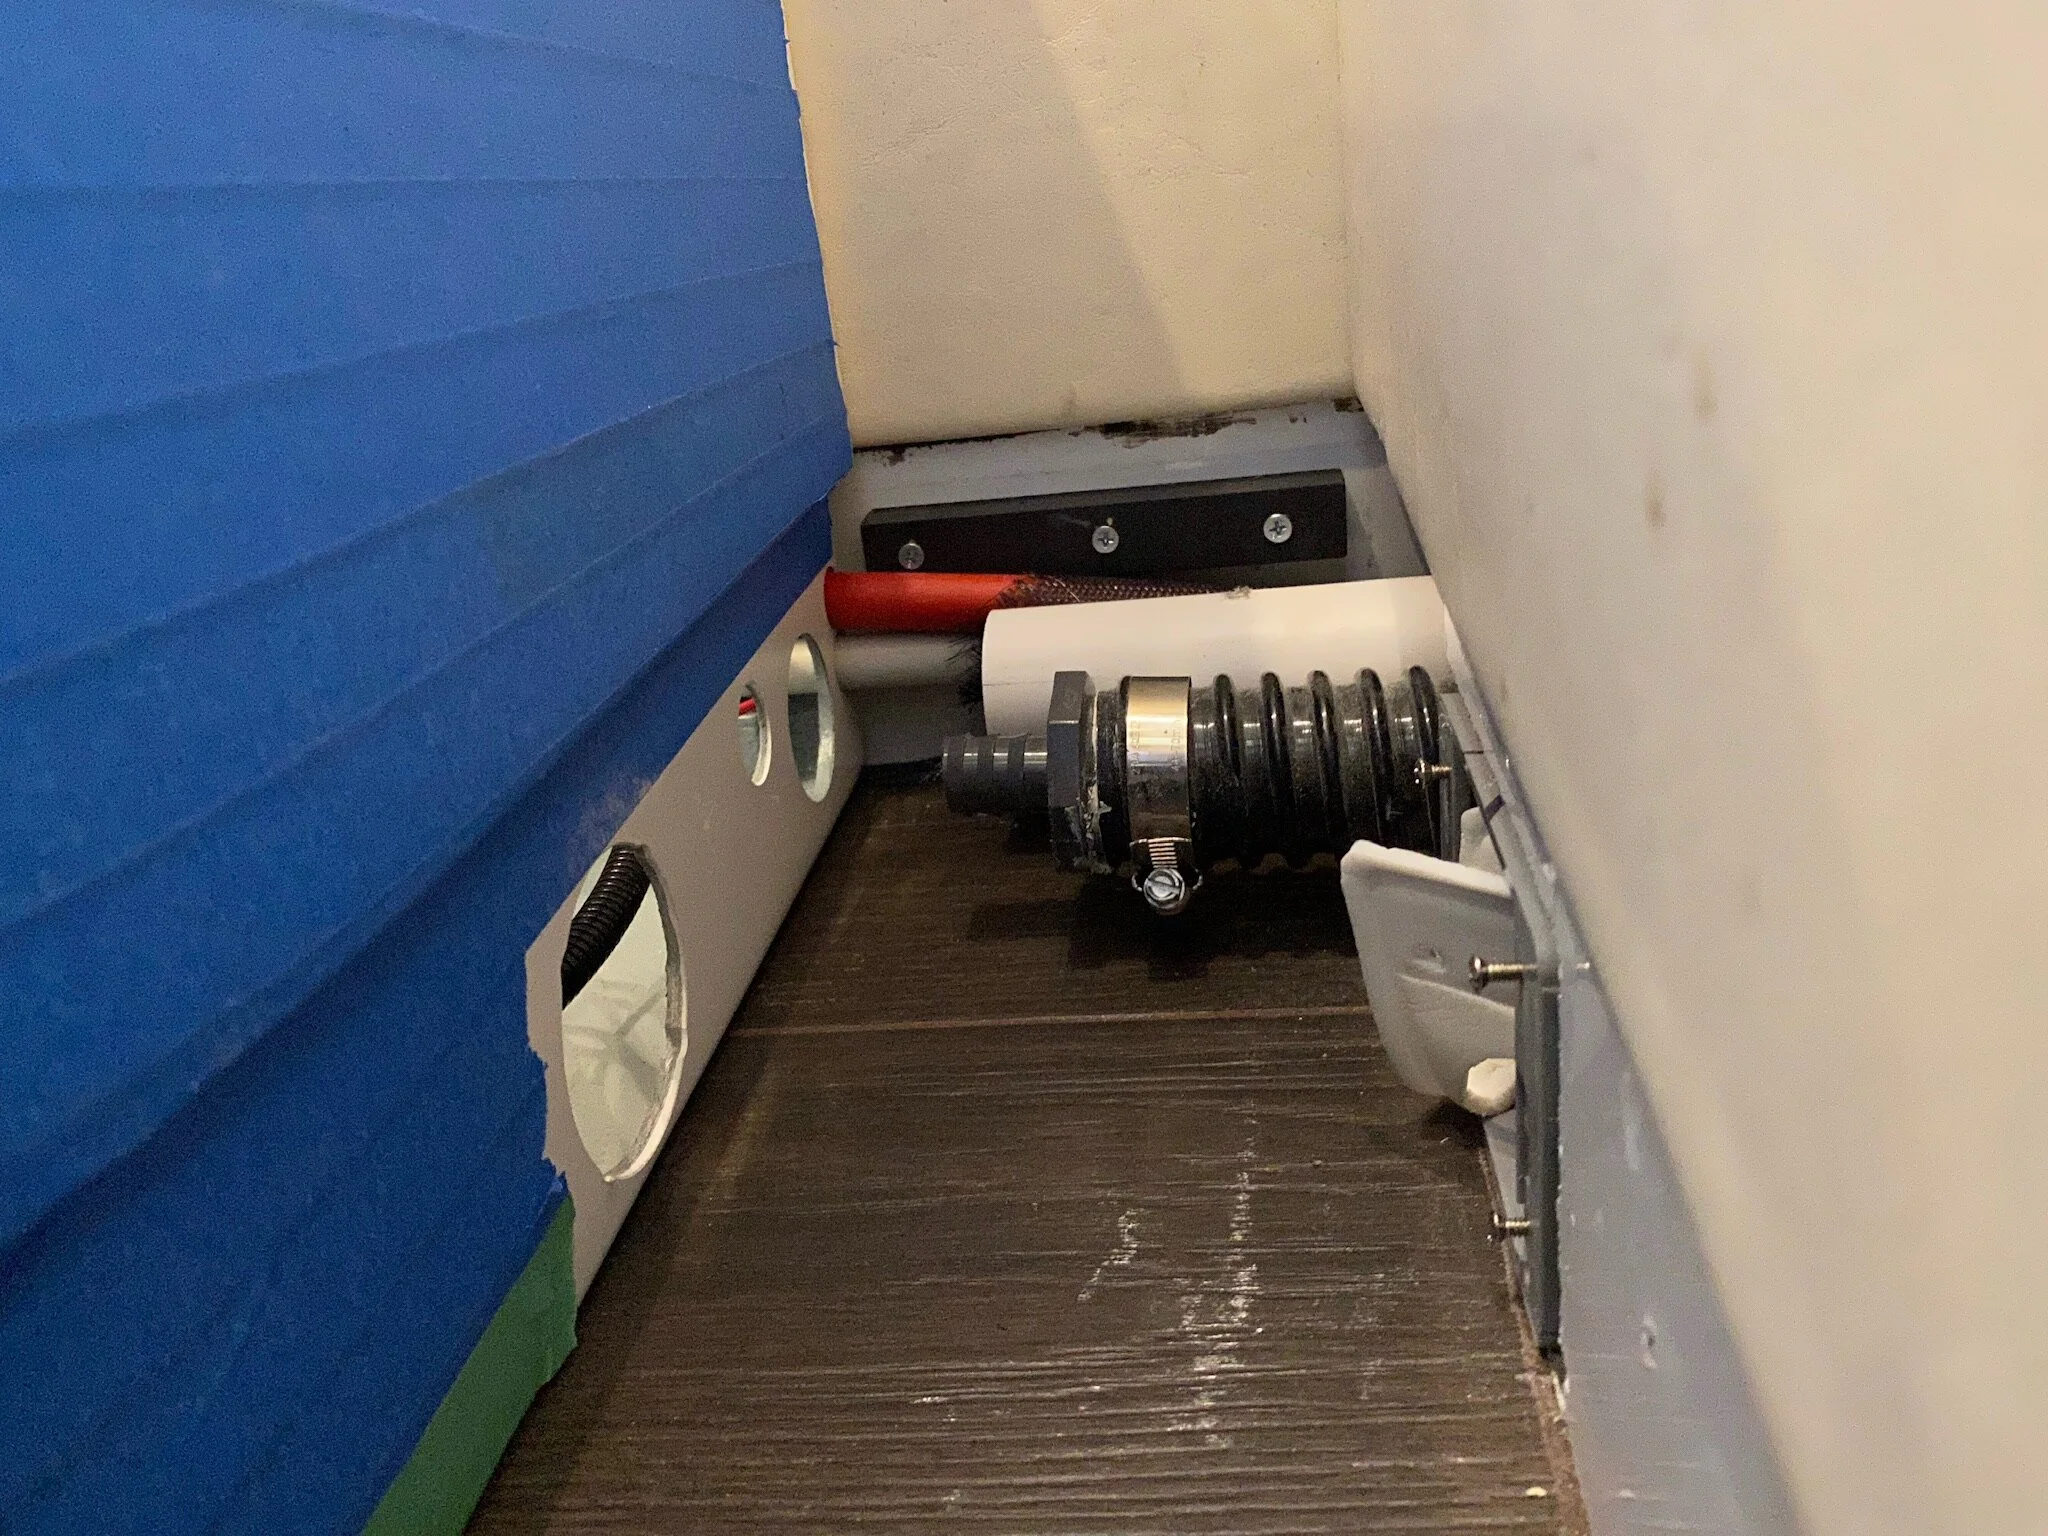
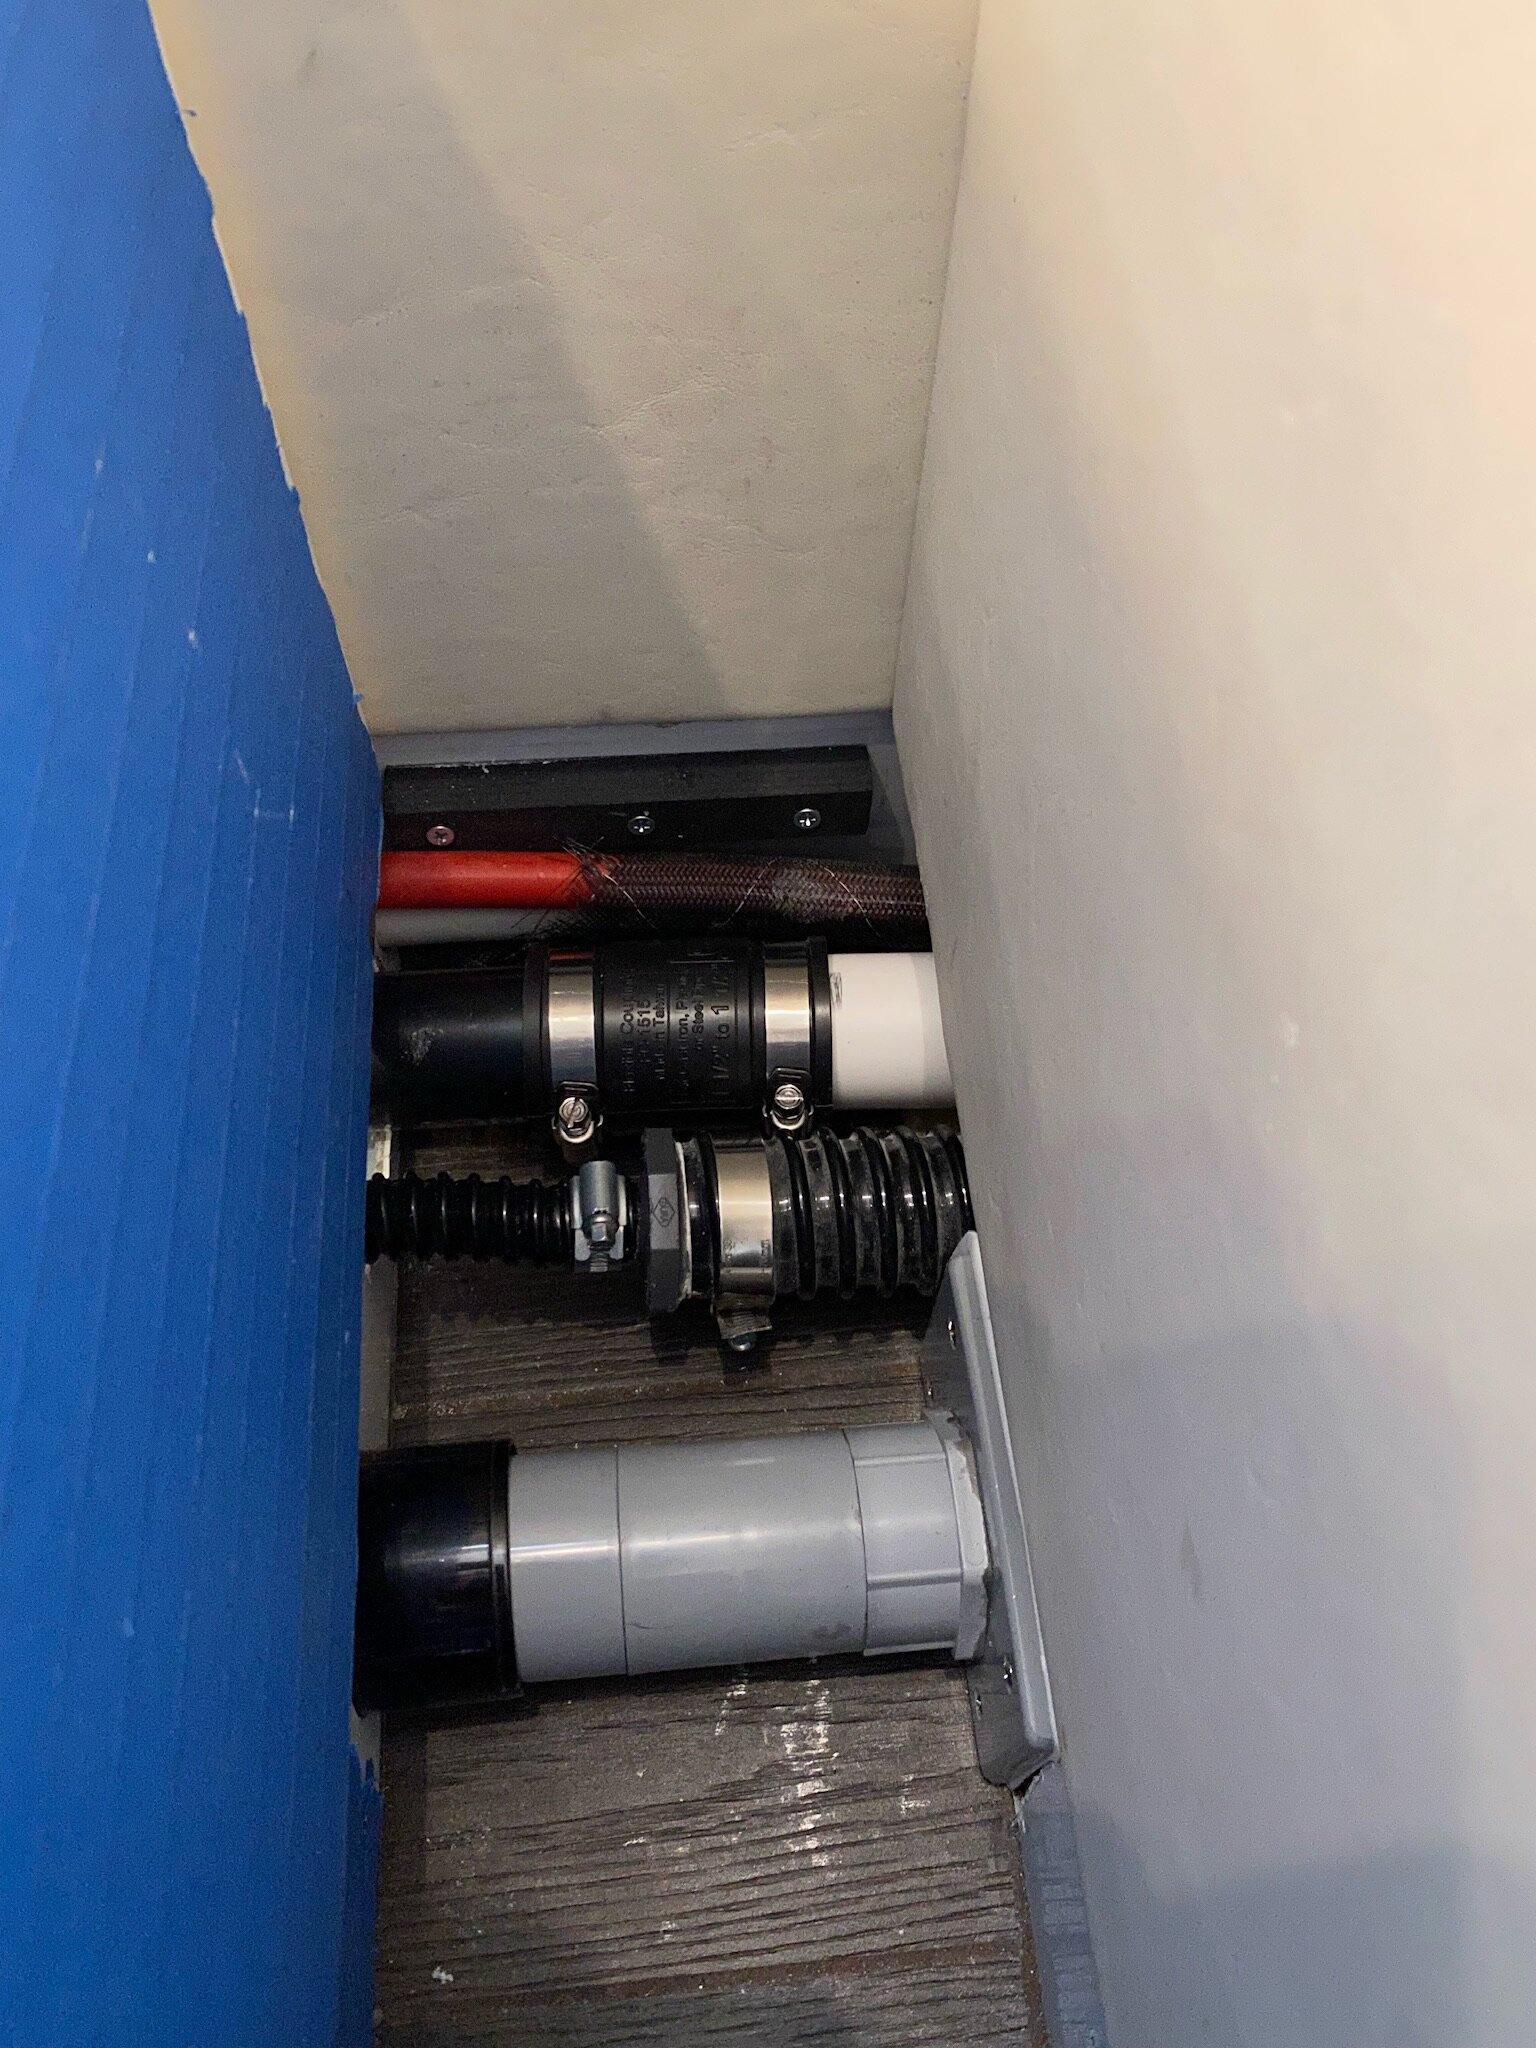
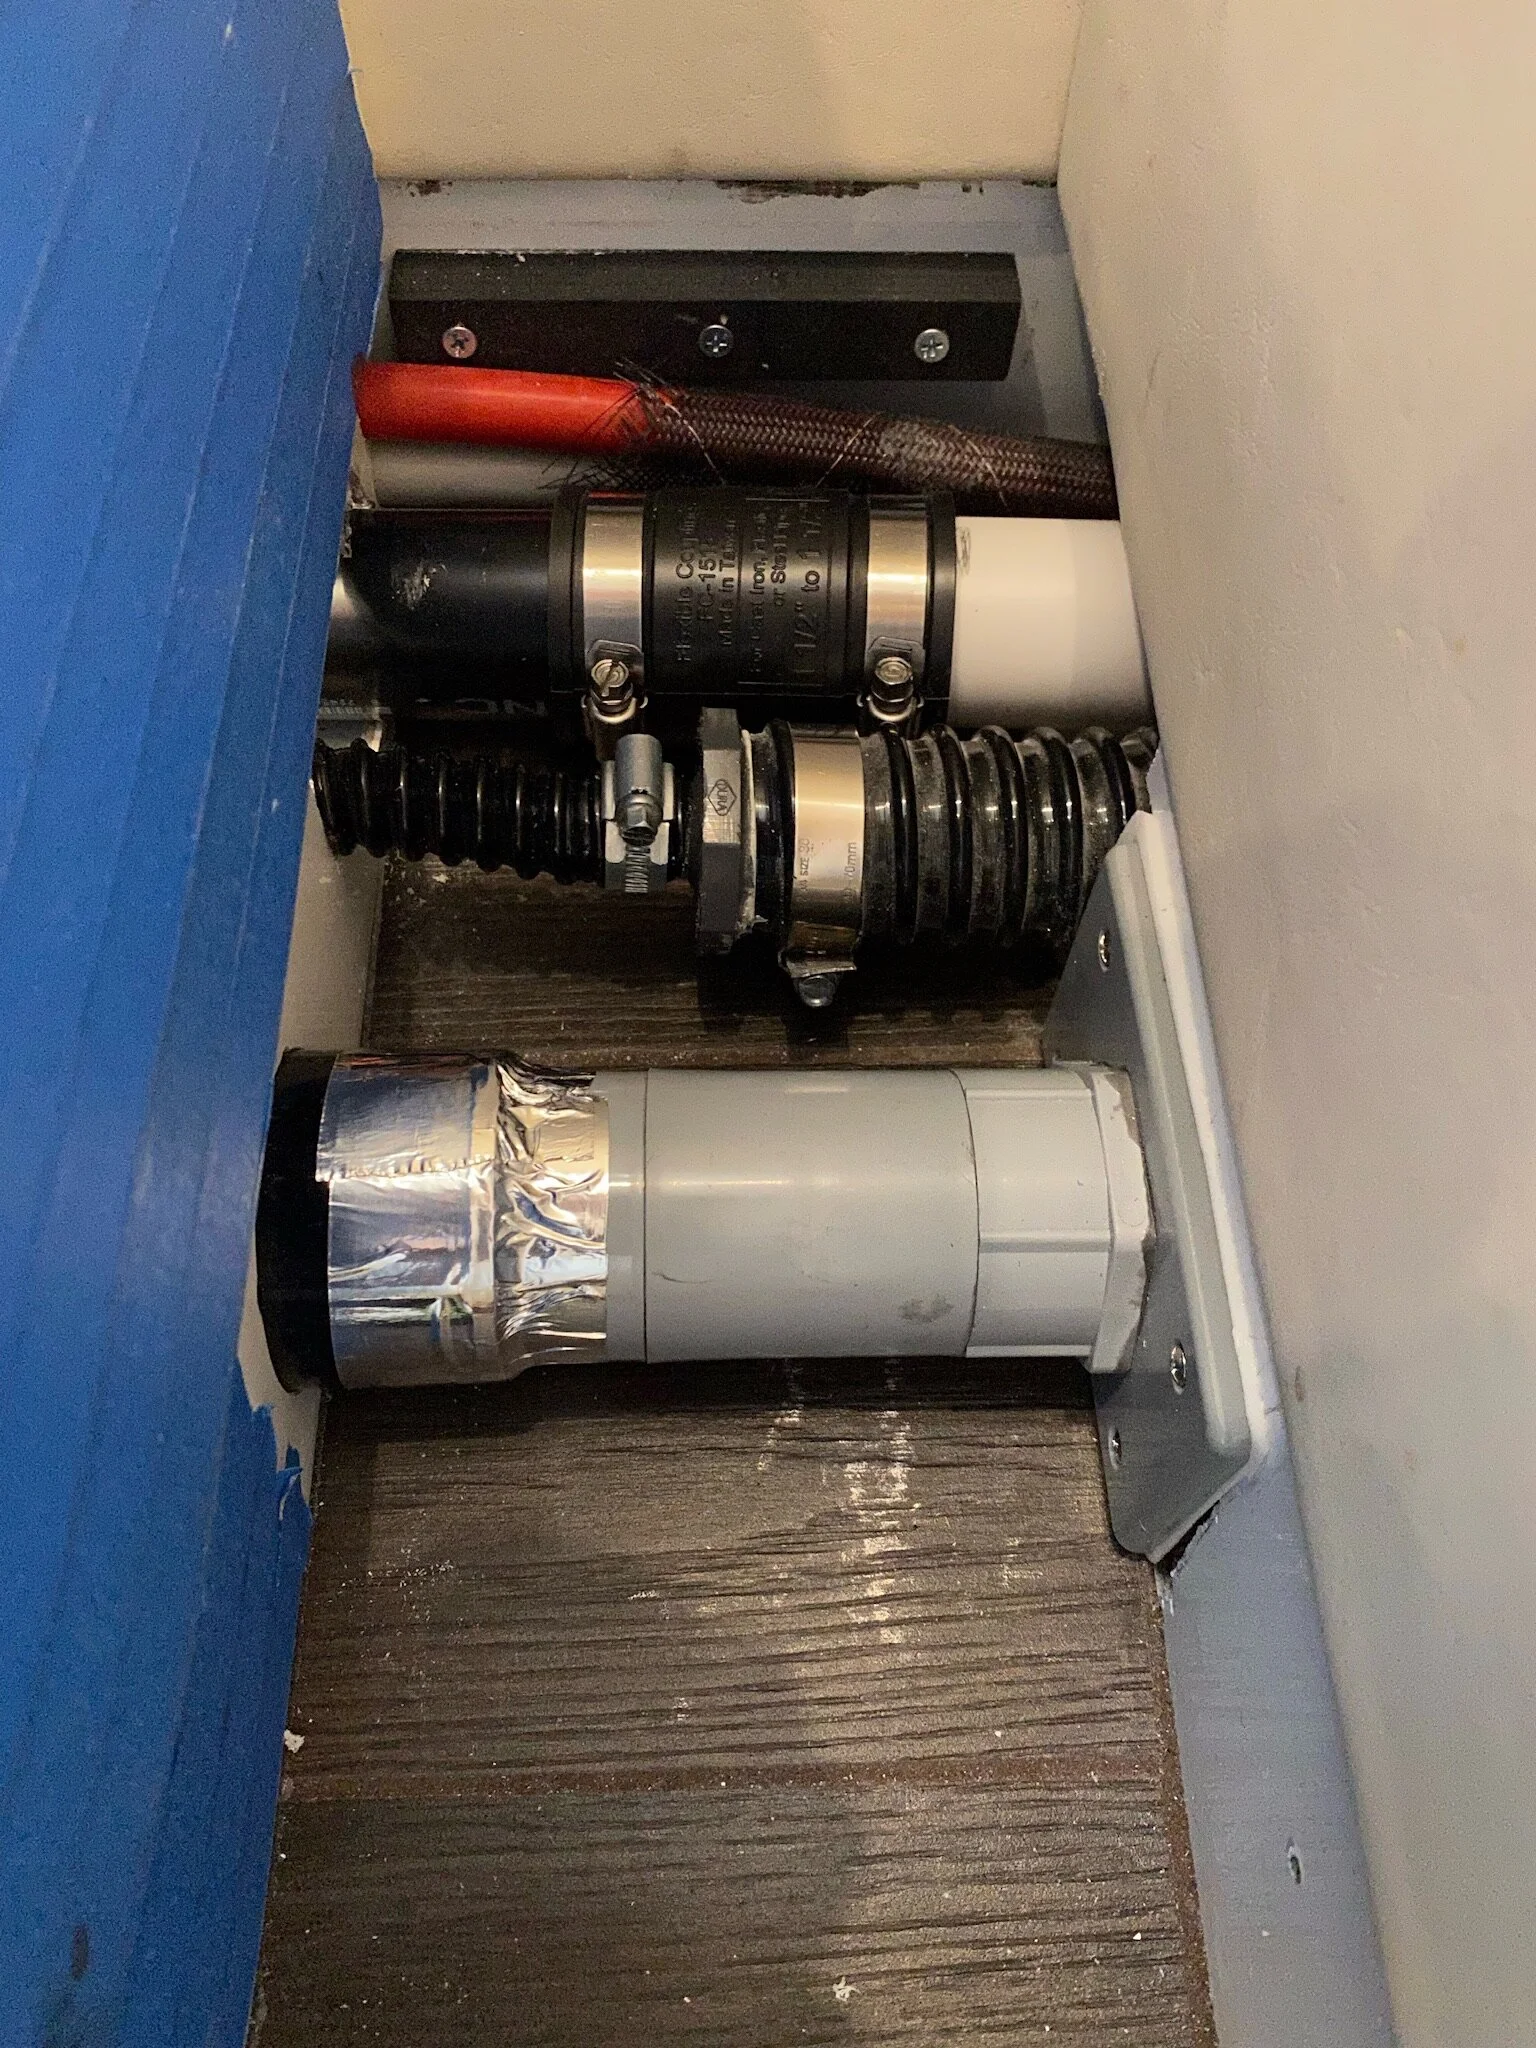
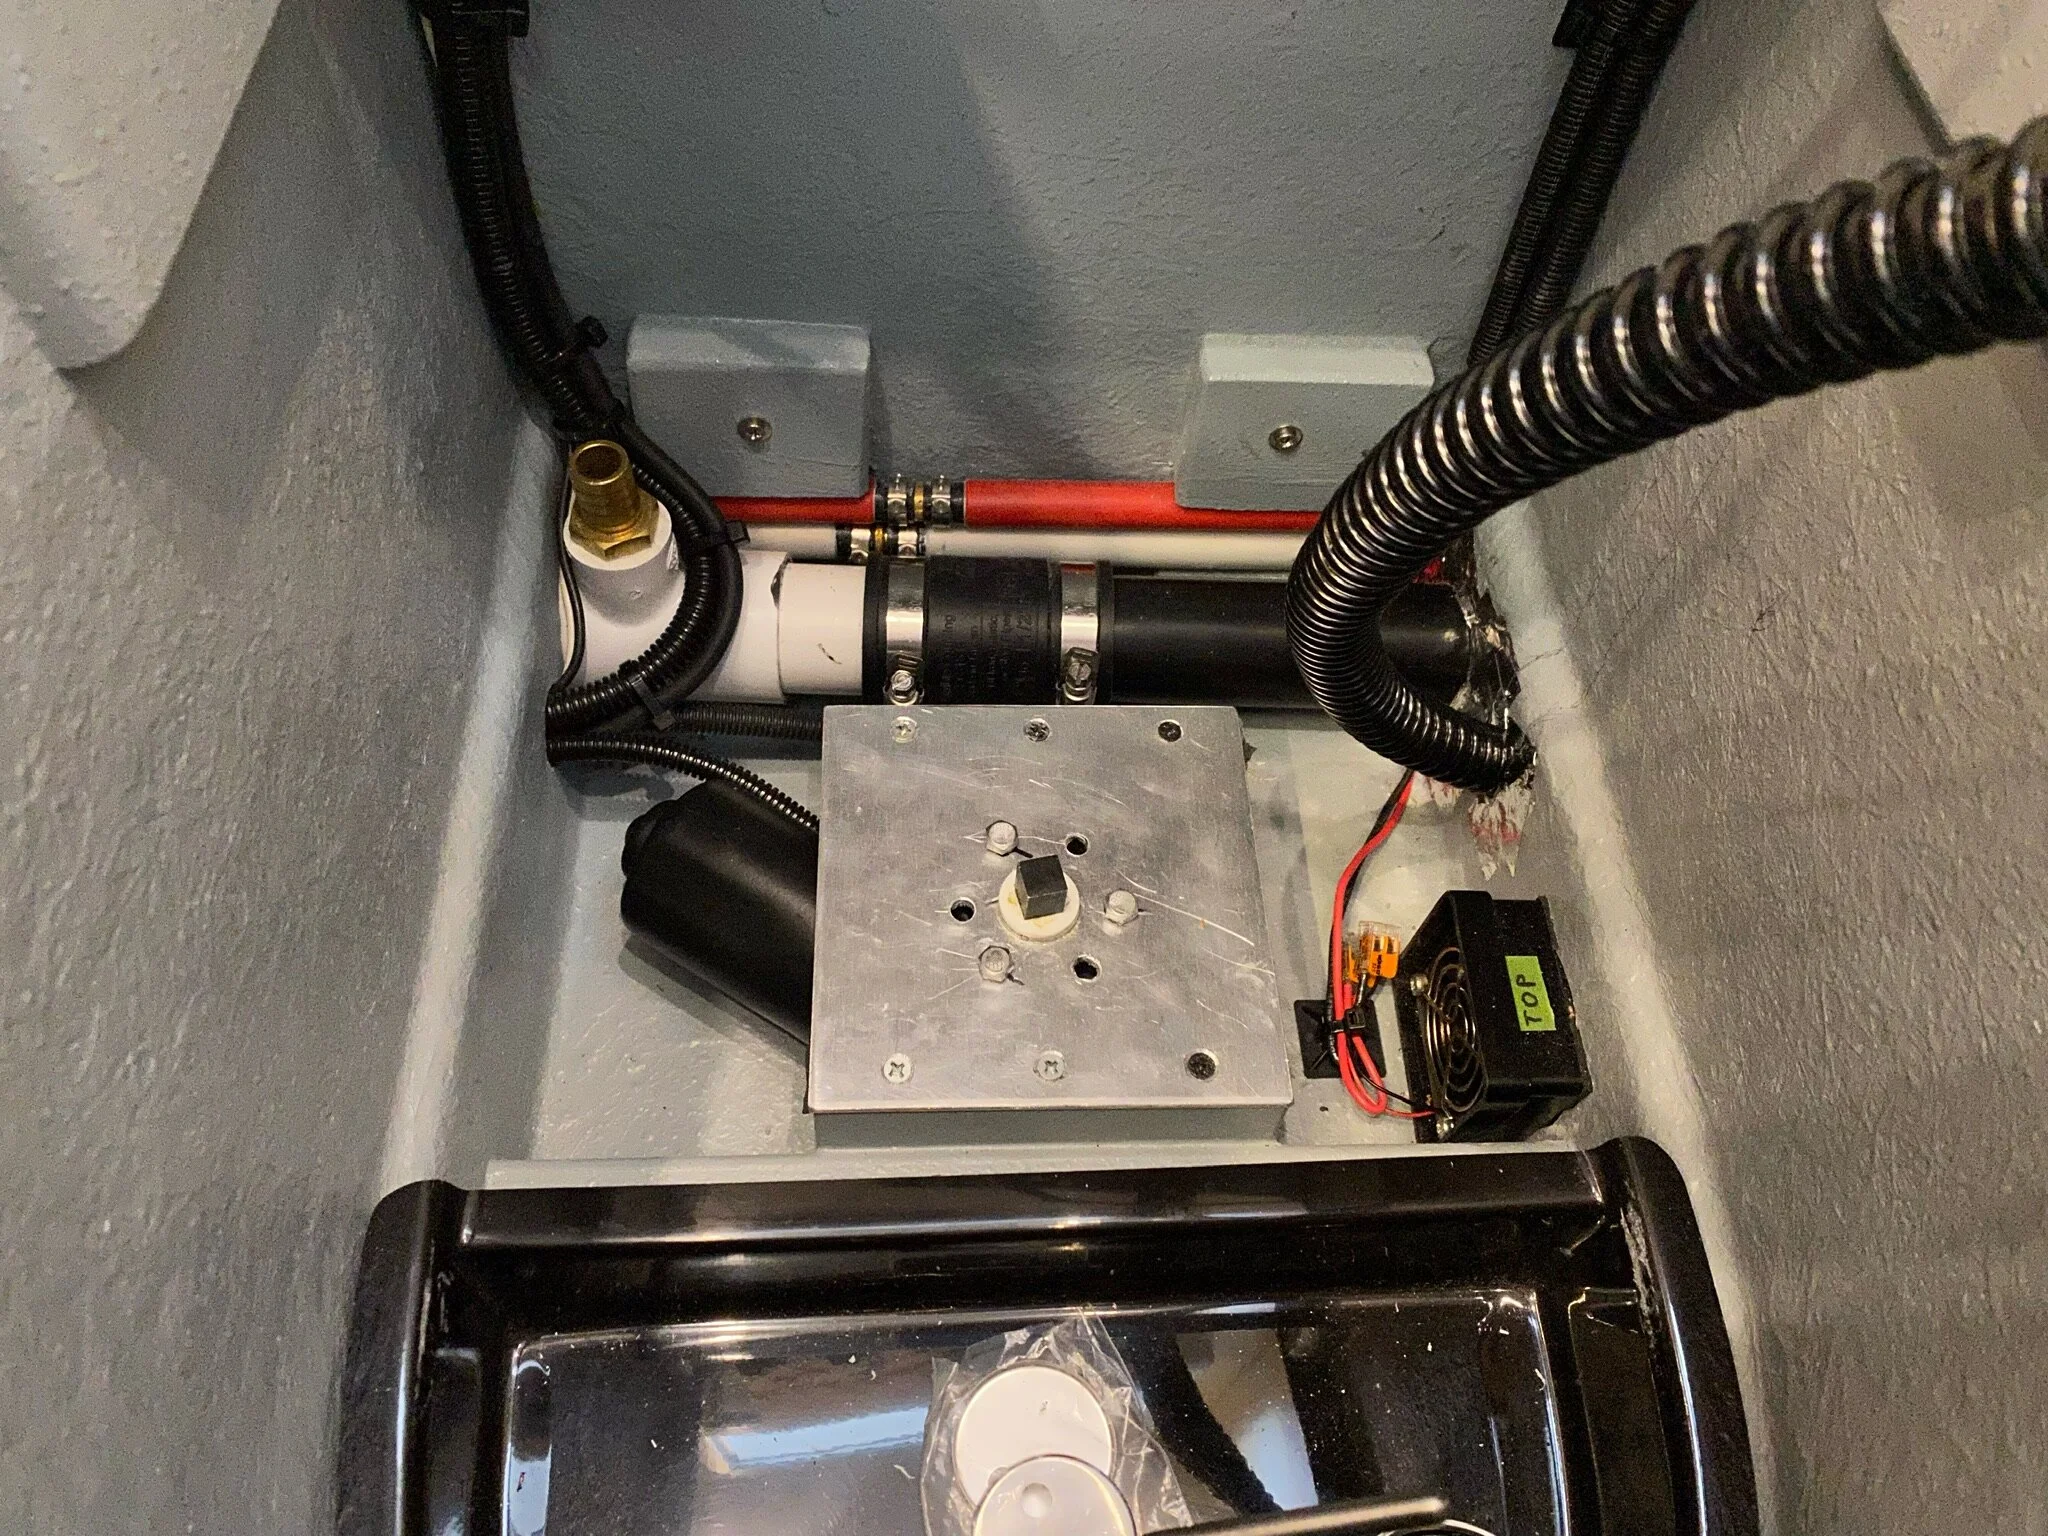
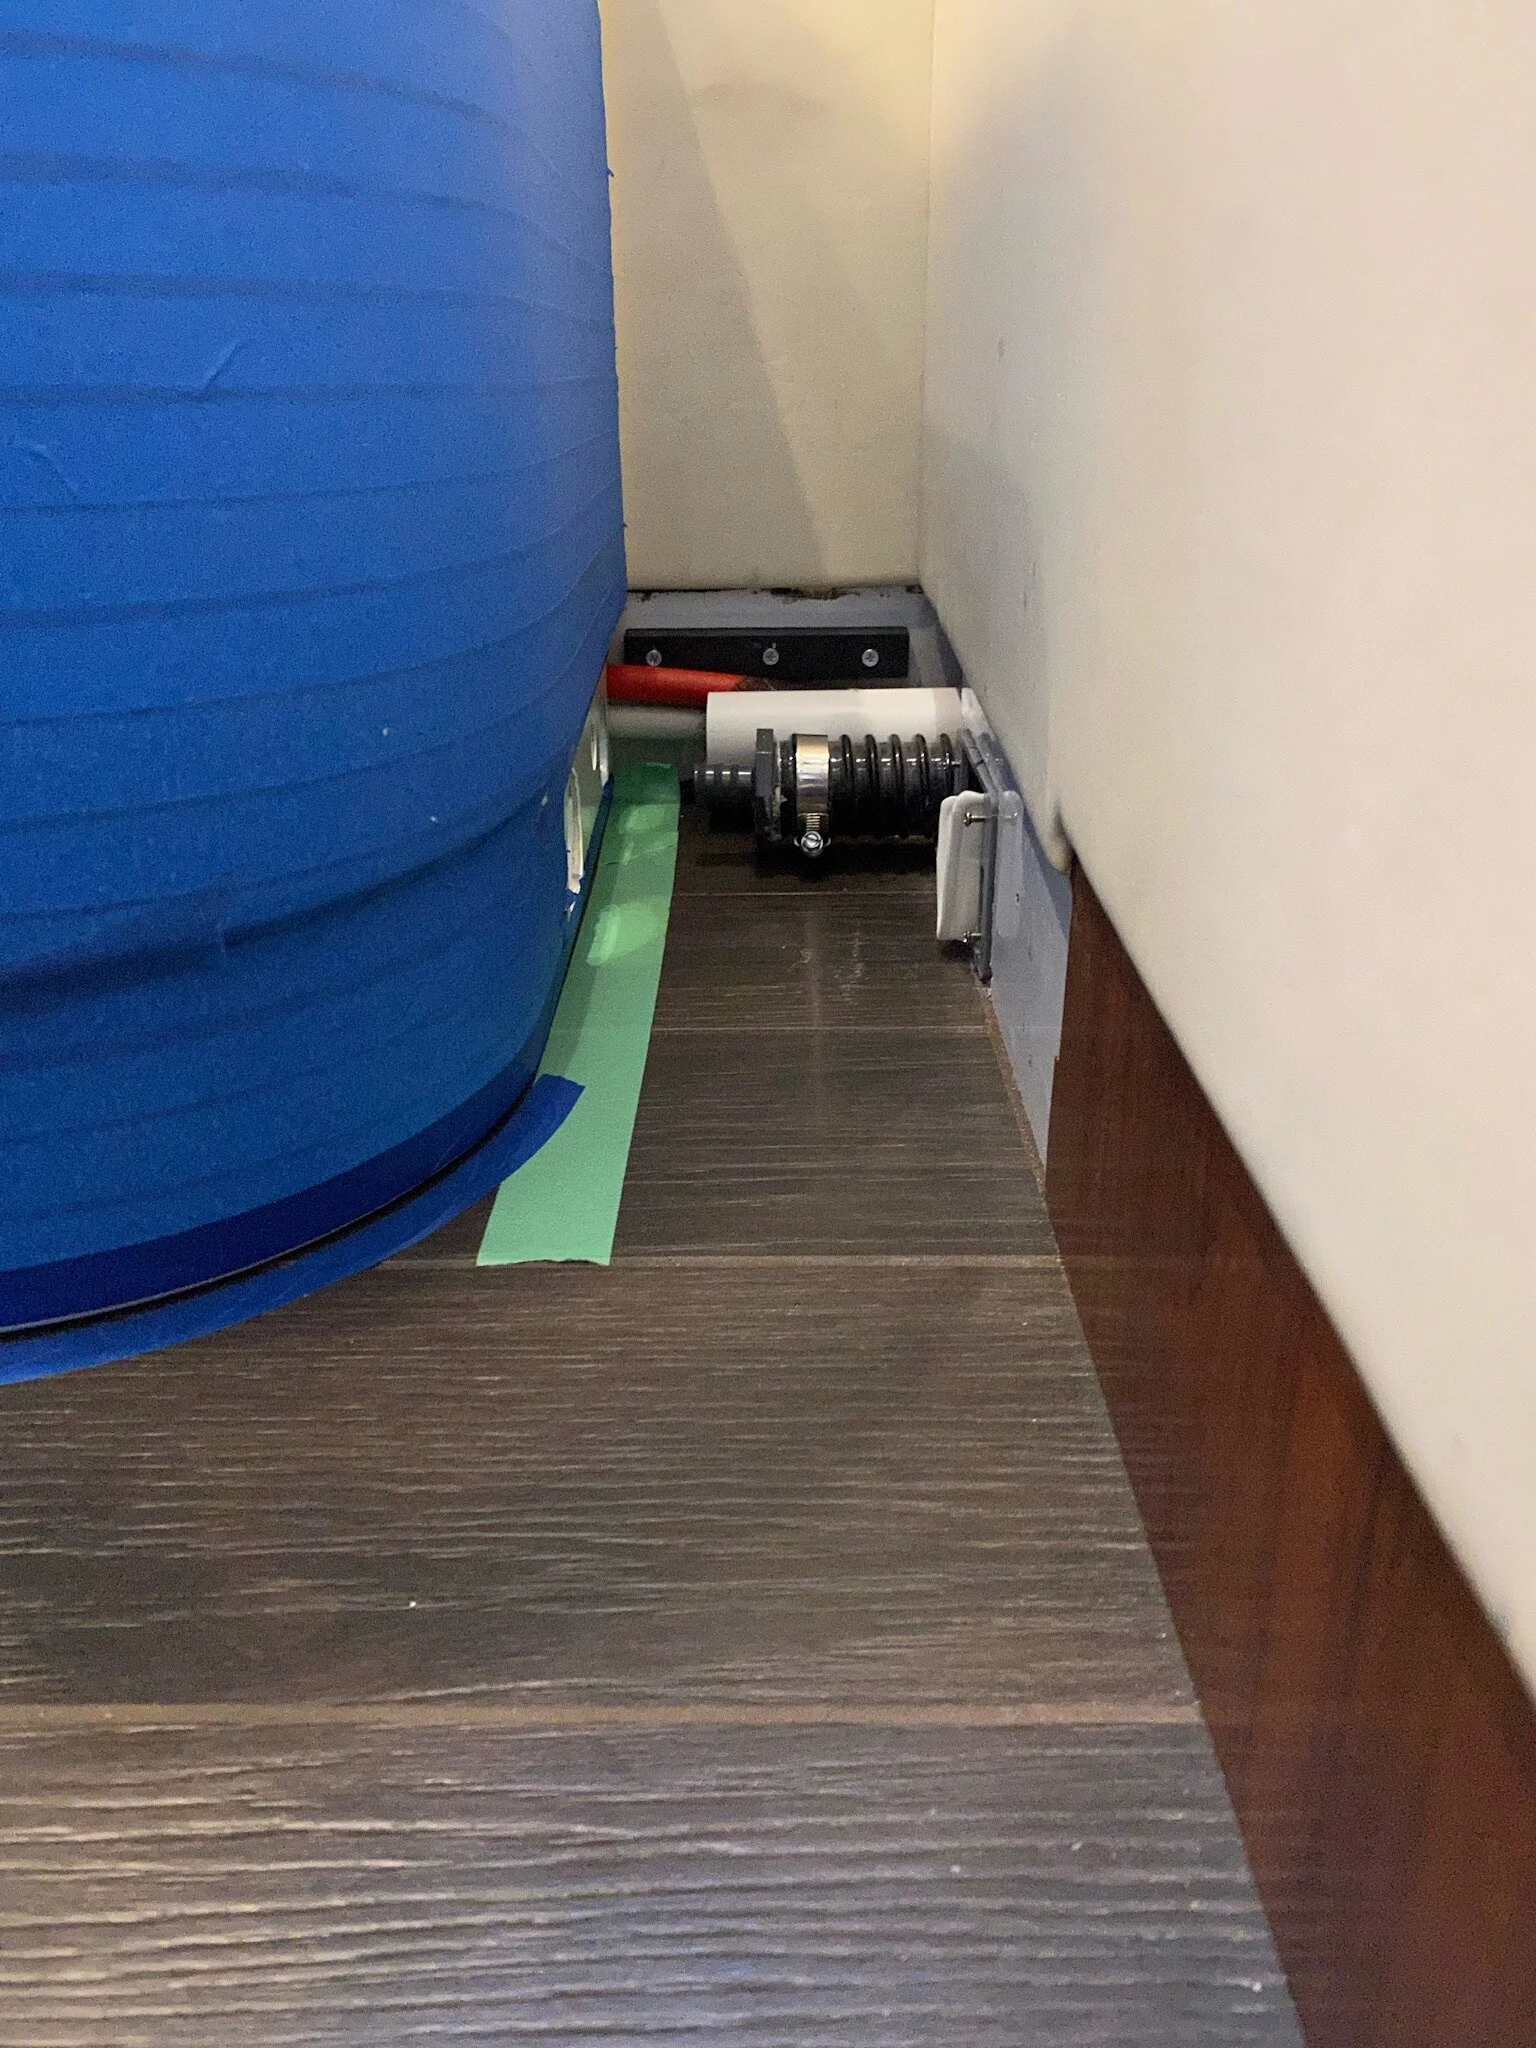
For our installation to work, especially in cold temperatures when the cabin would be closed up, we had to find a way to let air into the cabin unimpeded. In wintertime, this presented the added complication of pulling frigid air inside. Something that we wanted to avoid as it degrades the comfort of the living space. Luckily, the location of our boilers provides us with a viable solution. Since both boilers are housed in the storage compartments underneath the cabin, and the pipes from them enter the cabin through the floor of the under bed storage area, we could use this to our advantage. Those pipes, once inside the cabin, run through a tunnel on the floor along the passenger side wall. By cutting an air ingress port in the floor inside this tunnel, the incoming air would be warmed by the heating pipes as they both travel the length of the six foot long tunnel.
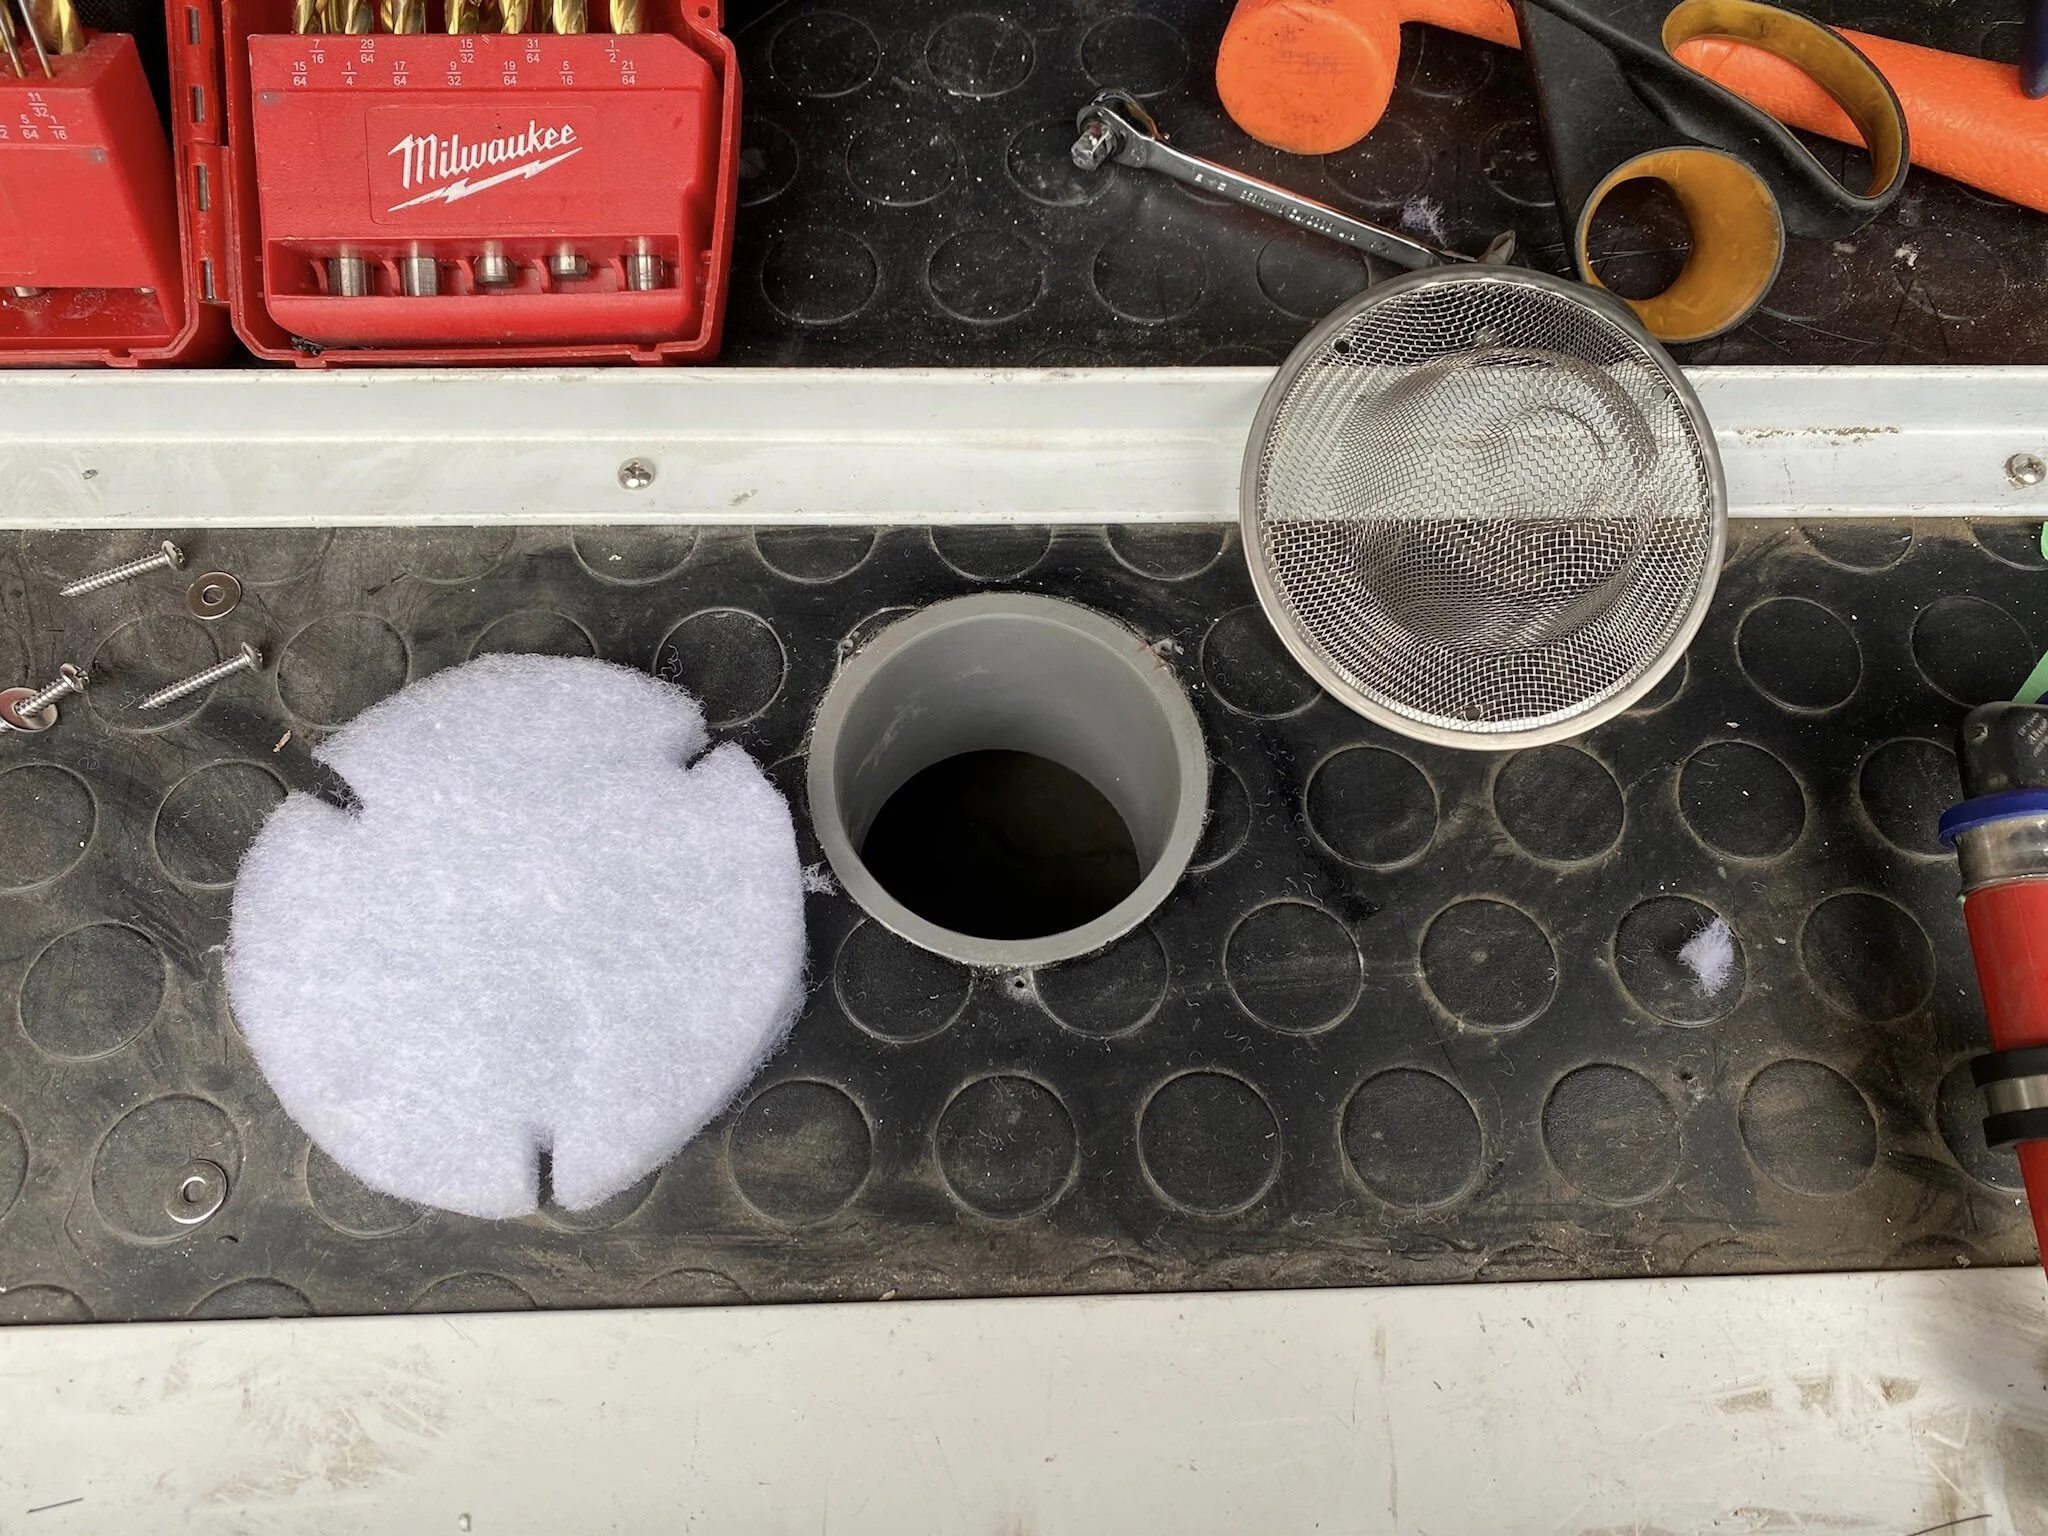
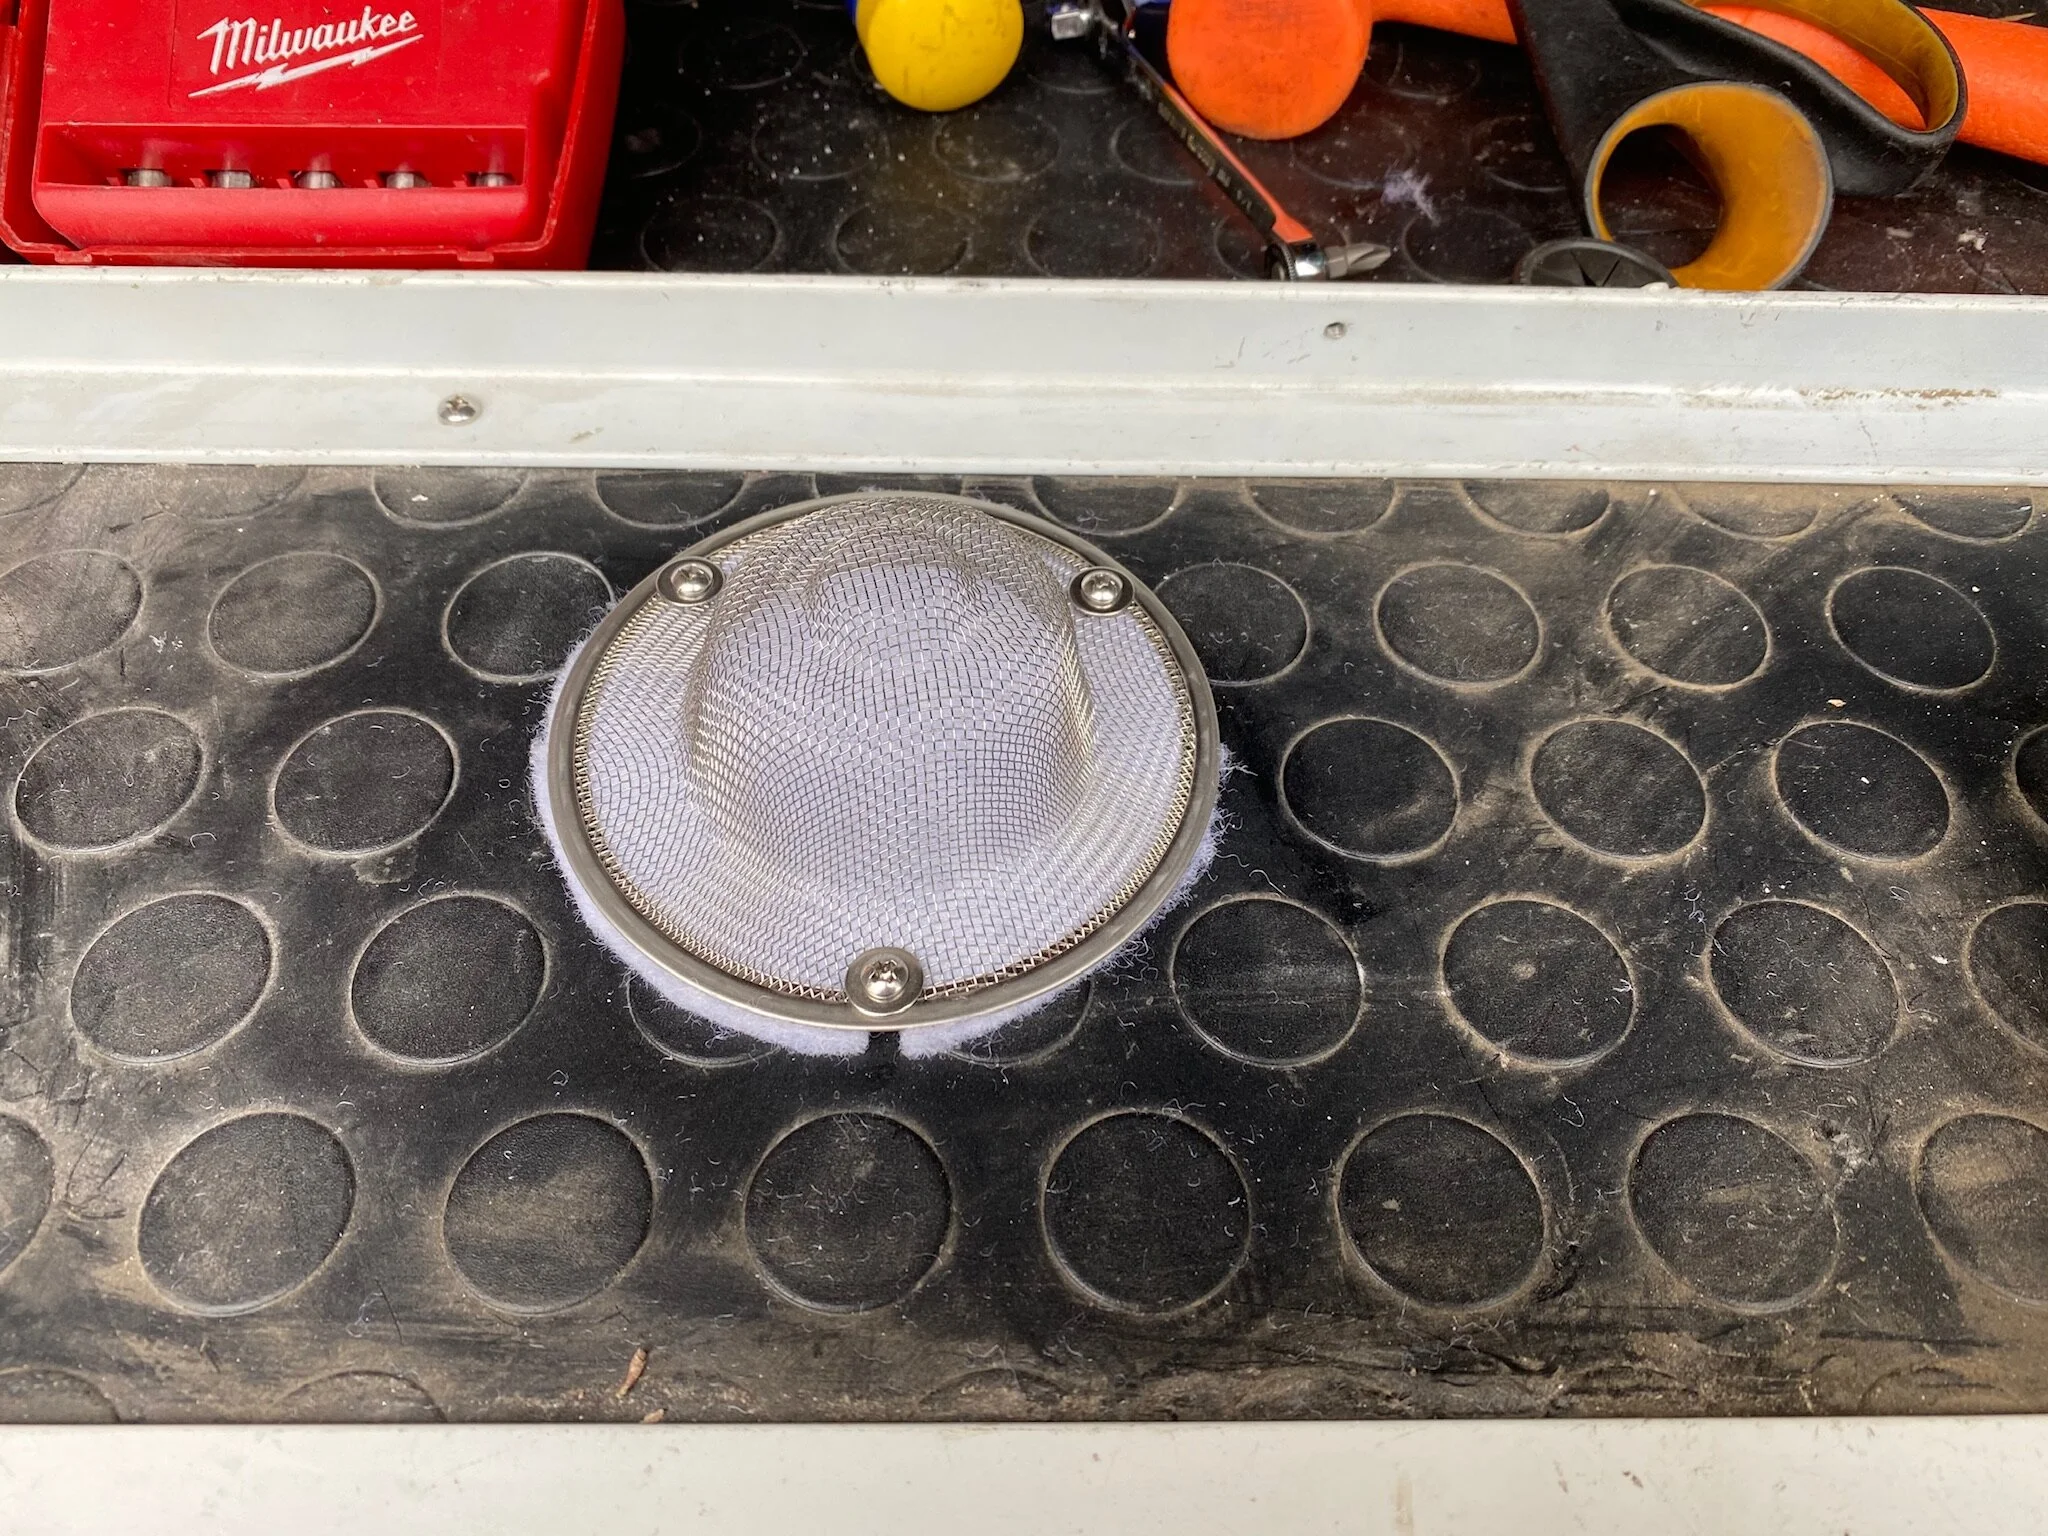
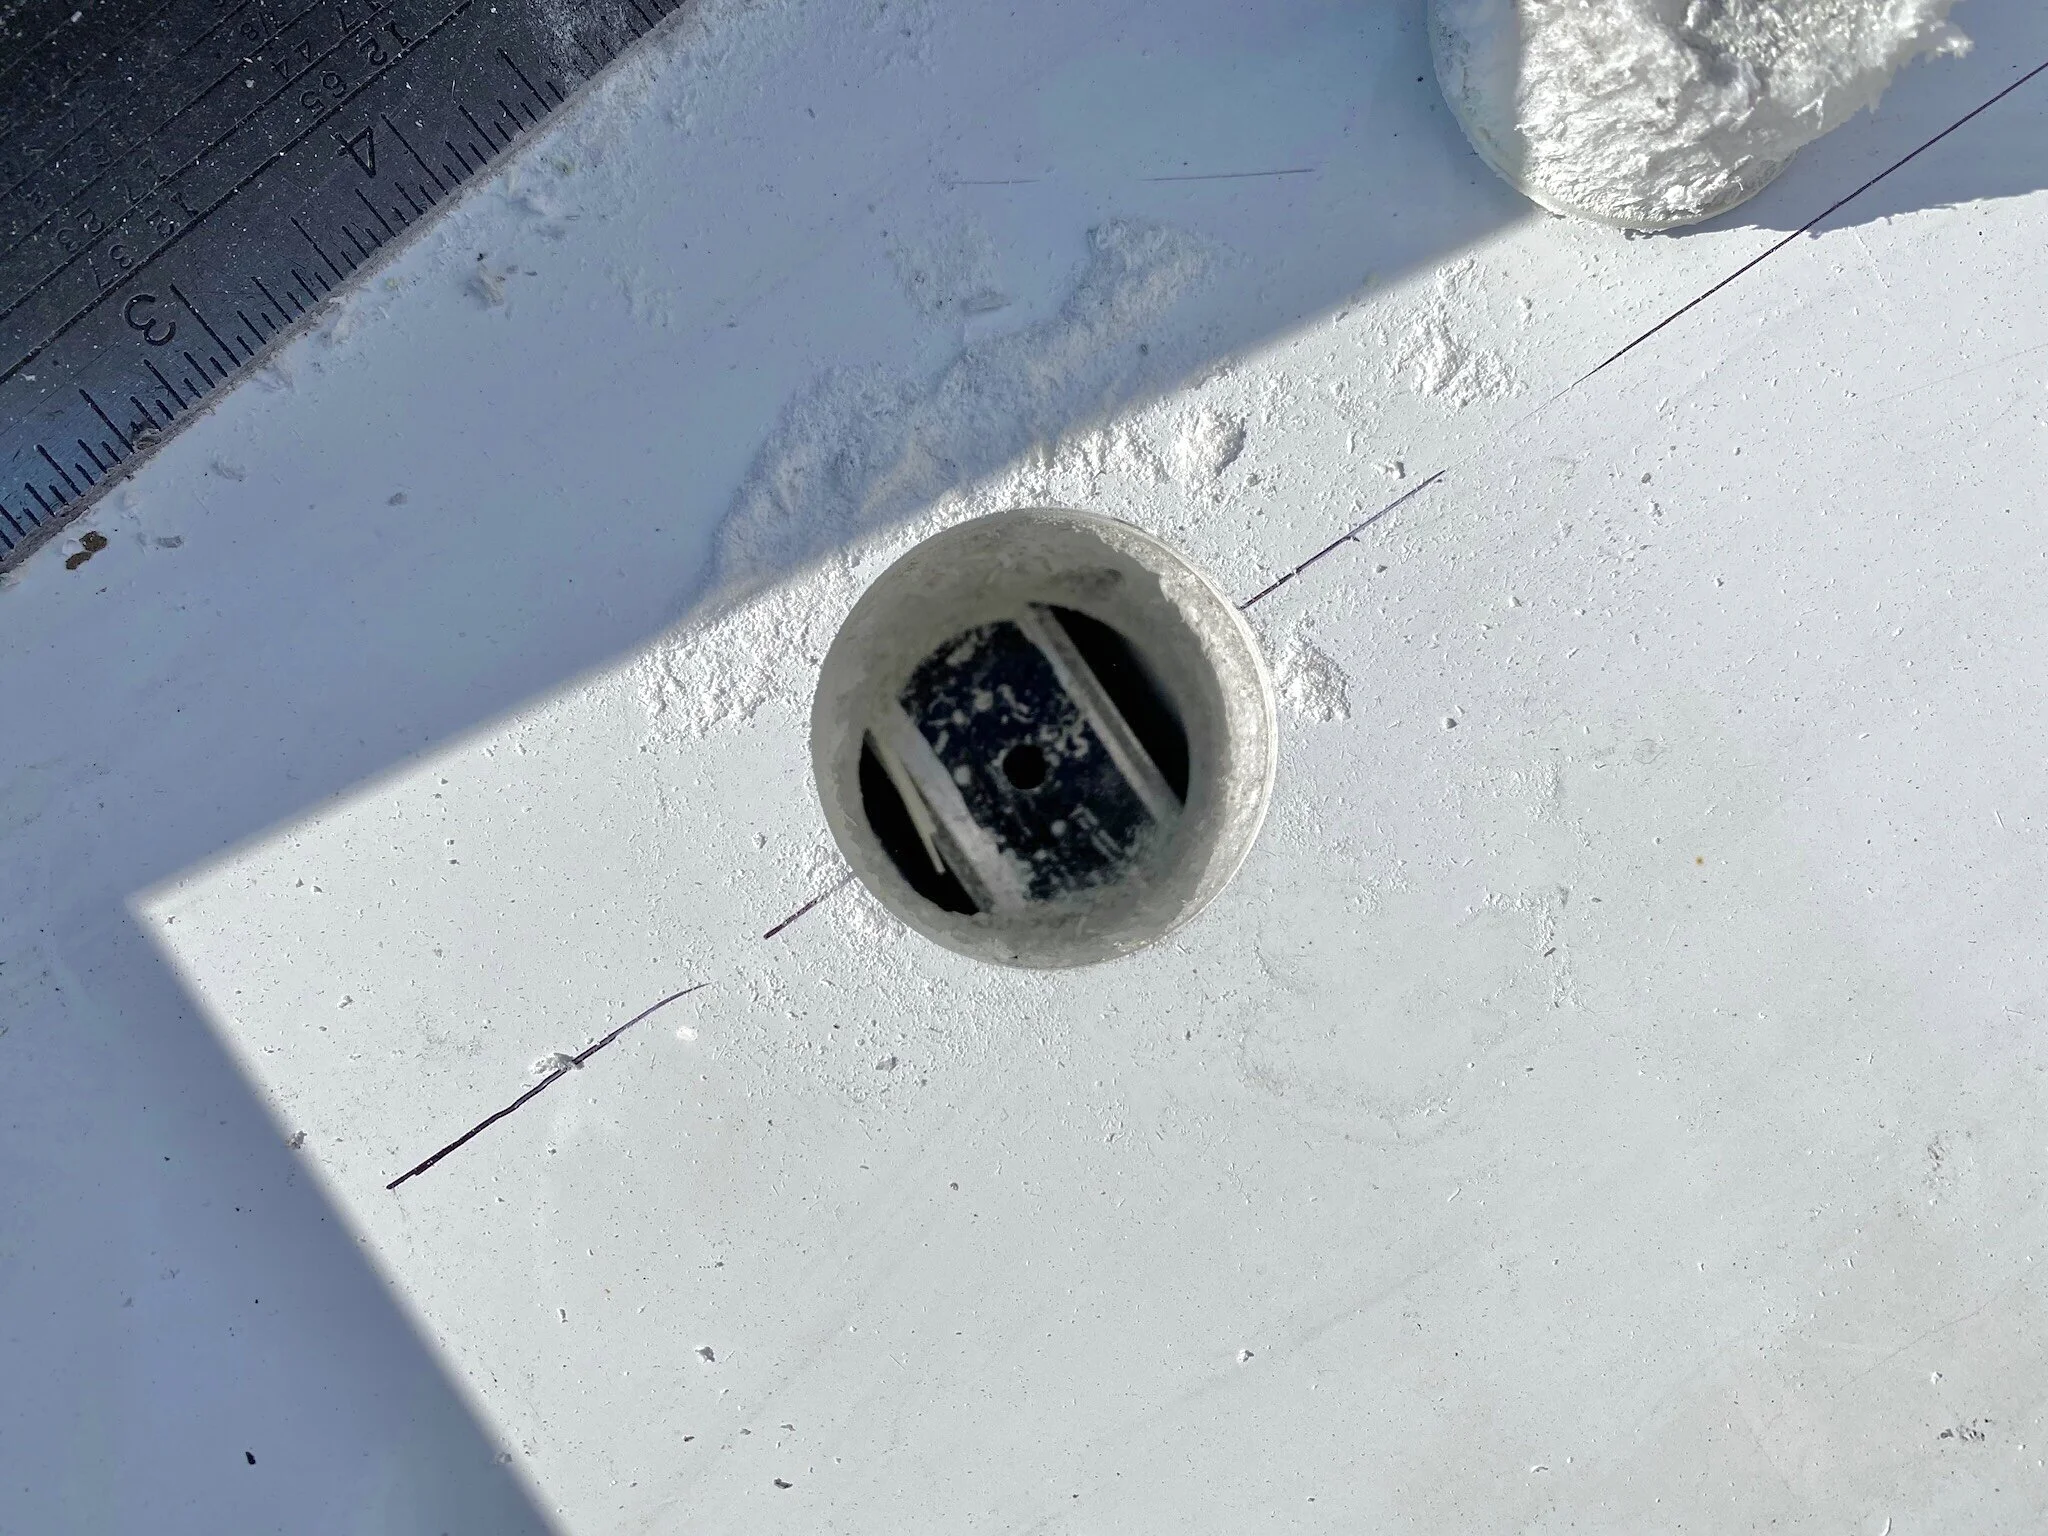
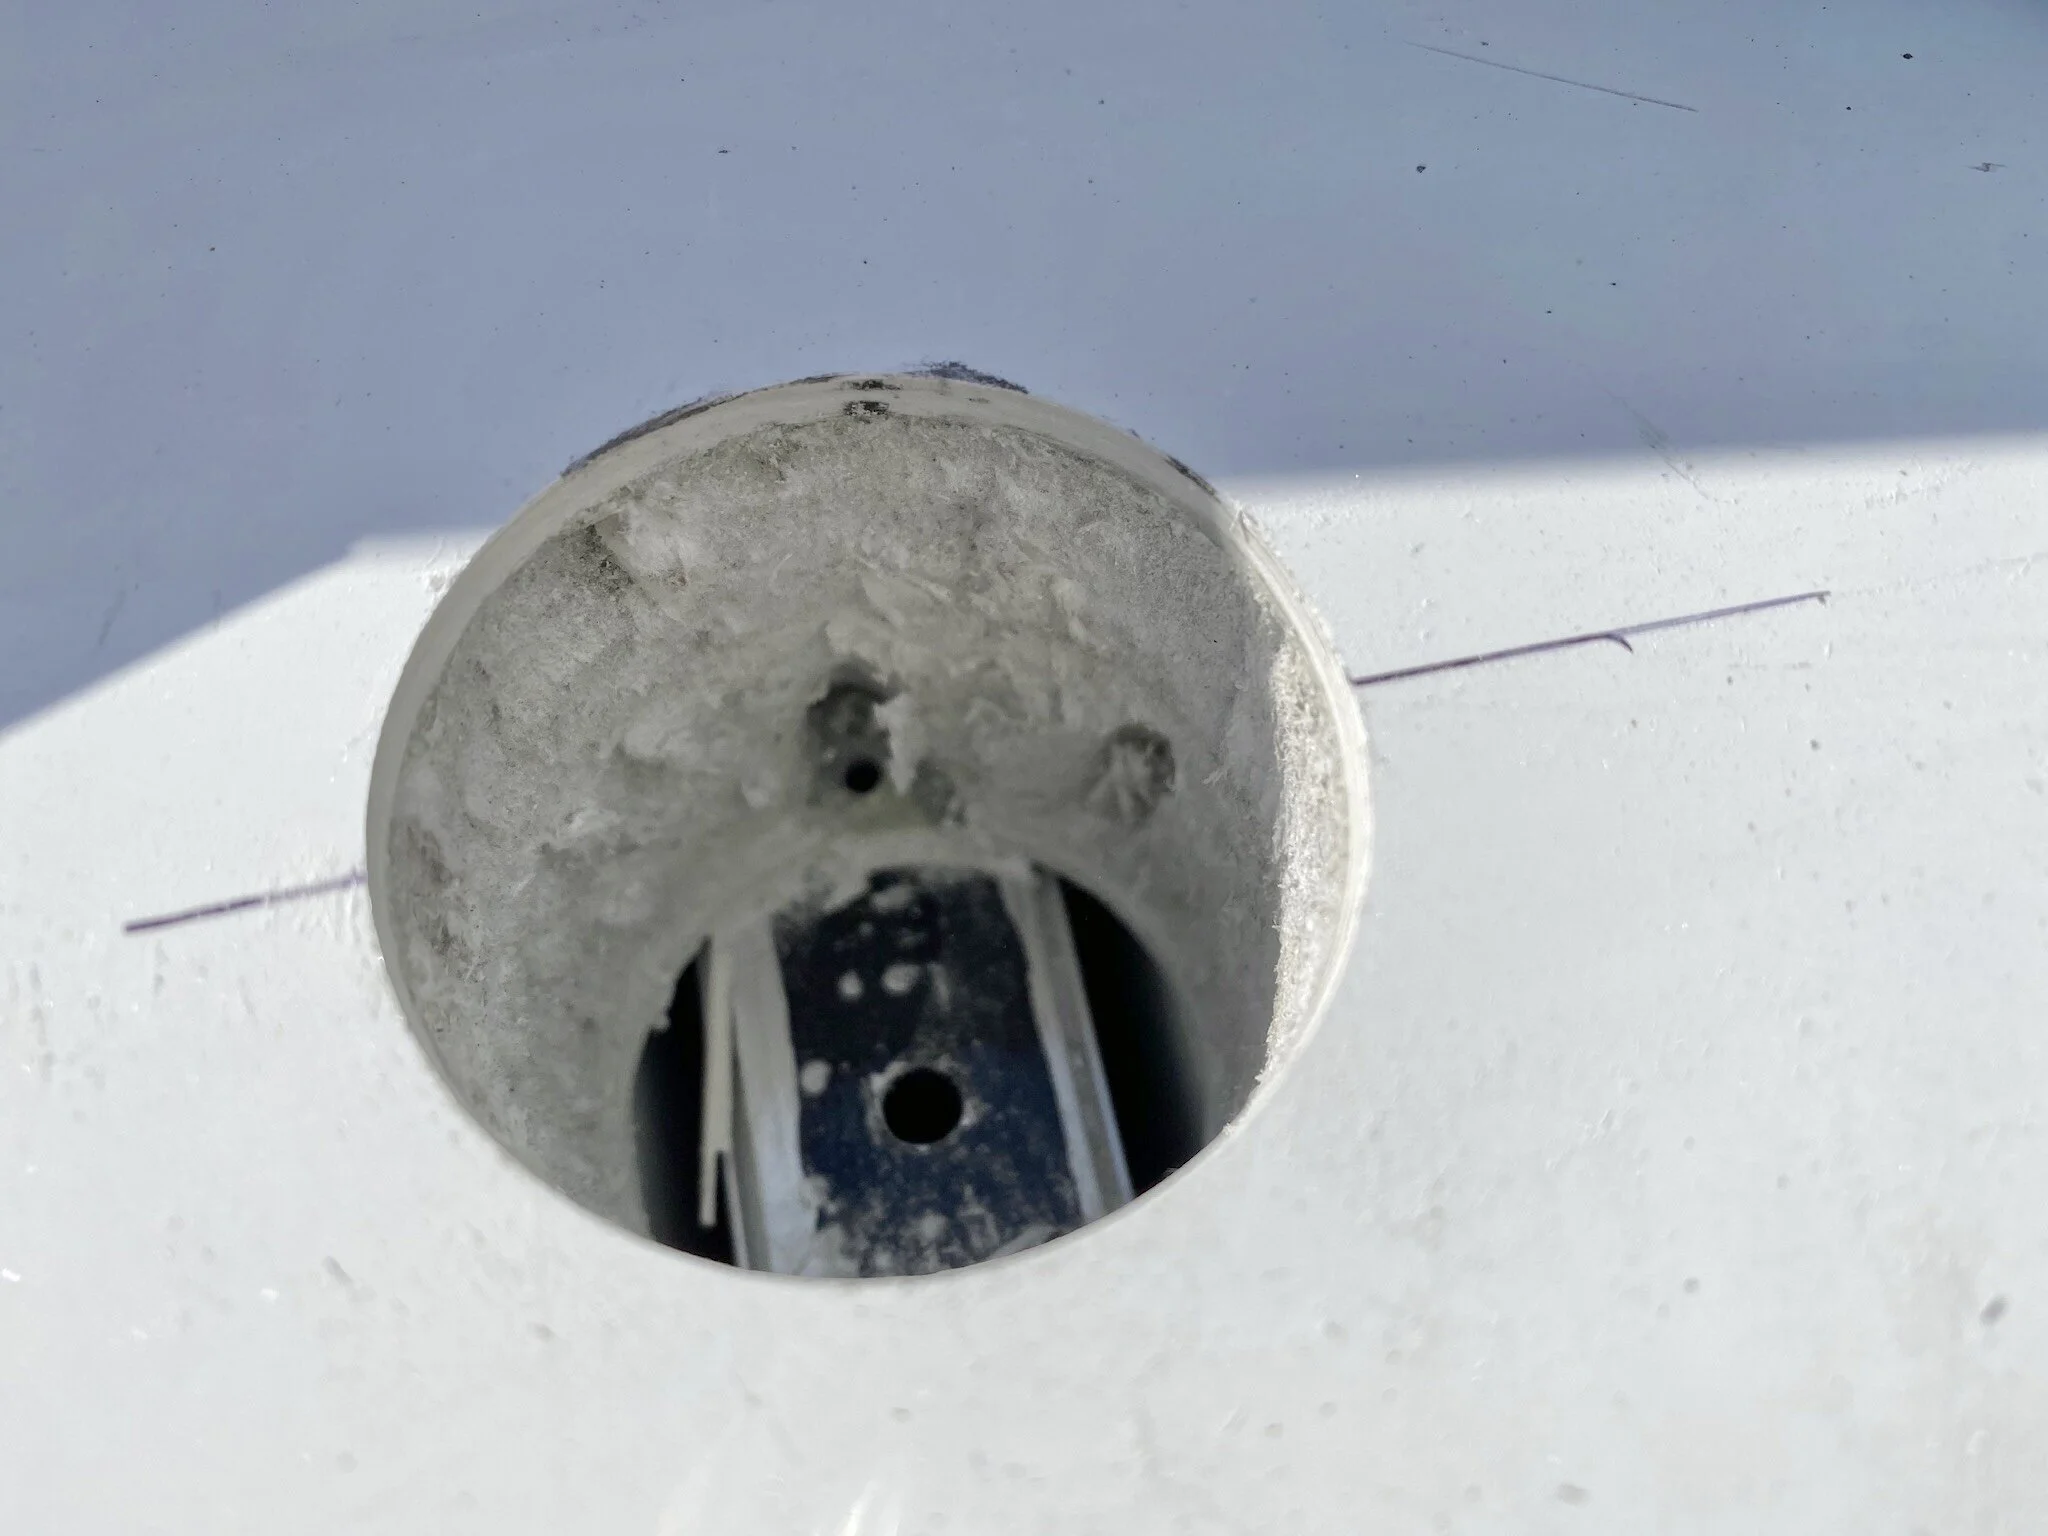
Correcting the builders improper work
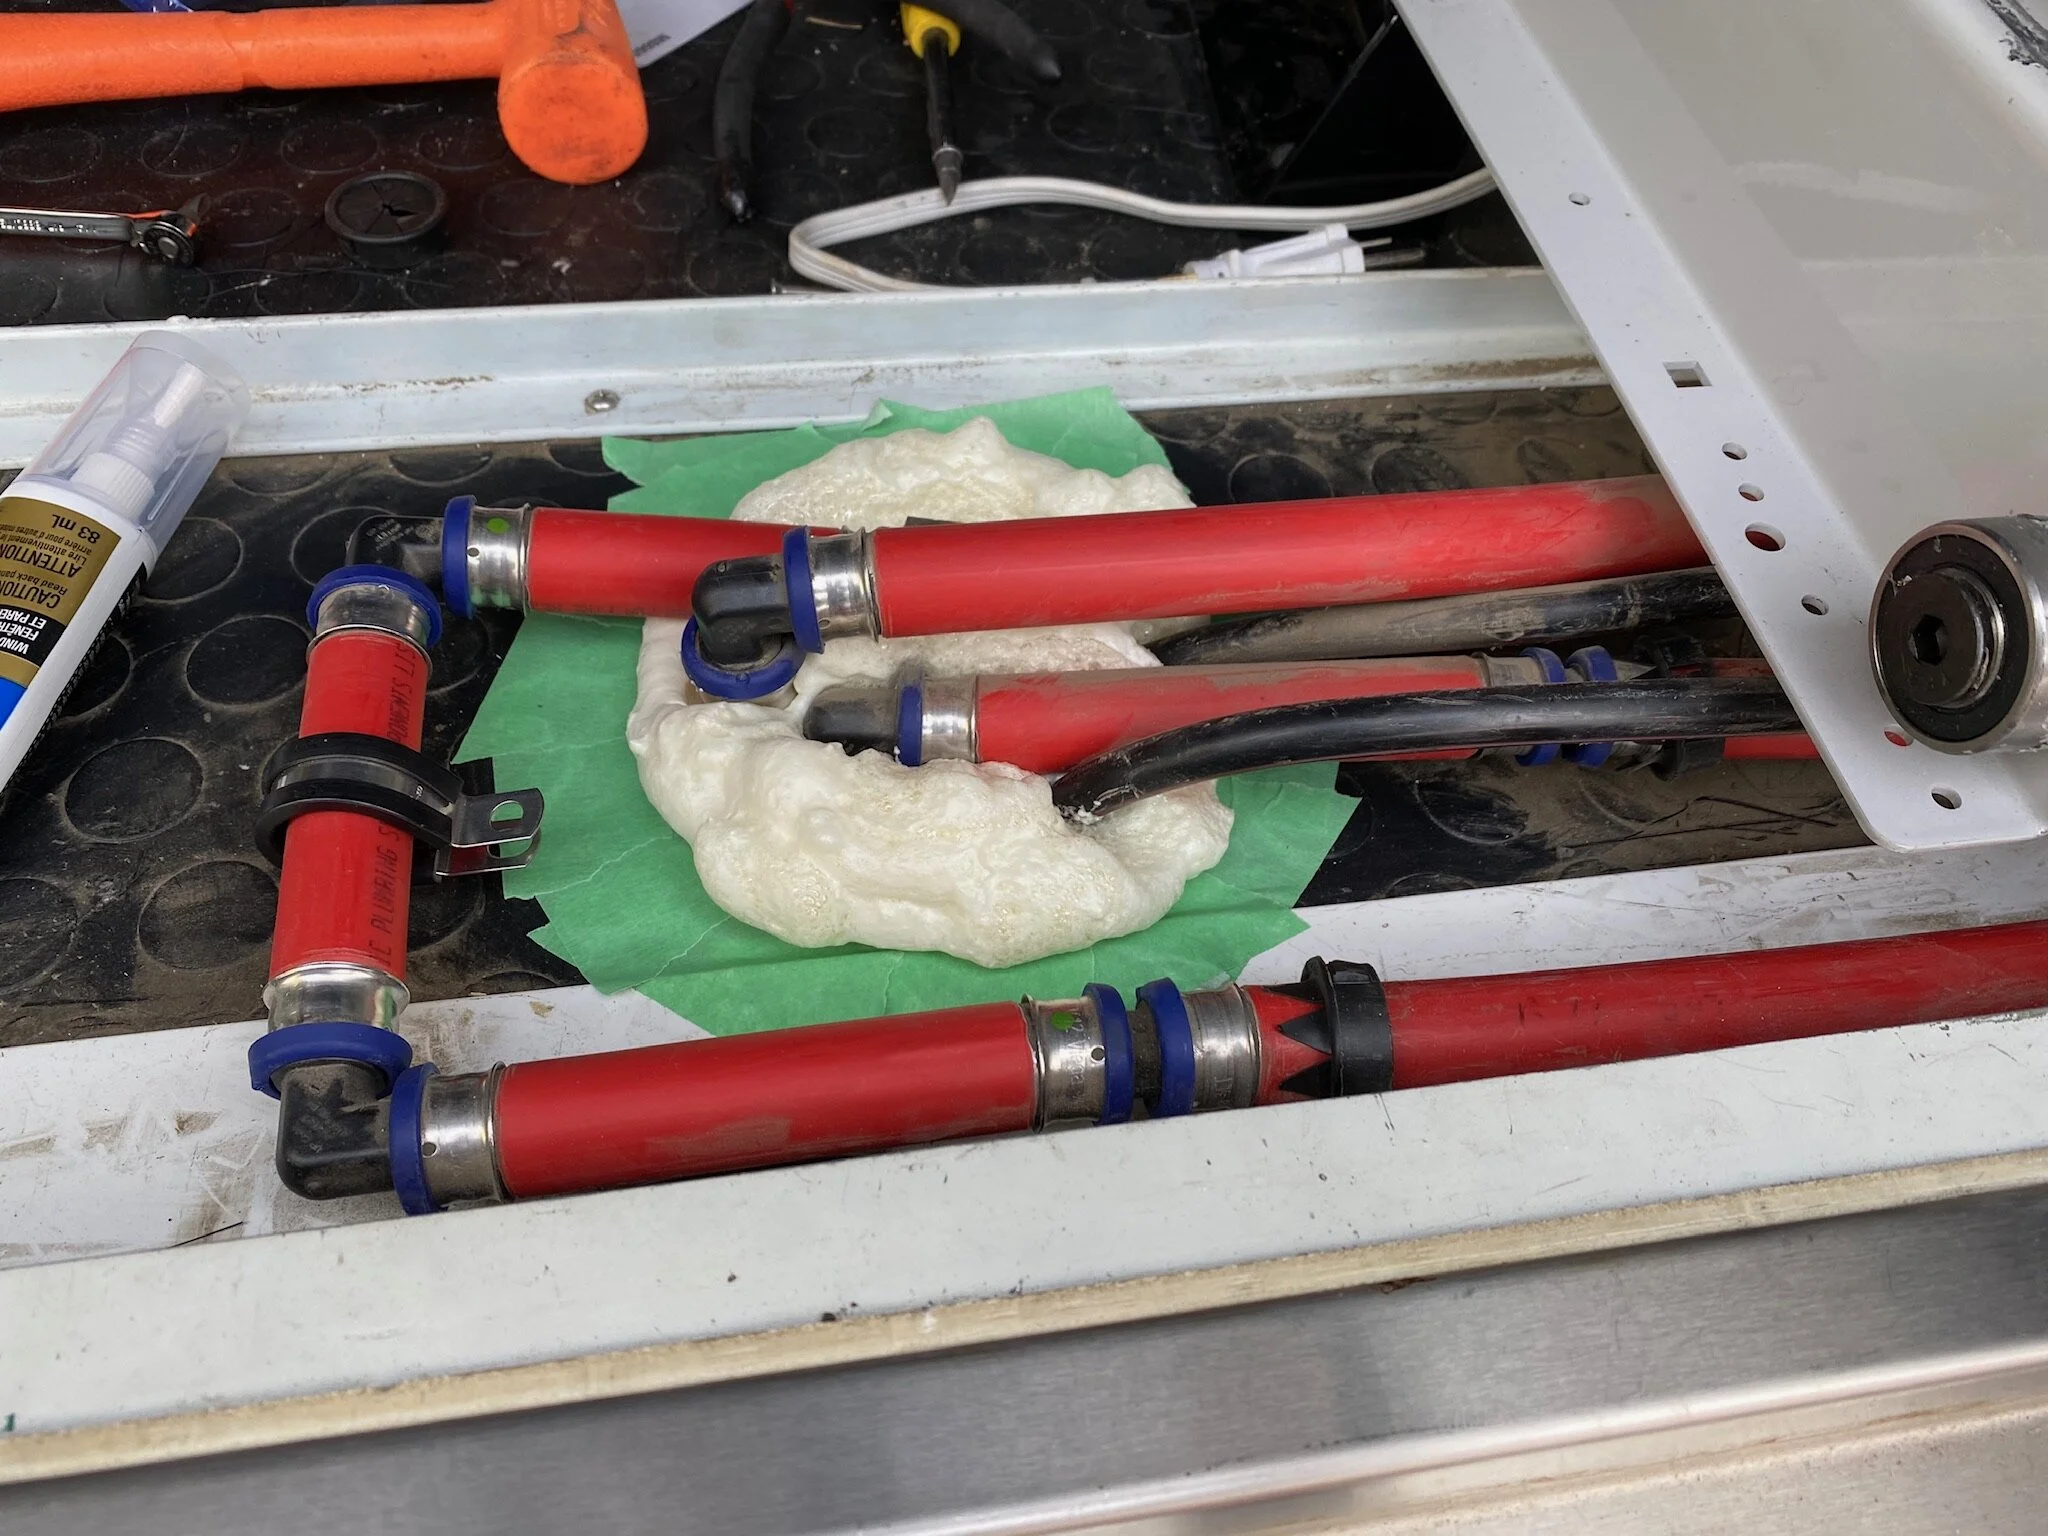
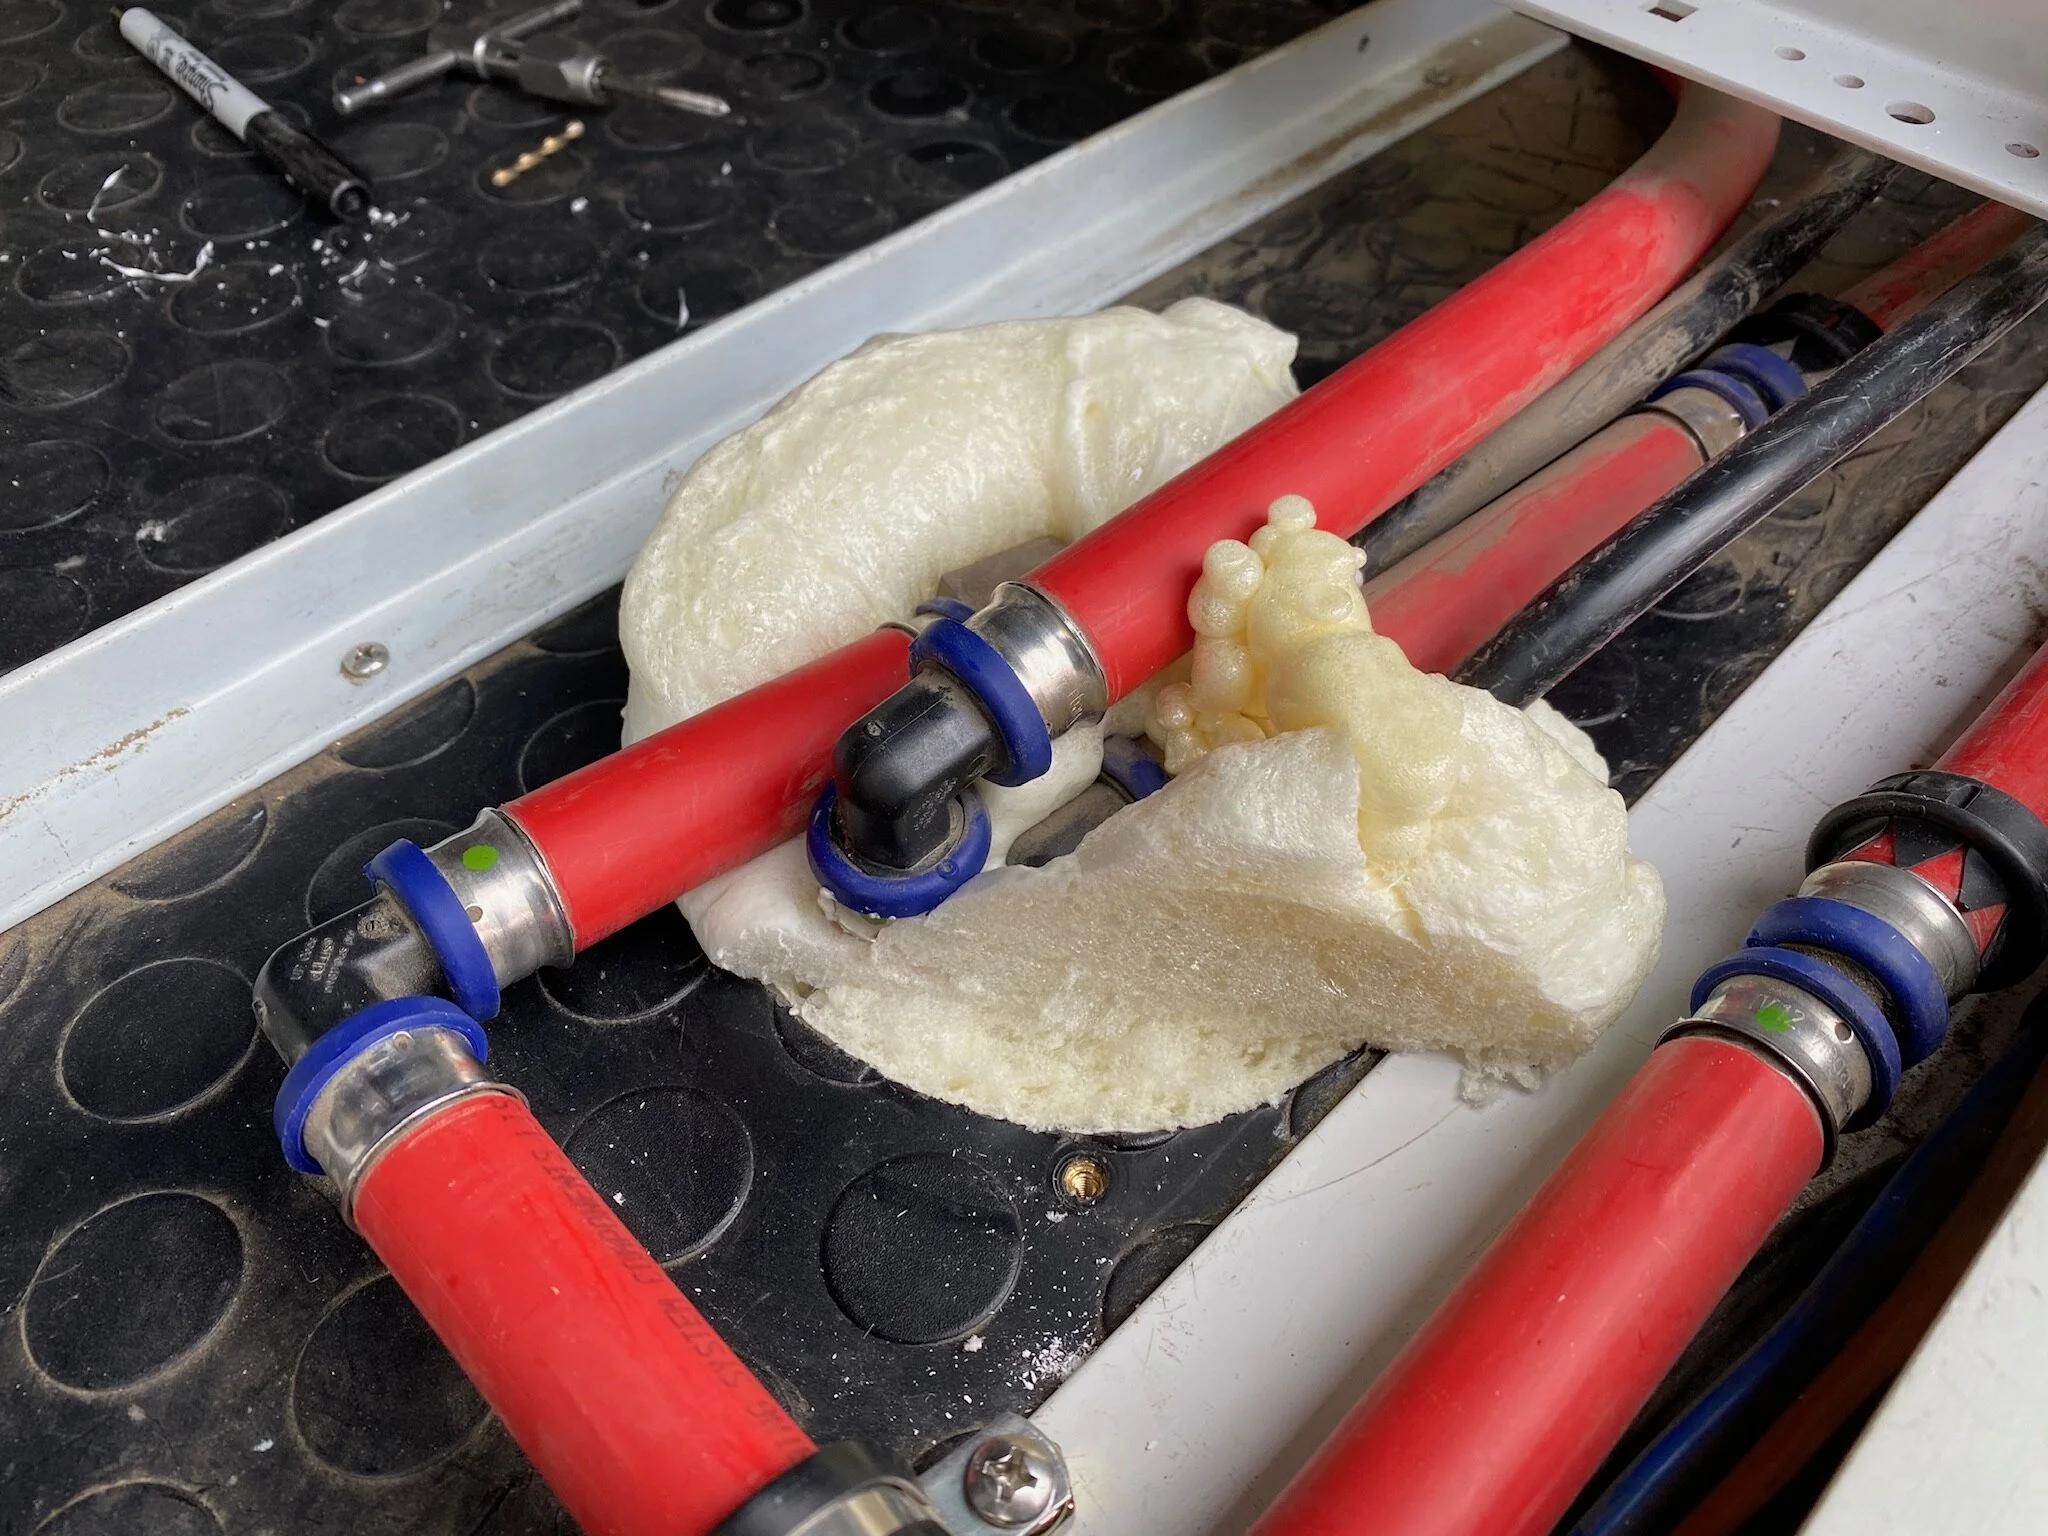
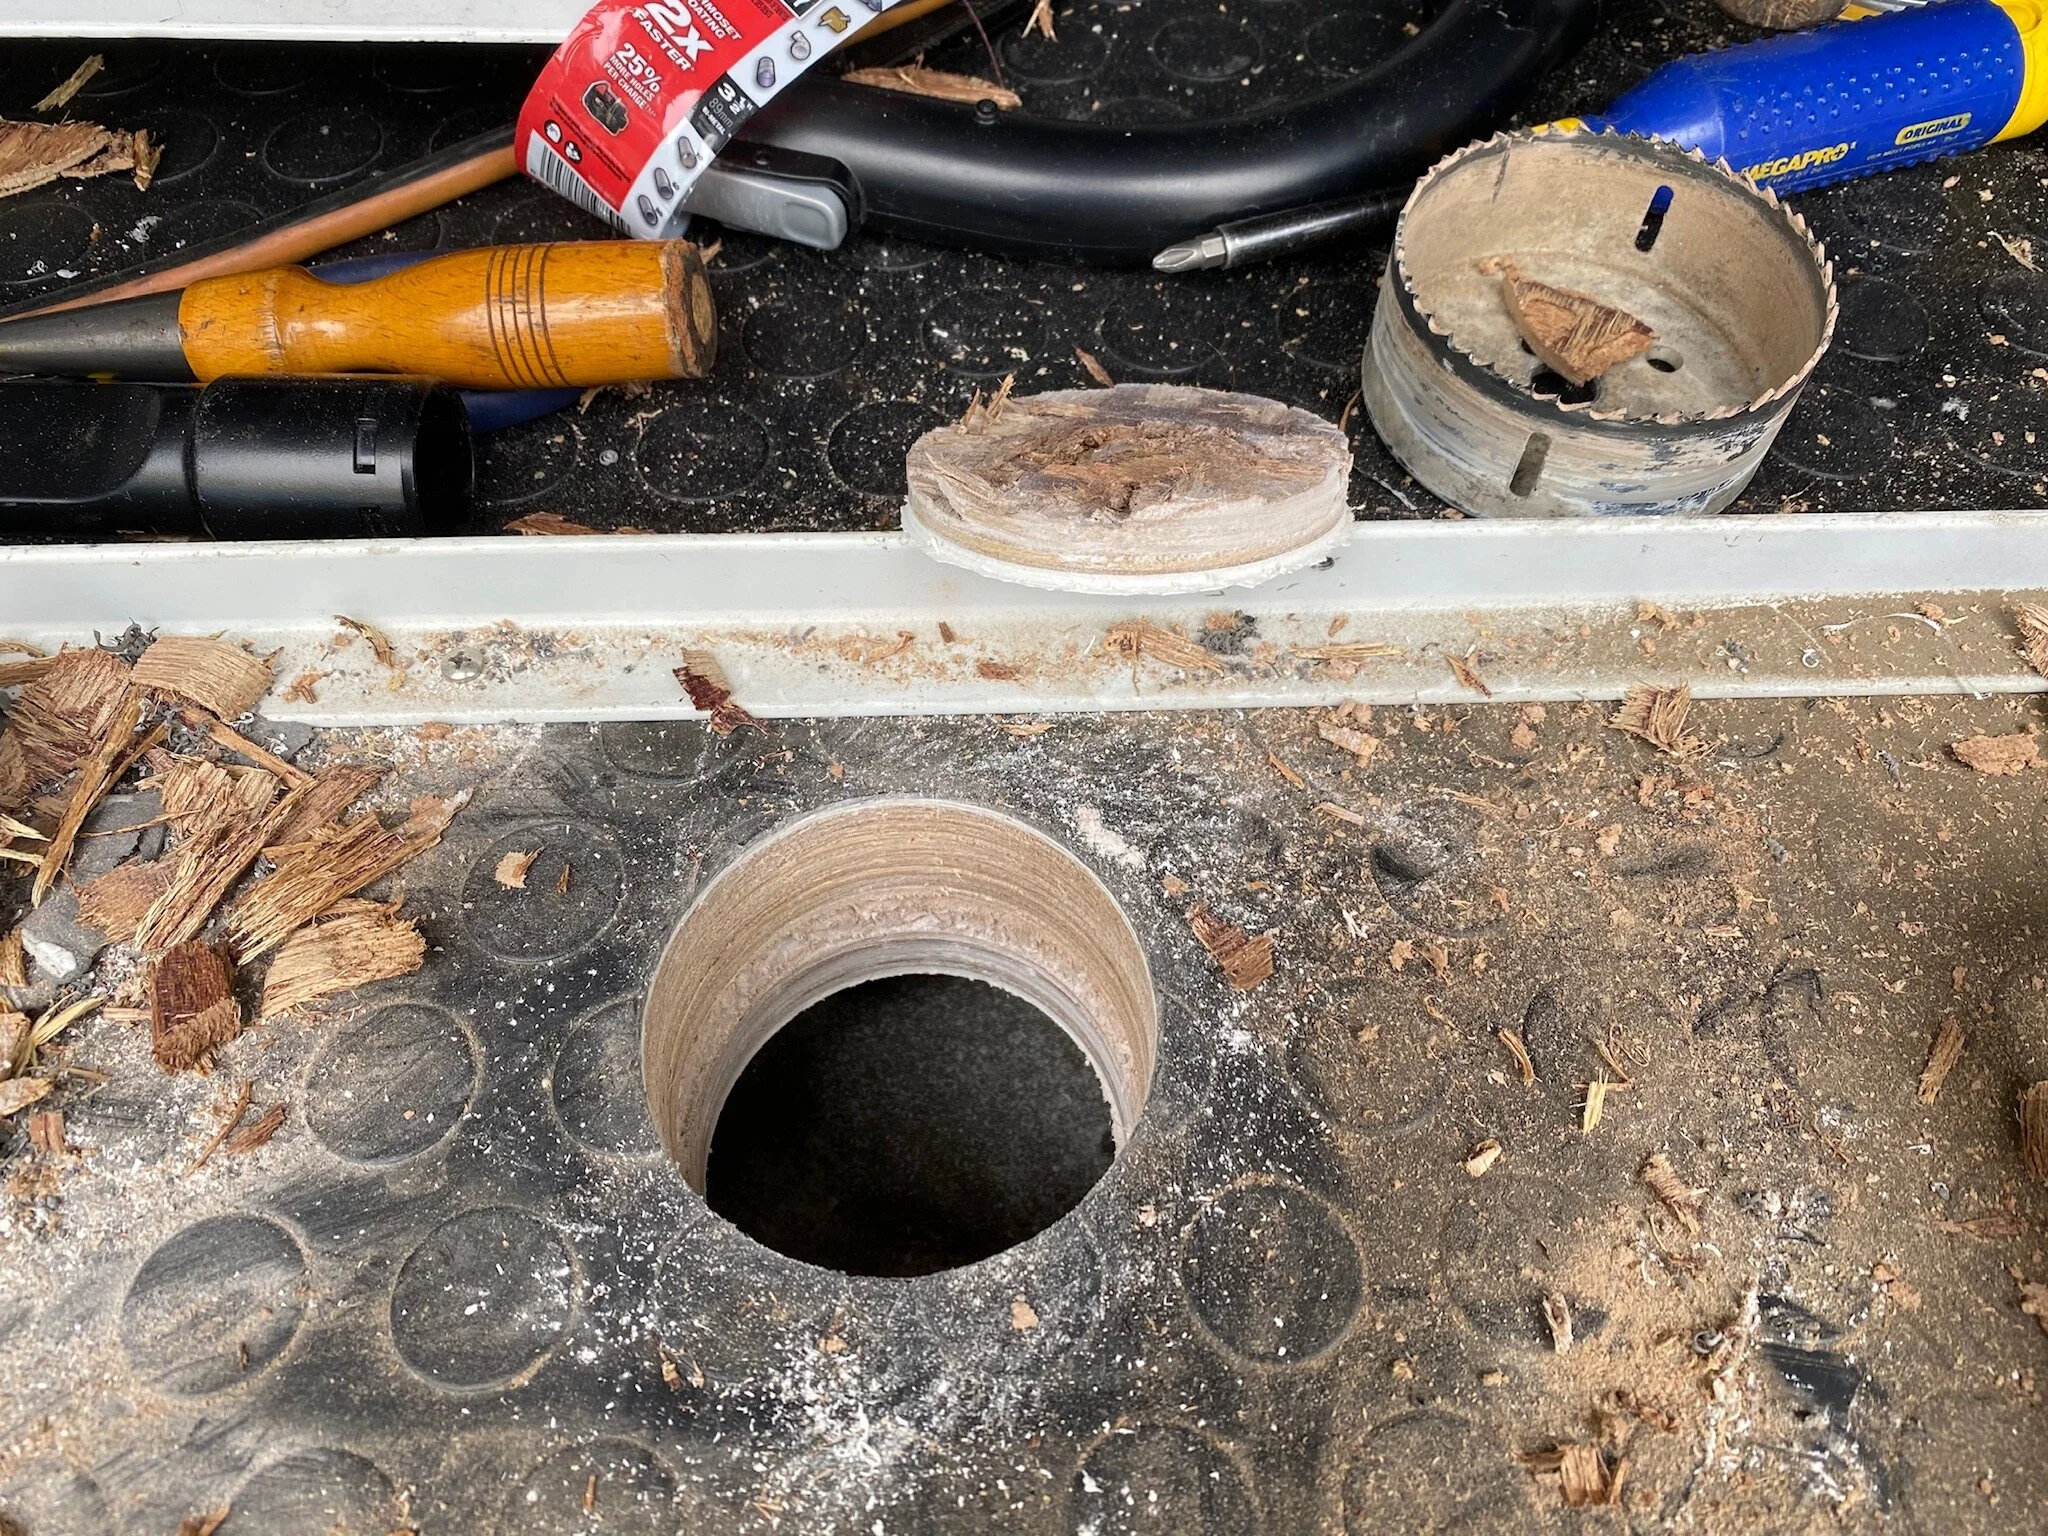
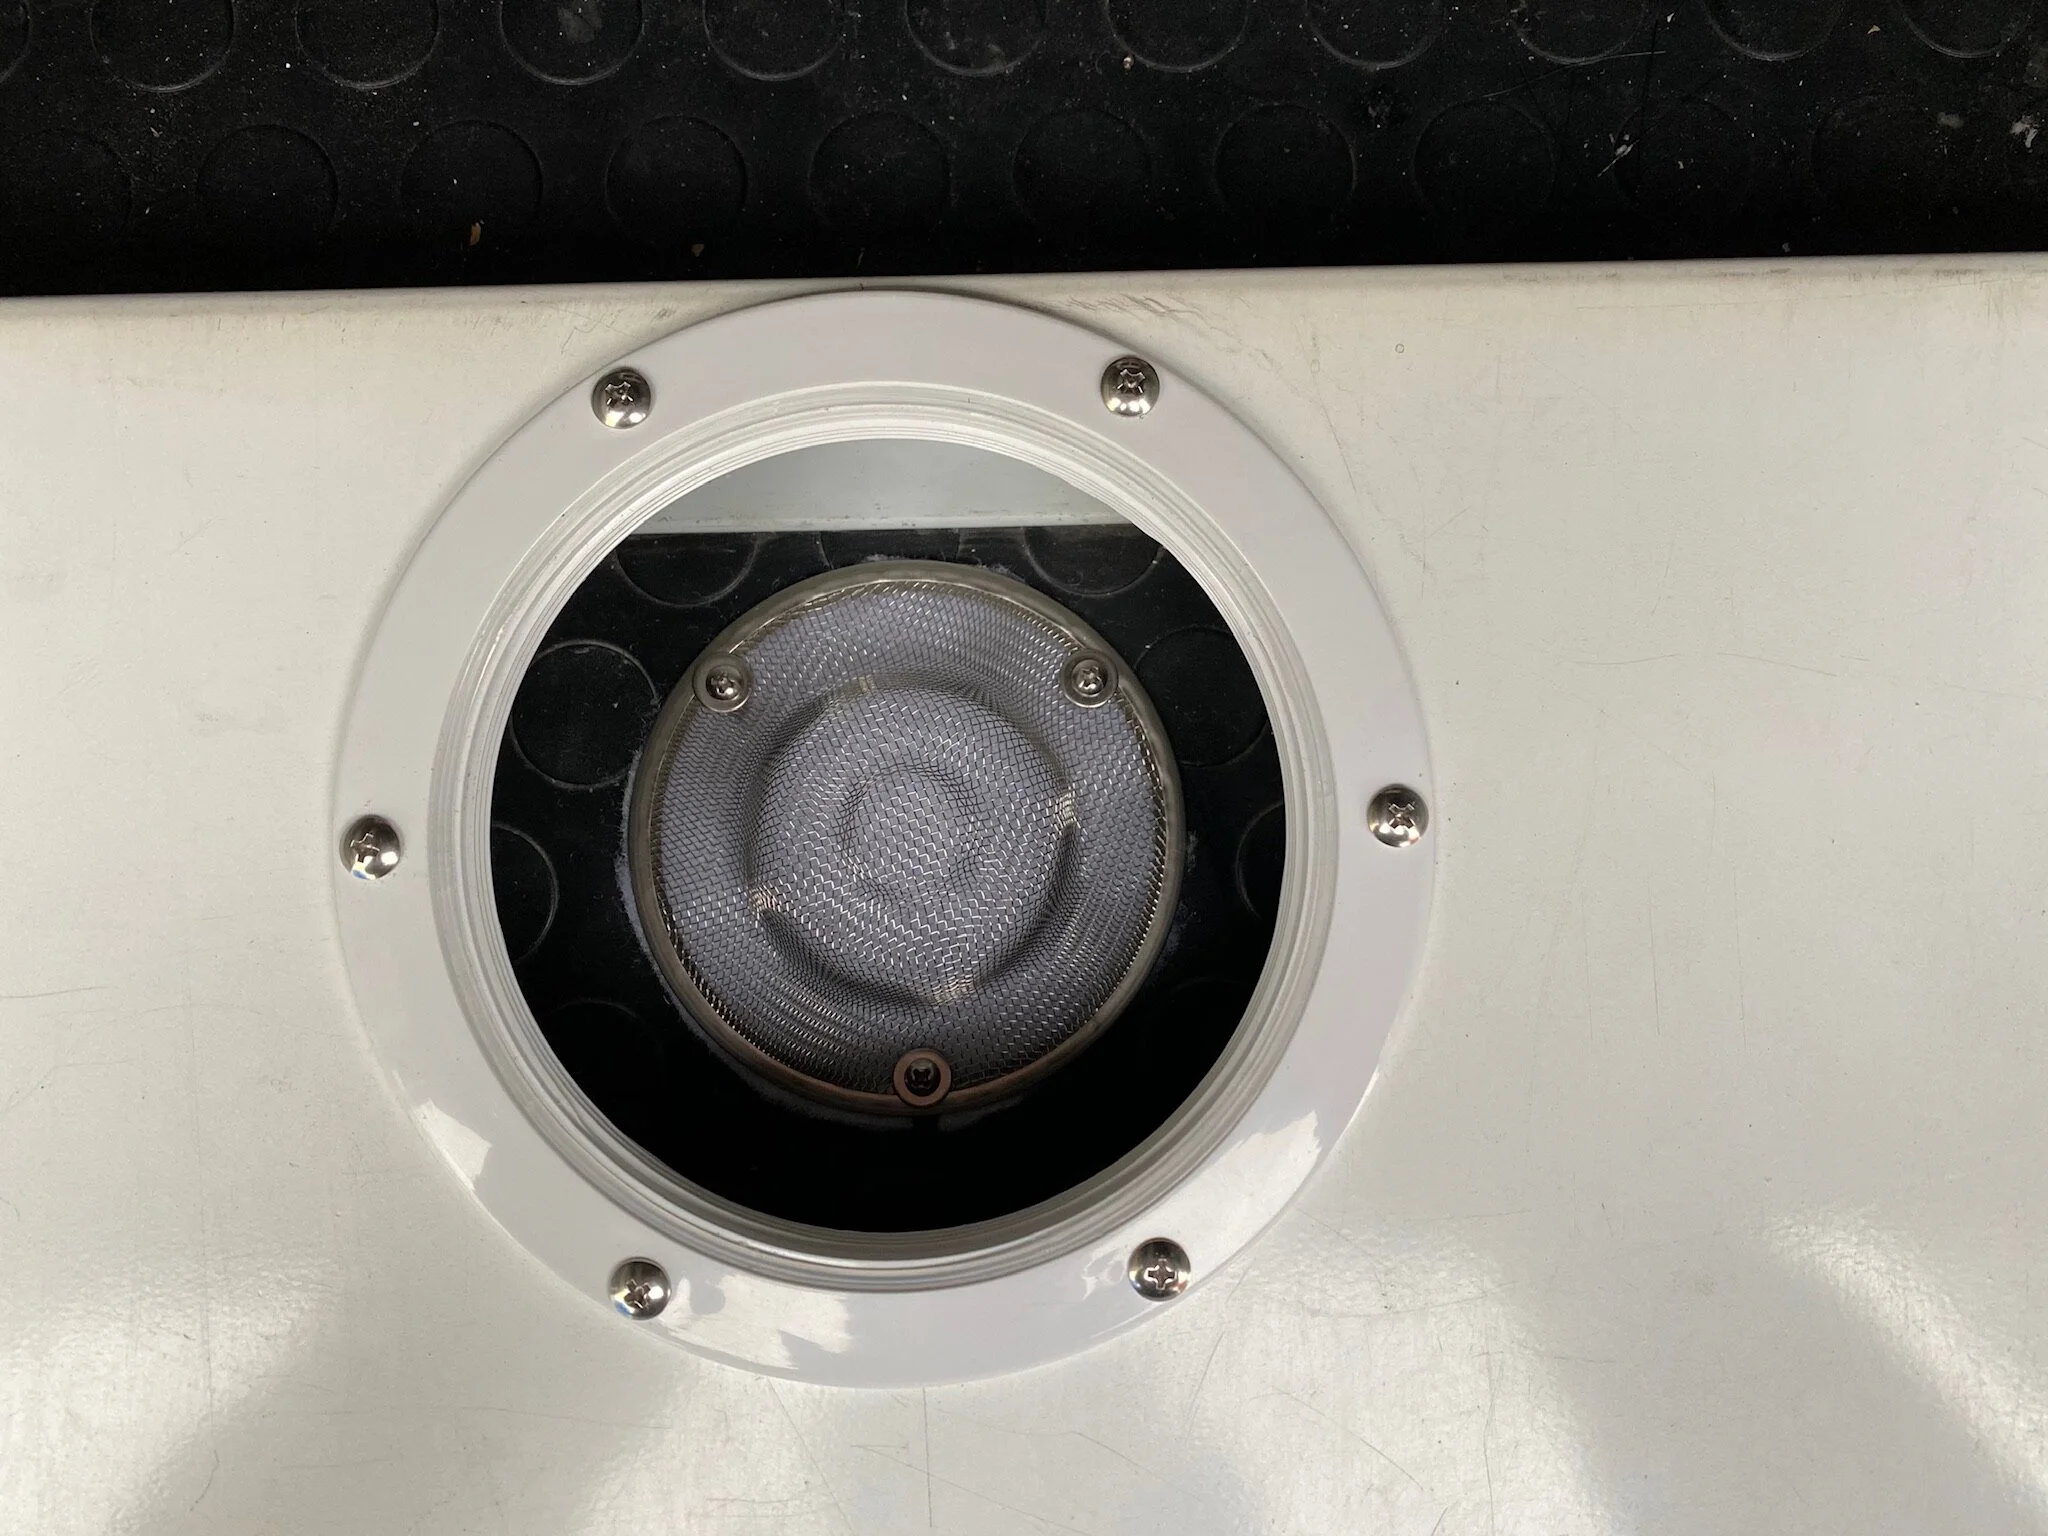
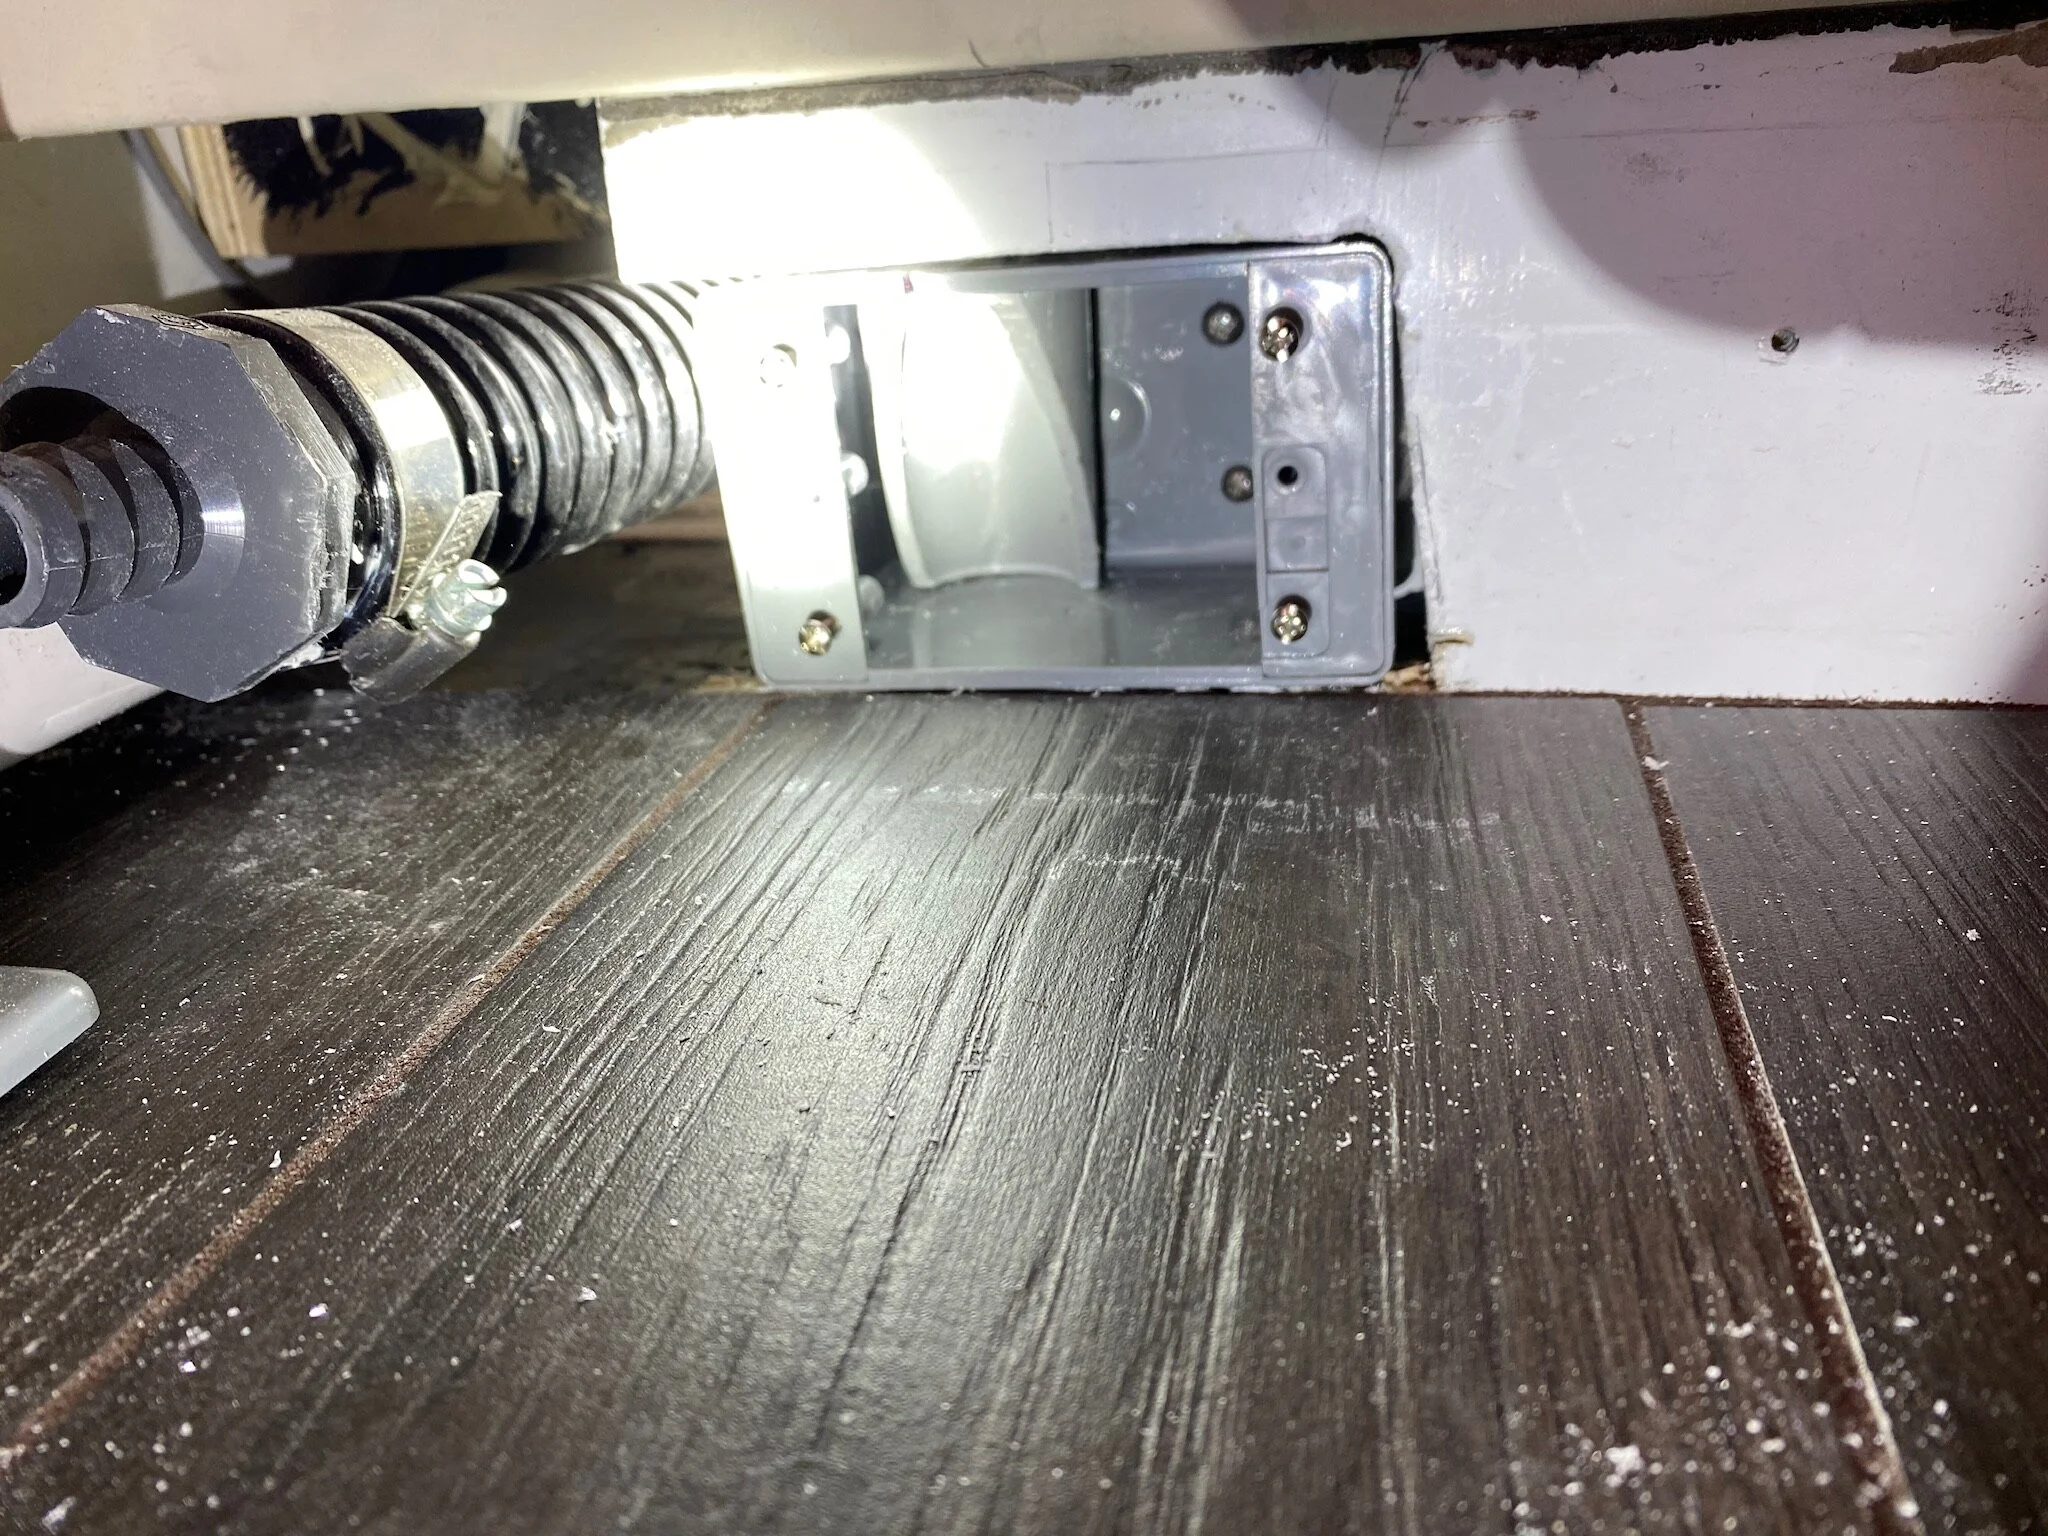
When the builder plumbed the truck, the lines that enter through the floor of the cabin from the boiler box below were not properly sealed. They used a simple brush style circular screen which doesn’t stop dust infiltration, and probably wouldn’t even stop insects from gaining access to the interior of the truck. Just what their installation was meant to do is a mystery to us. We removed it and injected proper urethane foam insulation to totally seal off the five inch diameter hole.
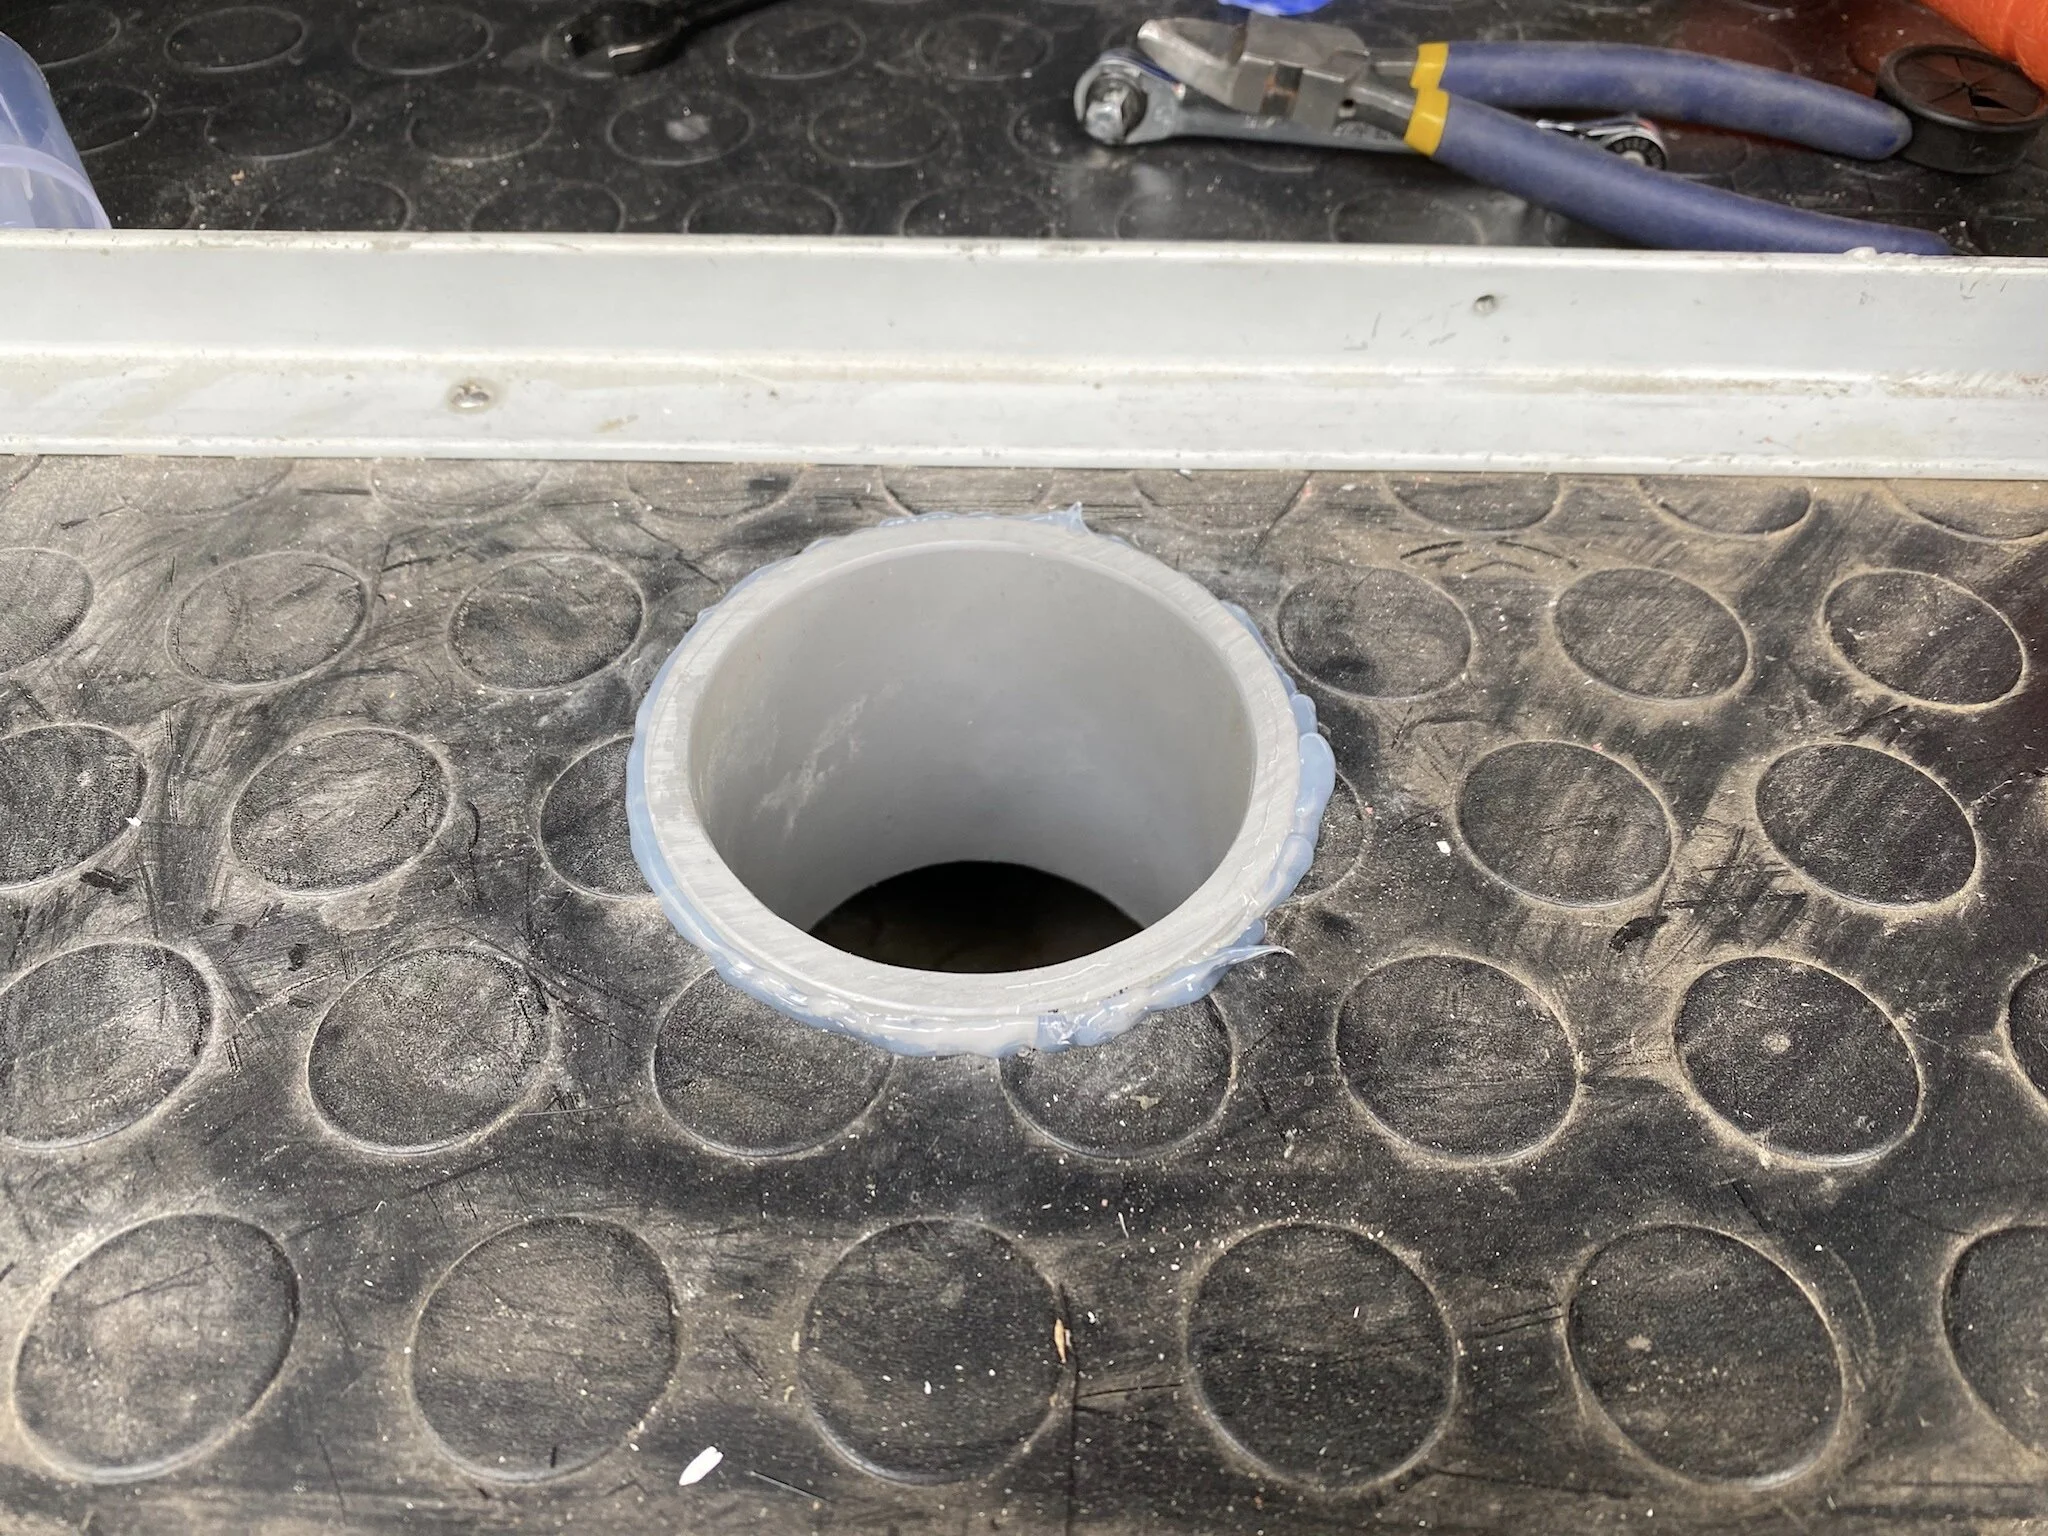
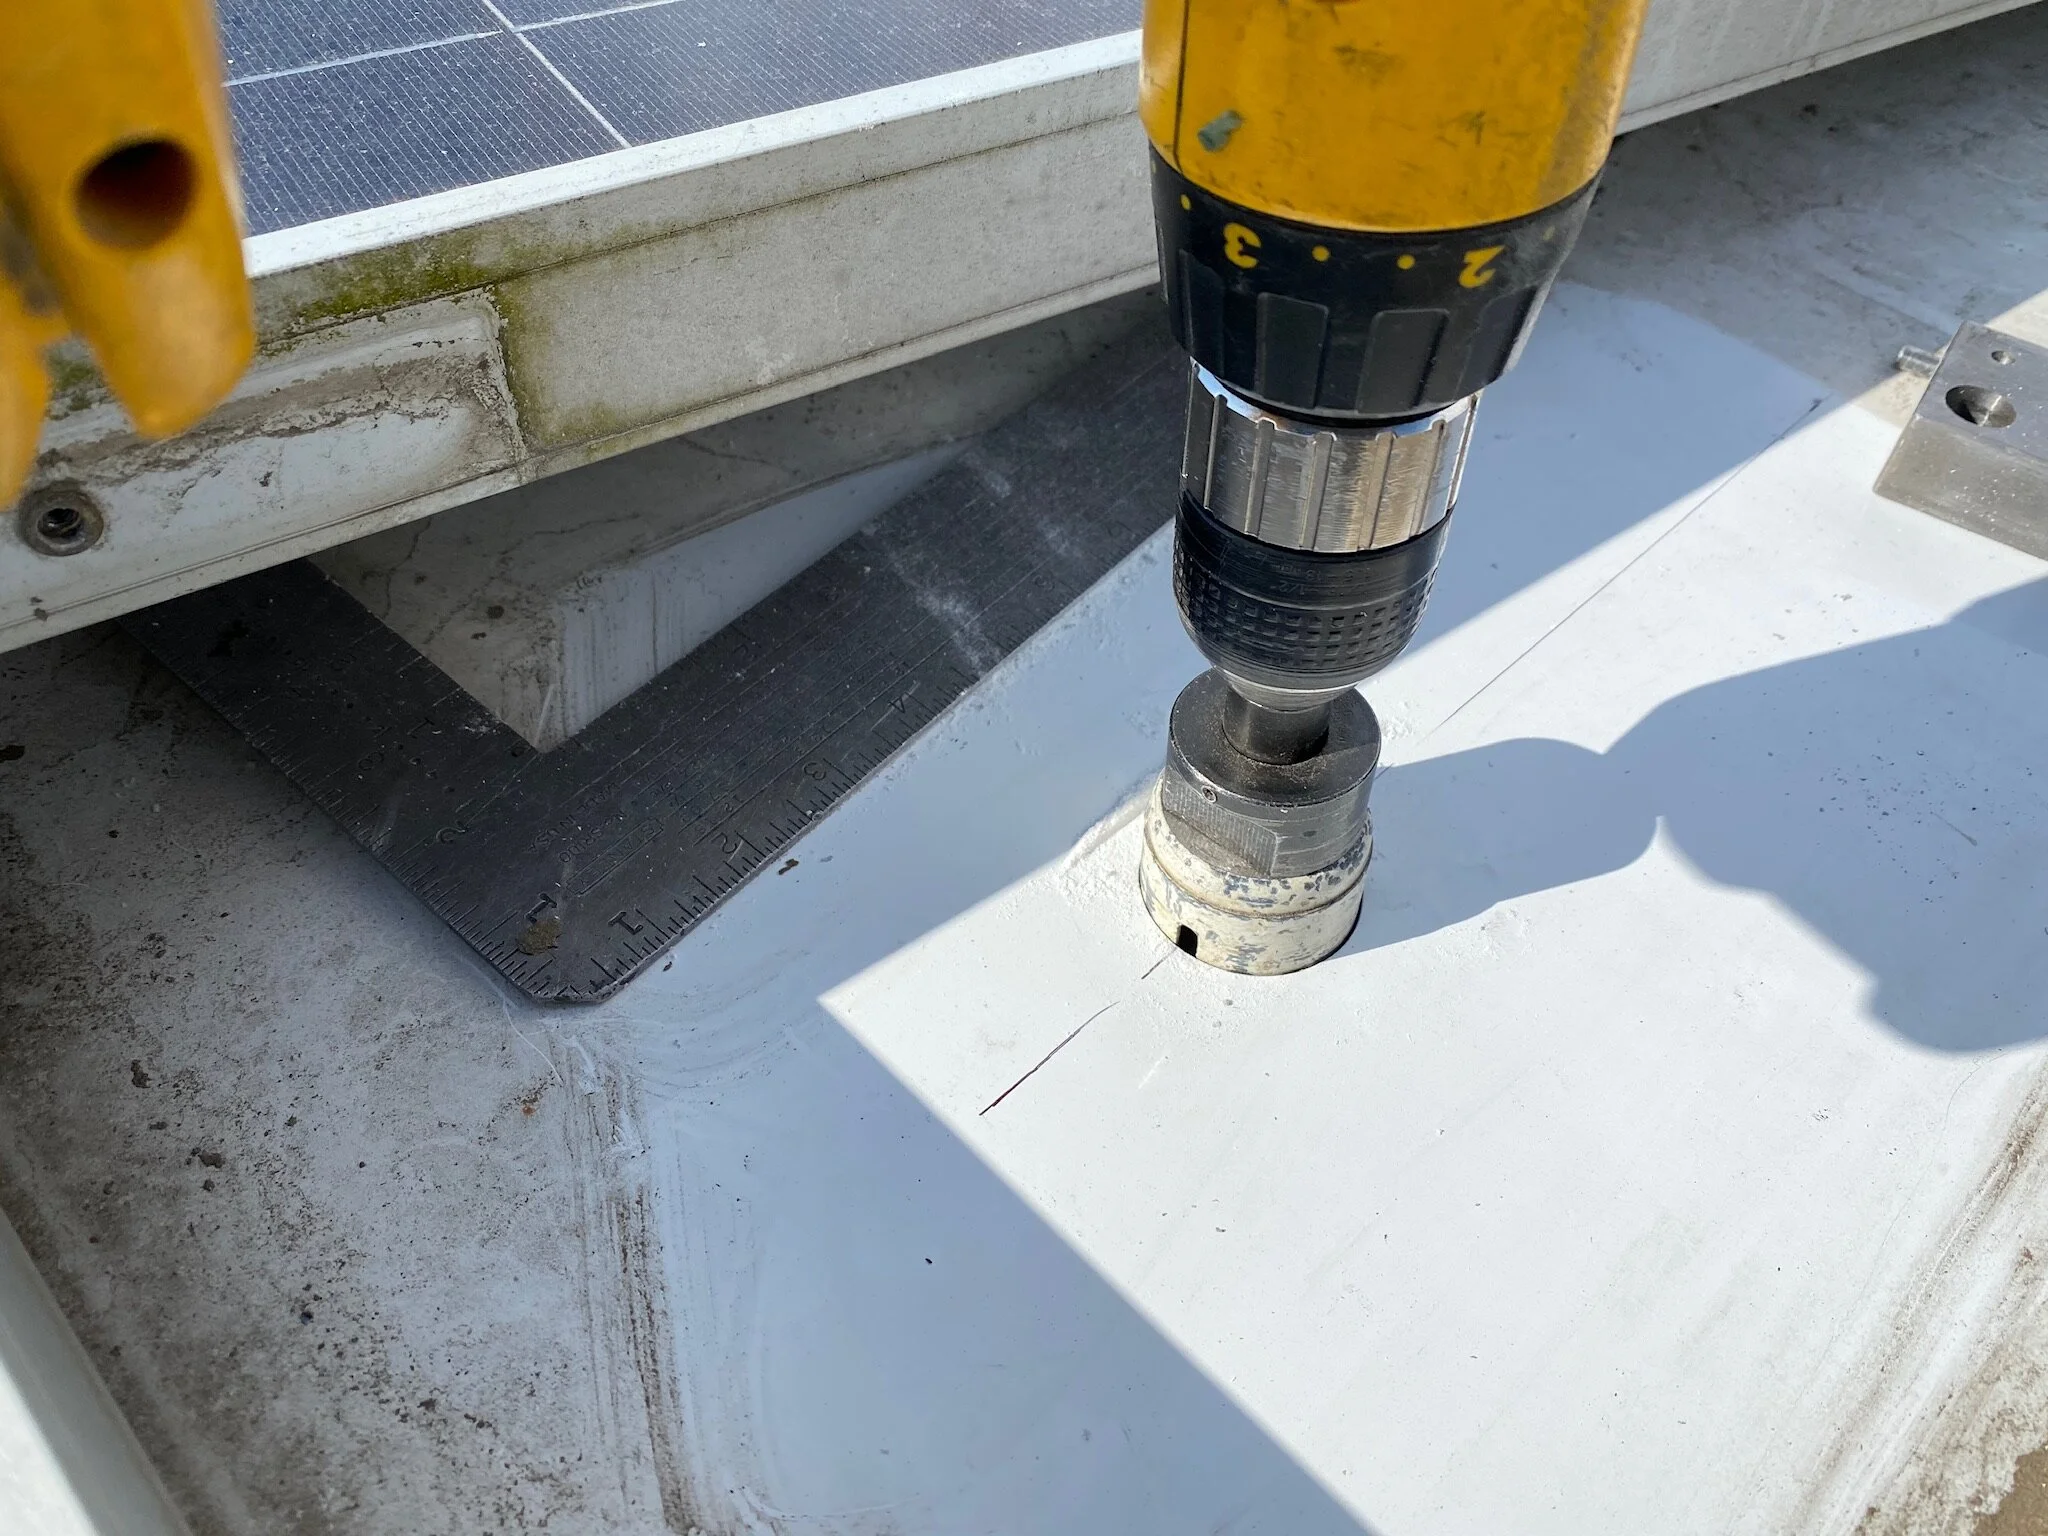
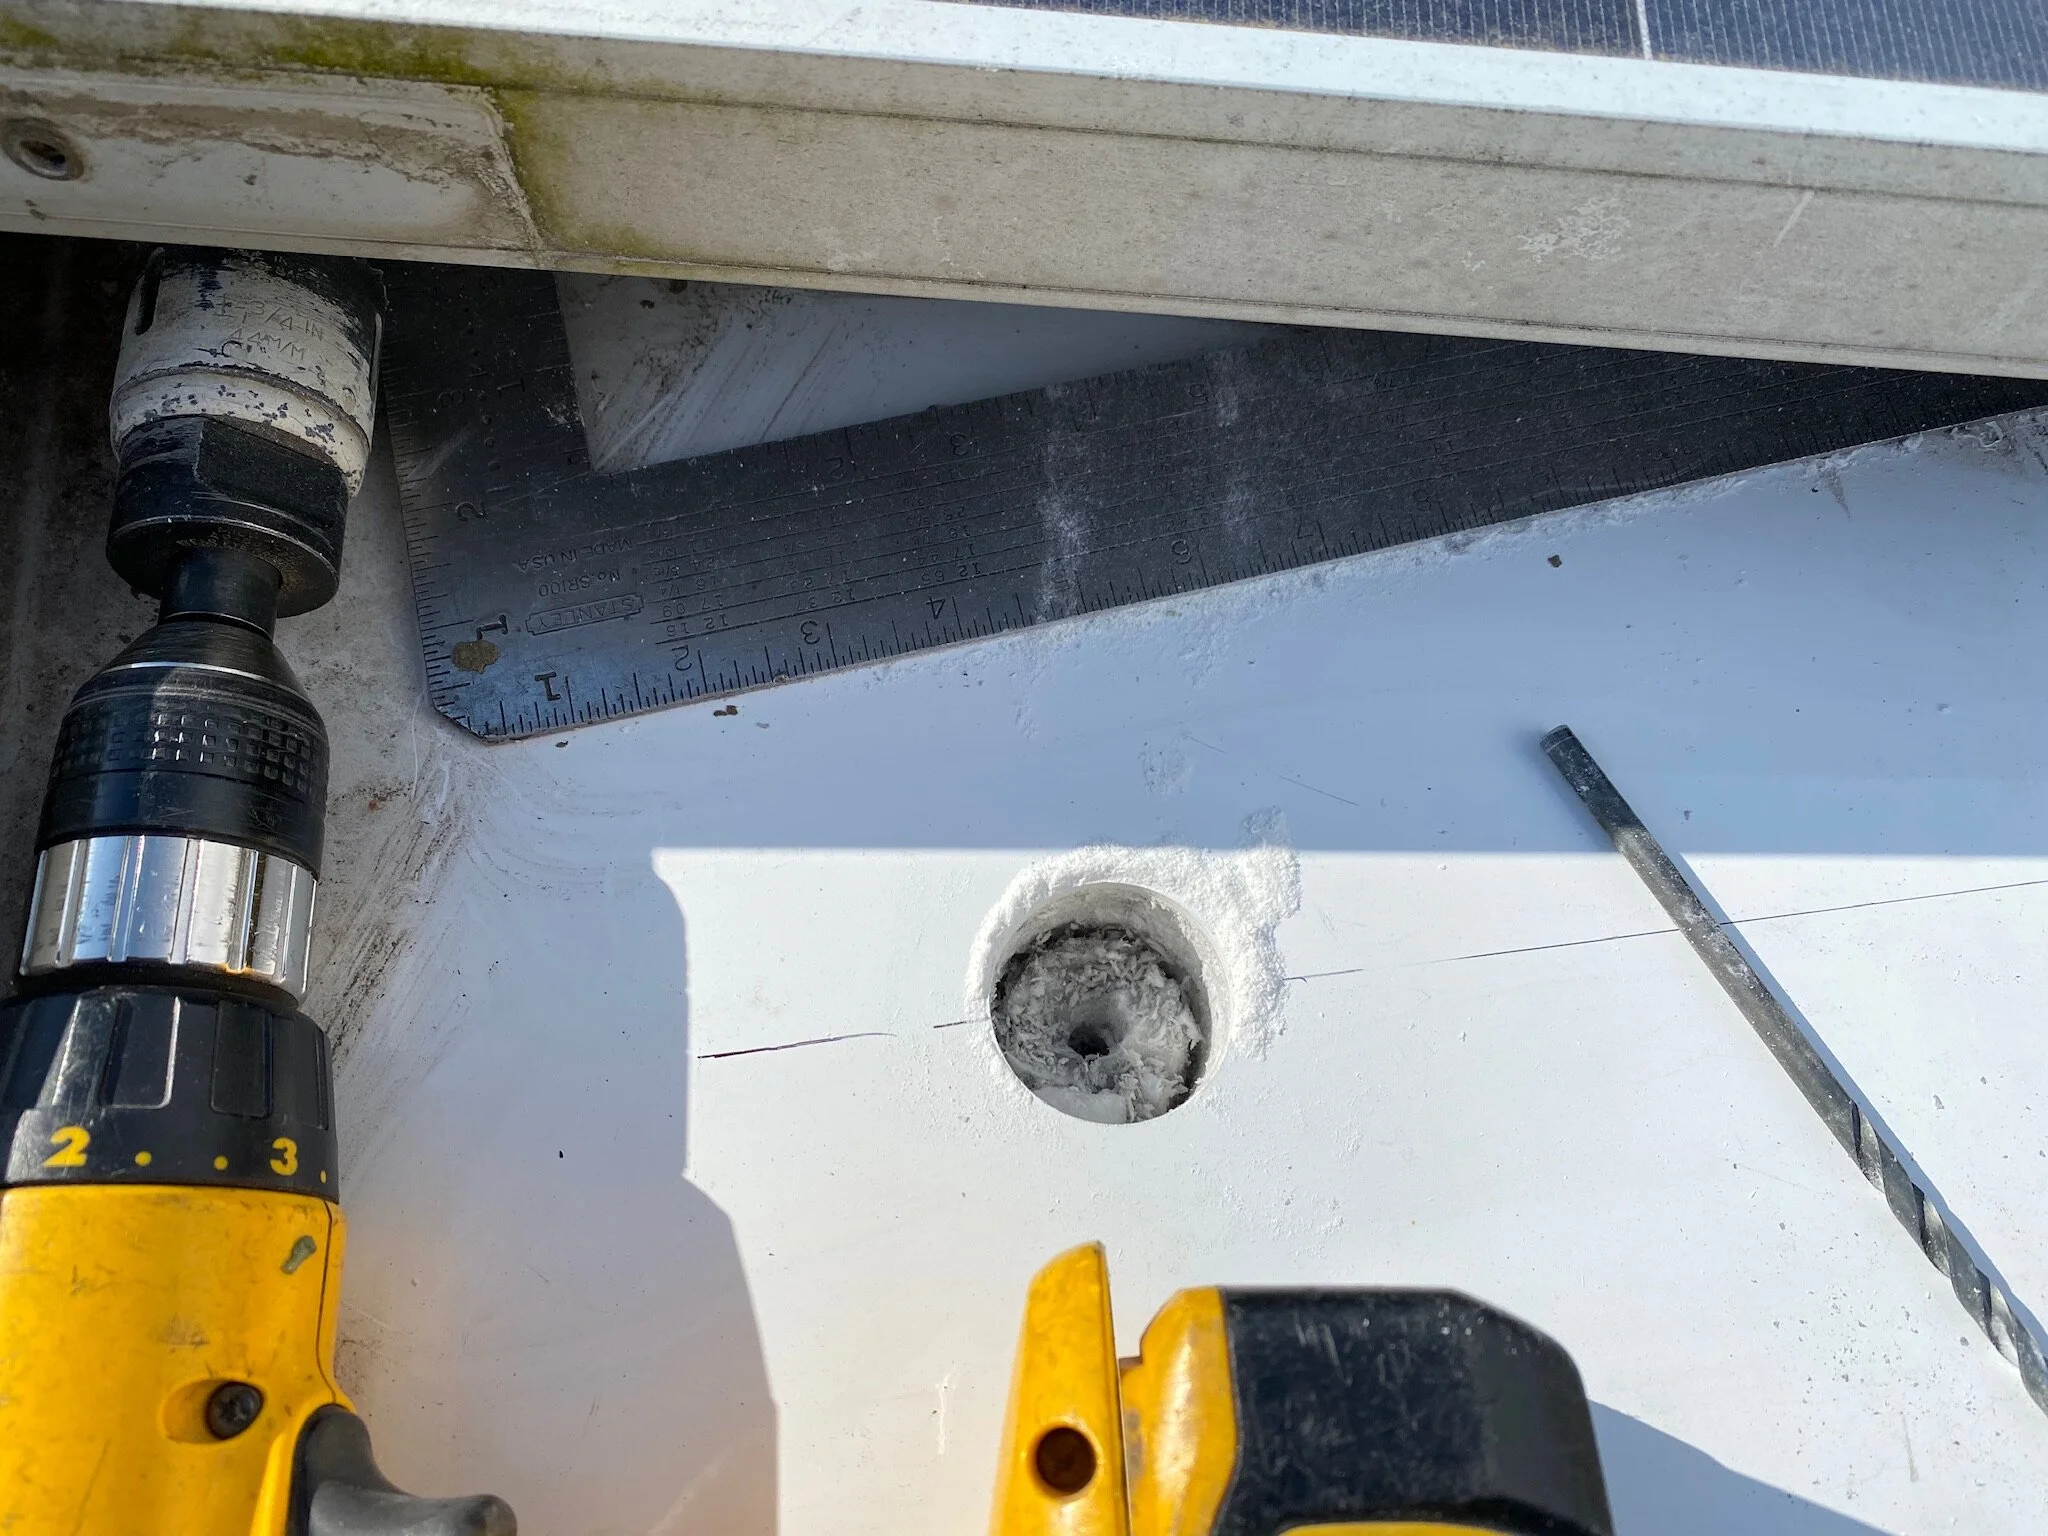
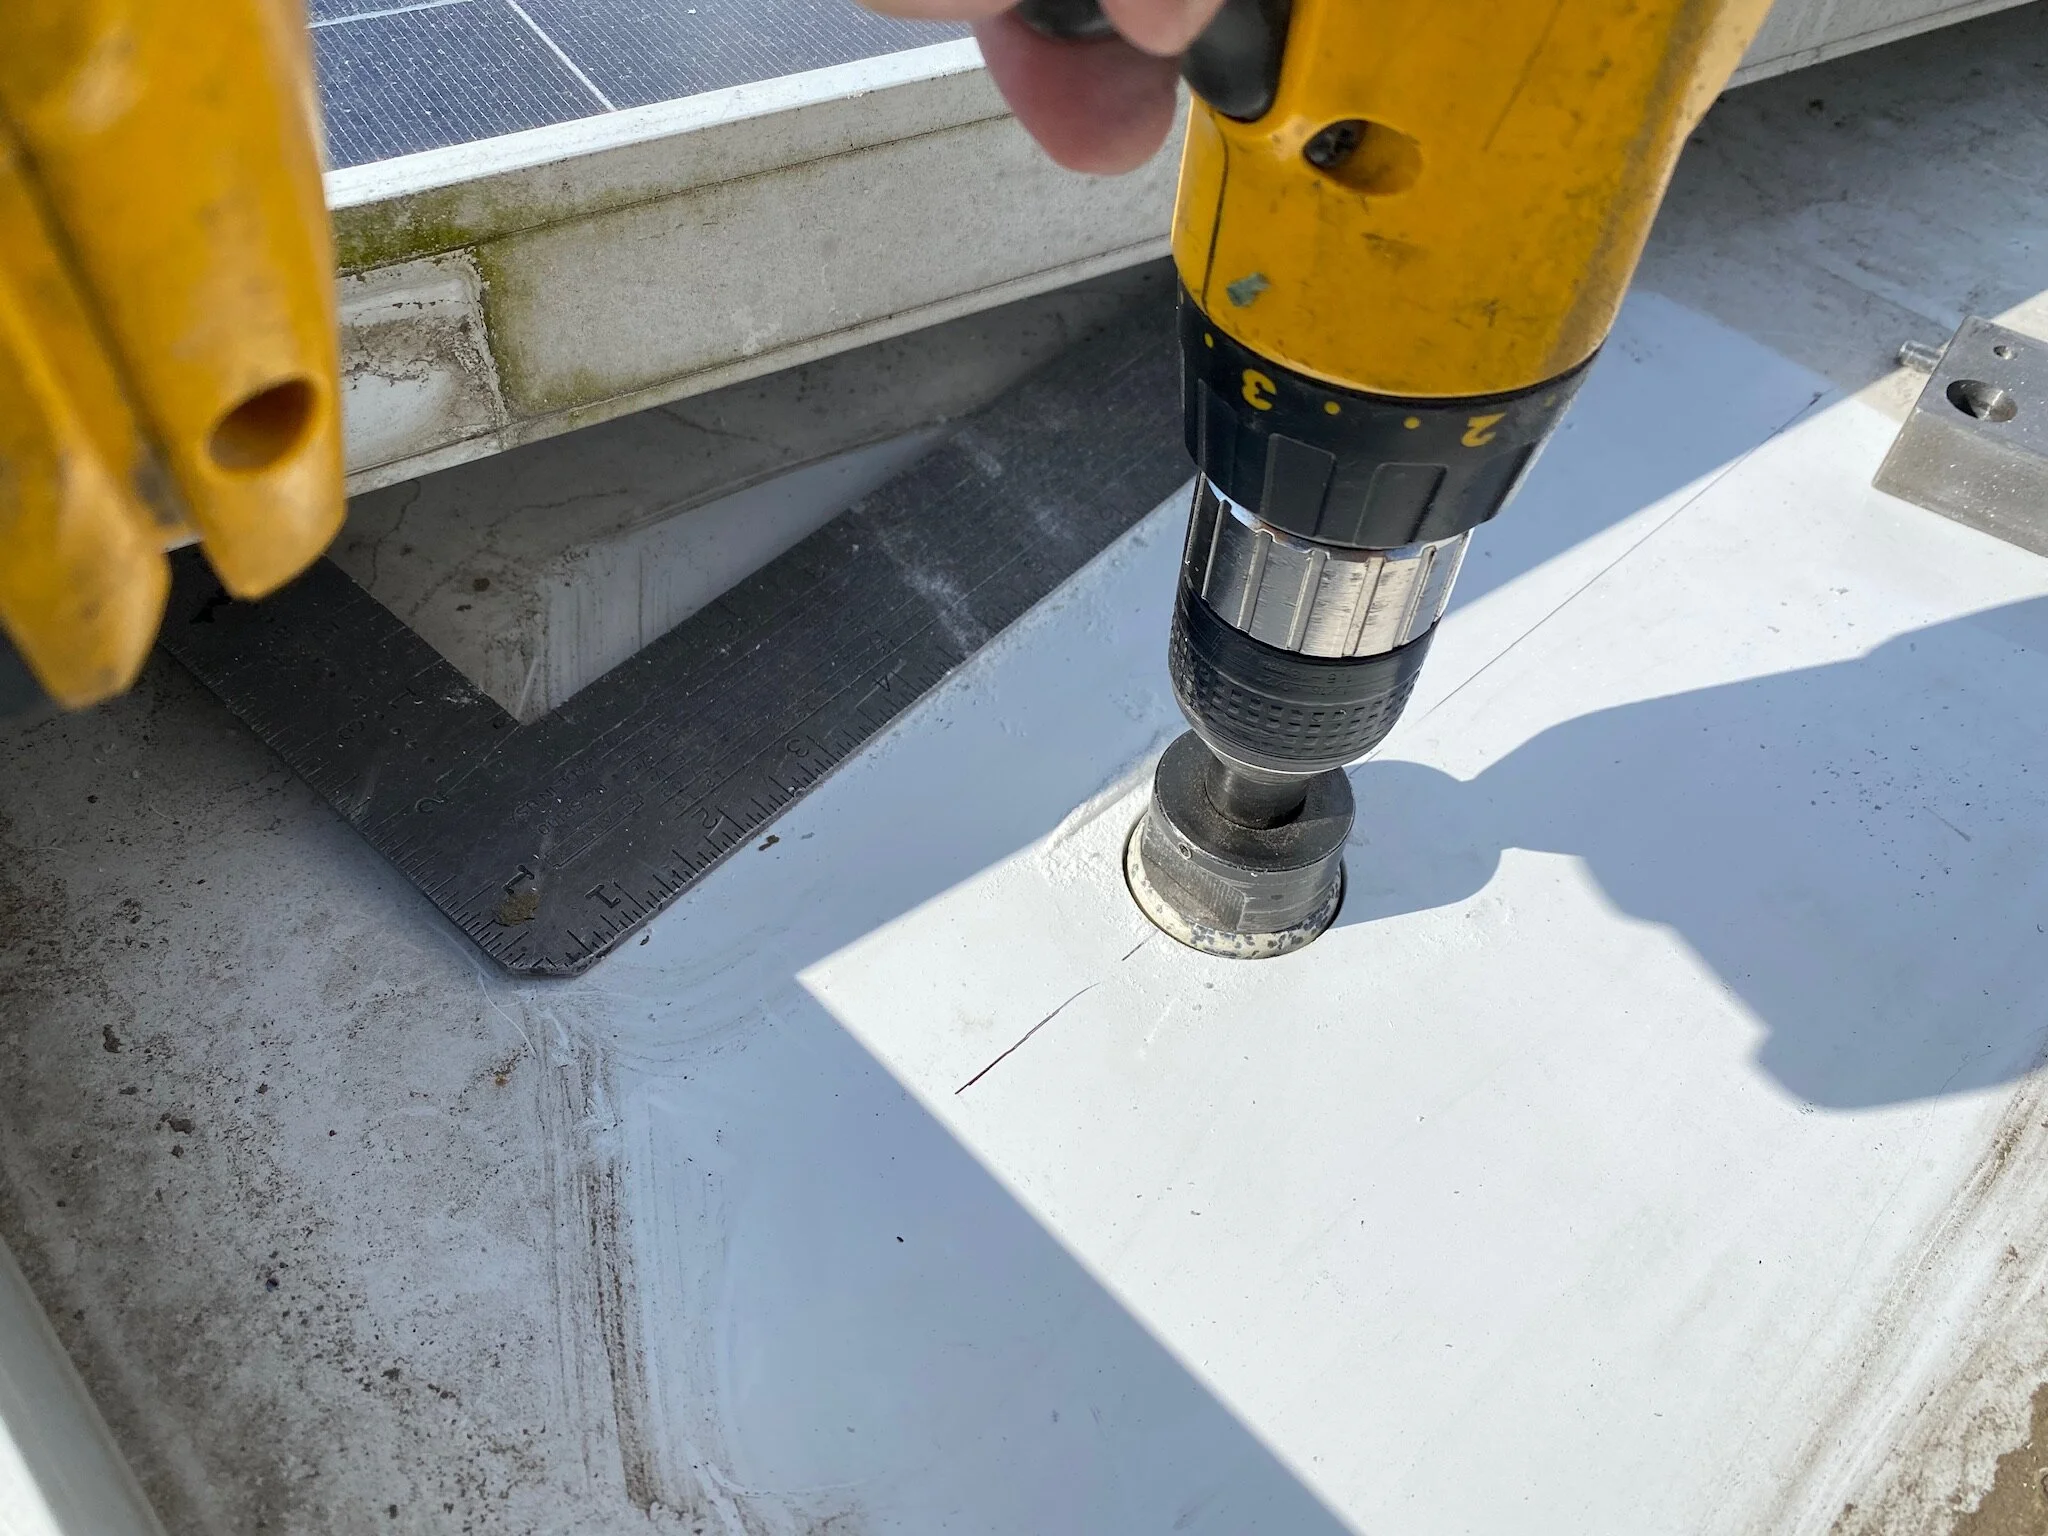
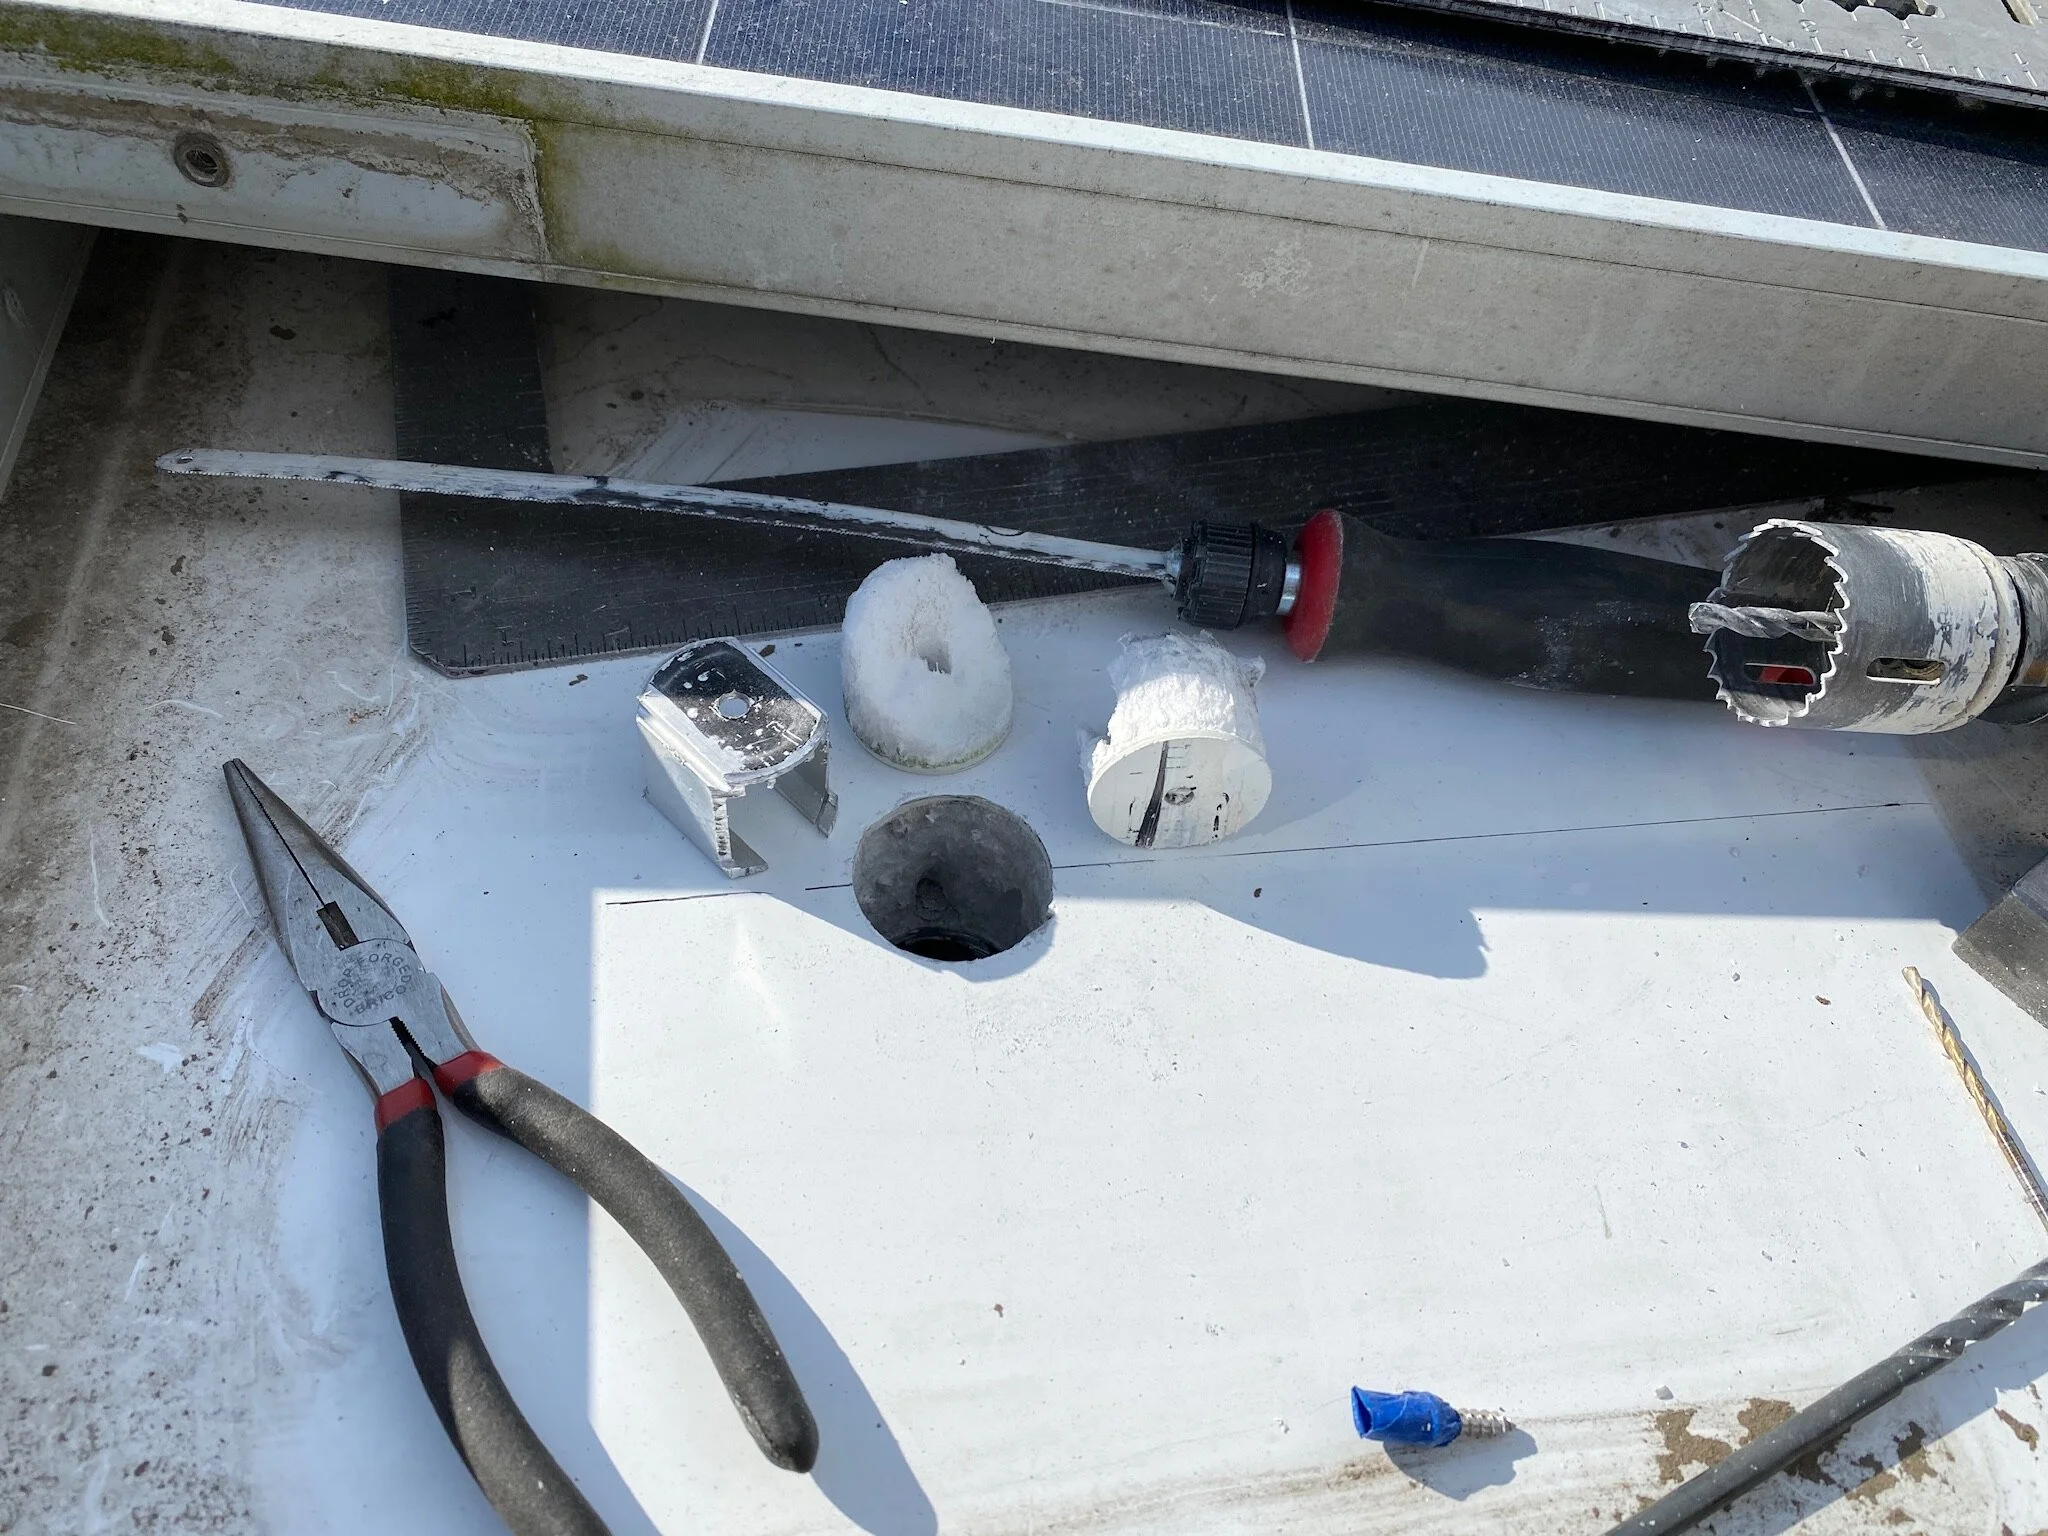
Cutting In The Fresh Air Port
We needed a proper fresh air port to allow for the continuous operation of the toilet exhaust fan to function. So we cut one into the floor in the rear storage compartment where the incoming air would be preheated before entering the living enclosure.
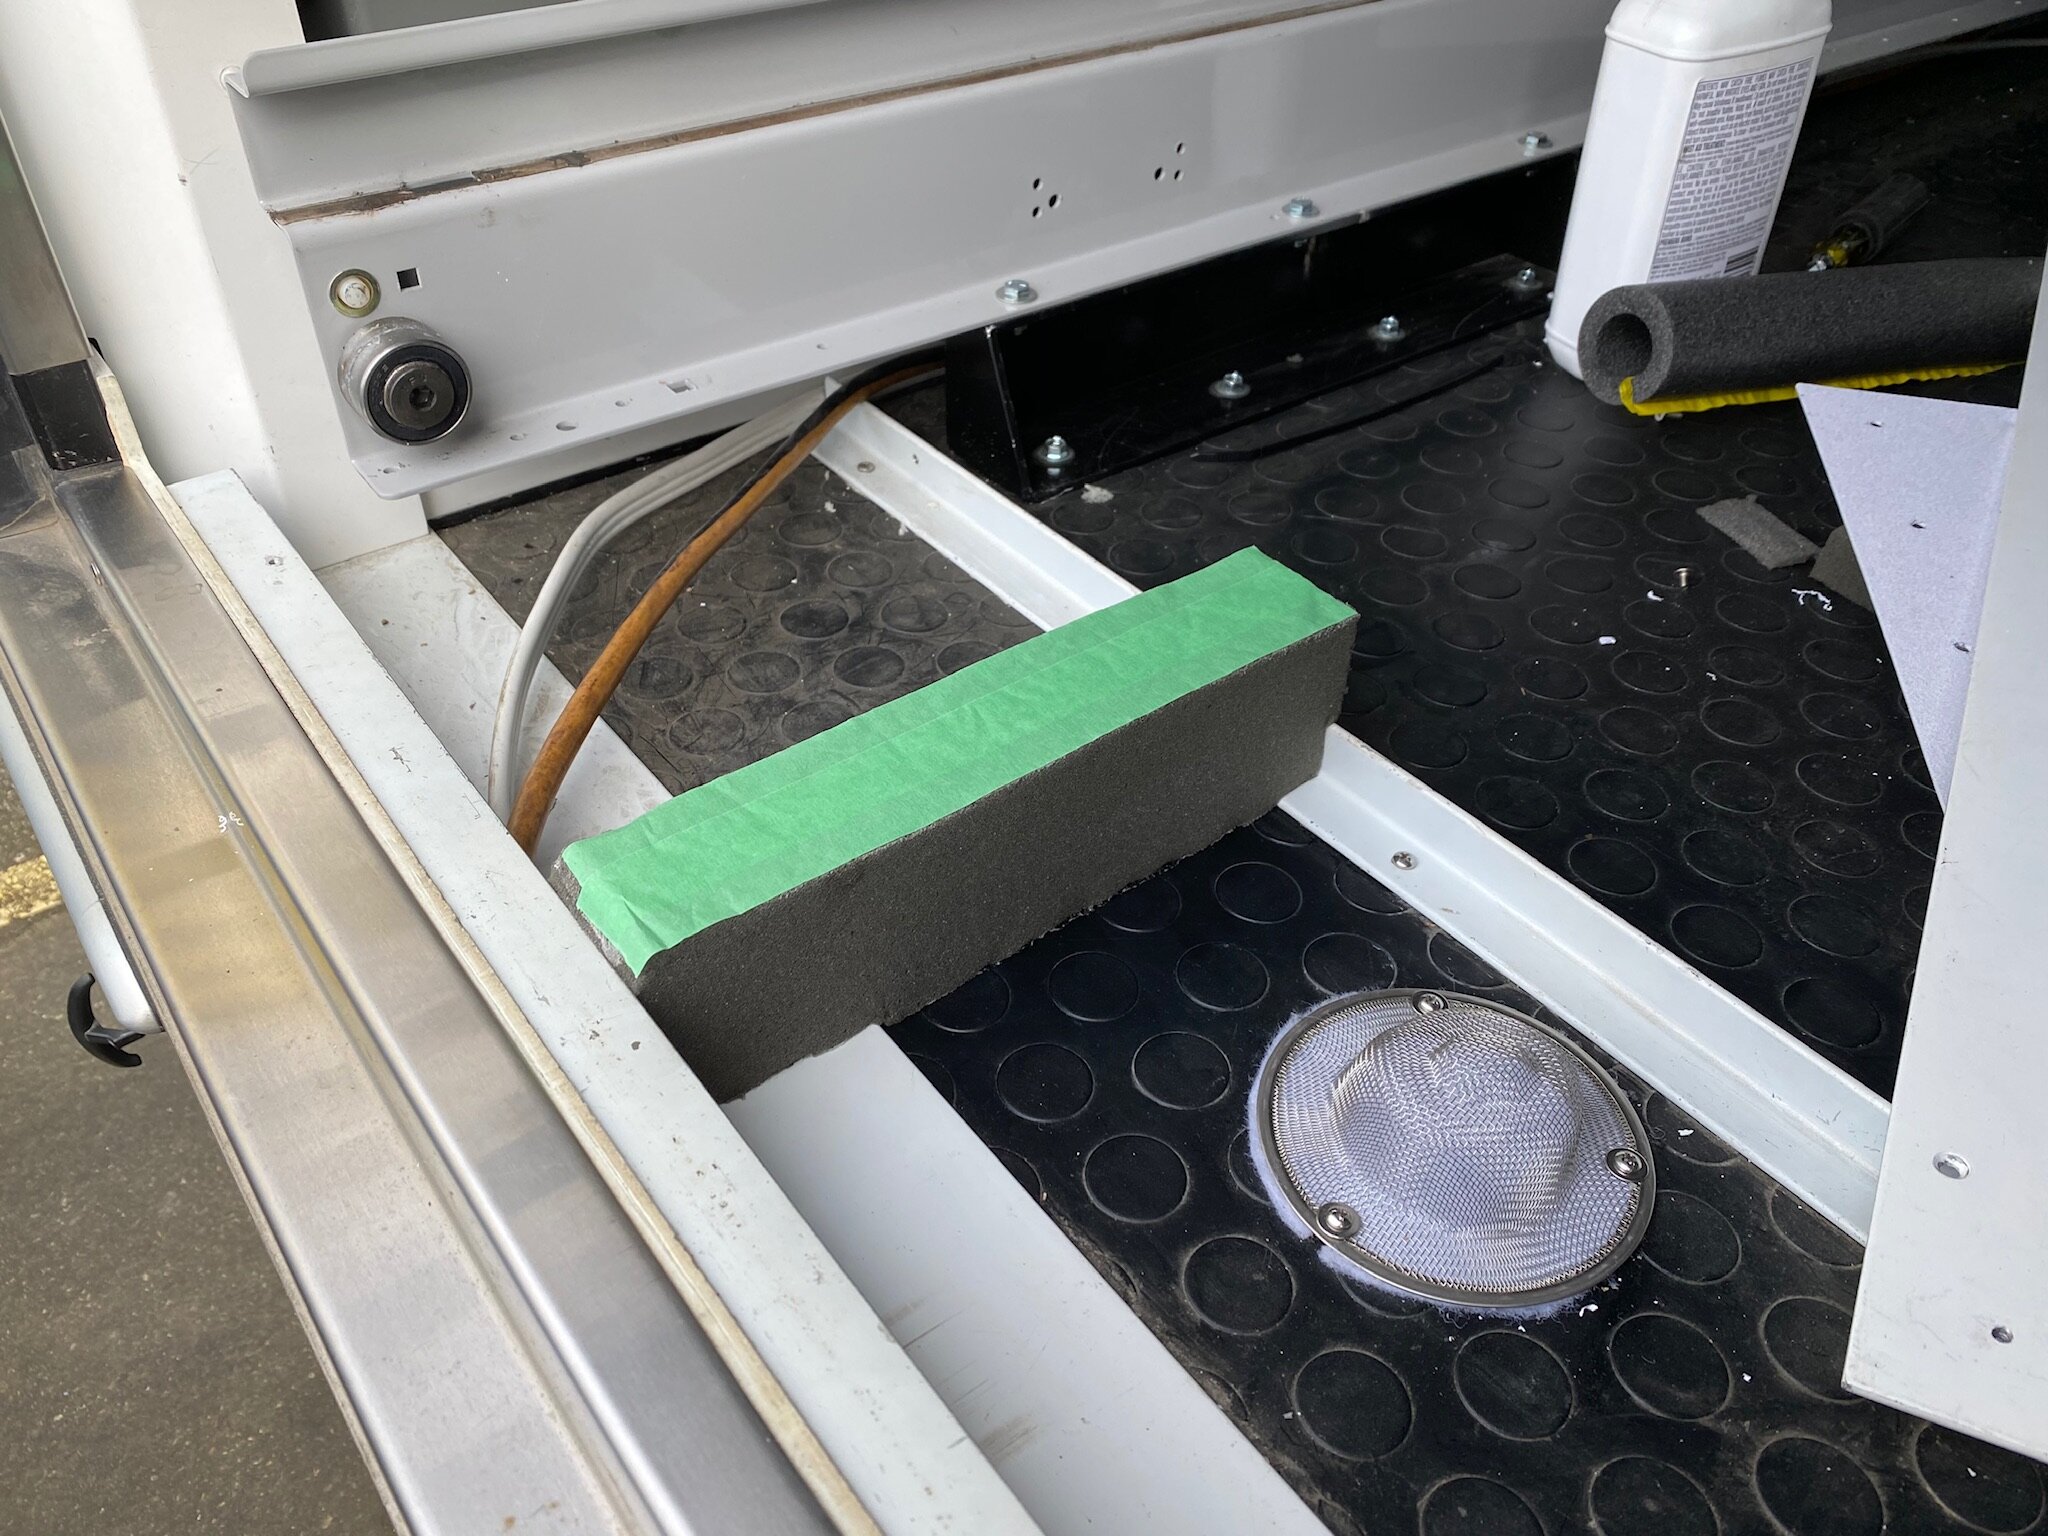
Closing In The Heating Pipe Tunnel
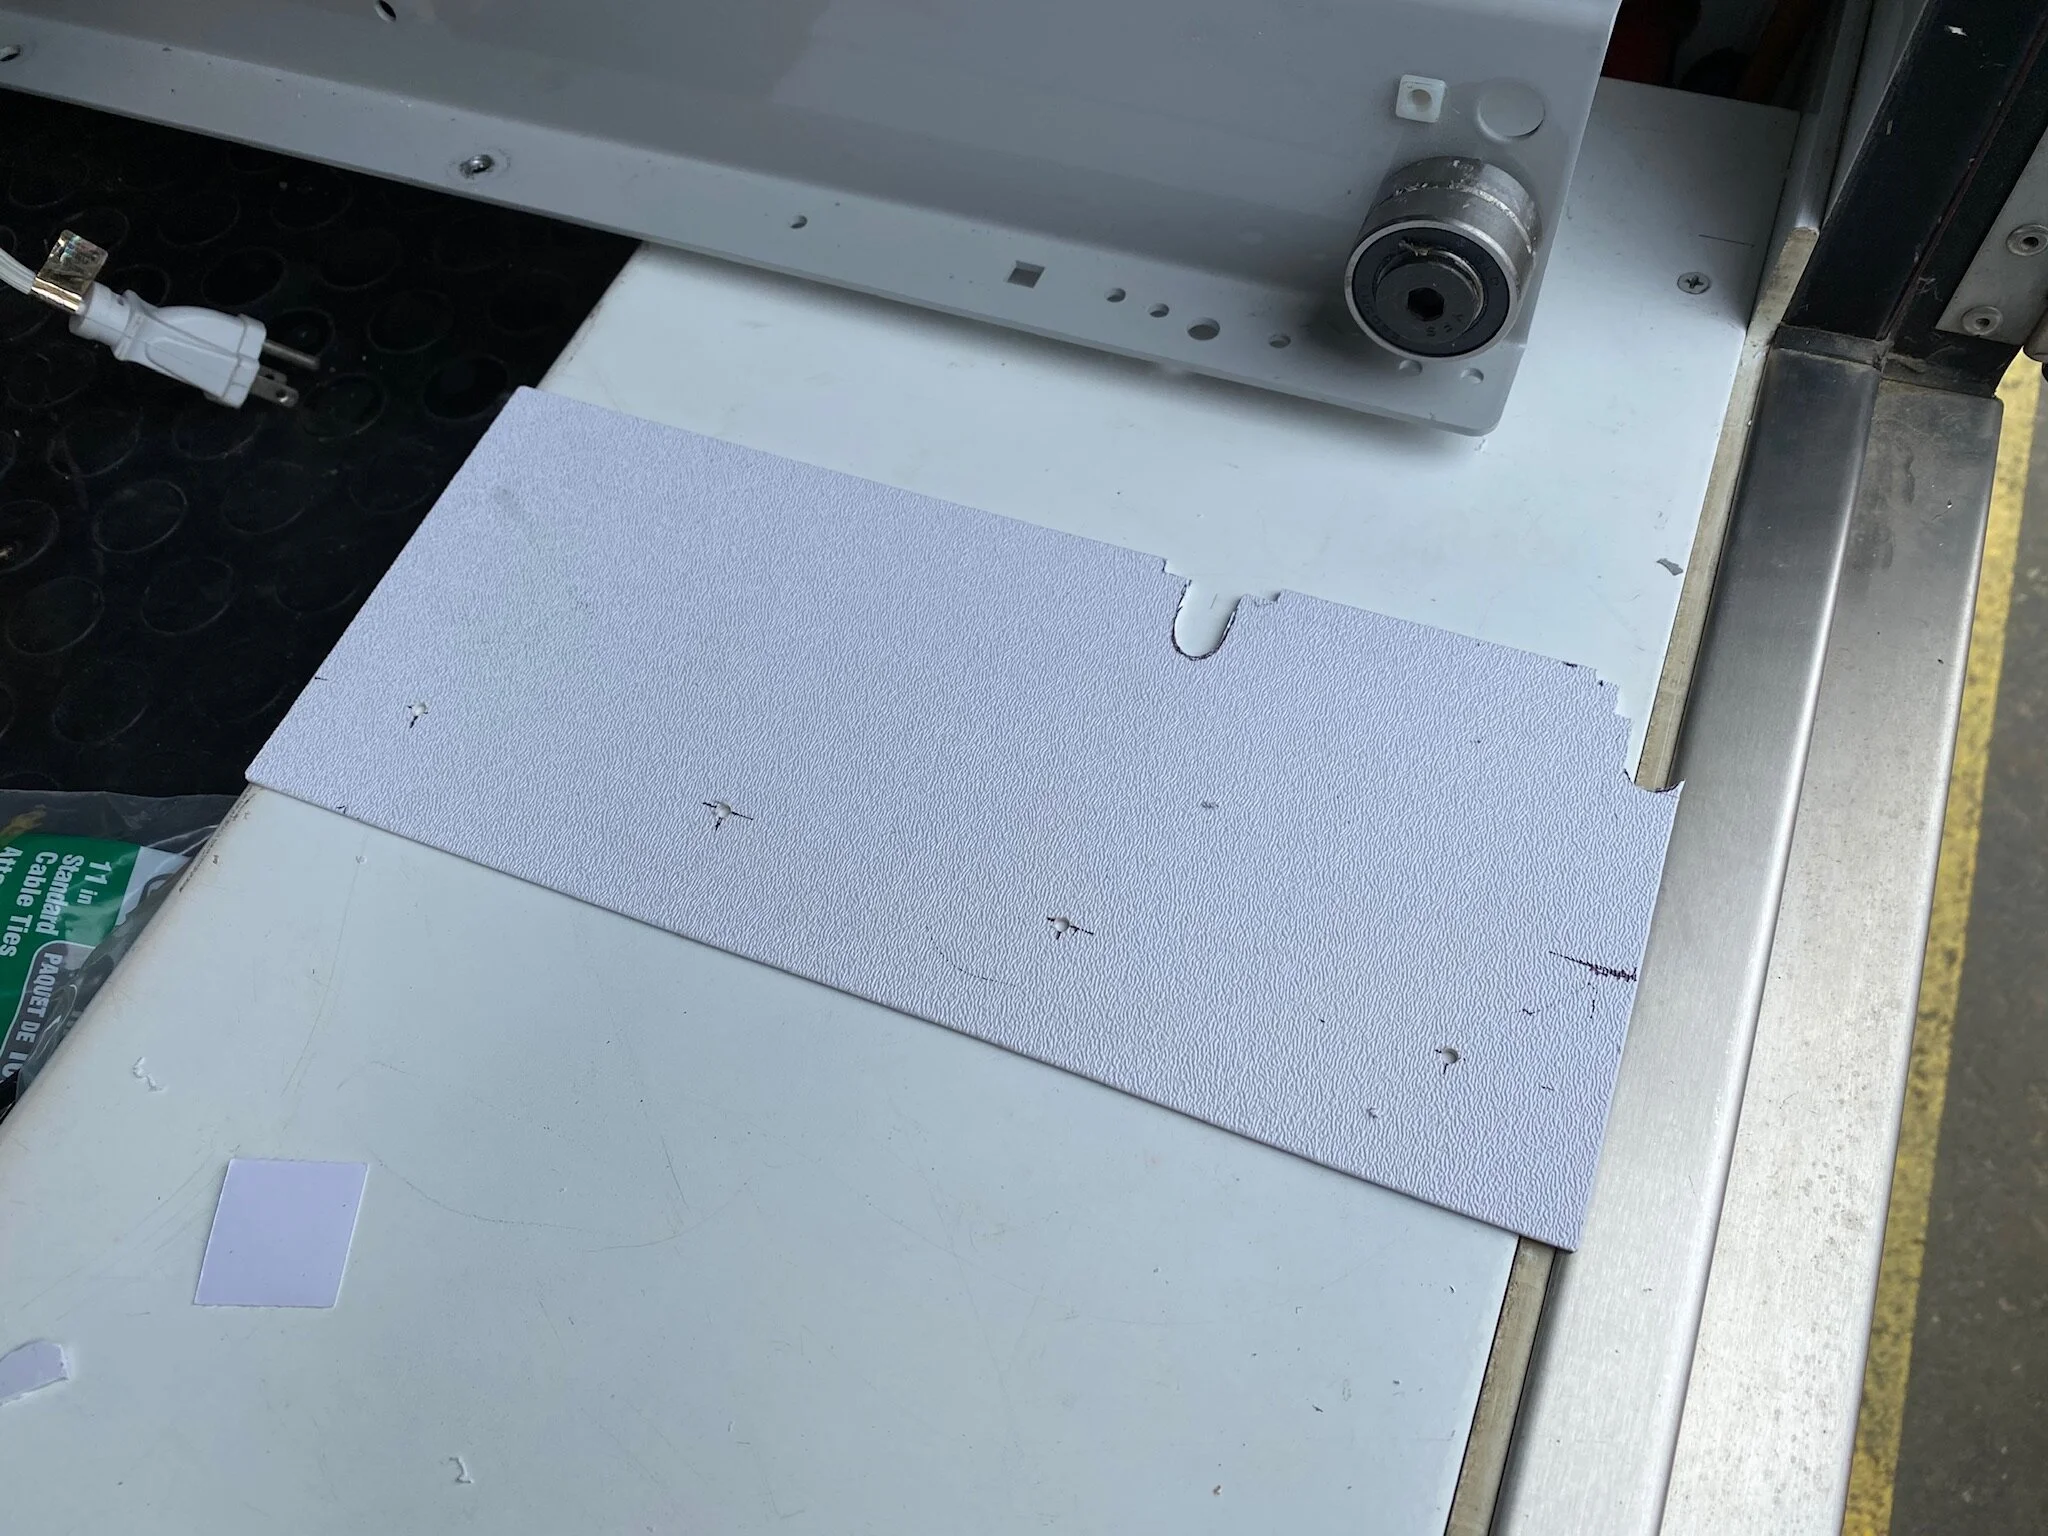
To ensure that the only air pulled into the living enclosure came from outside via our desired route, we fully enclosed the pathway where the air traveled.


Toilet Venting: Completing The Roof Exhaust Stack
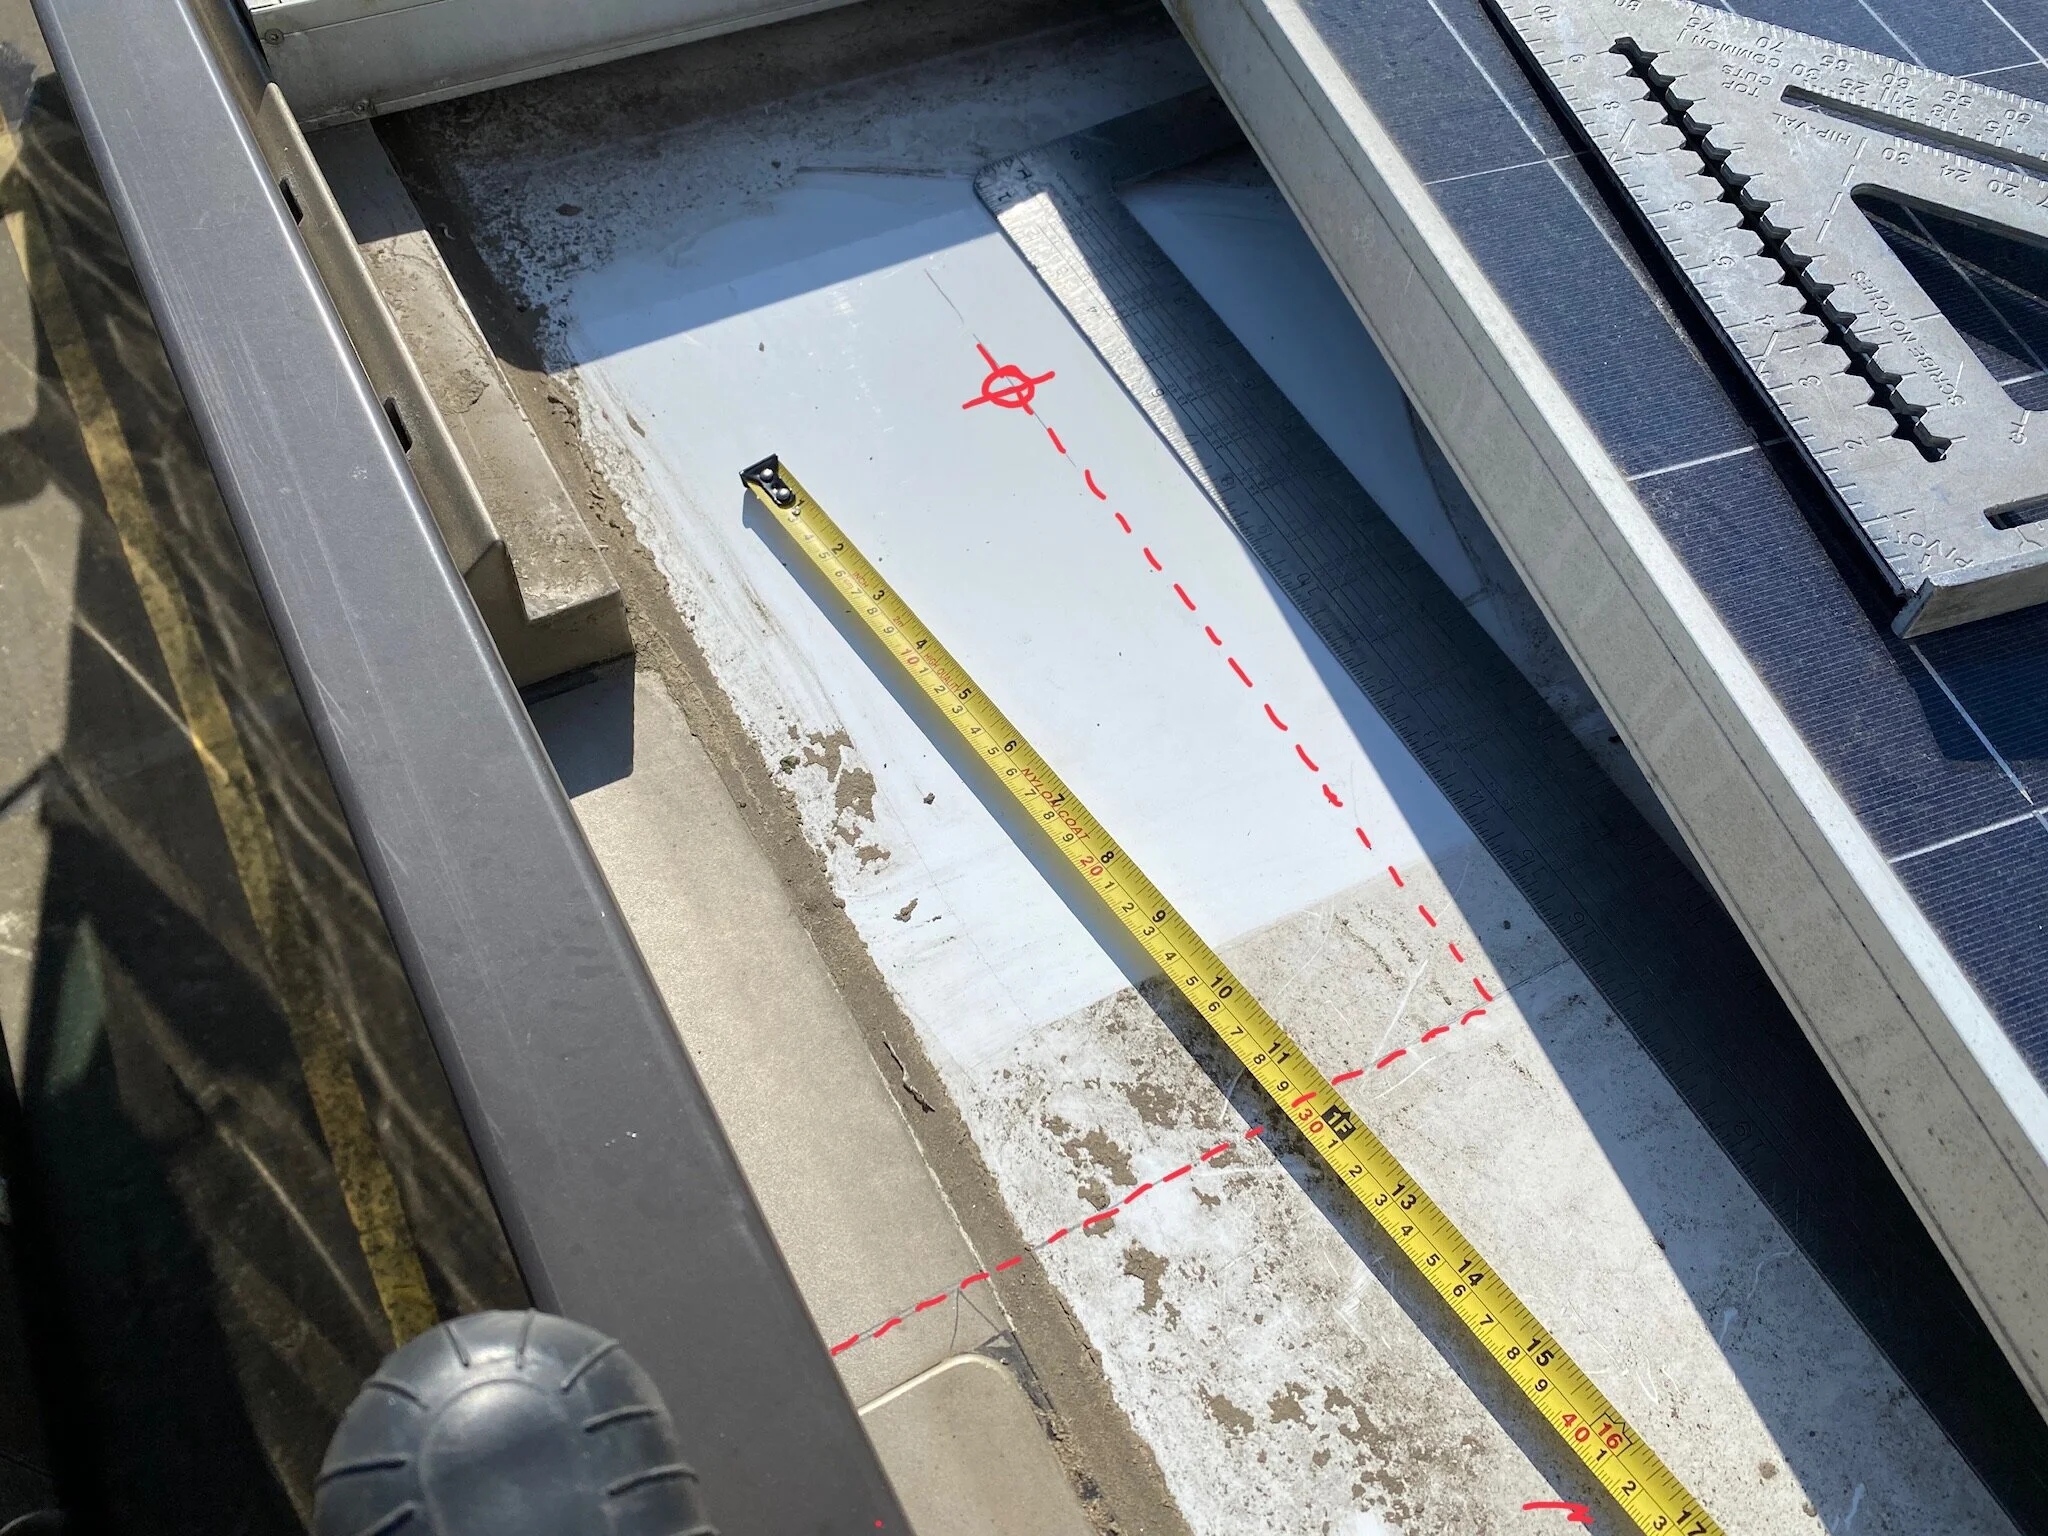
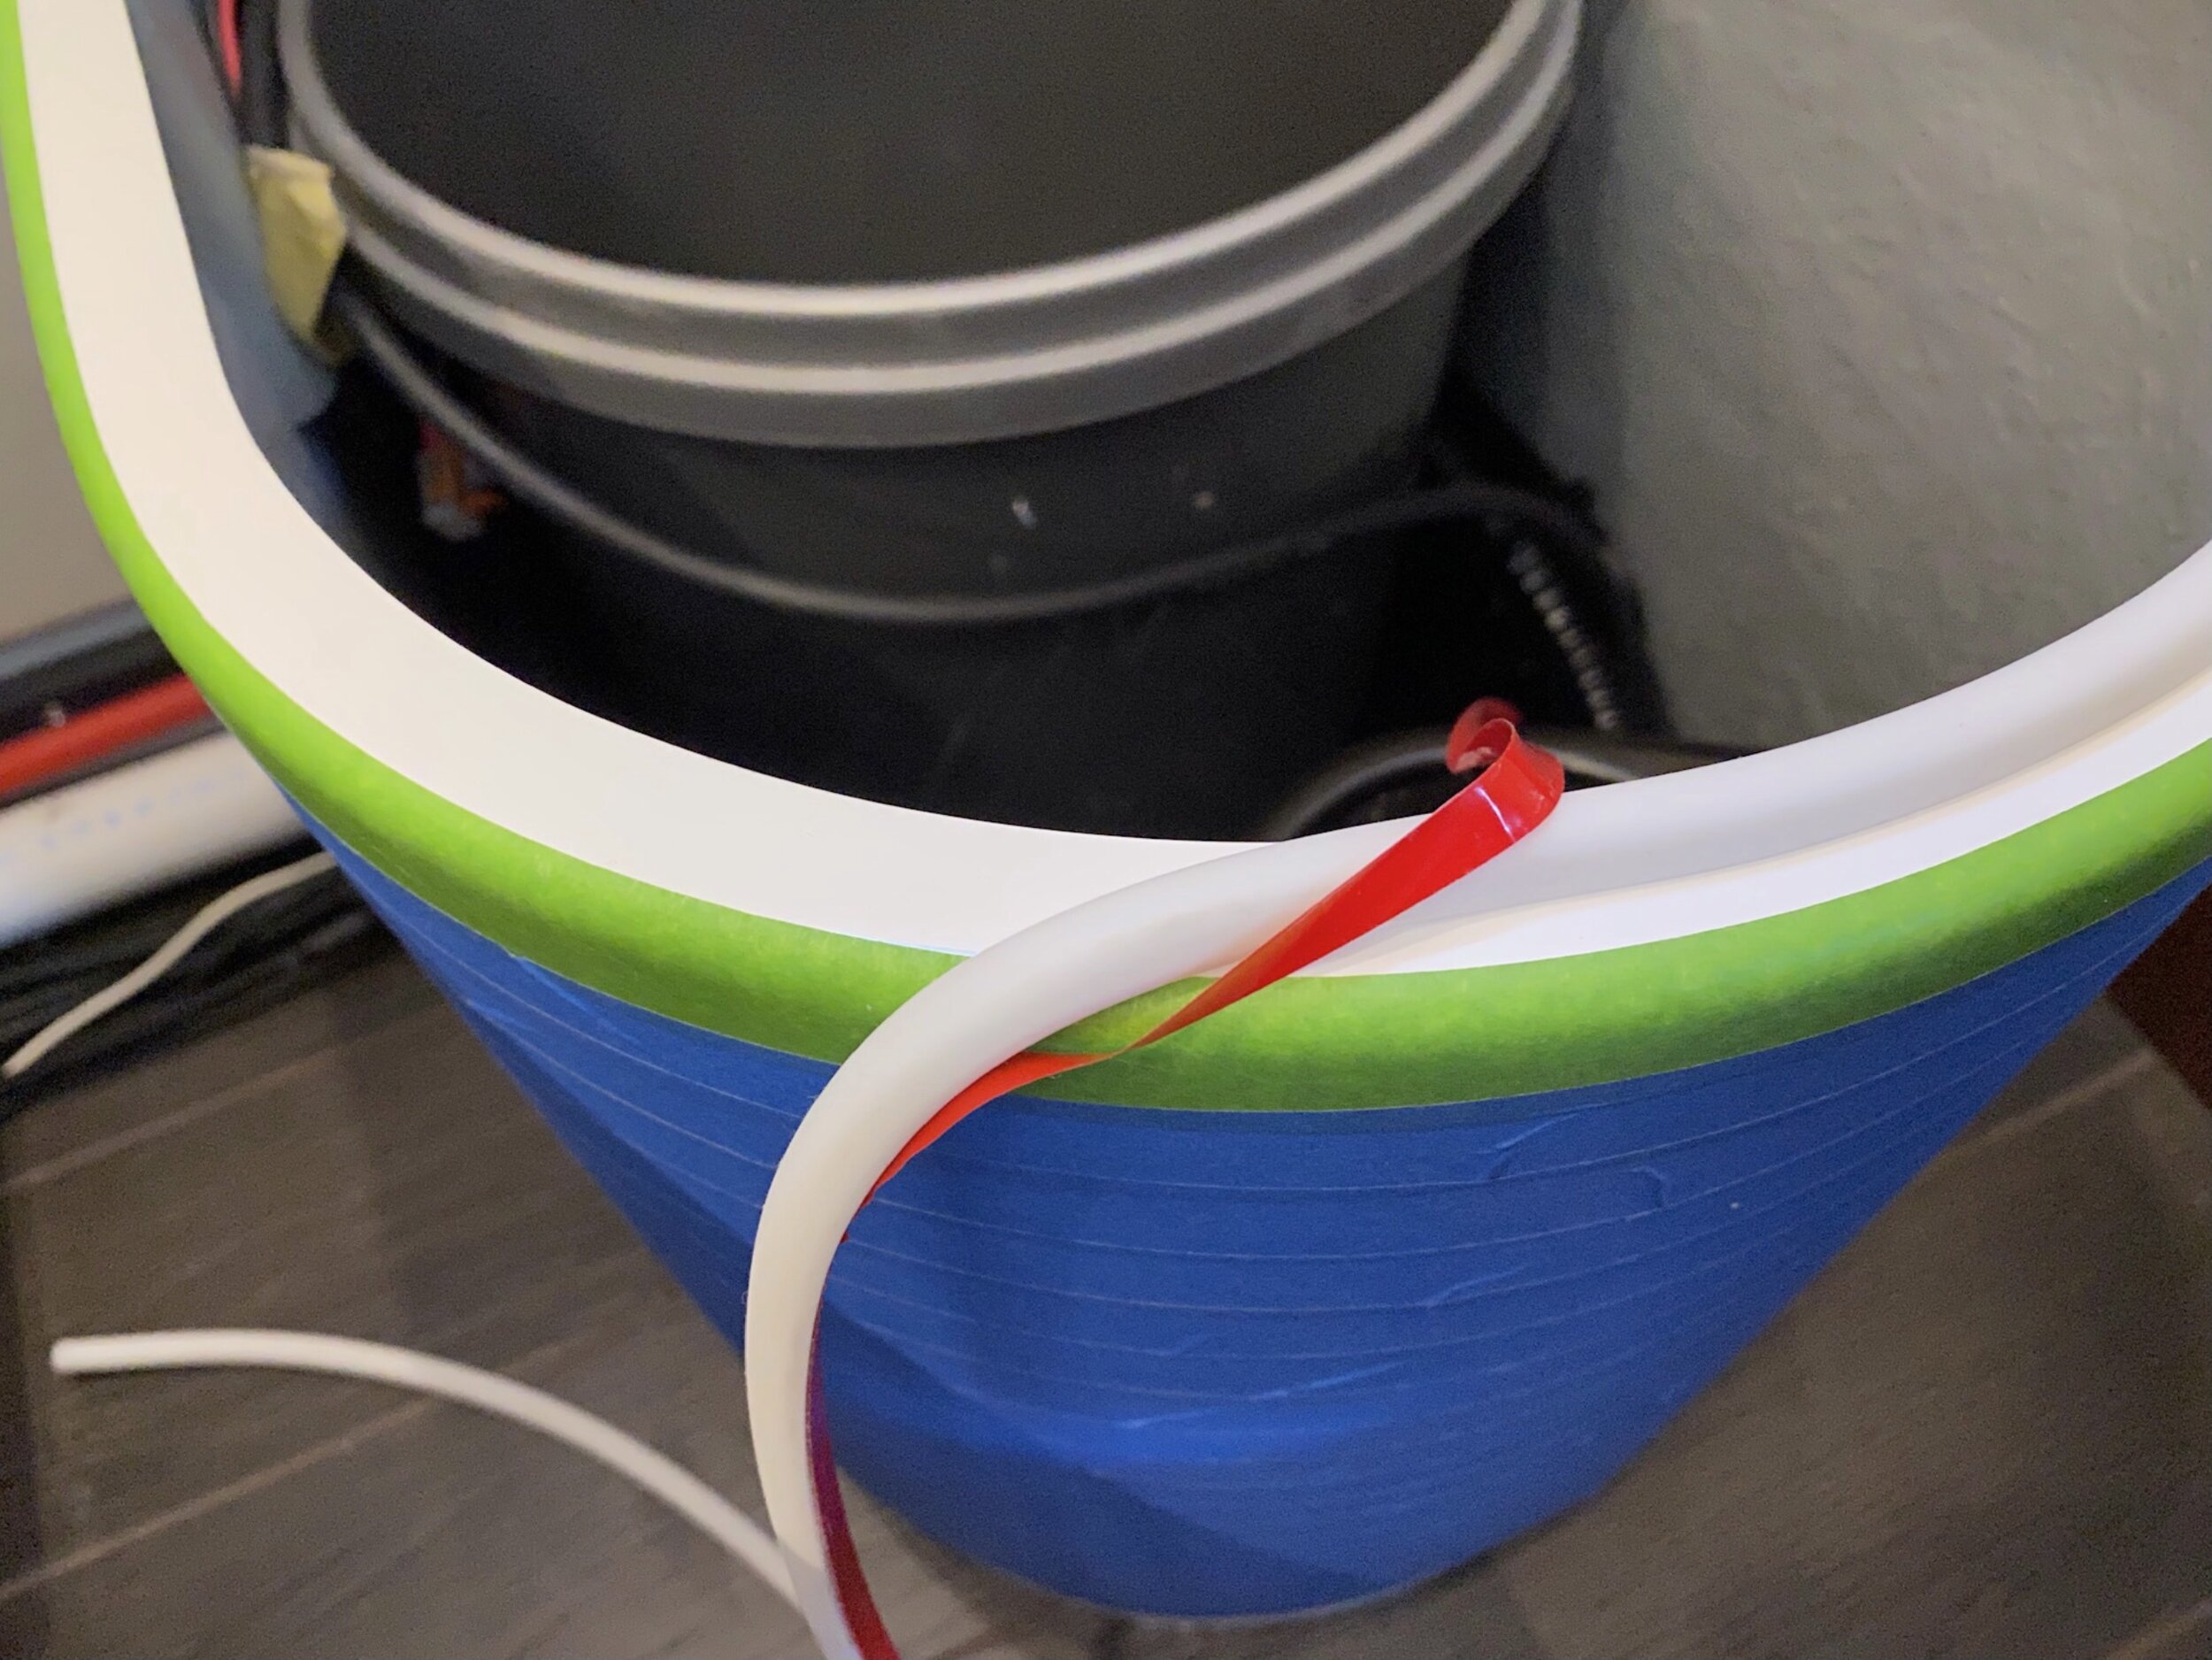
The exhaust stack for the toilet vent, although not a difficult installation, did have its challenge. The route took it up inside the two walls that make up the slot for the sliding pocket door, and that pocket is only 1-3/4” wide. Since the vent pipe is 1-5/8” in diameter, that only leaves 1/8” of clearance. The installation required that the hole in the roof be drilled from above, so very careful measuring had to be done so the proper hole location on the roof could be identified.


Creating the Replacement plumbing covers
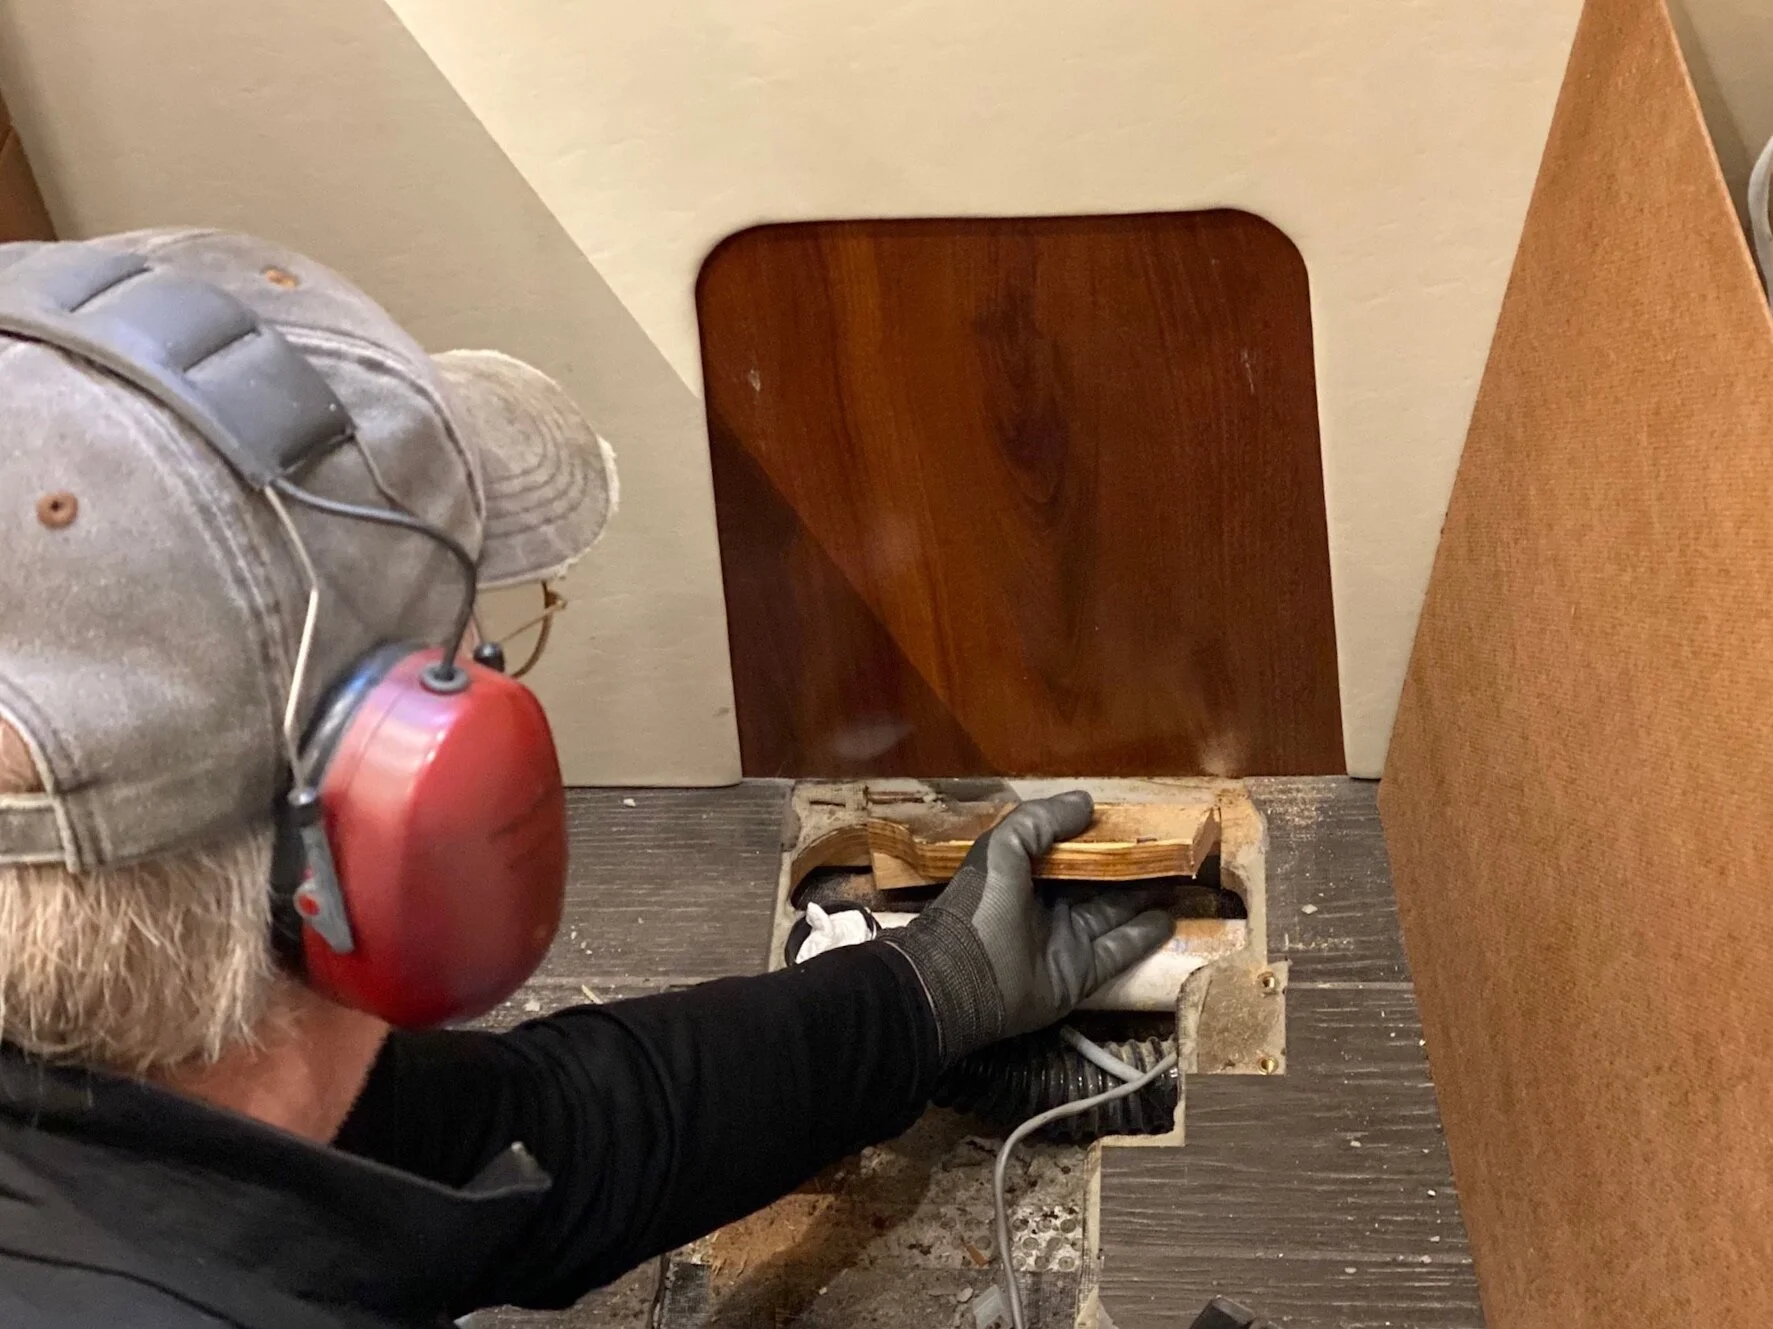
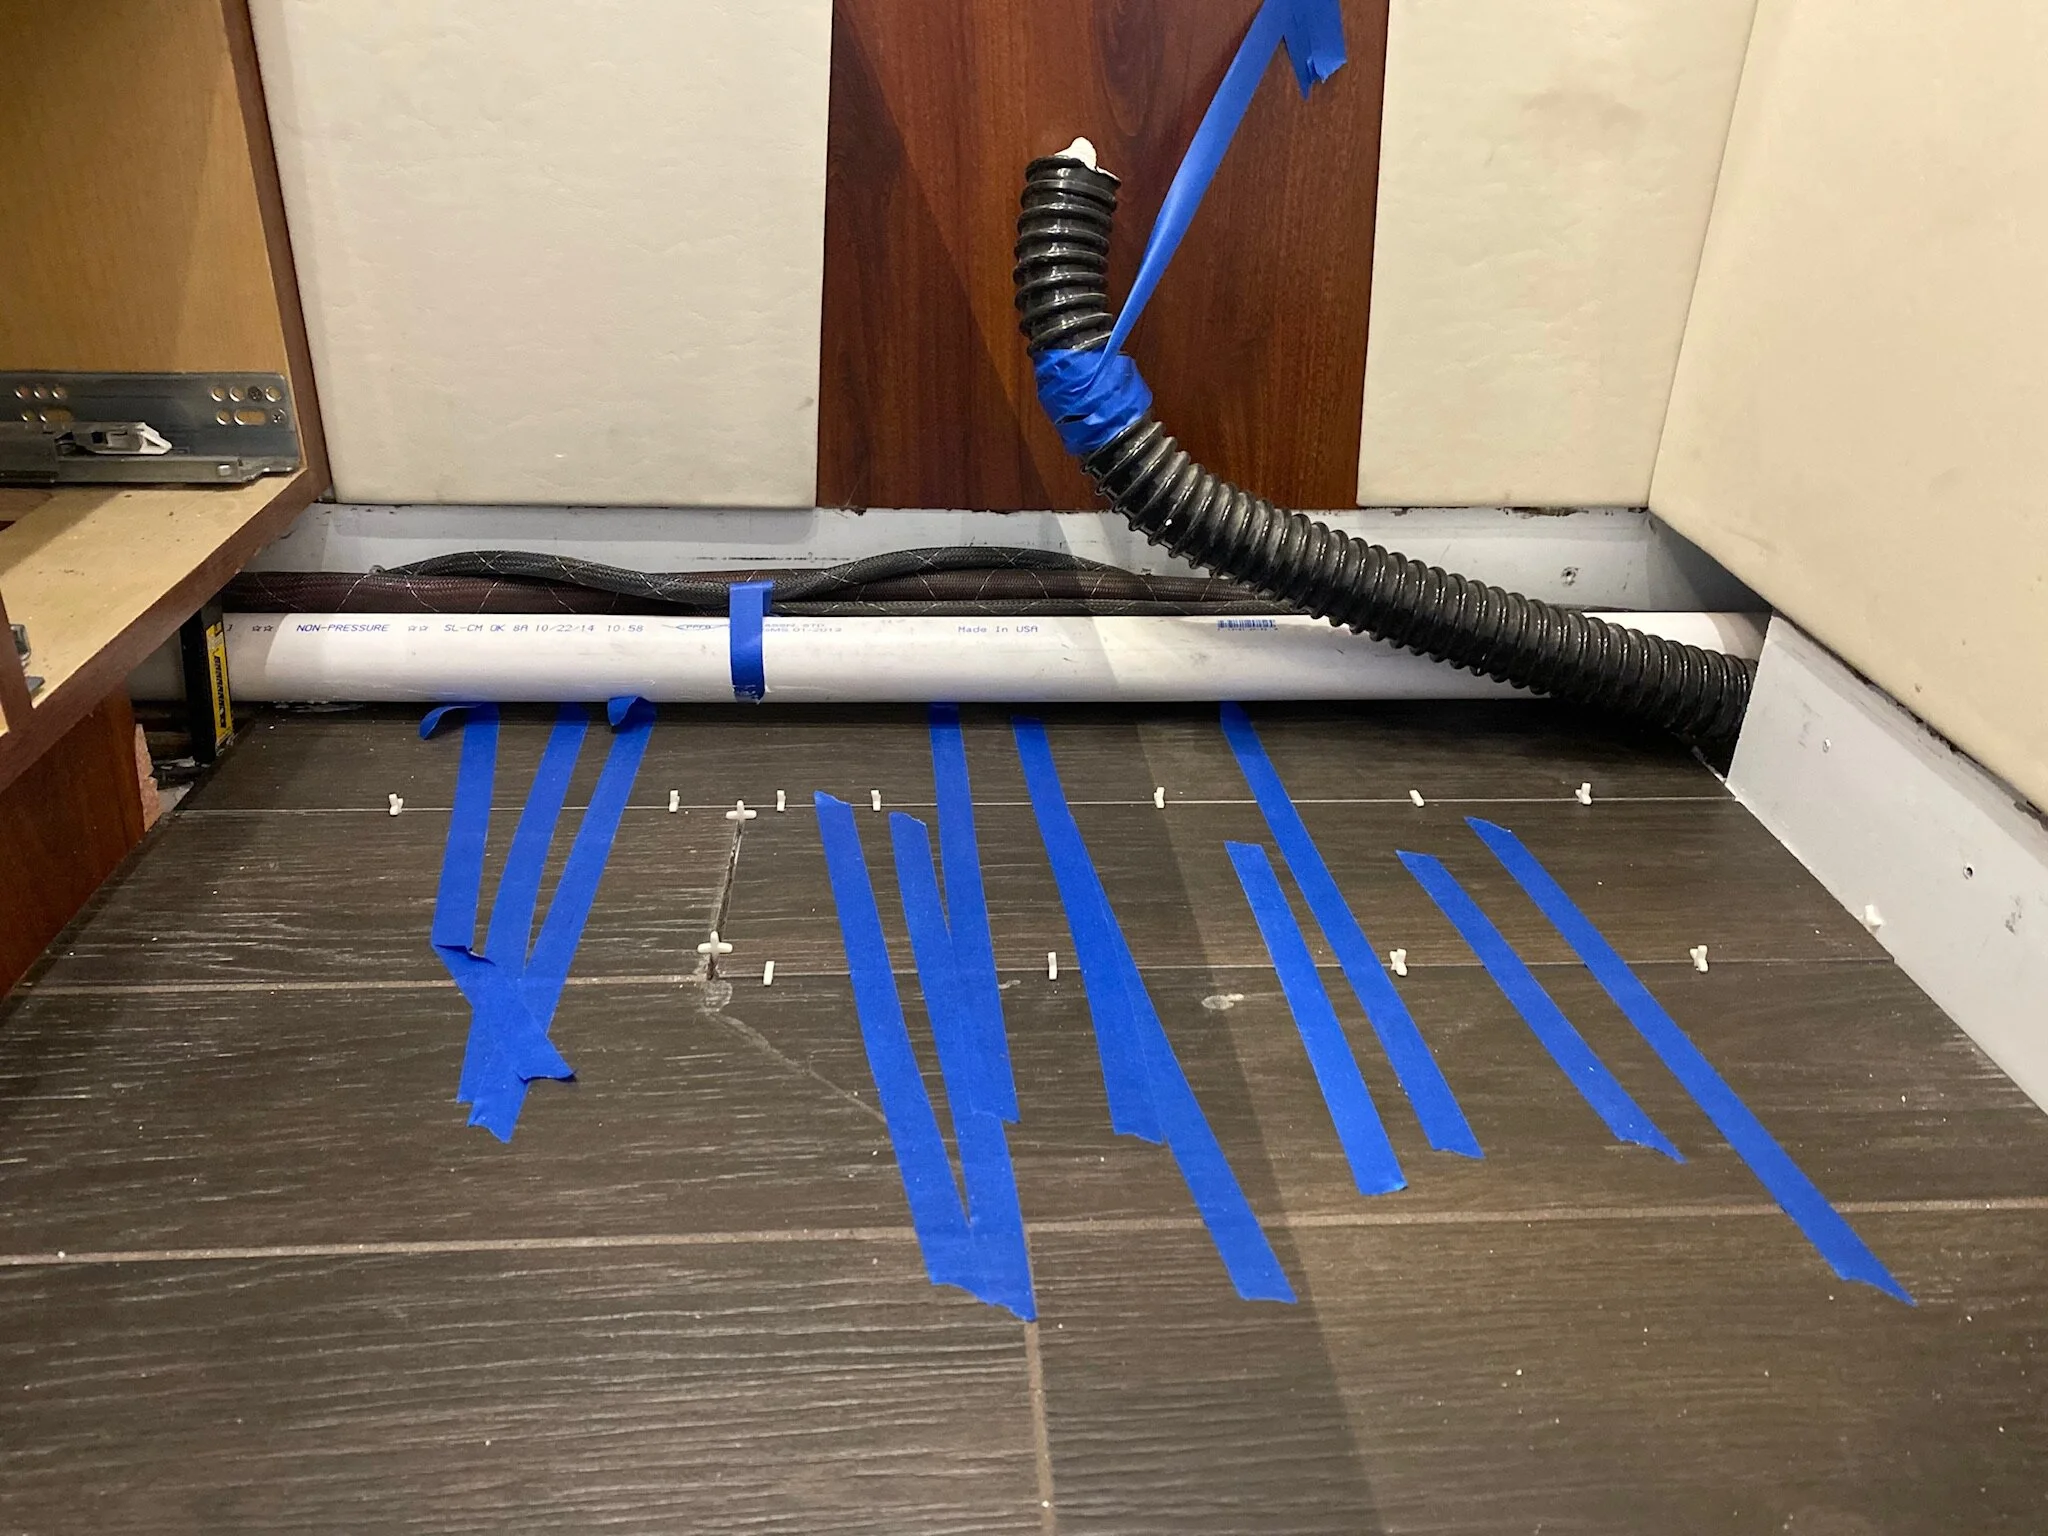
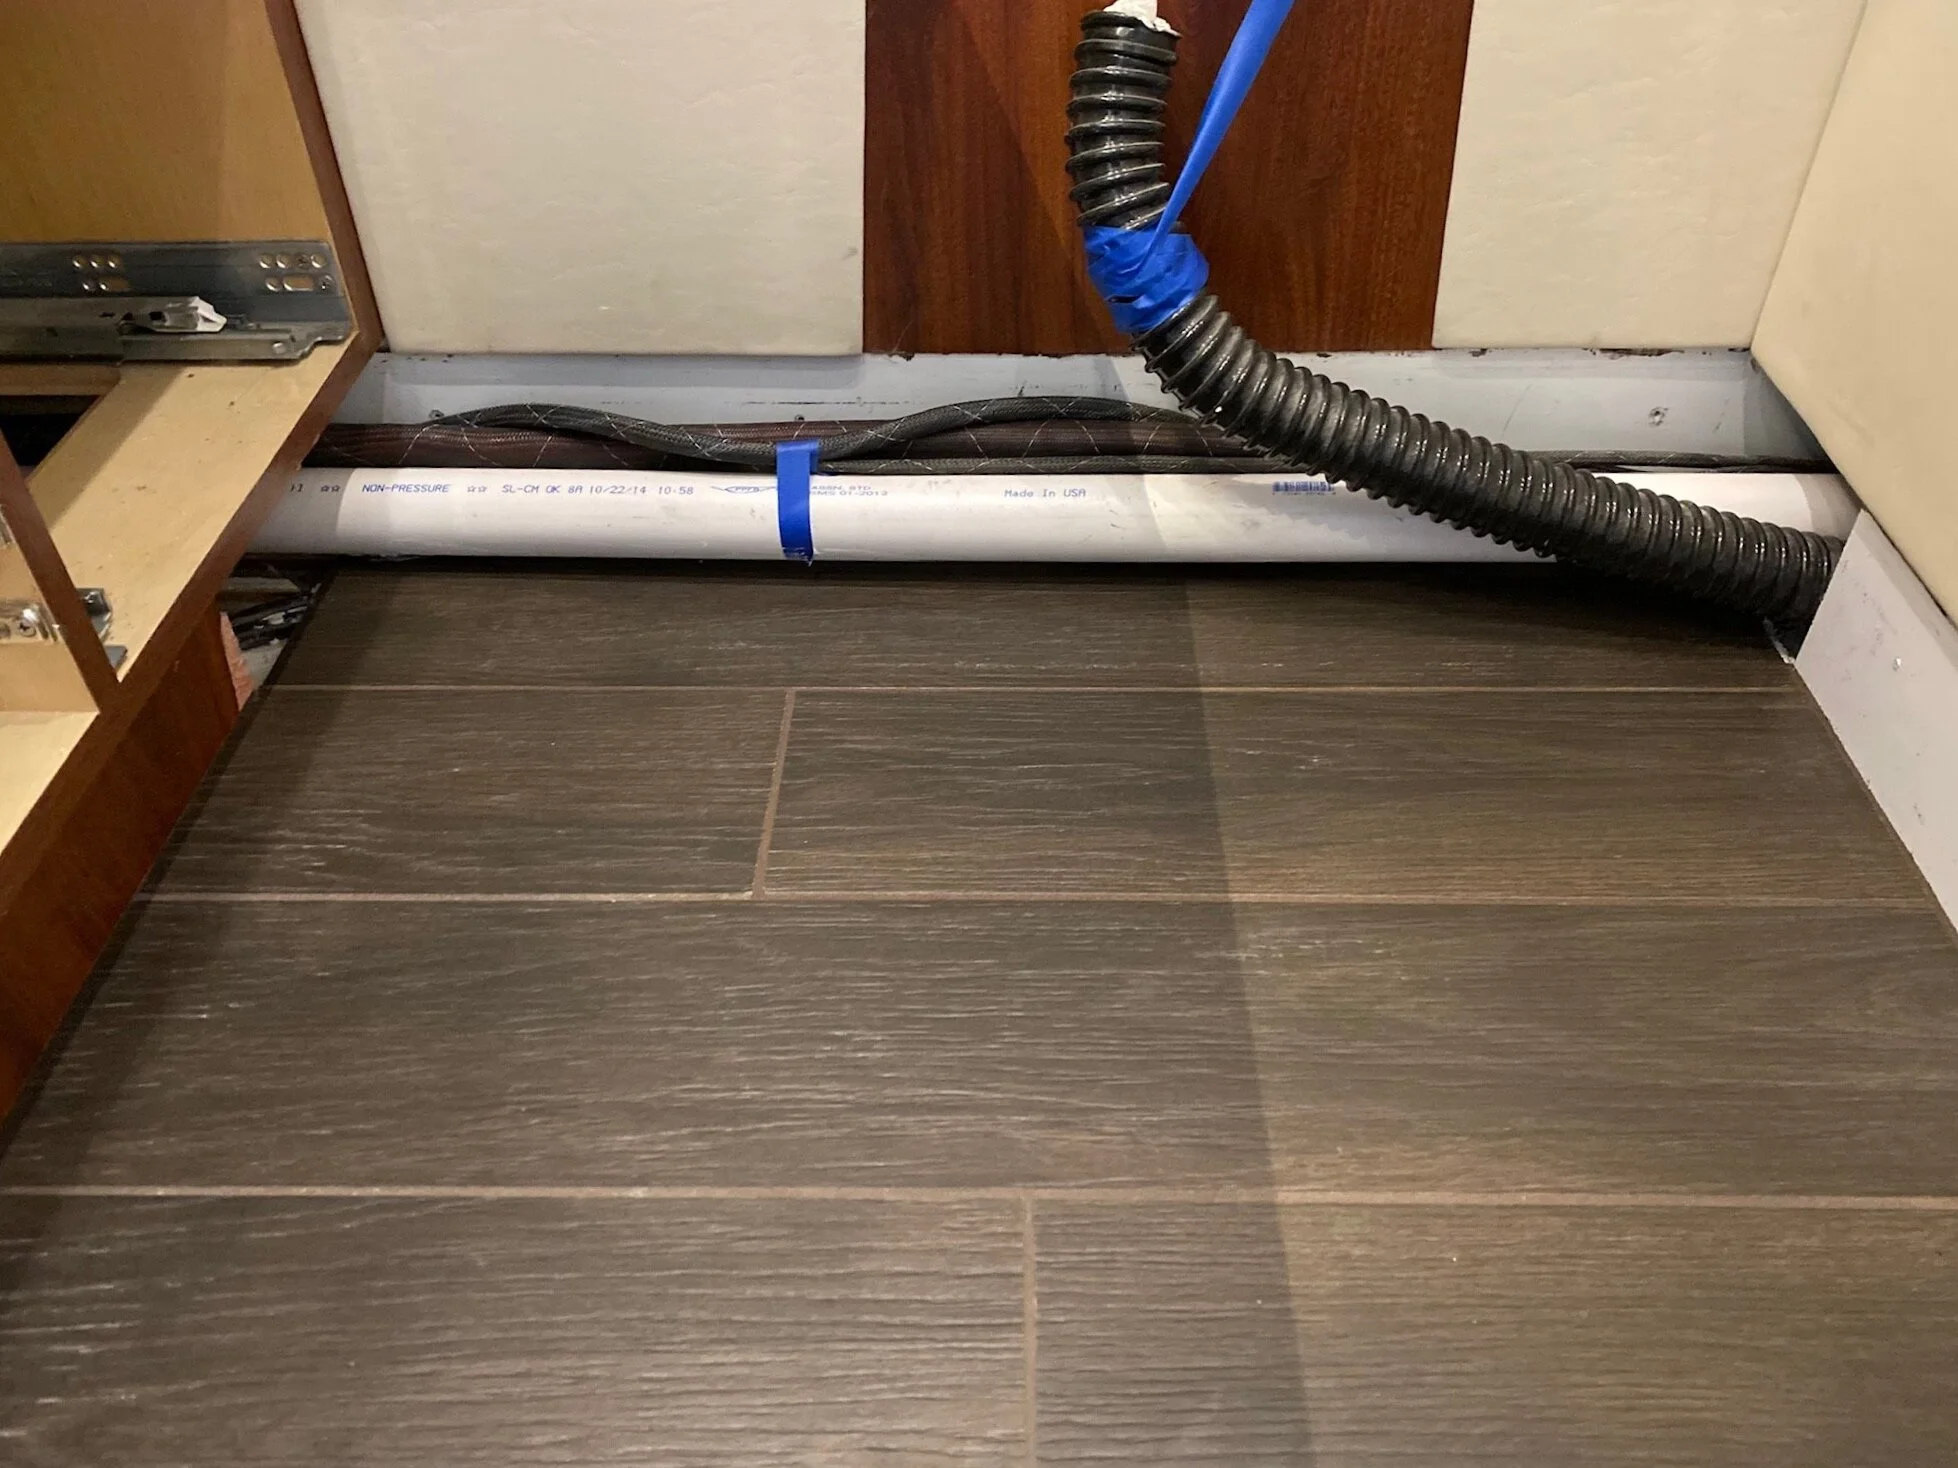
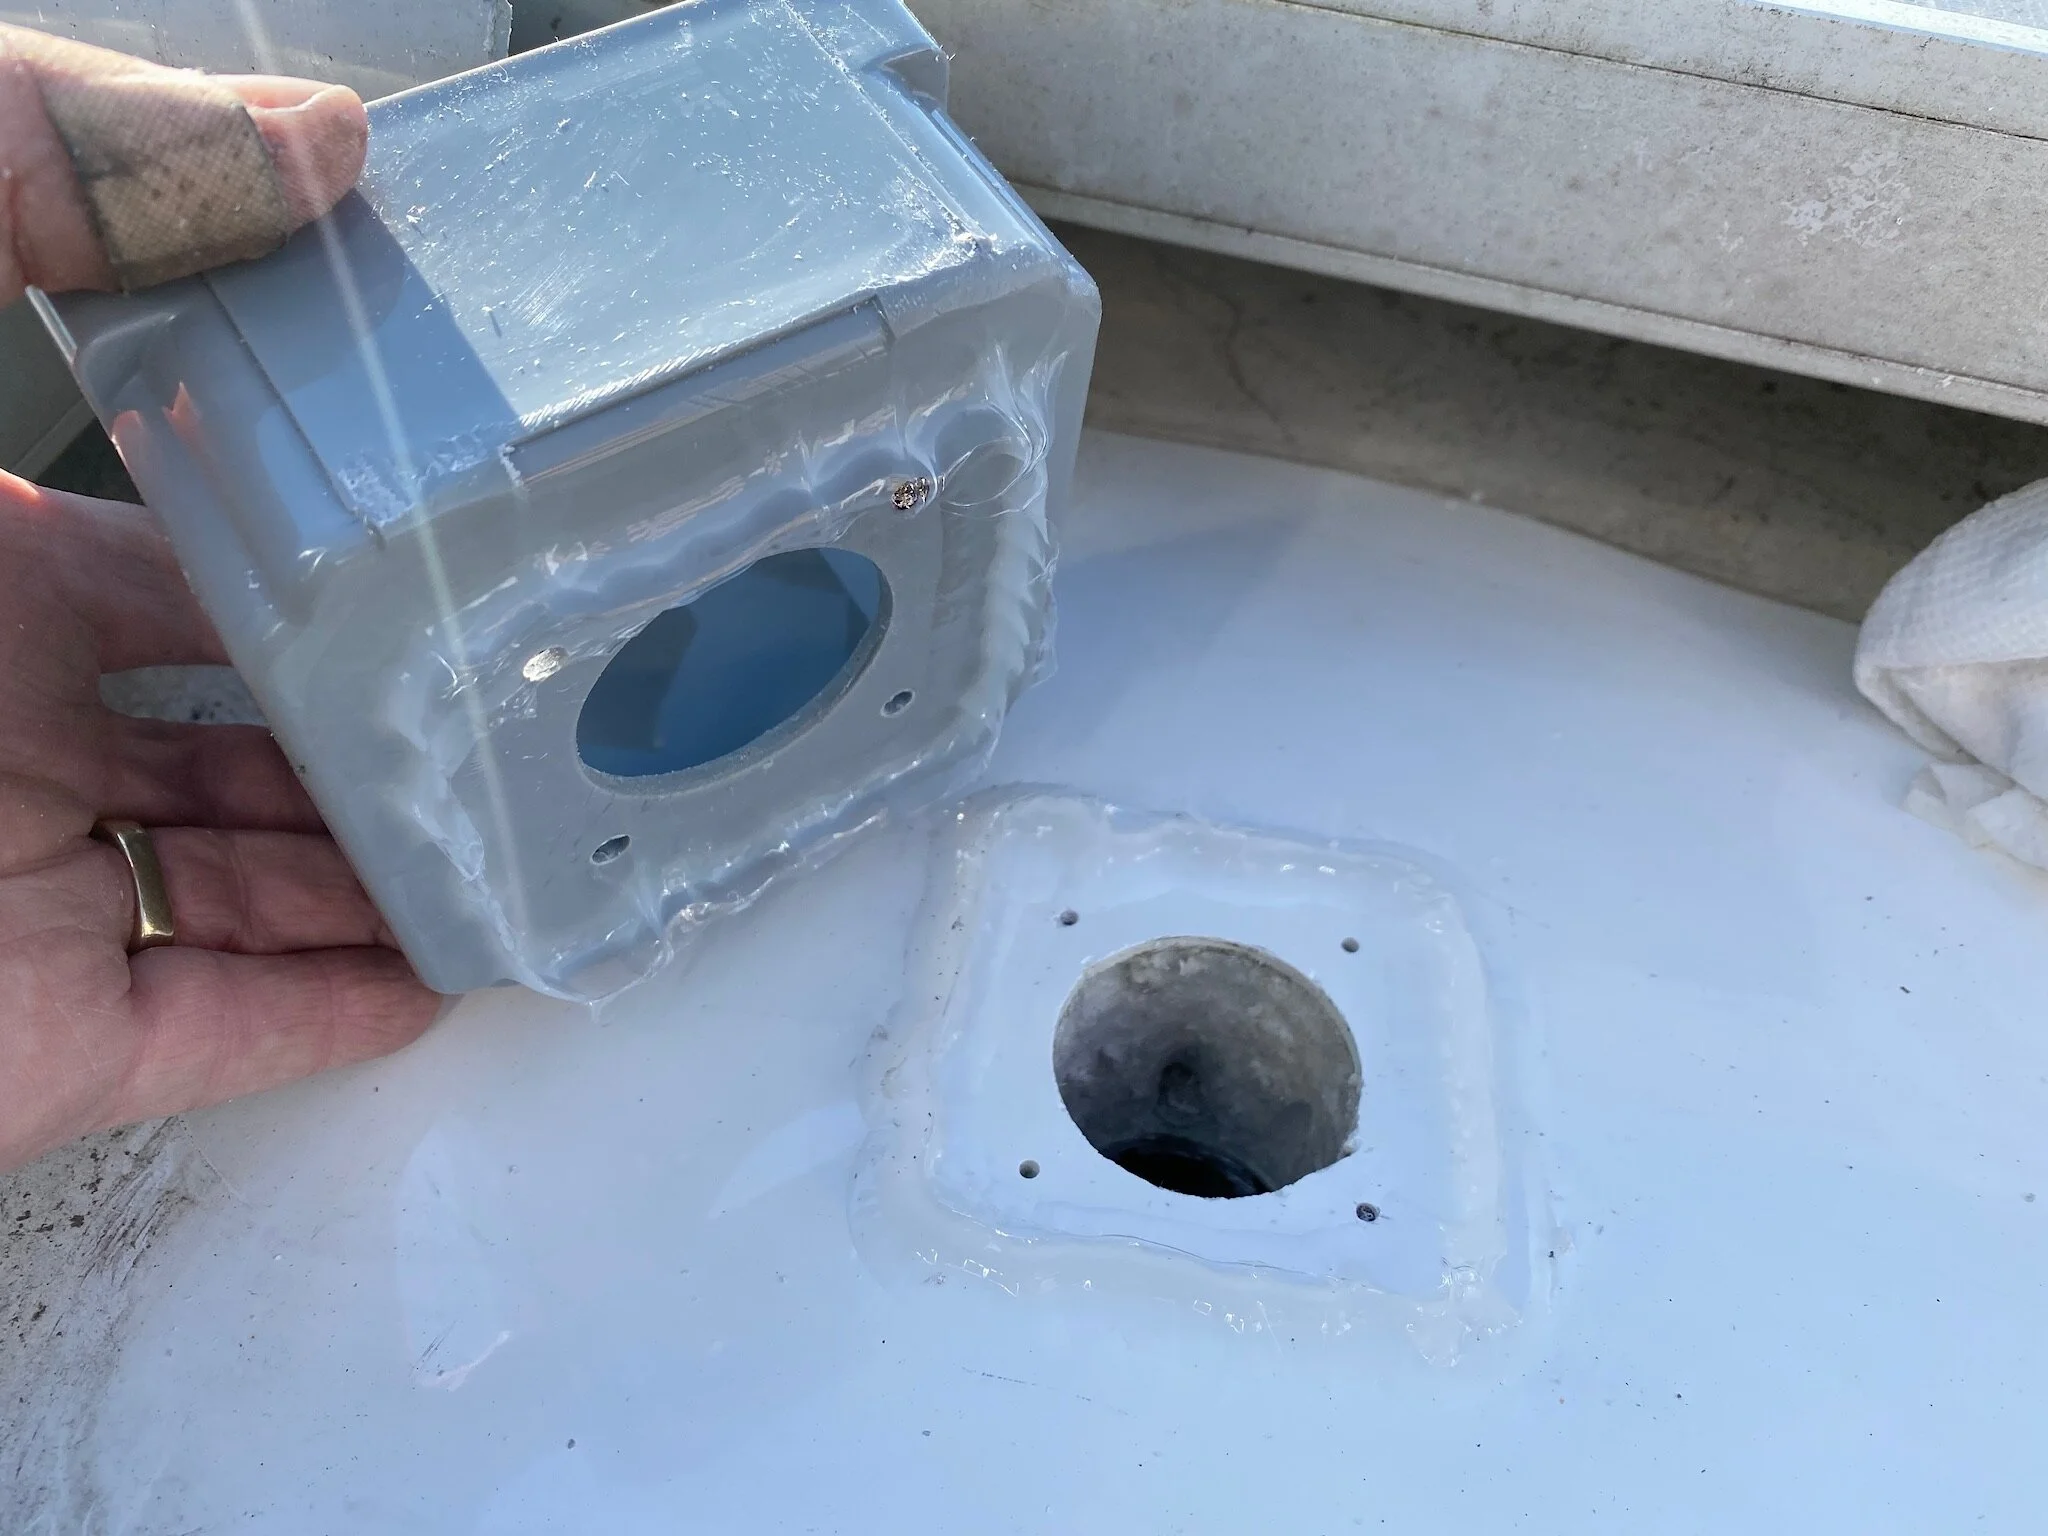
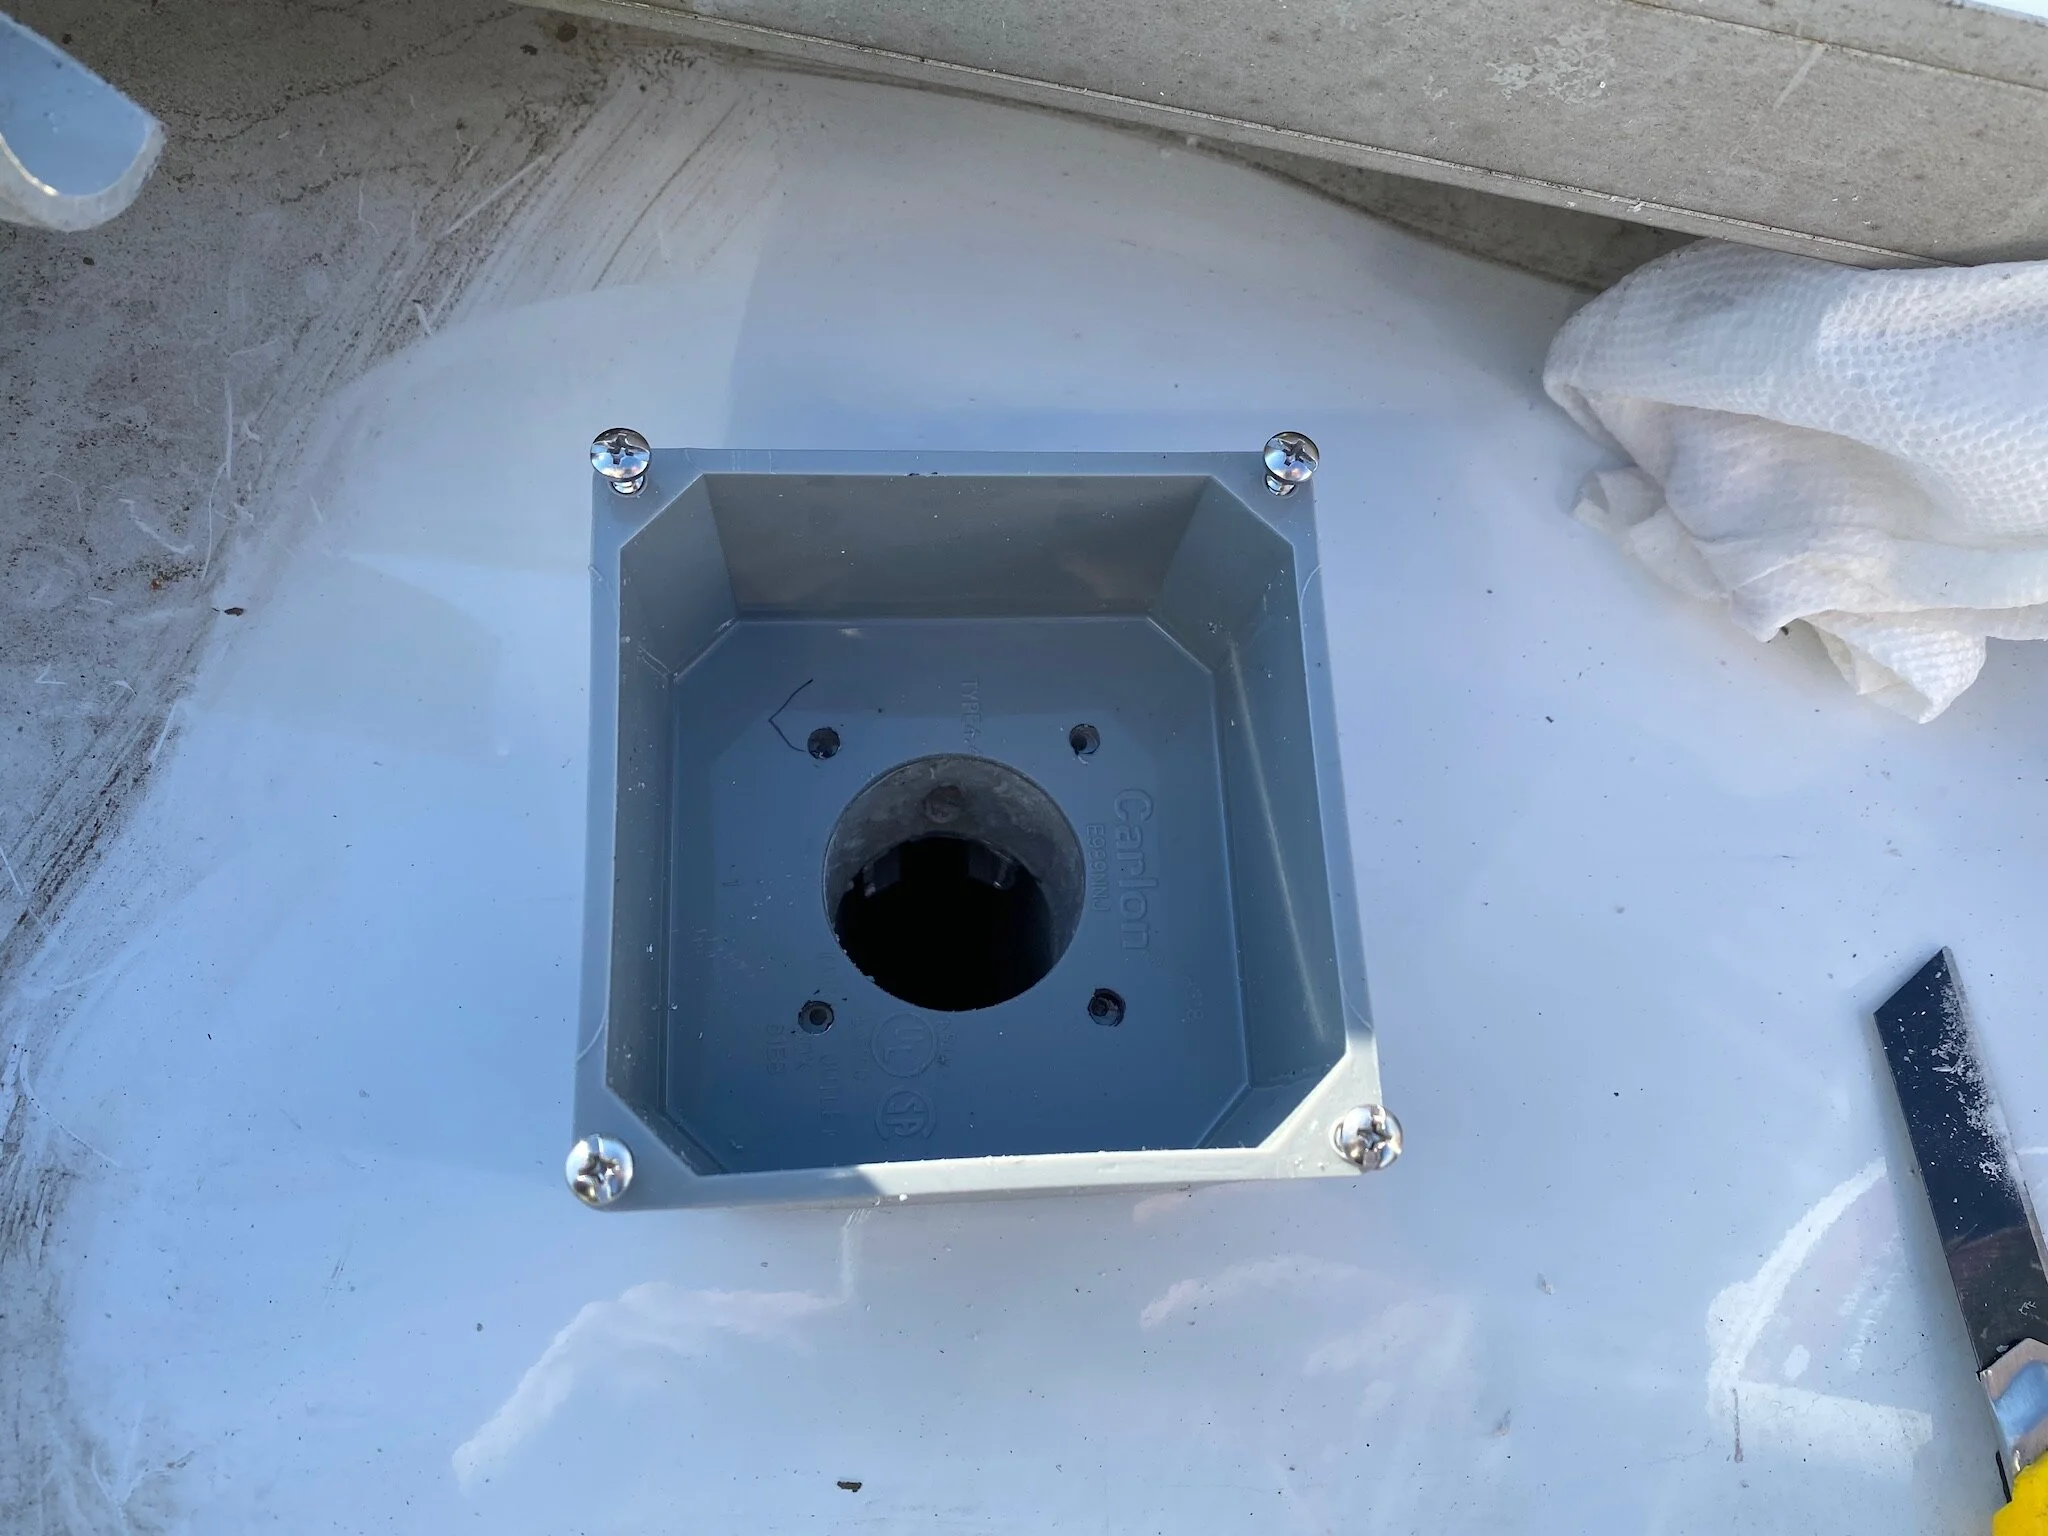
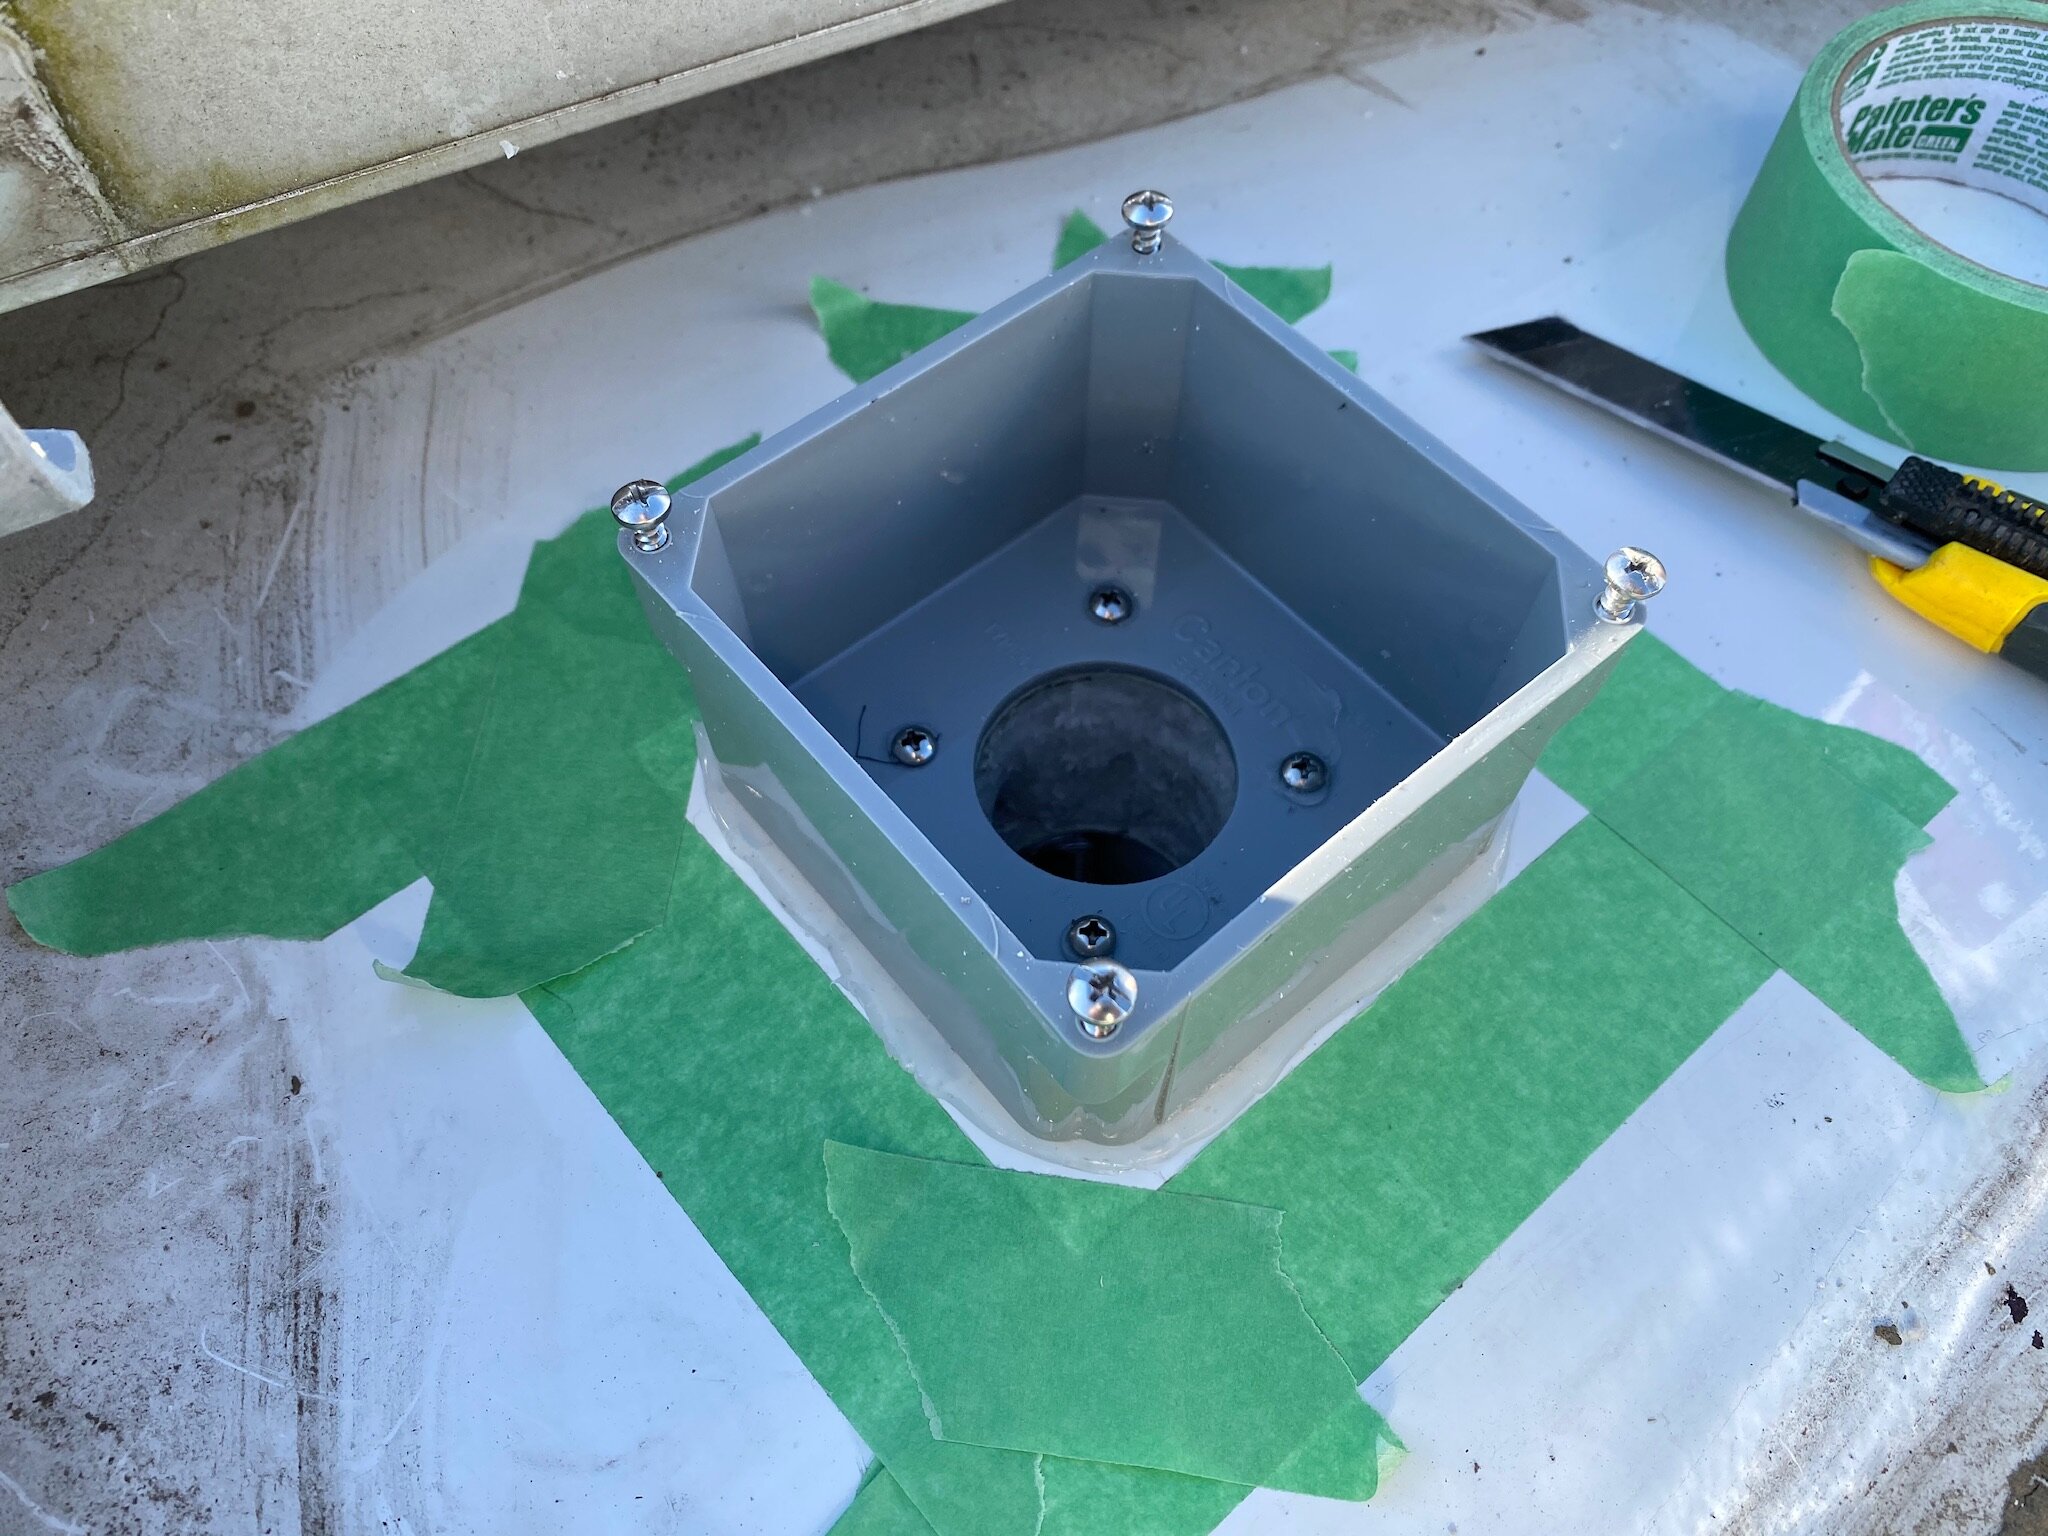
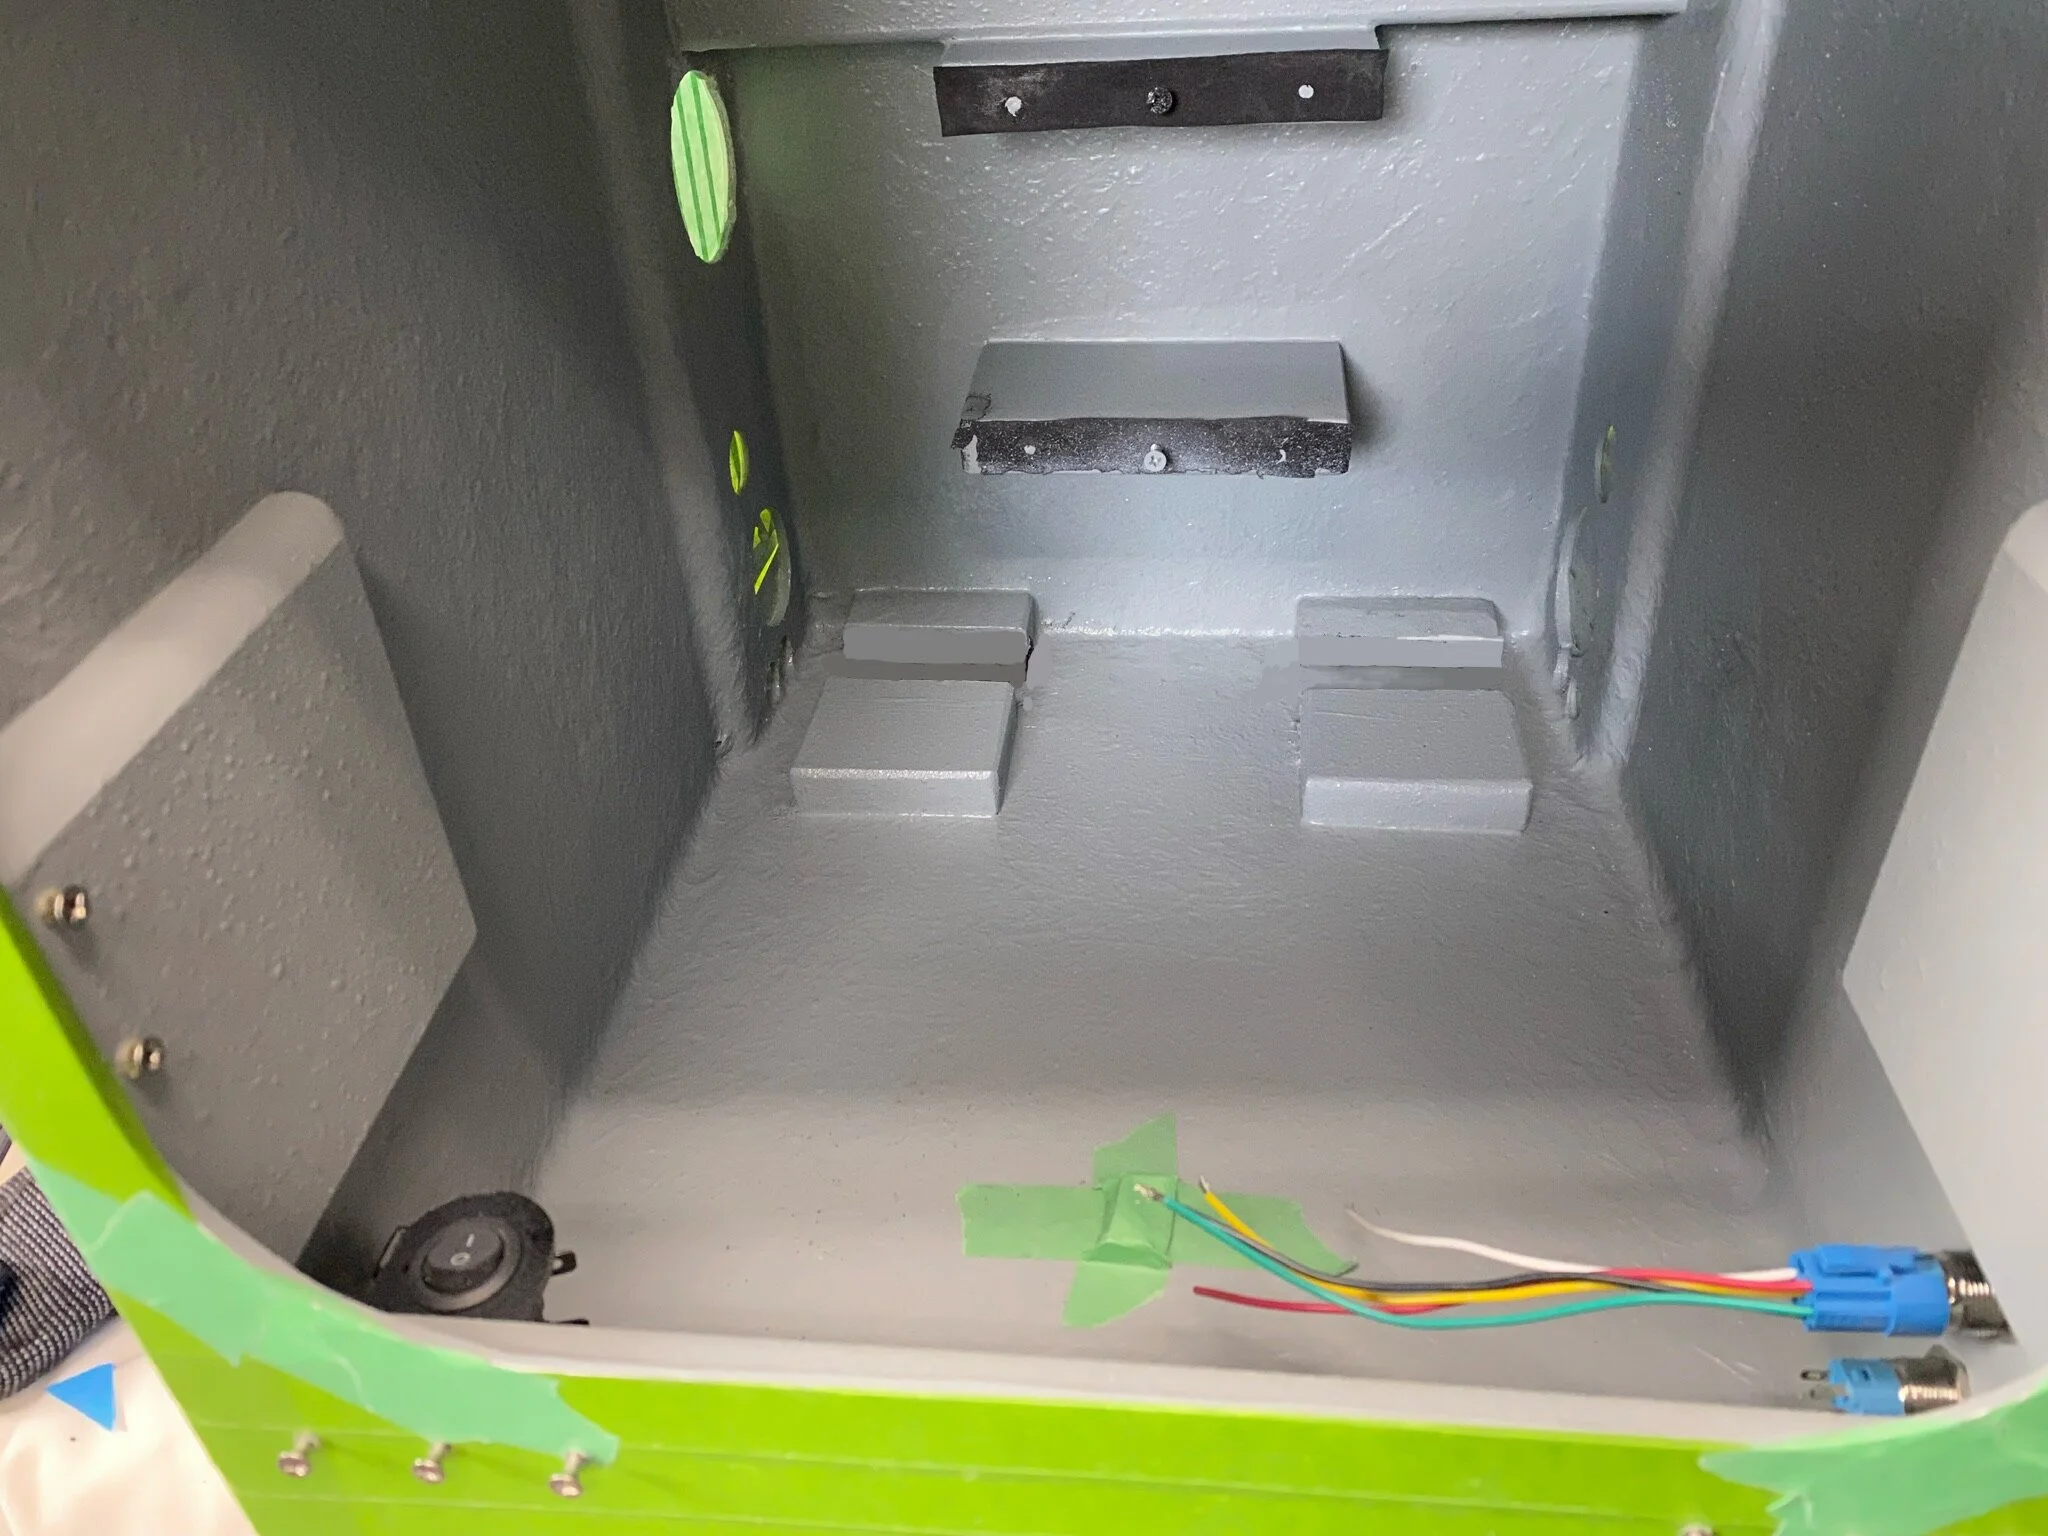
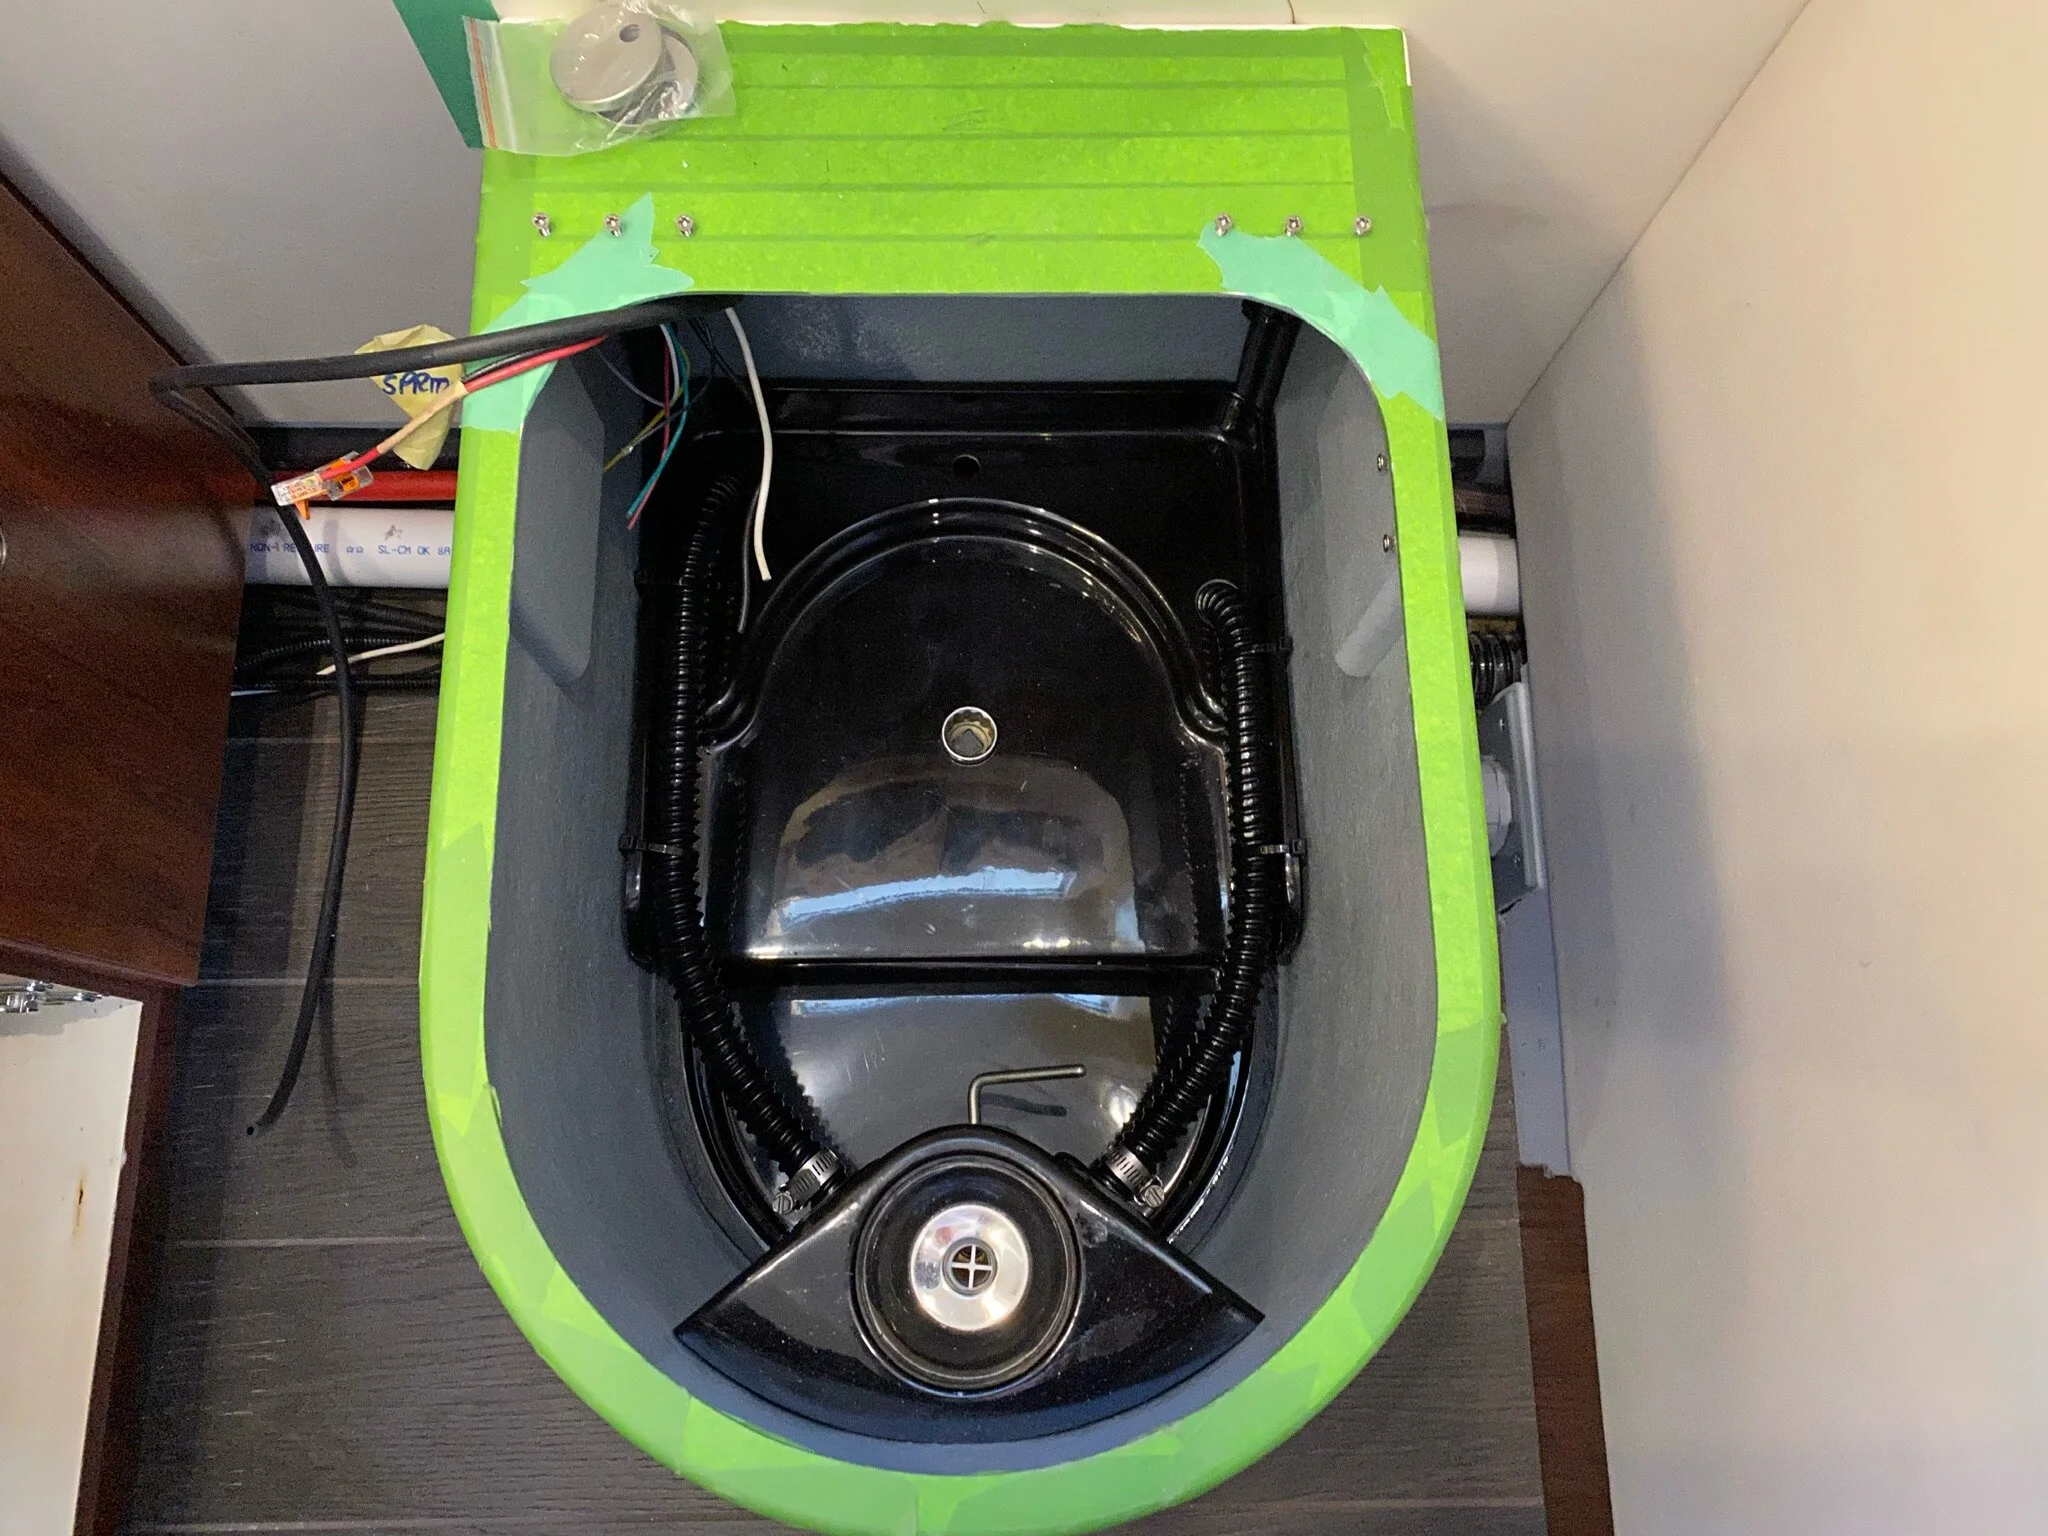
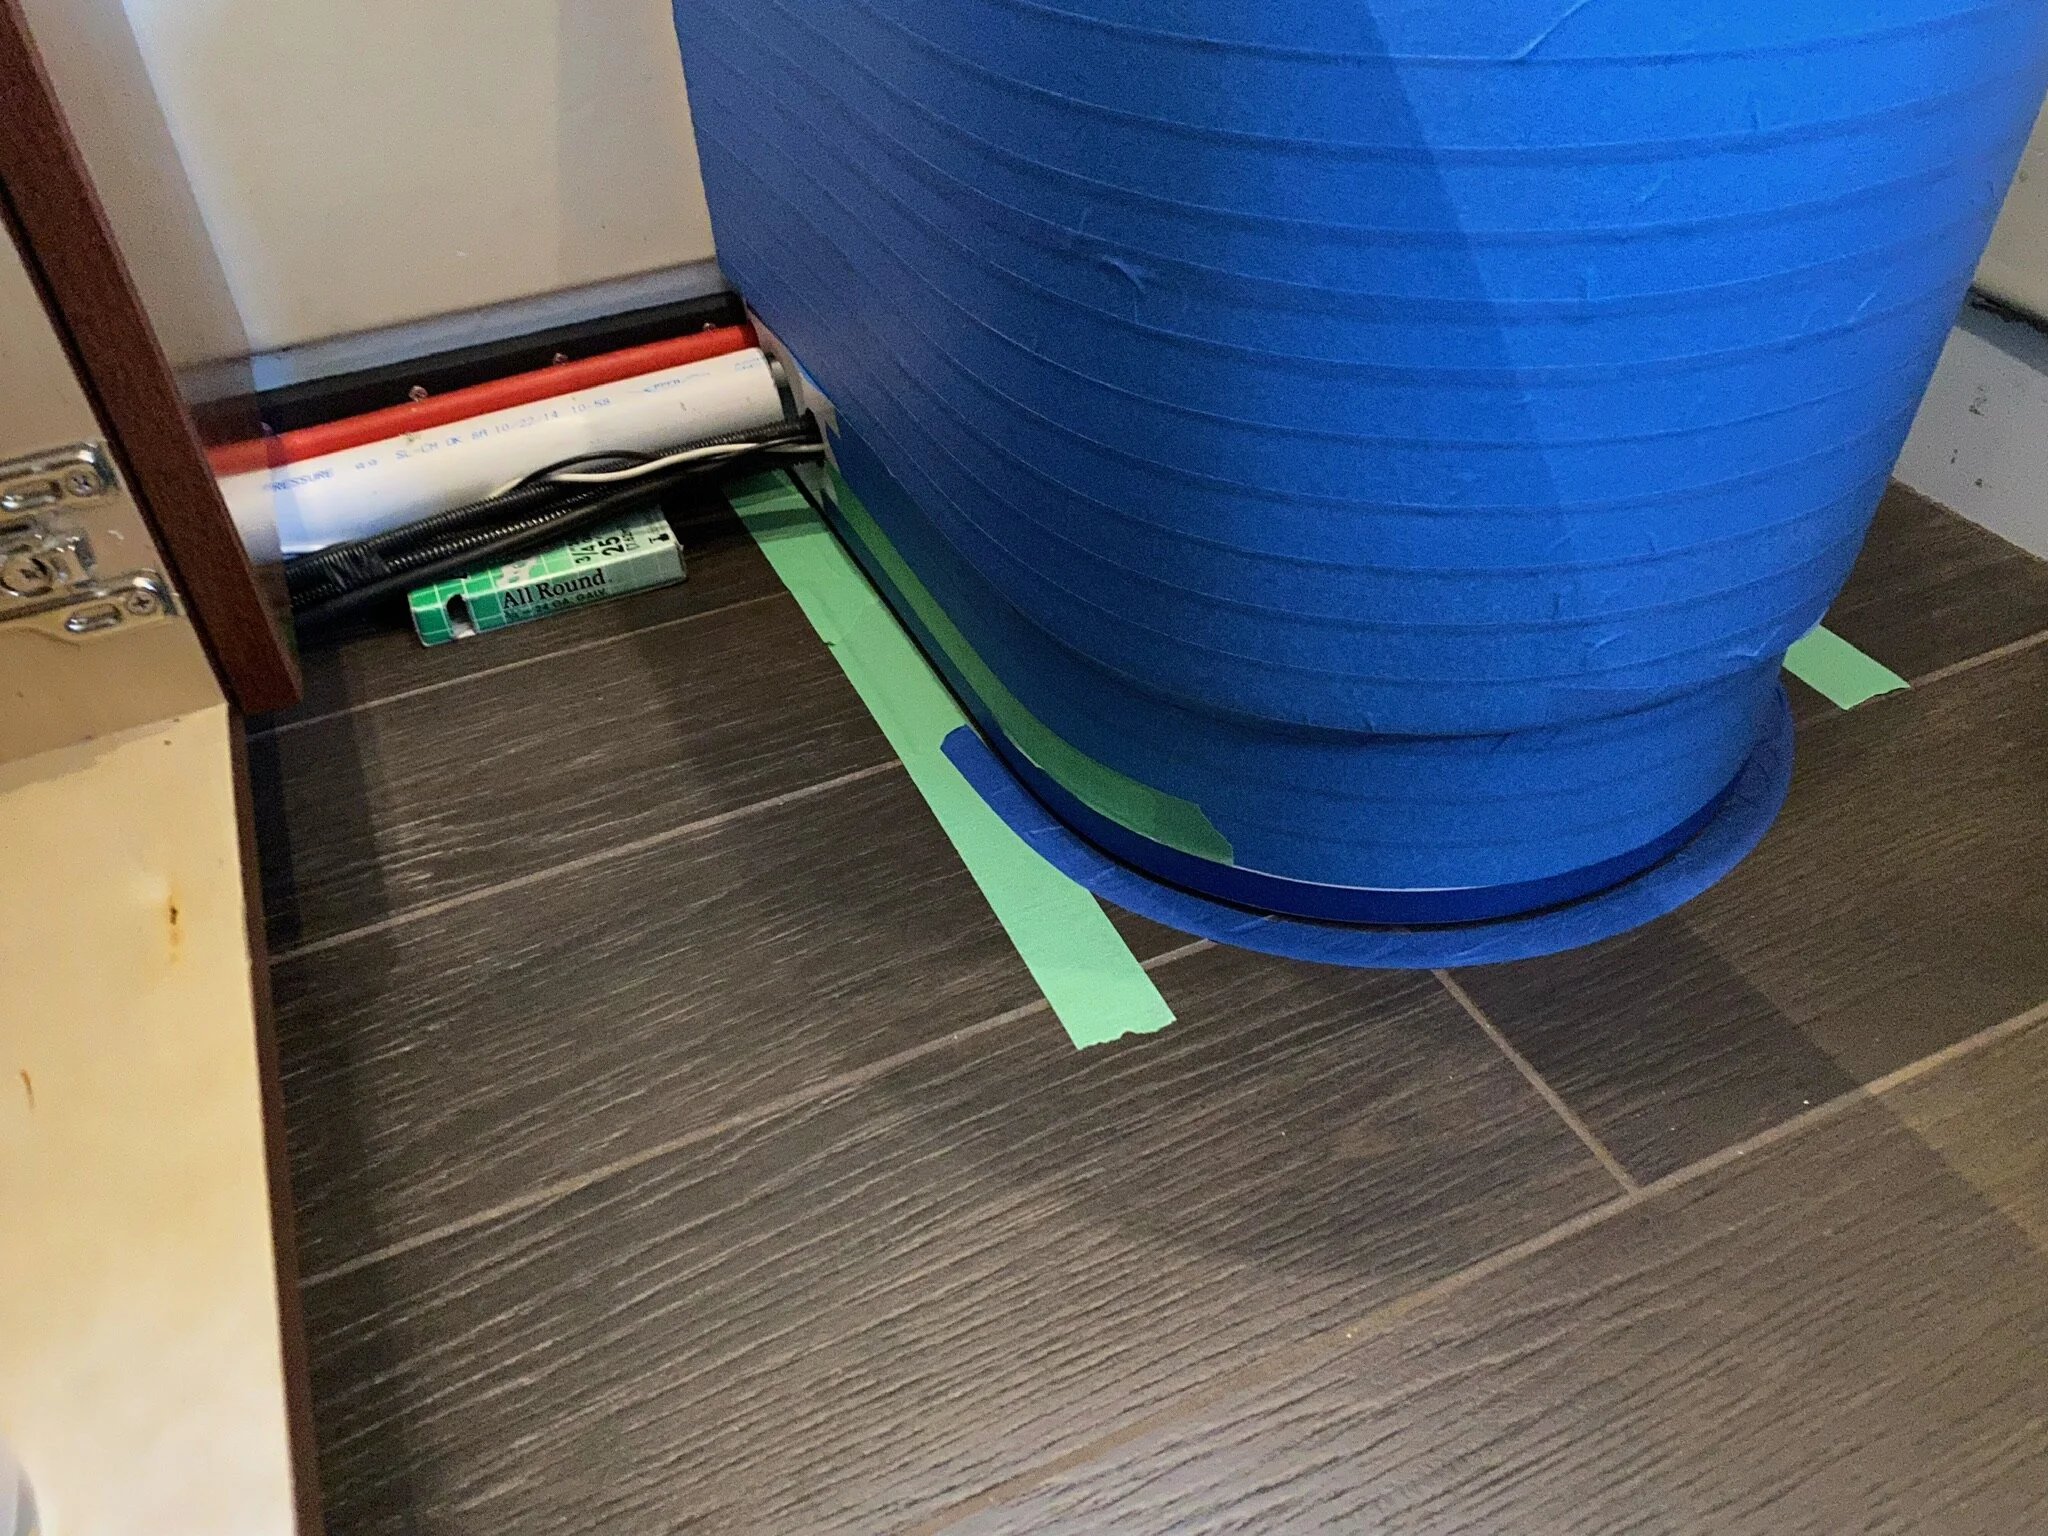
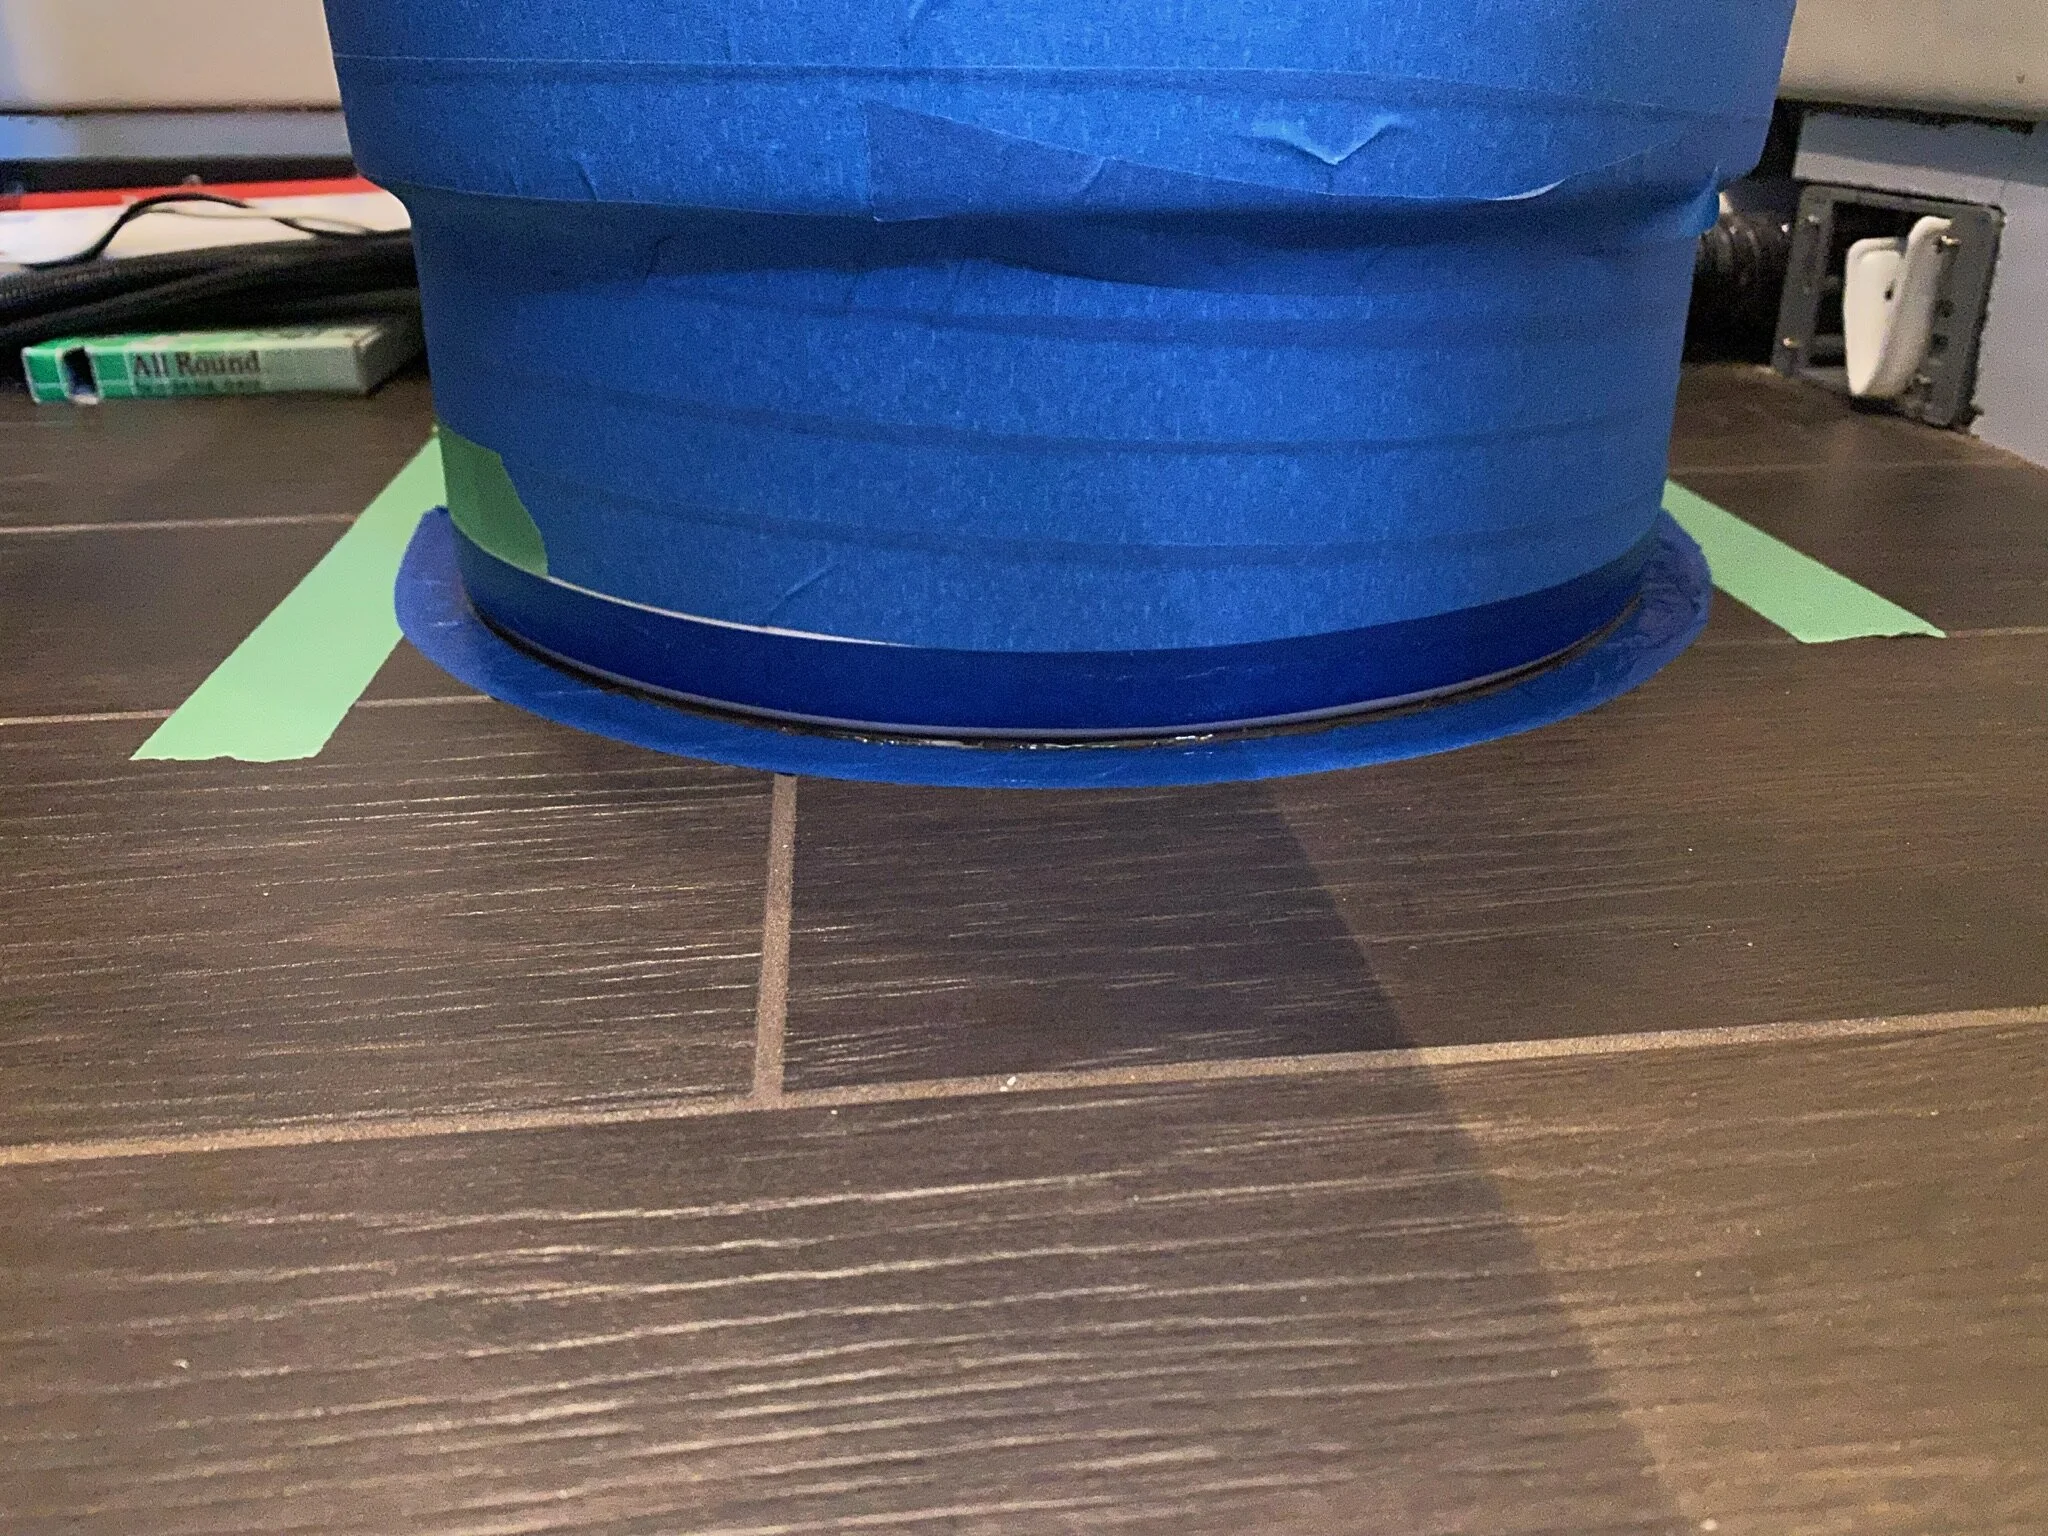
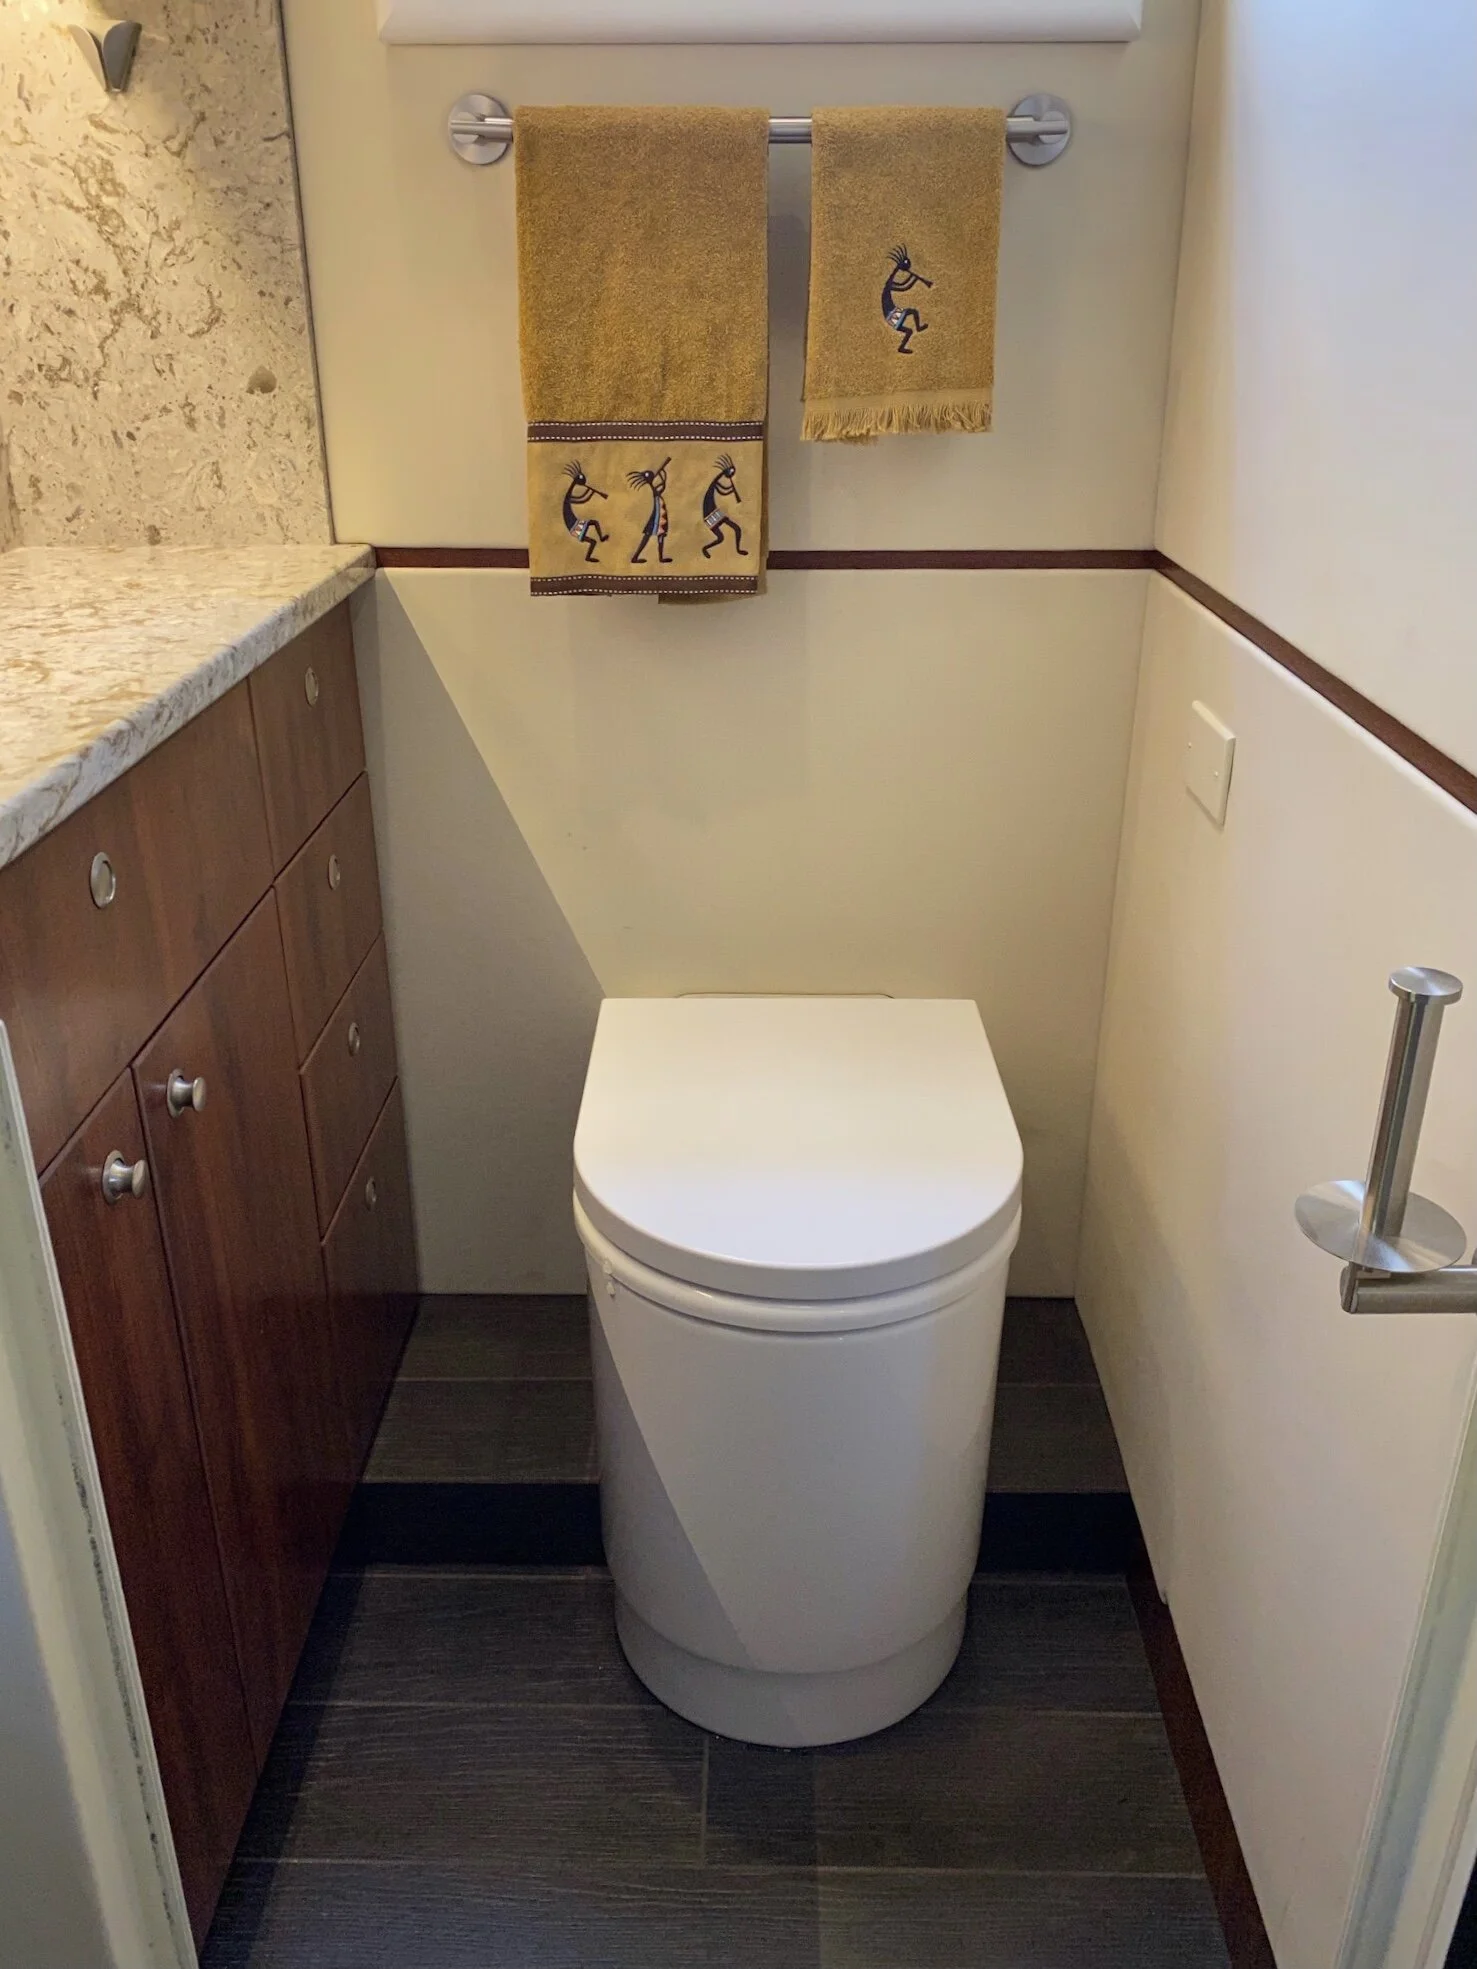
Although we were able to completely repair the floor with original tiles left over from the camper build, we still had the problem of the laundry plumbing running along the floor at the back wall of the toilet. This meant that we couldn’t completely eliminate the plinth that was used to support the original flush toilet, and which hid all the plumbing. So two new partial “plinths” were made to just hide the laundry plumbing. They were held in place on each side of the toilet by supports on the back wall and a little silicone to keep them from shifting about.


PrEparing the toilet tub
After waiting months for the replacement parts that were damaged in shipping, no fault of Compoost Toilets mind you, we finally had what we needed to finish the installation. The insurance company made it very difficult for Compoost to complete the claim, and we don’t really know that the claim was ever approved. Nevertheless, Compoost sent us the parts at no charge, including shipping, since we had waited so long. They’re a really class act, and we highly recommend them.
To make it easier for Compoost, we had them just ship us a standard tub without any of the modifications they did for us to account for our unique installation. So those modifications were done by us this time.

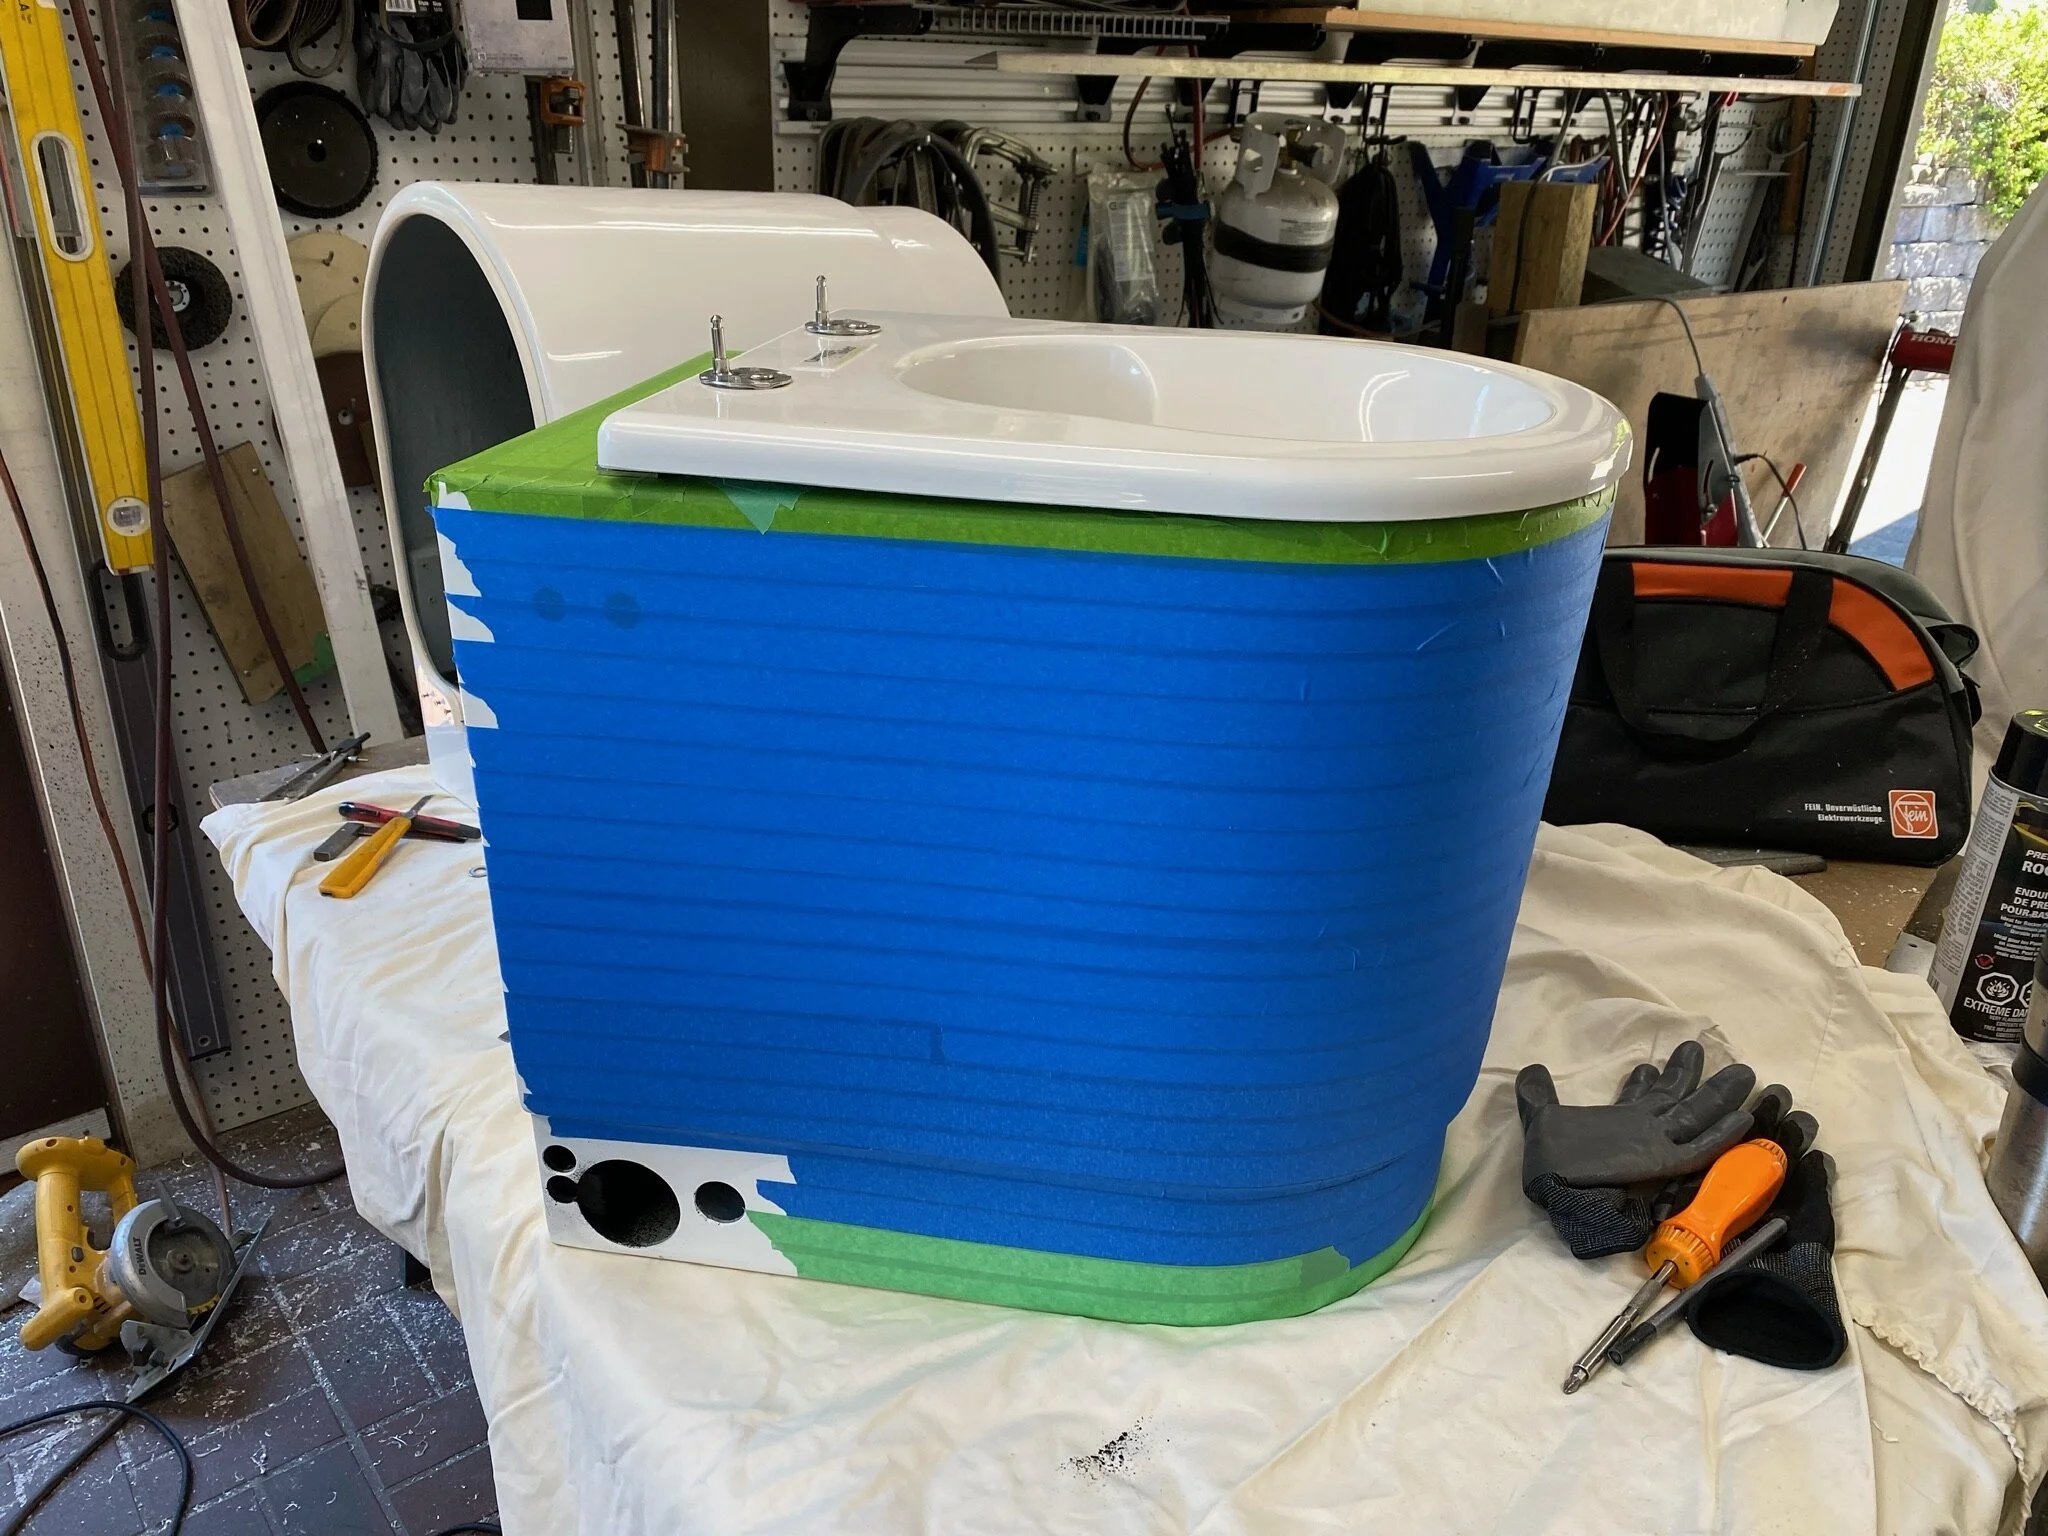
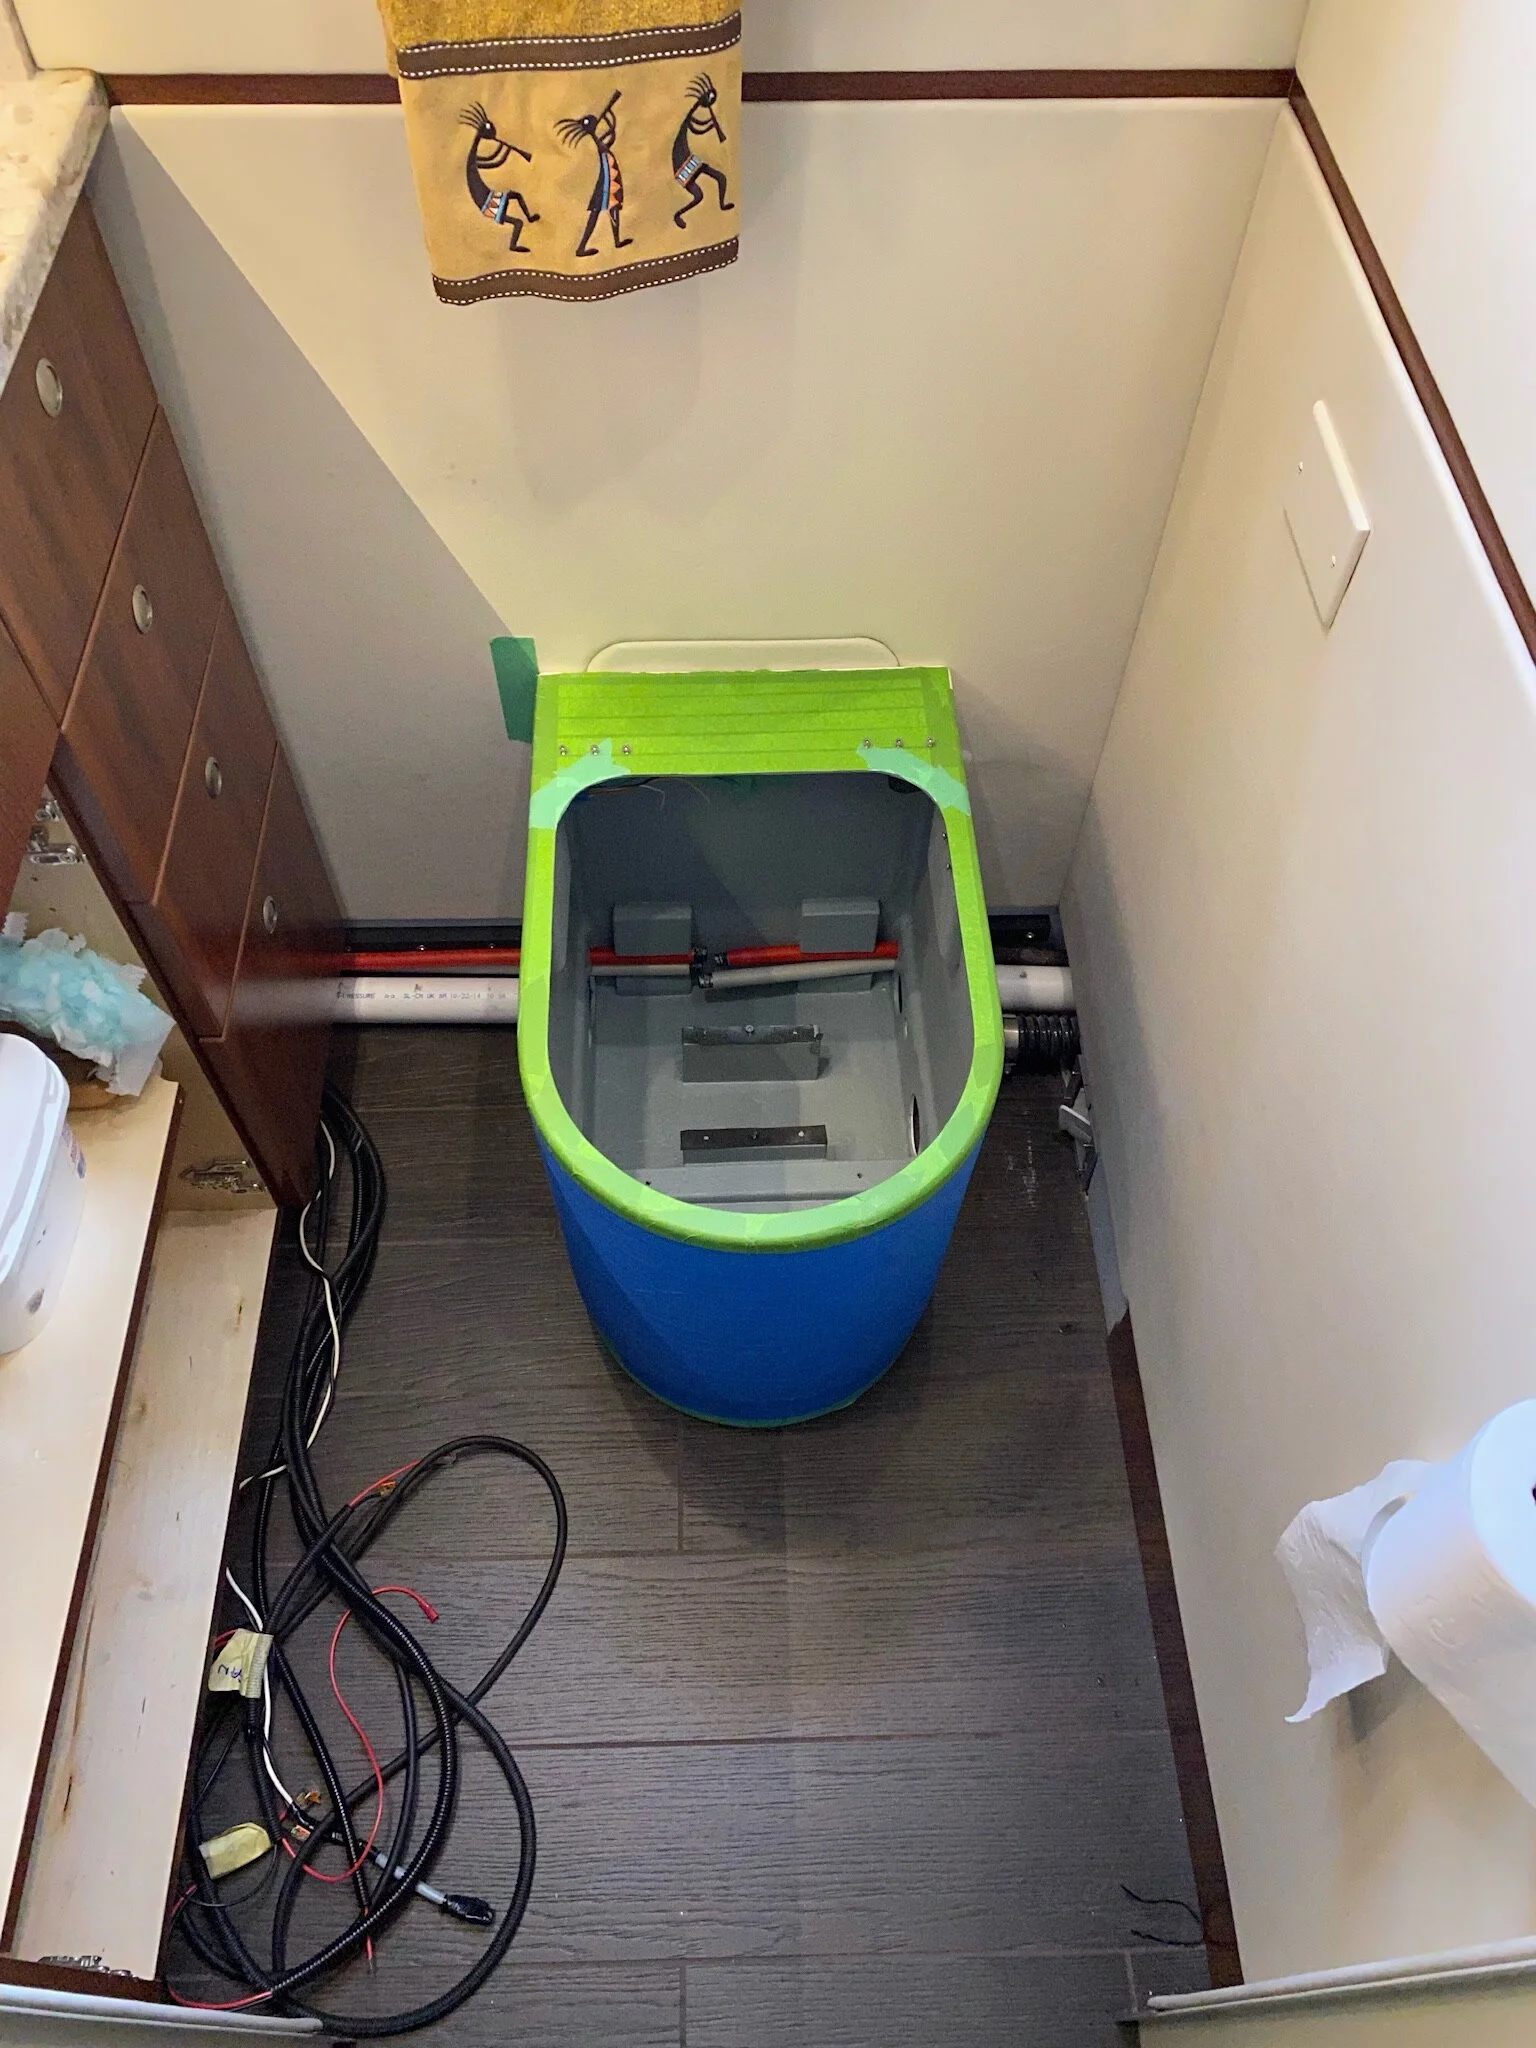
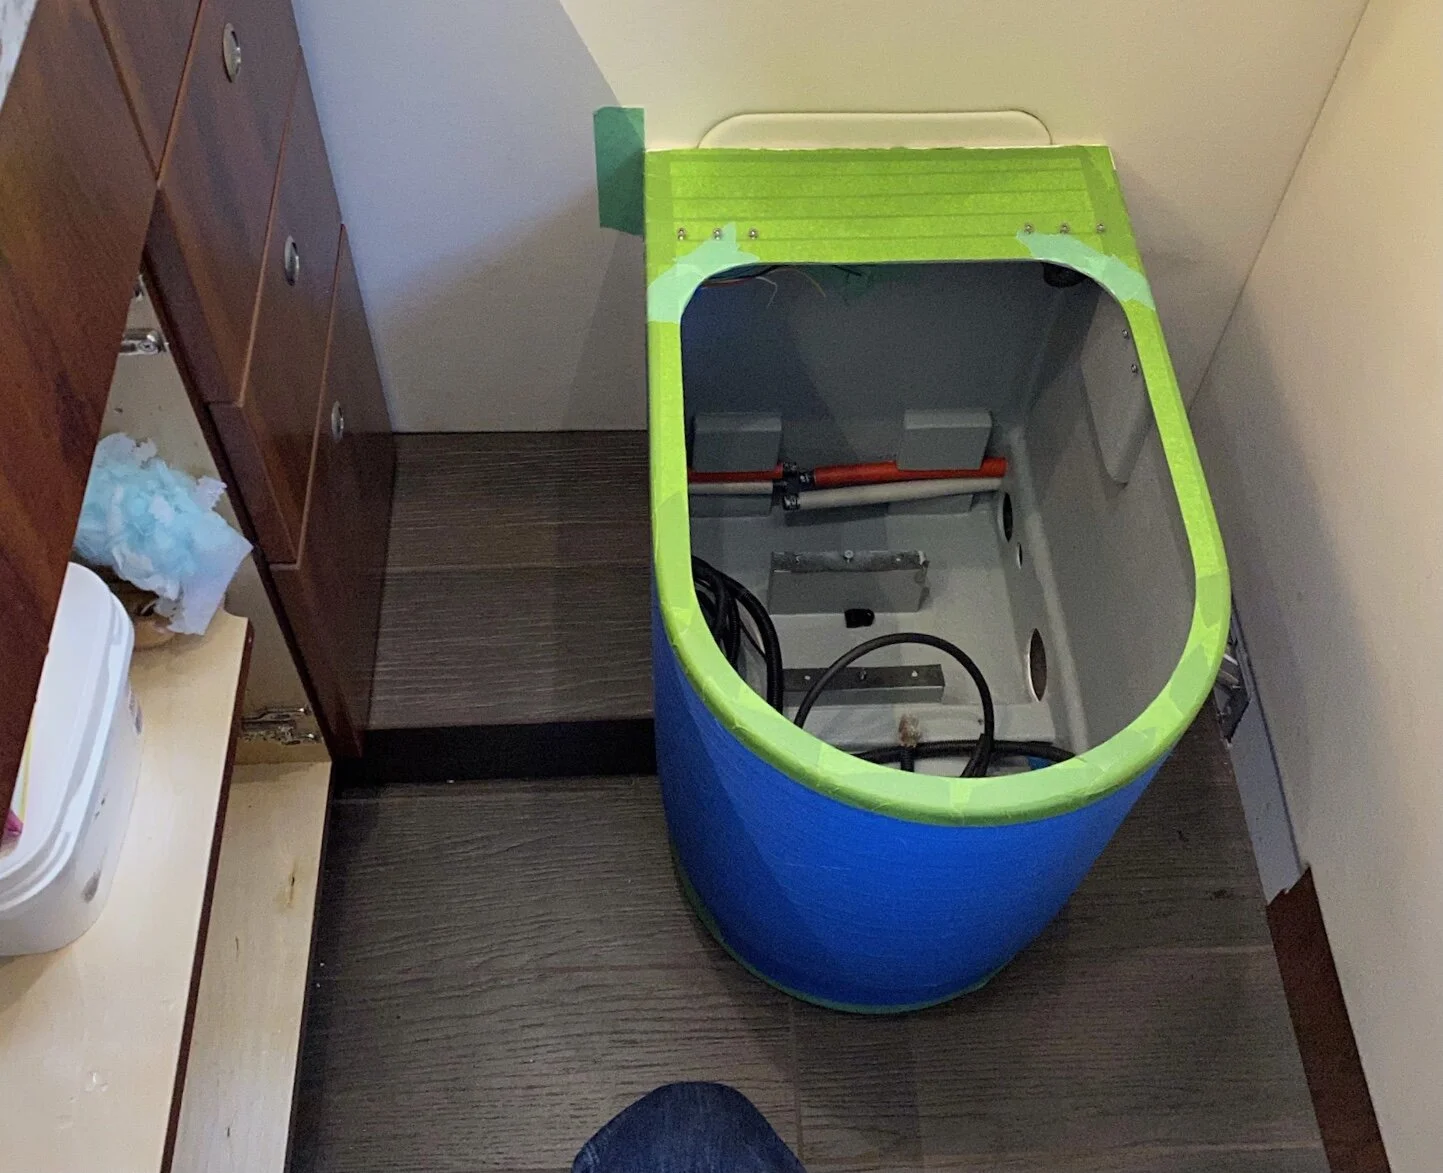
Tub Installation & final assembly
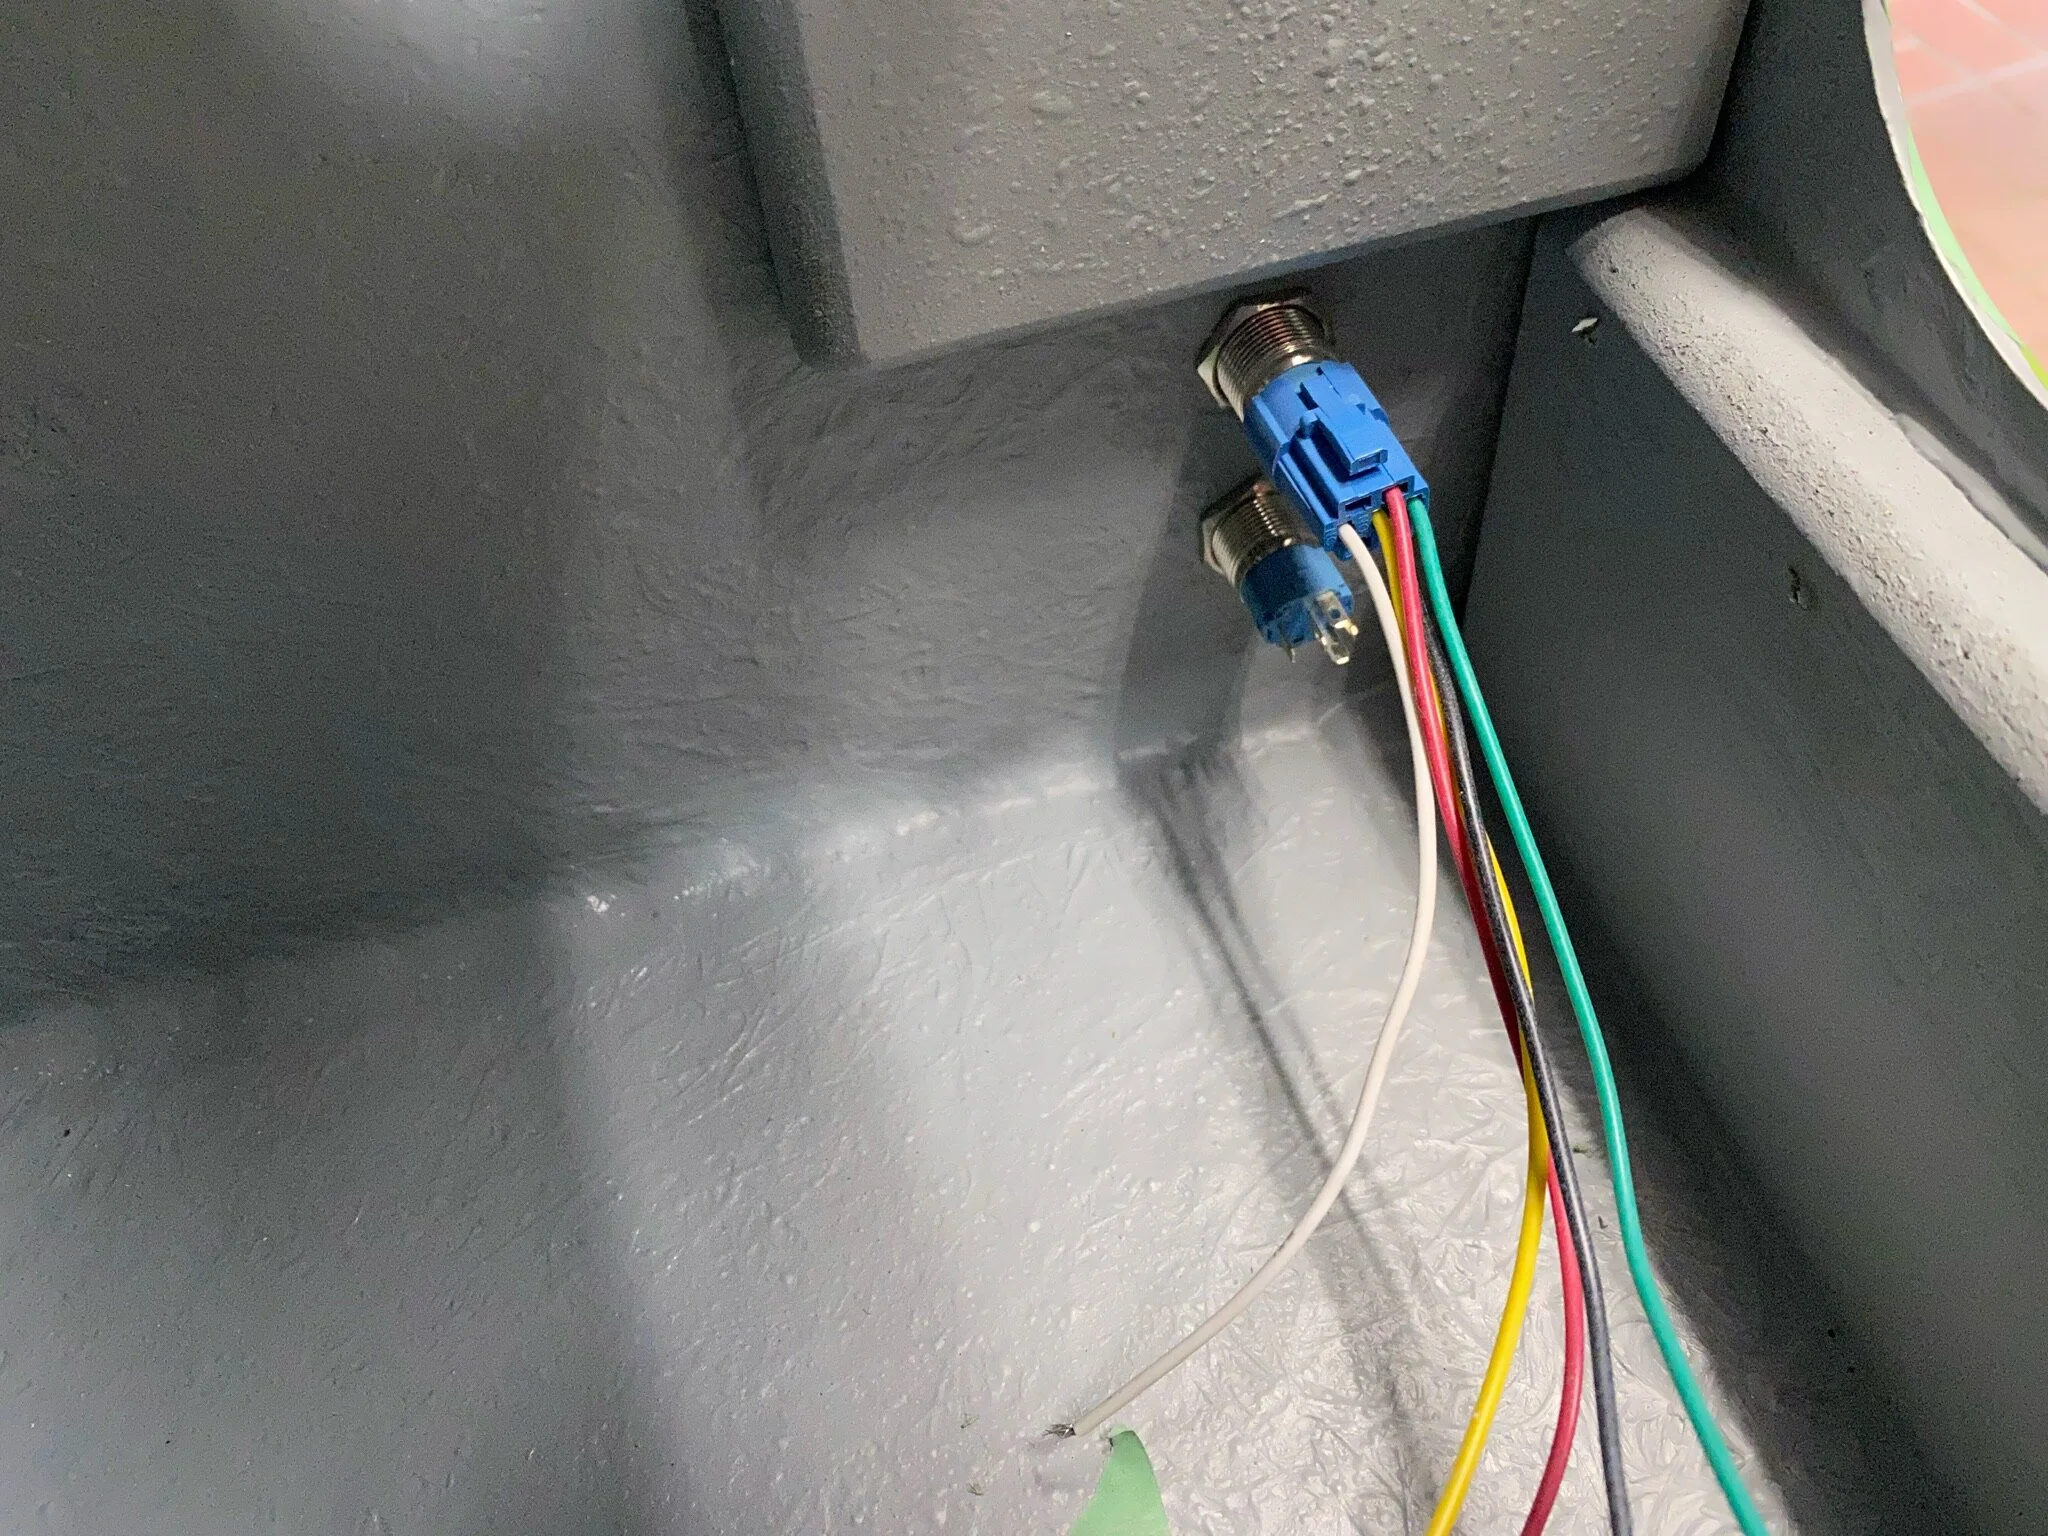
The tub installation was not difficult, but it was a bit tricky. We had to cut the laundry plumbing pipes in just the right spot so one side could be pried out from the wall and the tub slid sideways over them from the right. Then once the tub was all the way to the left, the other half of the pipes could be pried out and then the tub slid sideways to the right until the pipe joints were inside the tub, and the tub positioned at the final mounting position. Then it was just a matter of reconnecting the pipes and hooking up the electrical that powers the stir motor and spritzer valve.

The last hookup: connecting the rinse jet
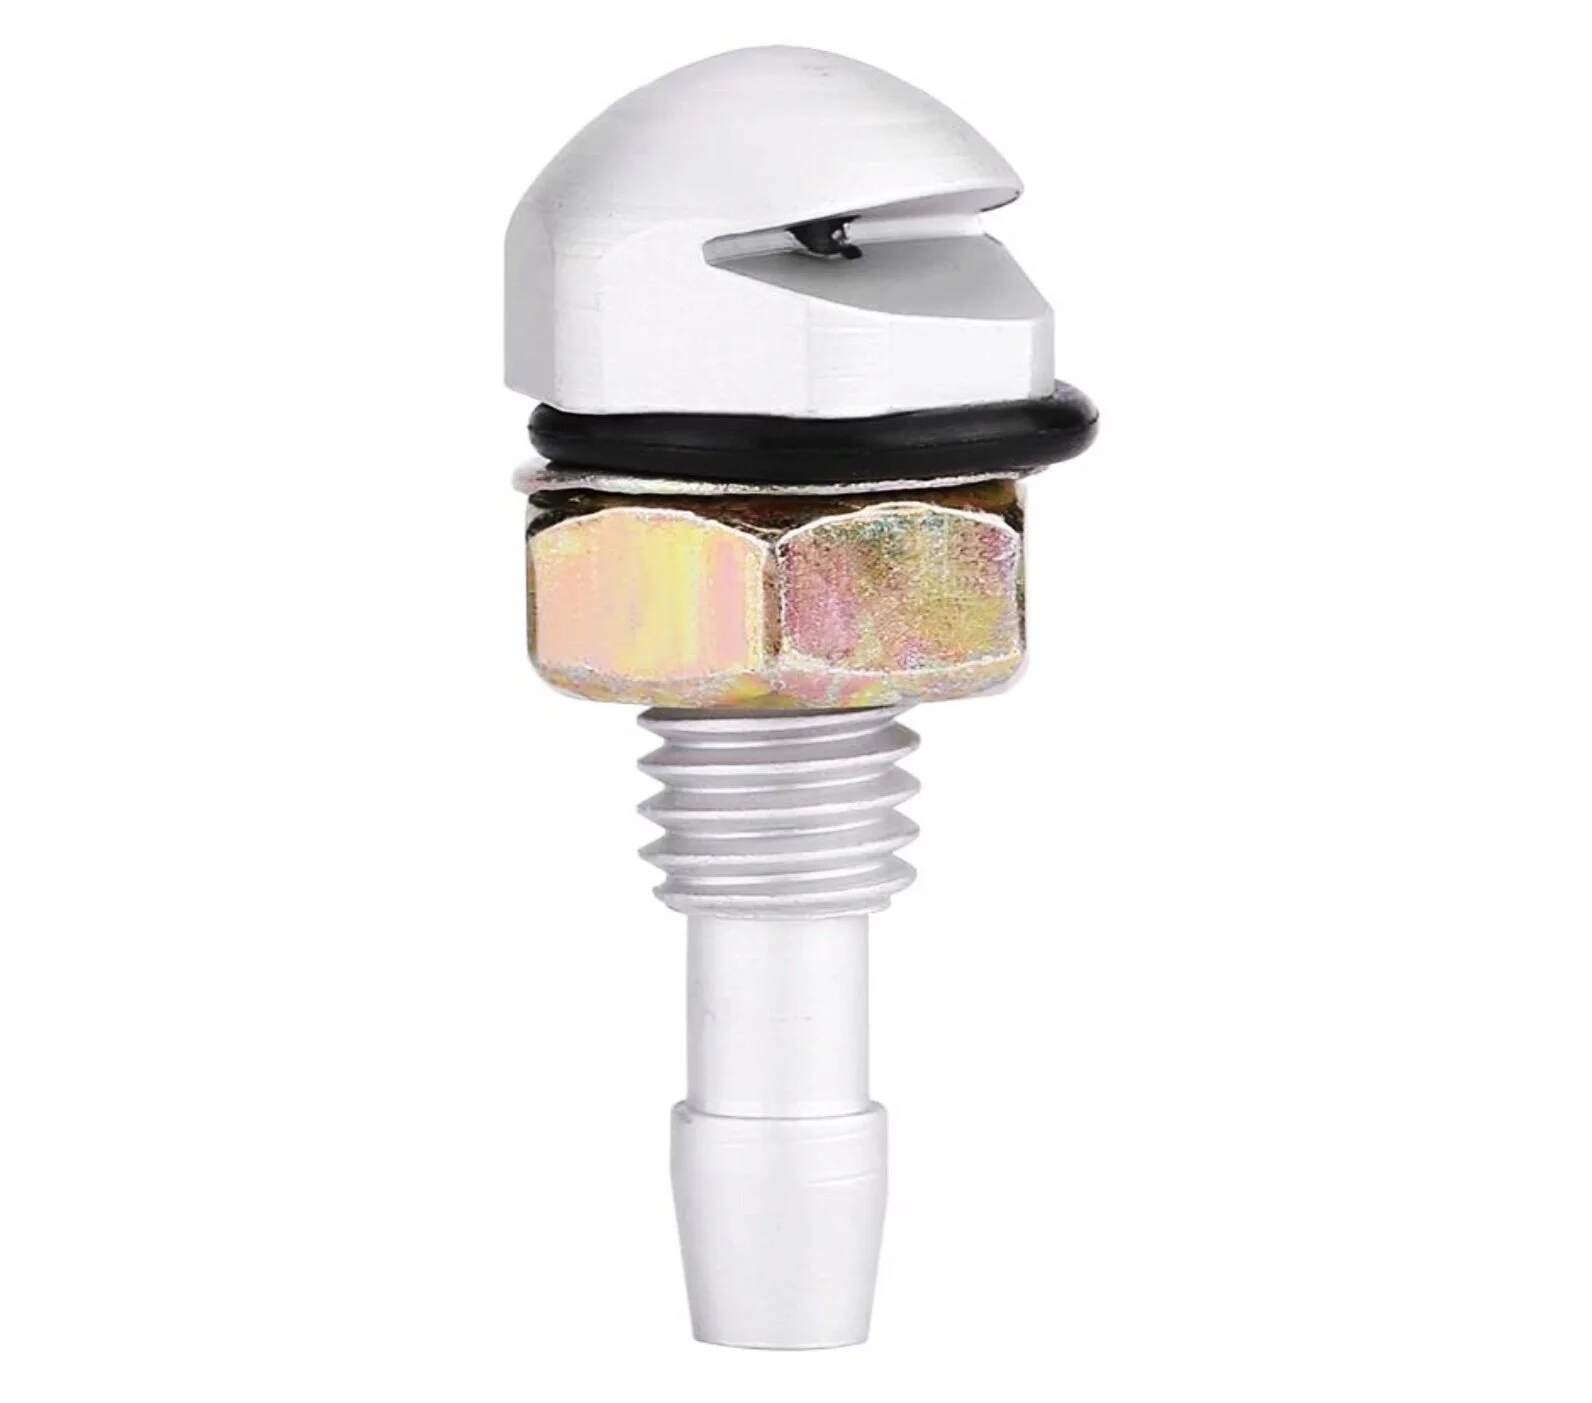
Windshield washer spray jet.
The important addition that we added to the composting toilet was the installation of a water jet for rinsing the urine collection bowl. Since we had a switch operated water source from the original flush toilet, it was a relatively easy process to add a spritzer jet so the bowl could be easily rinsed after each use. The water jet itself was simply a windshield washer jet bought from Amazon, and then connected with a flexible 3mm hose. A simple press on the side mounted switch button and the spray jet rinses the entire bowl. It’s a great upgrade to a terrific composting toilet, and eliminates the need of a spray bottle to rinse the urine bowl.
A longer than expected Project with a successful outcome
A project that we figured would last about a month, from the ordering of the composting toilet to the final completion, ended up taking six months.
This wasn’t because it was a difficult retrofit, you understand, but rather because it was a colossal failure by the shipment carrier. They “lost” the parcel in their UK warehouse for the better part of a month, and when we finally received it there was damage to the toilet exterior as well as some of the components inside. The carton had to have been dropped on its side from a considerable height.
The next four months was filled with the toilet manufacturer trying to get the insurance adjuster to accept the claim and pay for the replacement components and shipping. Whether the claim was ever approved, we never found out. Nevertheless, the manufacturer did eventually send all the replacement components we needed to finish the installation, and with no charge to us for the parts or the shipping. It was very good of them to look after us so well.
The end result was a retrofit that looks like an original installation.