Wall Panel Repair… Part 3
The continuing saga of re-glueing the damaged side wall
The new wall blister that surfaced on March 4, 2018.
Ever since the main body mounts failed, and the body slammed down onto the driver side rear tires, we have been plagued by numerous driver side wall outer skin separations, or blisters, as we like to call them. As mentioned before, the builder tried to fix the first one, but was only 50% successful. So we had to repair their work, as usual. But after that, another separation presented itself to us while on a trip through California in March of 2018. (Yes, we know. It takes us a while to get to things. Especially those things we really don’t want to do. I think it’s called procrastination.)
Whether this was another possible stress separation caused by the failed body mounts, or just a bad panel from the U.S. manufacturer, Martel Panels Inc. located in Georgia, either way, the responsibility lands plainly in the lap of the body builder. Had they not under-engineered, and poorly manufactured the body mounts, and had they used the European made body panels that they swore they would use, we wouldn’t be dealing with yet another major repair.
Sadly, there’s nothing worse than incompetent liars.
The Repair Procedure for This Go-round
One thing we learned from our last repair was that we needed a better way. One that didn’t require us to paint the complete driver side outer wall for a fourth time. In 2016 that re-paint cost us $2,500.00, and today would probably be more like $3,500.00 because of employee shortages and supply chain issues.
The grid of 3/8” diameter holes we had to drill through the wall and upper cabinet in order to inject the two-component glue.
A chance meeting with a vendor of E.U. made wall panels at a B.C. overland event in July of 2018 provided us with an alternative repair method that would leave the outer wall paint finish untouched. Although it sounds like a nightmare way of doing the work, it actually ends up being a very controllable procedure.
That procedure is to drill holes through the wall from the inside, and stop just on the inside of the outer skin. A normal twist drill is used to drill through the inner skin, but then you switch to a flat end drill bit to continue through the foam core to the outer skin. The flat end guarantees that you can’t screw up and accidentally drill through the outer skin. Then the glue is injected through the holes and spreads out between the outer skin and the foam core glueing them together. As long as the blister is in a location that is accessible from the inside, it’s a perfect solution. The only downside is that the inner surface is left with a visible grid of holes.
For us, the visible interior holes wasn’t an issue because of our interior decor upgrade. That upgrade saw us install wall bolsters on all the wall surfaces, so the holes will be hidden when the job is all done. The holes in the back of the upper storage cabinets will be covered with some wood disks with as close a colour match as possible. But since those cabinets are always filled with clothing, it’s unlikely the hole covers will be noticed.
Two for the price of one
Since the appearance of the new wall blister in 2018, a second blister has developed to the rear of the bedroom window. Not nearly as big, it nevertheless had to be re-glued as well so it wouldn’t spread. The fact that a blister appeared there makes us think that we’ve probably got a bad panel, the problems of which being exacerbated and accelerated by the broken body mount stress damage. The reason I say this is that the location where the second blister appeared is in a small area in very close proximity to the window, roof angle and rear vertical angle. In other words, it is surrounded by high structural strength members that were all glued on after the wall panel was made, and all of which offer enormous support to that area of the panel. It’s unlikely that the stress to the panel when the body mounts broke would be able to shear stress that small area. So we most likely have a crappy glue job from the panel manufacturer. Not surprising. Made in U.S.A isn’t exactly something to brag about. After all, our truck build was done in Springfield, Missouri.
The Start of The Process
Pulling the bolster out enough to get in behind with a knife. The left side top bolster is already removed.
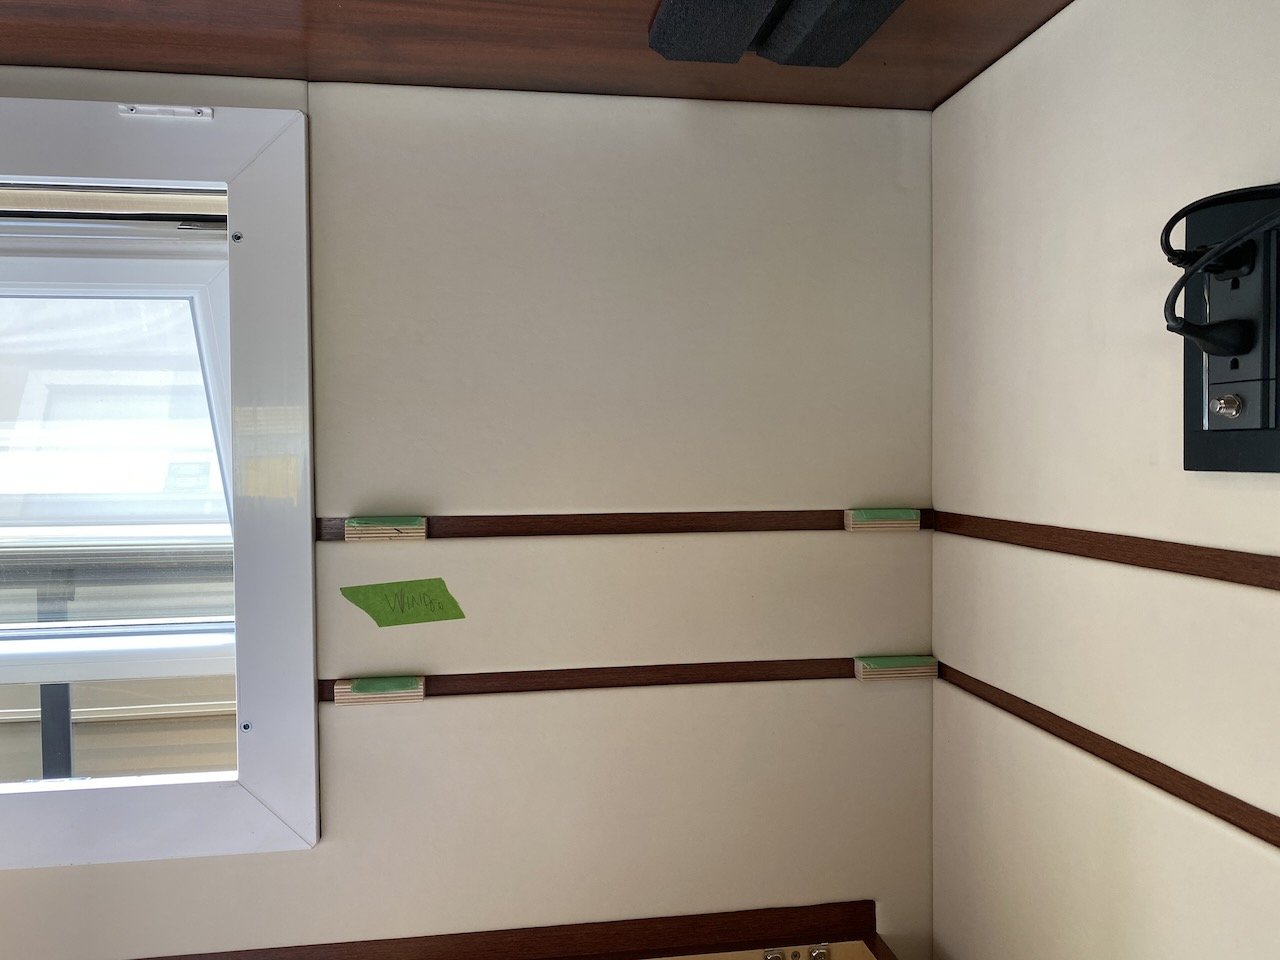
Our first task was to transpose the location of the blisters on the outside, to the corresponding locations on the inside. Easily done with a tape measure and the help of the window for reference points. After that we just had to remove the bolsters from the inside to prepare for drilling. The bolsters are held onto the wall with two sided, high bond glazing tape. The adhesive won’t let go, but the tape is 1mm thick with a foam intermediate layer that can be cut. All we had to do was pry an edge out enough to get a knife behind it and we could slice the tape down the centre and release the bolsters.
Our pressure platen made from 3/4” Baltic birch plywood.
Before any drilling started, however, we needed to set up the outside equipment so all is ready for when the glue is injected. A platen was constructed so it could be pressed against the outside wall to hold the outer skin tight to the foam core while the glue cures.
The platen didn’t need to be too big as the glue starts setting up in a matter of minutes. So only a small area can be done at a time. As it was, we only glued a section that was about half the size of the platen, and we would overlap the platen on each glue area so there would be even pressure throughout the total repair.


Getting to Work on the Inside
In preparation for the work we had to fold the king size mattress over on itself to create the space needed to move about.
With the bolsters that we needed to remove detached from the wall, we had to layout the grid that we felt would provide the best glue coverage. The expansion of the glue was such that it would easily spread to the adjacent holes, even above the injection point.
We laid the grid out roughly on 5” centres and started drilling. Both blisters would need us to drill through the upper cabinet backs as well. We drilled 3/8” diameter holes and used 3/8” nylon tubing taped to the end of the mixing nozzle to push into the holes all the way to the outer skin. Then the glue was injected. The tight fit between the tube and the hole ensured the glue went under the outer skin and didn’t just push back out through the injection hole. Once the injection was done, and the tube pulled back out, excess glue was allowed to ooze back out through the hole. Then when the platen was pressed onto the outer wall, it caused the last of the excess glue to also be pushed out. But all this had to be done in a matter of two or three minutes. Beyond that the glue would already be solidifying.


Completing the Project
With the glueing complete, all we had to do was put the bedroom wall back in order. The first step was to clean the old two sided tape off the back of the bolster. This was done with a sharp chisel held at just the right angle, and with progressive passes 1/8” wide at a time. Then the residue was removed with toluene on a paper towel.
From there it was a matter of cleaning as much of the tape residue off the wall as possible and then positioning new tape strips where we could on the un-marred Hush Mat. But this time, we would use less tape than what the bolster installers used. The tape is so strong, it just isn’t necessary to use as much.