
Wall Panel Repair… Part 4
again, the saga continues…Yet another Wall Blister
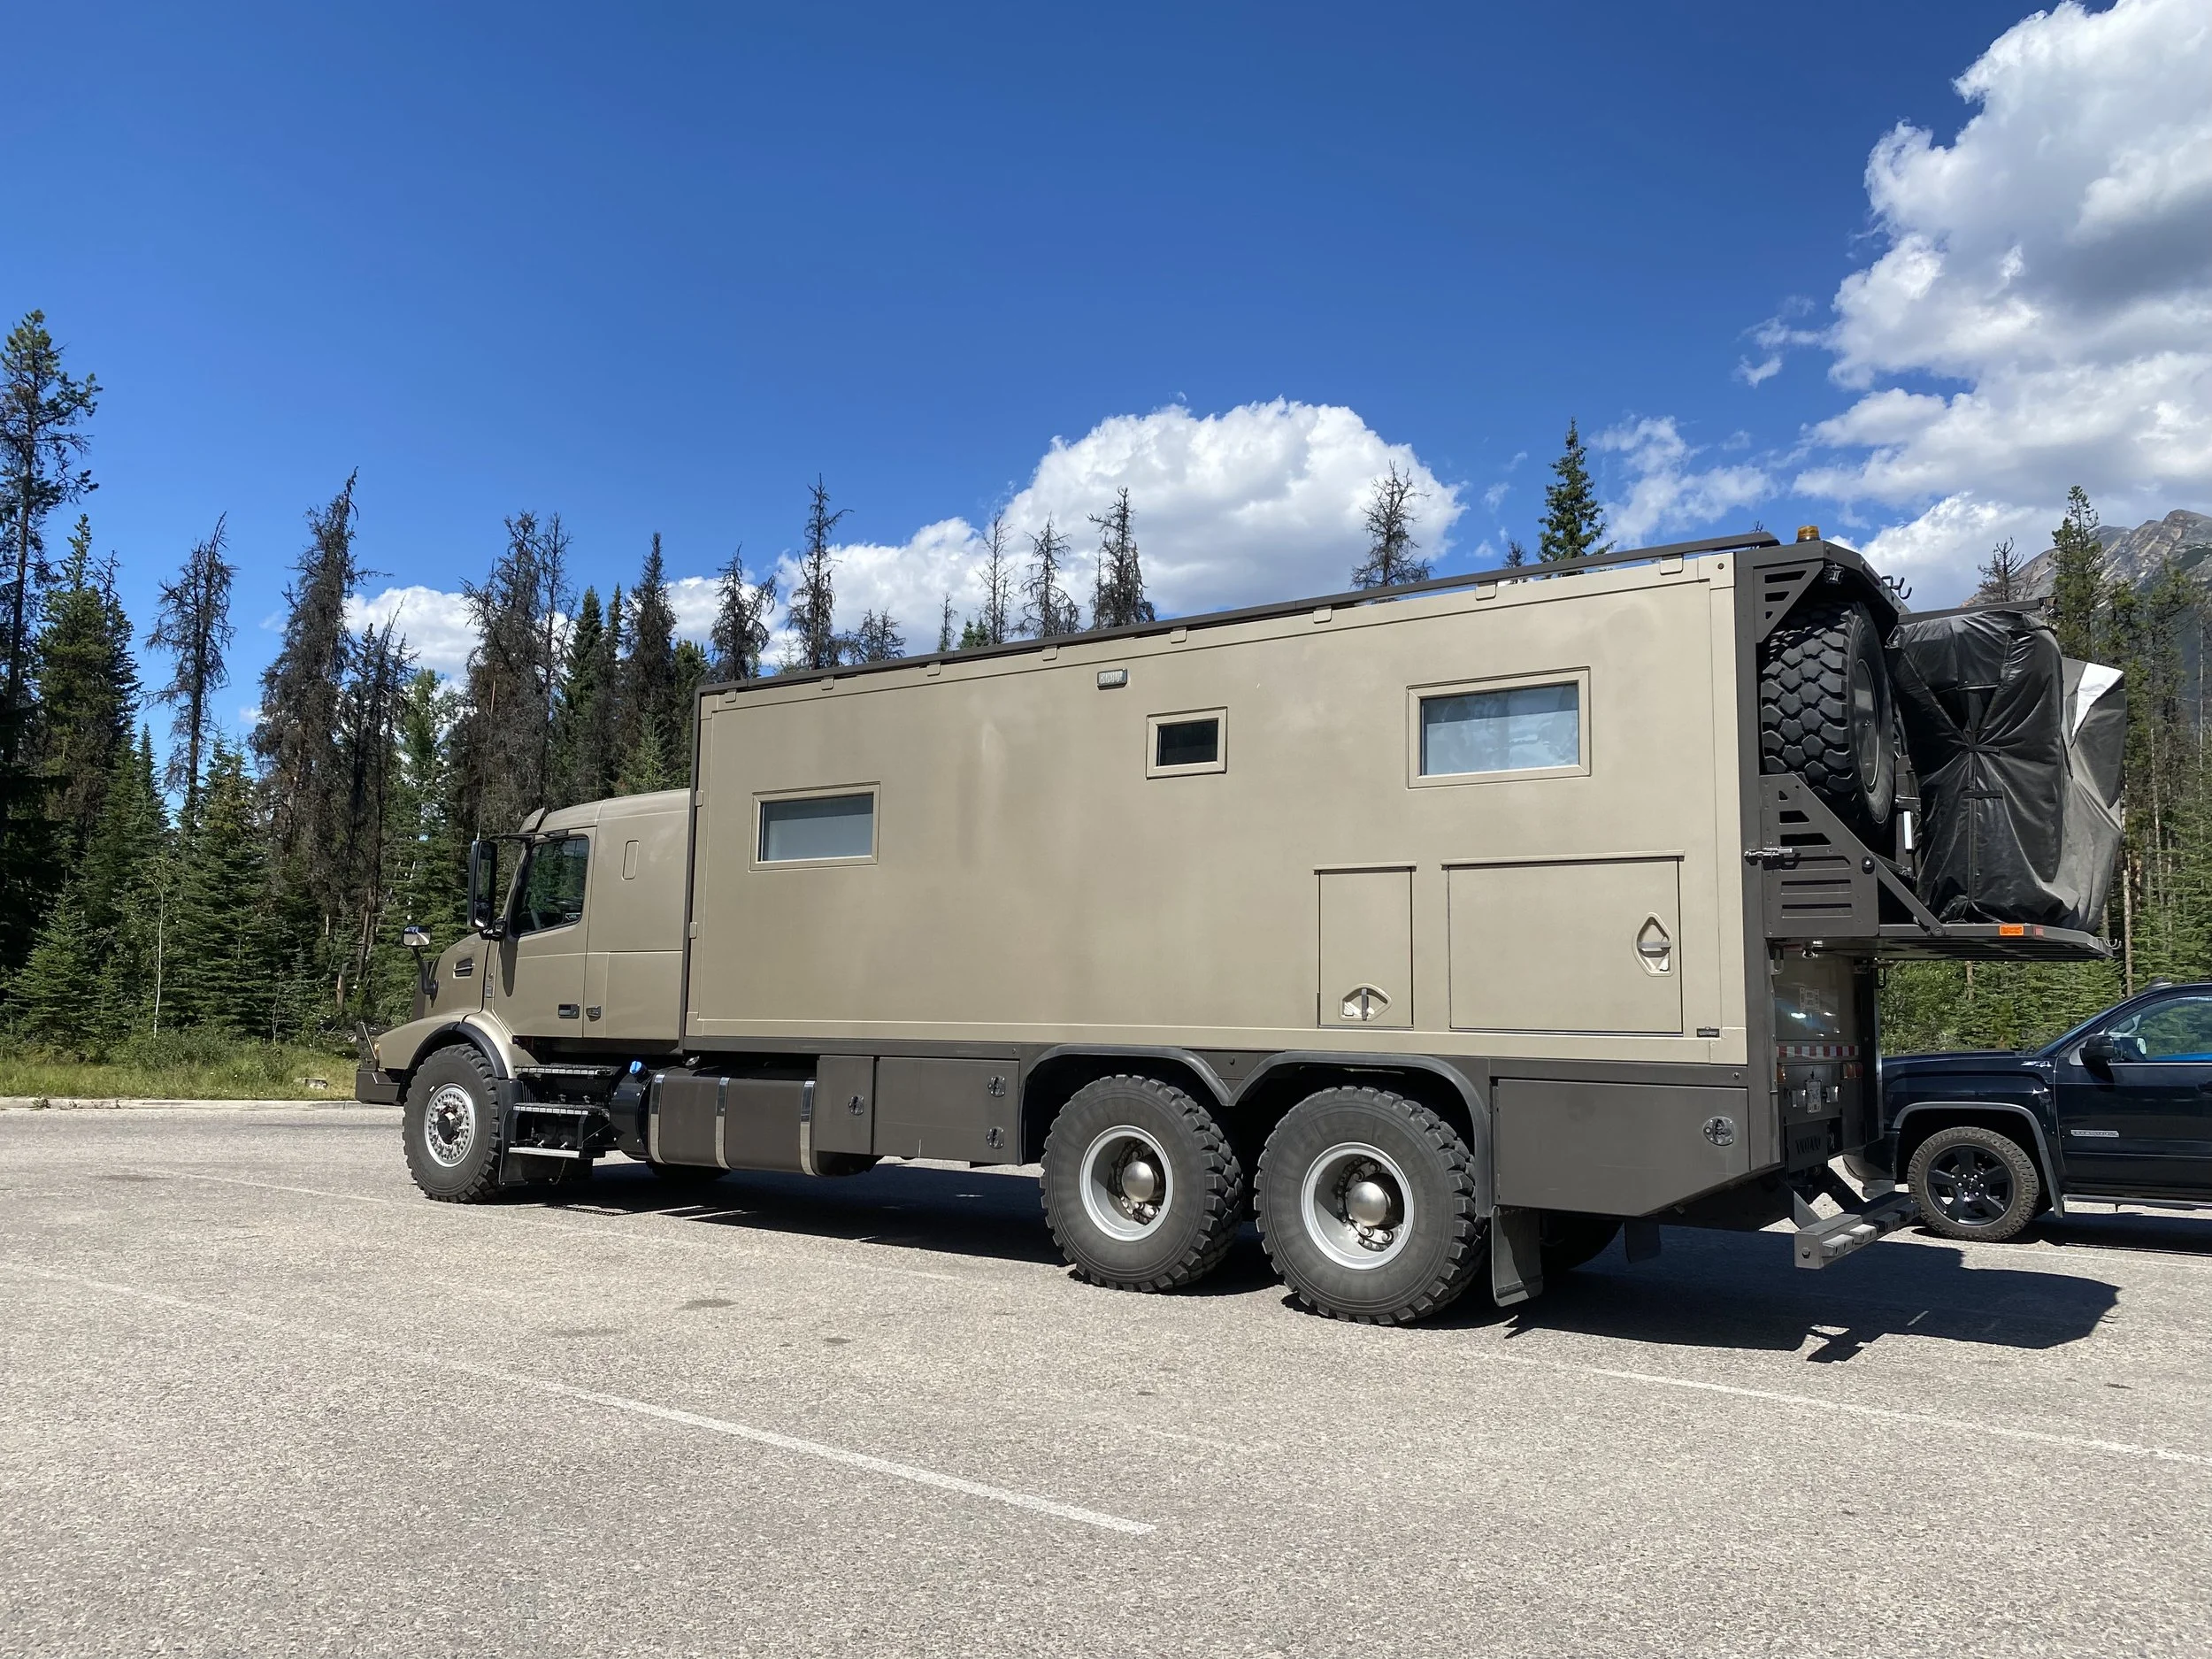
So what’s the old saying… “Wash, rinse and repeat.” Well that’s just how this wall panel is turning out. On our recent trip up to the Canadian Rockies, where we hit temperatures above 40ºC, we suffered yet another outer skin separation on the driver side composite panel. The way things are going, it looks like we’ll eventually end up re-glueing the entire wall panel a few square feet at a time. Fortunately for us, we’ve now become experts at composite wall panel repair and can do it with relative speed.
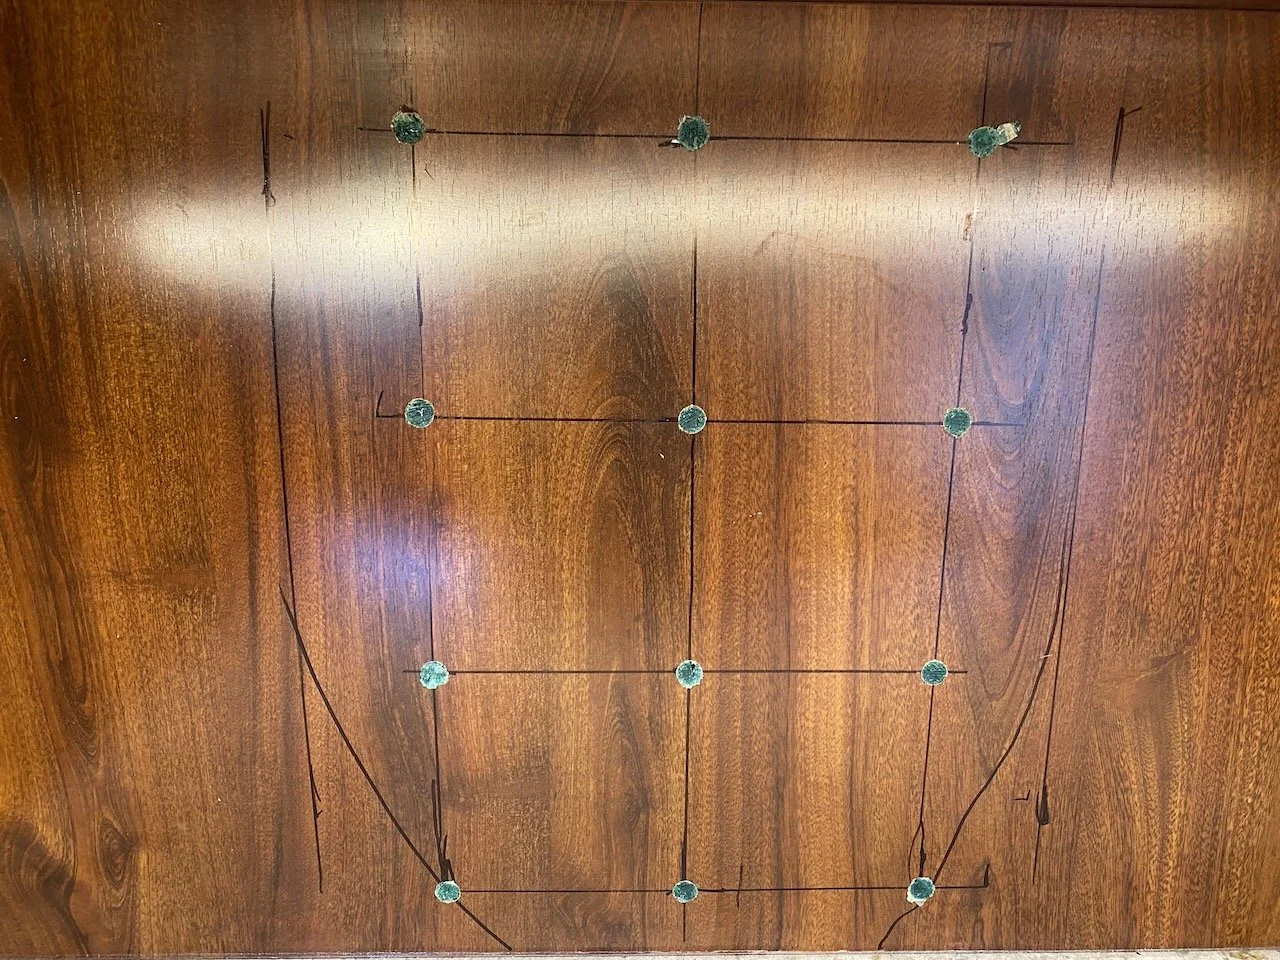
Once again, the failure was in an optimal location where we had easy access to the inside wall surface through which to drill our grid of glue injection holes. The downside this time is that we had to drill through a finished wall area that was covered in the Windsor Mahogany laminate that our cabinets are covered in, as well as the inside of the coffee cabinet on the back wall. So we’re left with a grid of green dots, the colour of the cured glue. We’ll either have to make some matching cover dots from some laminate and cover each dot individually, or cut two new laminate panels to glue overtop. A somewhat fussy job considering how out of square the cabinets are, and the accuracy needed to do an acceptable job.
The Repair Procedure
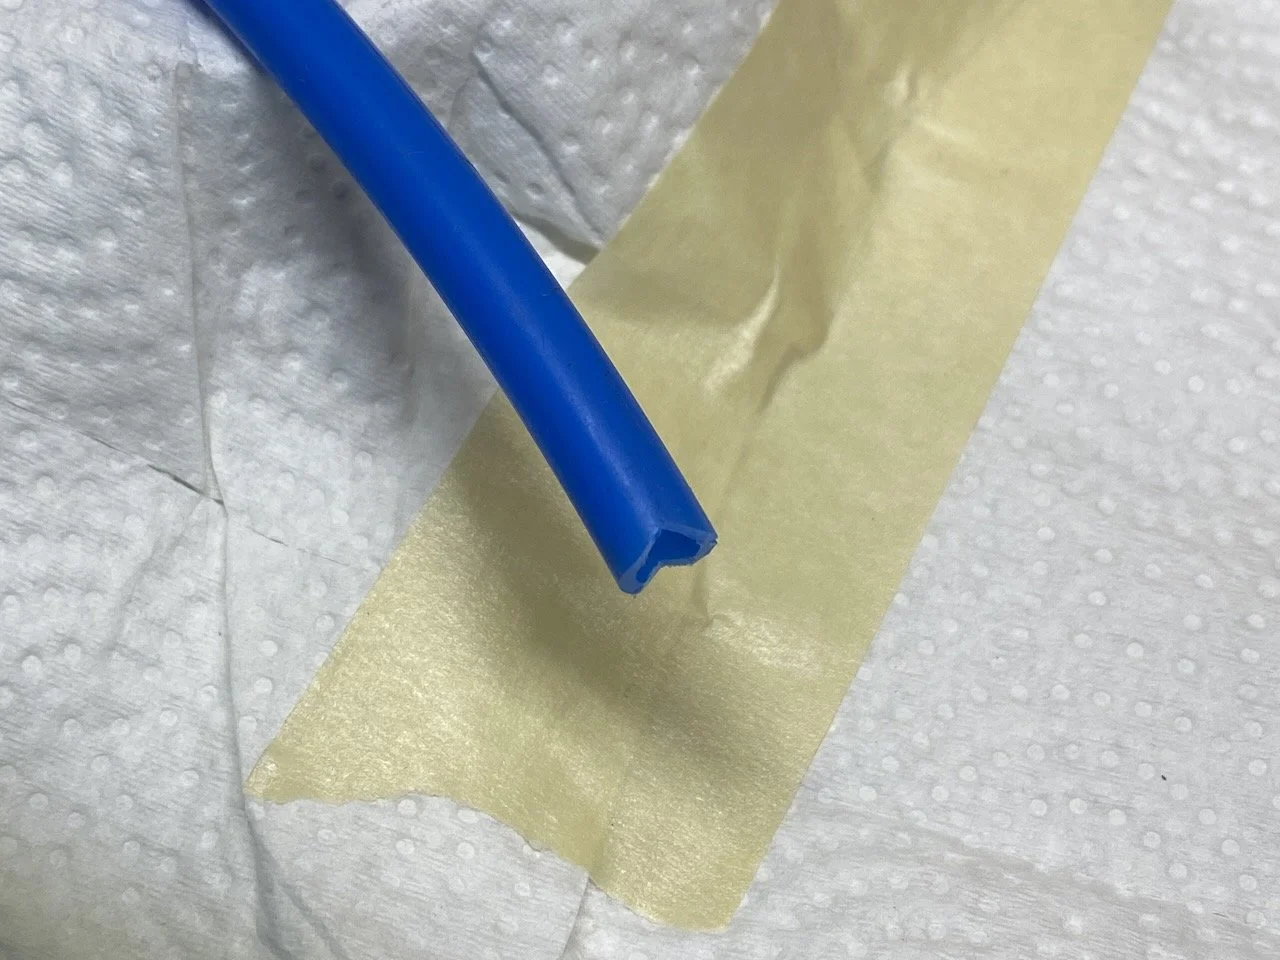
The repair procedure for this go-around is essentially the same as for Wall Panel Repair… Part 3. The only difference being the spacing of the grid, and number of holes. We had to wait about ten days for the Chemique Adhesives two component glue to arrive from the U.S. southern state of Georgia, but this time we ordered extra so we’d have it one hand for the next failure when it happens. Hopefully by being prepared ahead of time for the repair, it won’t ever come. Yes, we know, wishful thinking indeed.


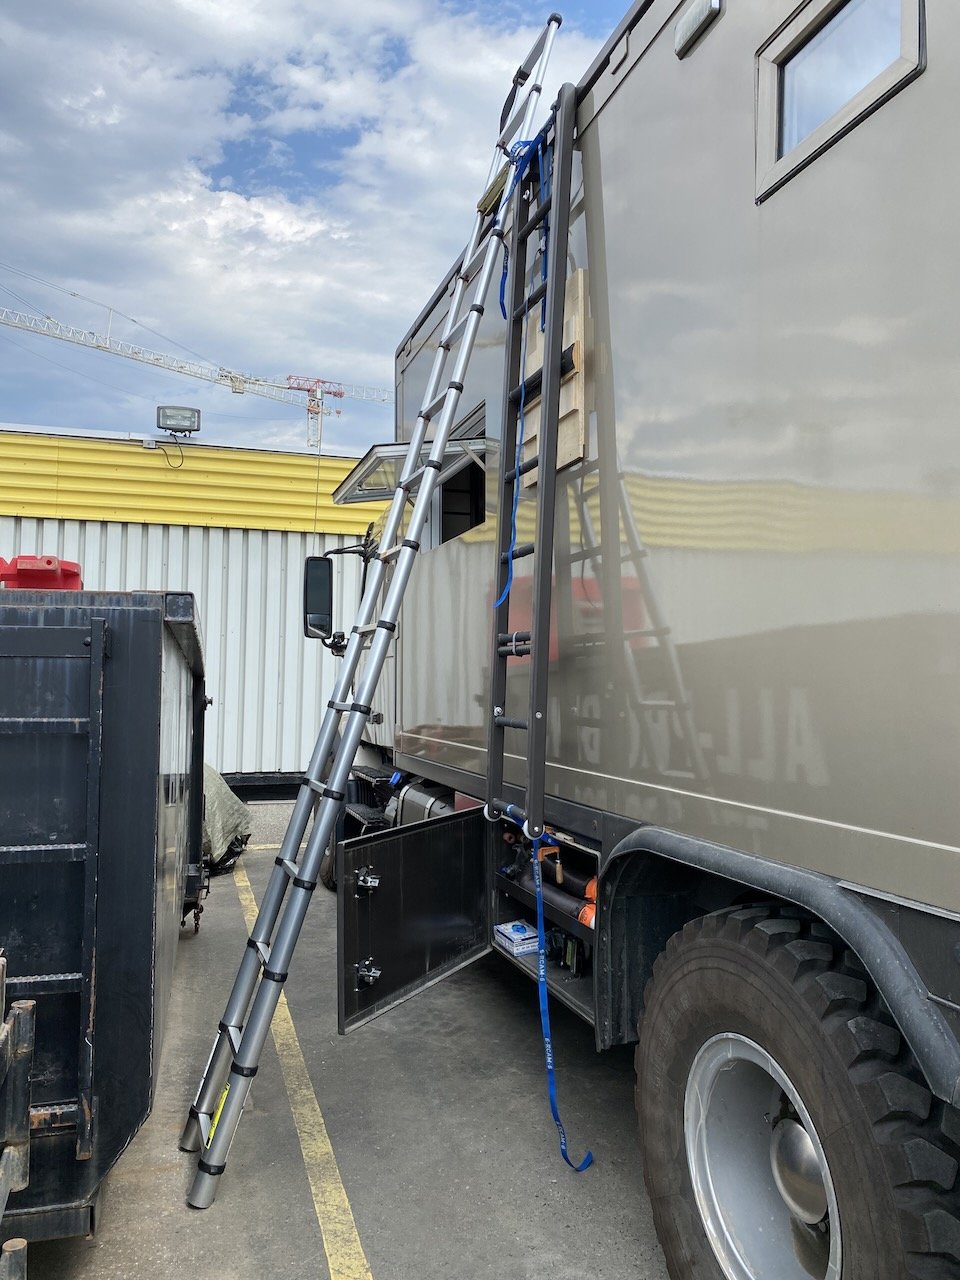
Since we knew from experience that the wall blister lays flat and is invisible when the temperatures are mild and the sun is not blazing on the wall. So we took the opportunity when we were camped at Mt. McKinley to take advantage of the large, but empty tourist parking lot, and turn the truck broadside to the early morning sun. When the truck is cold from sitting overnight, and the wall then gets hit with the radiant heat from the early morning sun, rapid heating of the outer skin causes it to expand and push away from the substrate underneath causing the blister to form. It takes up to thirty minutes for the full effect to take place, but once done we were able to fasten a grease pencil (which we carry just for this reason) to the end of a long pole, and then mark a dashed line around the perimeter of the blister. When we got back home we’d know exactly where to work. Using a tape measure, and again referencing the outside marks from the edge of the adjacent window, we could mark the inside wall to match.
Stage One, Nine Bottom Holes
Once the holes were all drilled and the wall masked, the actual glueing of the holes only takes about an hour. But we can’t do all of them at the same time. The short working time of the glue, and the limited size of the pressure platen on the outside means we have to do the glueing in stages. In this instance we had to do three stages. Where the time adds up is in waiting for the glue to fully set up after each stage’s glue injection. This meant sitting around for about an hour and fifteen minutes before we could set up and glue the next stage. Three stages means about four hours of waiting, and then the cleanup after. So the day began around 10am and finished around 3:30pm.


Stage Two, Nine Middle Holes
With the nine first stage holes complete, we now had to raise the outer platen to the middle position before we could start injecting the glue. This way it was ready for instant pressure application when this second batch of nine holes was injected with glue.


Stage Three, Top Seven Holes
Two stages done, one to go. This just left the last seven holes to complete the glue application at the very top of the blister. Once again had to raise the outside platen to its final pressing area at the top. With that done, final glue injection could be done.


Final Clean Up
With all the holes filled, all that’s left was to finish cleaning up the inner wall. This meant cutting off the glue that has oozed out of the holes, and then removing the masking tape carefully so as not to chance pulling the laminate away from the wall. That’s right, we have zero confidence that the cabinet maker did a proper glue job when attaching the laminate.


Repair complete. Just a small residual blemish remains. Fortunately, for the untrained eye, it’s hard to see. We know we have a good repair here. The wall has been in the sun for four hours and there is no sign of the blister.
Like all the rest of the blister repairs, there’s a slight surface imperfection left visible on the outside of the wall where the thickness of the glue can be seen. But it’s only visible under the right light, and when looking at the wall from a shallow angle. As disappointing as this residual effect is, it’s the best we can do, and better than leaving the blister unattended where it could eventually grow larger and compromise the strength of the wall.
If we ever get to the end of the blister formations and repair, and the visual distortions bother us enough, we could either have the surface levelled out by a competent truck body shop and repainted, or even cover the area with an image wrap of some sort to disguise the issues. This is after all, the reason most of the larger motorhomes have the gaudy multicolour paint schemes. The flatness of those wall panels are terrible right from the factory.