Storage Locker Door Hinges
A Poor Choice Of Essential Hardware
Within the first six months from taking delivery of our “finished” truck we knew that the builder had also delivered a problem that we would ultimately be repairing ourselves. The outside storage locker hinges.
This is a perfect example of the builder’s failure. The hinge barrel only welded on one side, and the hole we drilled to try and force in some lubrication.
Unlike most competent builders who use hardware that is fully serviceable over time, this builder chose to use weld-on aluminum hinges. It’s not so much that the hinges were aluminum, or even that they were weld-on, but rather that they had no provision for being lubricated. For a vehicle that is supposed to be built to withstand the rigours of the planet and its climate, installing non-removable exterior hinges that can corrode and seize up from road salt and other abuses is the height of stupidity. Especially when weld-on aluminum hinges with grease zerks are readily available. When challenging the builder on this rather dubious practice, they claimed that they had always used these hinges and never had an issue. Something we found hard to believe since the first winter in Canada saw the hinges starting to bind up. We tried to remedy the problem by drilling holes into the body of the hinges so we could force penetrating oil into them. But since the idiots at the builder didn’t weld the hinges on in the same orientation for each locker, we had no way of knowing which half of the hinge was the pin, and which was the socket.
Our choice for replacement hardware.
Adding insult to injury, the builder’s design was such that the hinge half welded to the locker body could only be welded on one side of the hinge barrel. The raised lip of the locker opening got in the way on the opposite side. So as the hinges bound up, and more force was needed to open the door, a prying action is placed on the one sided weld to the point where the weld eventually stress fractured and came off the locker body. The infuriating thing about all this is that not soon after our challenge to the builder, they started using bolt on stainless steel hinges just like the ones we found after a short internet search.
It’s indeed a sad thing when the customer has to tell the so-called expert builder how to properly construct their product. We’ve lost count of how many things we had to challenge the builder on, then repair it ourselves, only to find out that the builder adopted our fixes on their subsequent builds. At times it really felt like we were their R&D department. Of course we didn’t receive even so much as a thank-you, let alone “compensation”.
The Process Of Repair
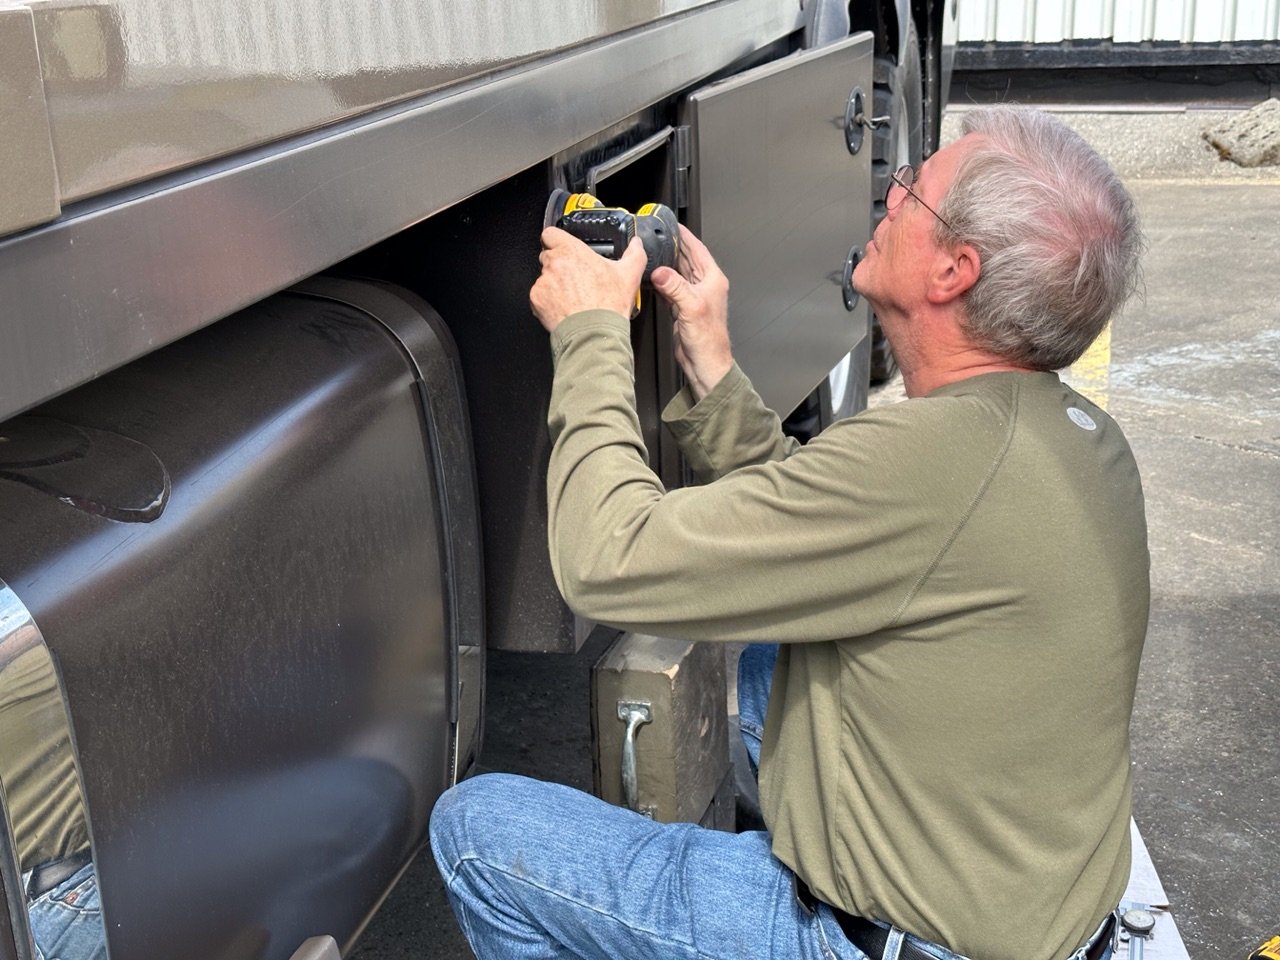
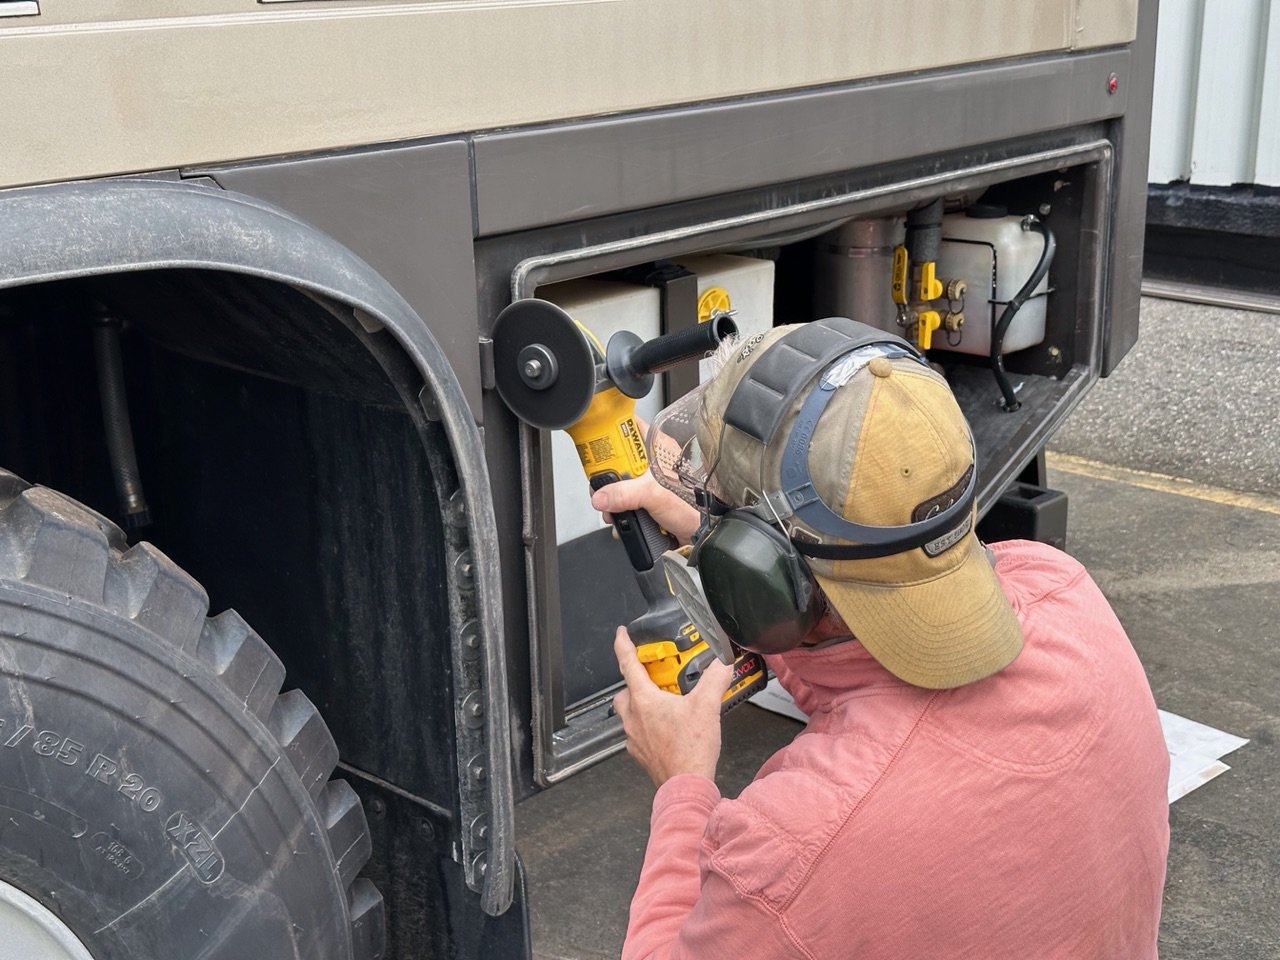
Grinding off the locker part of the hinge after first grinding off one of the door hinge parts so the door could be removed.
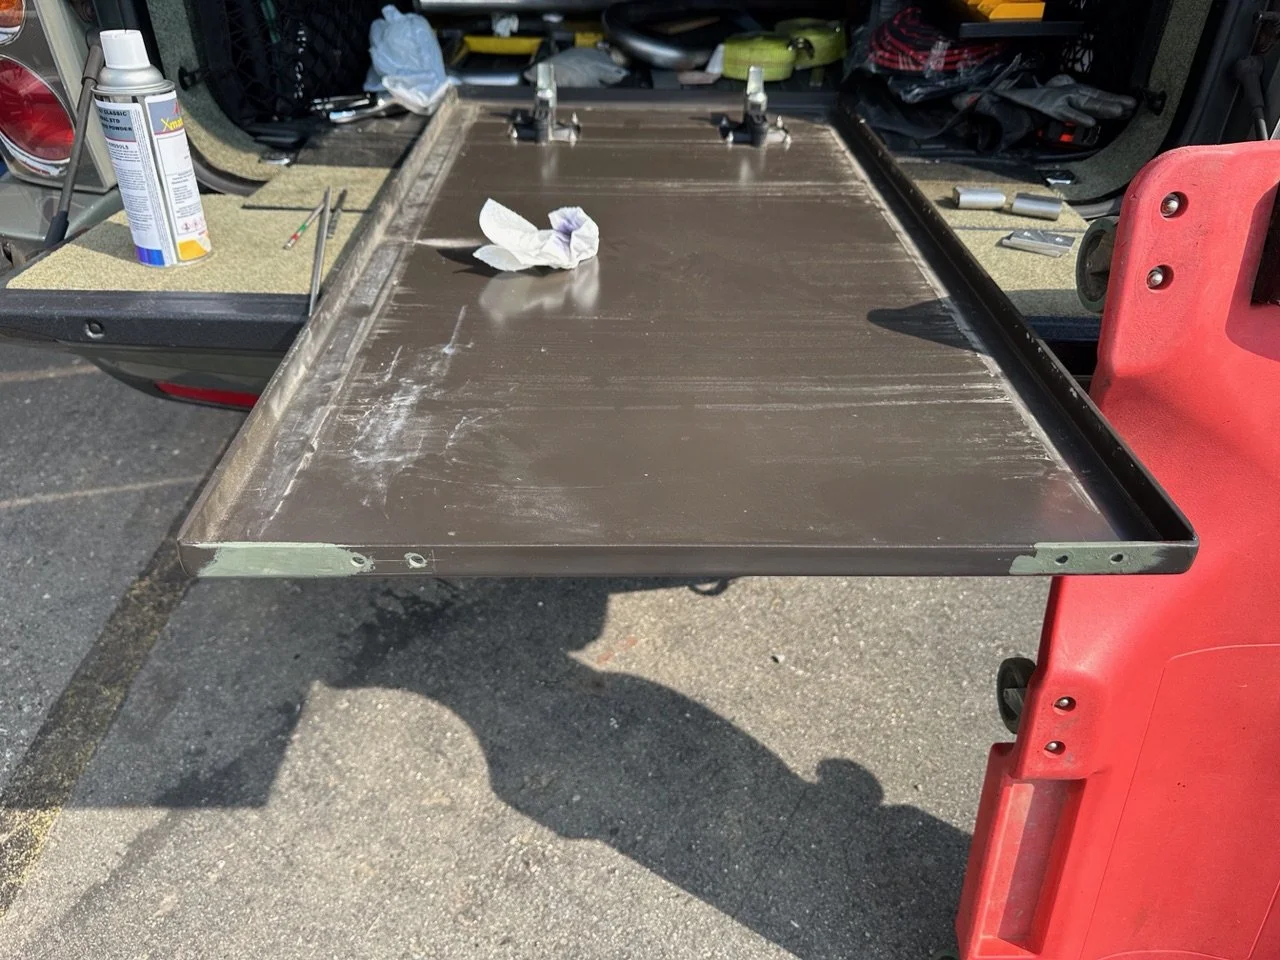
In this case, the repair is a significant amount of work. That’s because we can’t just unbolt the defective part and bolt on a new one. Welded assembly can only be repaired by “un-welding” the faulty work. In other words, the welds have to be cut away, and in this case it must be done by hand with an angle grinder and narrow cutting disk, in a very careful manner. When this is done, it damages the painted finish on the base metal, which also has to be repaired. So the bad decisions by the builder leaves the customer with an enormous amount of hassle to find someone that can do all of the various steps to complete the repair. Not all customers have the skill set that we ourselves possess, and can do their own work. The cost to the average vehicle owner in this case would be several thousand dollars to pay a body shop to grind off the welds, dress the metal and repaint the locker components and then fit the new hinges.
A tough job in the summer heat
Even though it was over 30°C, we were able to fashion a sun shade using a small tarp and a couple of extending poles.
This is one of those good/bad situations. Good, because the failure happened when the truck was parked in its storage facility, but bad because it happened in the summer when the repair had to be done at the hottest time of the year. But even with this, it’s good because any other time of the year in our location it could be cold and/or wet, and we’d be working outdoors with no shelter. It’s easier to shade for sun than it is to cover for wind and rain.
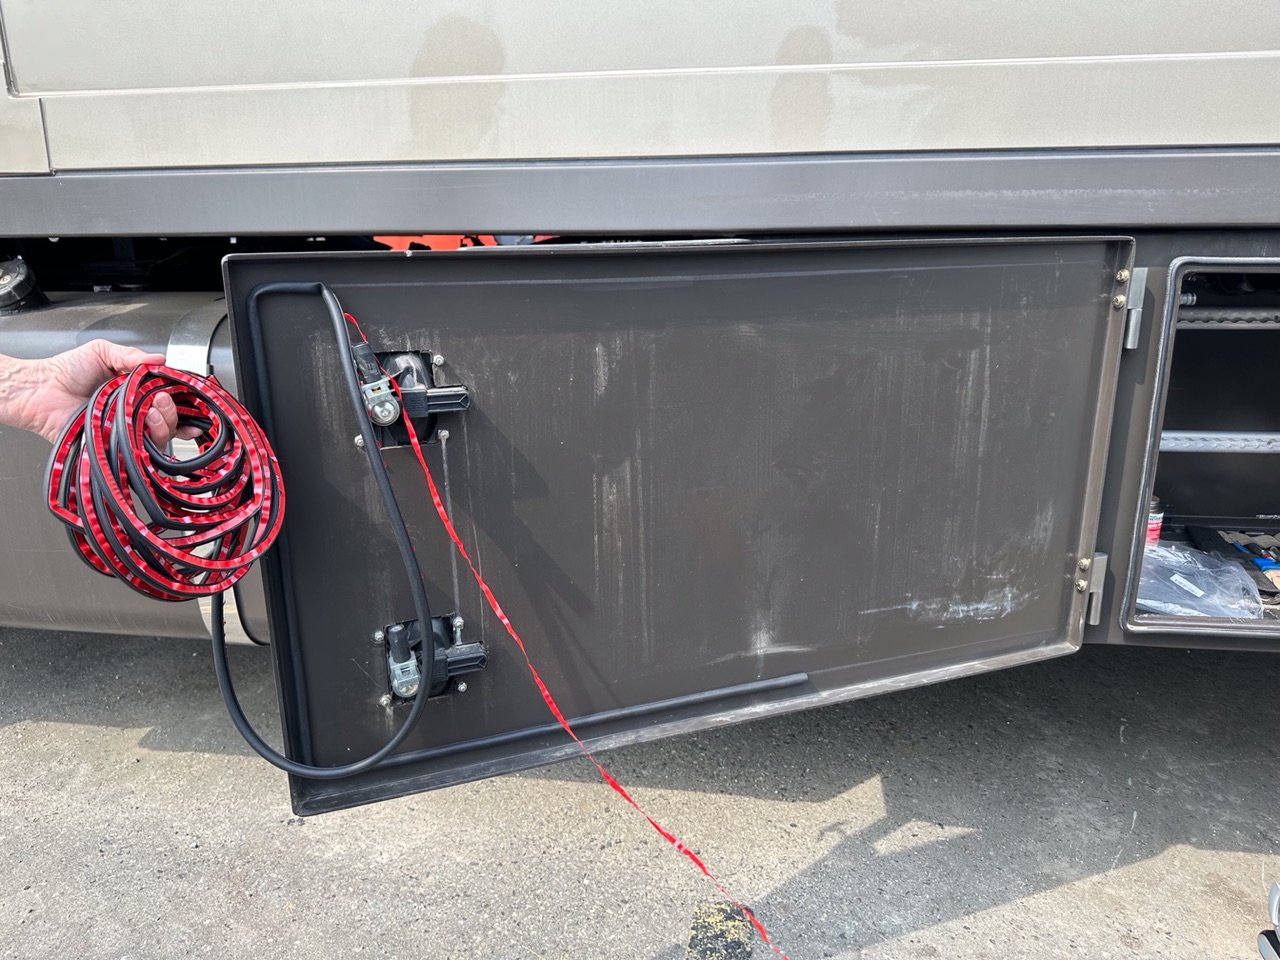
All in all it took about four days to do the job, as we had to wait for primer and paint to dry before we could bolt on the new hardware. The one additional thing that we had to do was add a second layer of weather stripping to the doors. The new hinges hold the doors about 6mm further away from the locker weather stripping, which means it won’t seal. Not that the original seals did a good job to begin with. They were too thin, and the builder’s in-house fabricator was less than precise when welding on the hinges, leaving small gaps at the corners that let in dust. Our 9mm thick, self adhesive bulb seal, which we positioned on the door to contact the original seal, makes up for all that inaccuracy. Below are the photos of the entire process.
The First Door
The first door was done a little different than the other three. Since one hinge was already broken, we were able to just force the door off of the remaining, almost seized hinge pin and start from there. We also hadn’t the confidence yet on repositioning the door on the box, so we used the lower hinge mount to re-locate the door when we had prepared the upper hinge point for the new stainless steel hinge. Once the upper hinge was replaced, we then ground off the bottom hinge.
Once we had done the first door, and knew that the repositioning of the door wasn’t an ordeal, we were able to simply cut all the hinges off and then redo them all together instead of one complete hinge point at a time. This was much faster.
The Remaining Three Doors
With the first two hinges under our belt, the remaining six were completed in a more expedient manner.
With all the door hinges replaced with an easily serviceable product, we can now depend on them to provide us with many years of trouble free use. All that remains is to get the lower portion of the truck that was powder coated brown, repainted. The powder coating, despite being an exterior use product, hasn’t stood up well to the ravages of the sun.
Back when we had to remove the fuel tanks in order to relocate the filler openings from under the habitat (see that repair here), we used a heavy truck body shop to do the removal and replacement of the tanks. Since the relocation of the fillers damaged the paint, we also had the body shop repaint the tanks with a proper automotive finish. So we pre-arranged to have them also repaint the lower portion of the truck so everything would match. Now it’s just a matter of scheduling in a time for them to do it.
Nicely mounted and aligned doors, thanks to our new stainless steel bolt-on hinges.


