Cylinder Head Guards
Crash Bars are not enough
One of the few oversights by the brilliant engineers in Germany was with regard to the cylinder heads for the boxer engine. The valve covers on those two heads protrude the furthest out each side of the bike, and because they are made from die cast aluminum, they are actually quite fragile. If the bike was to fall over and those valve covers impacted a hard surface they would fracture, and an oil leak would ensue.
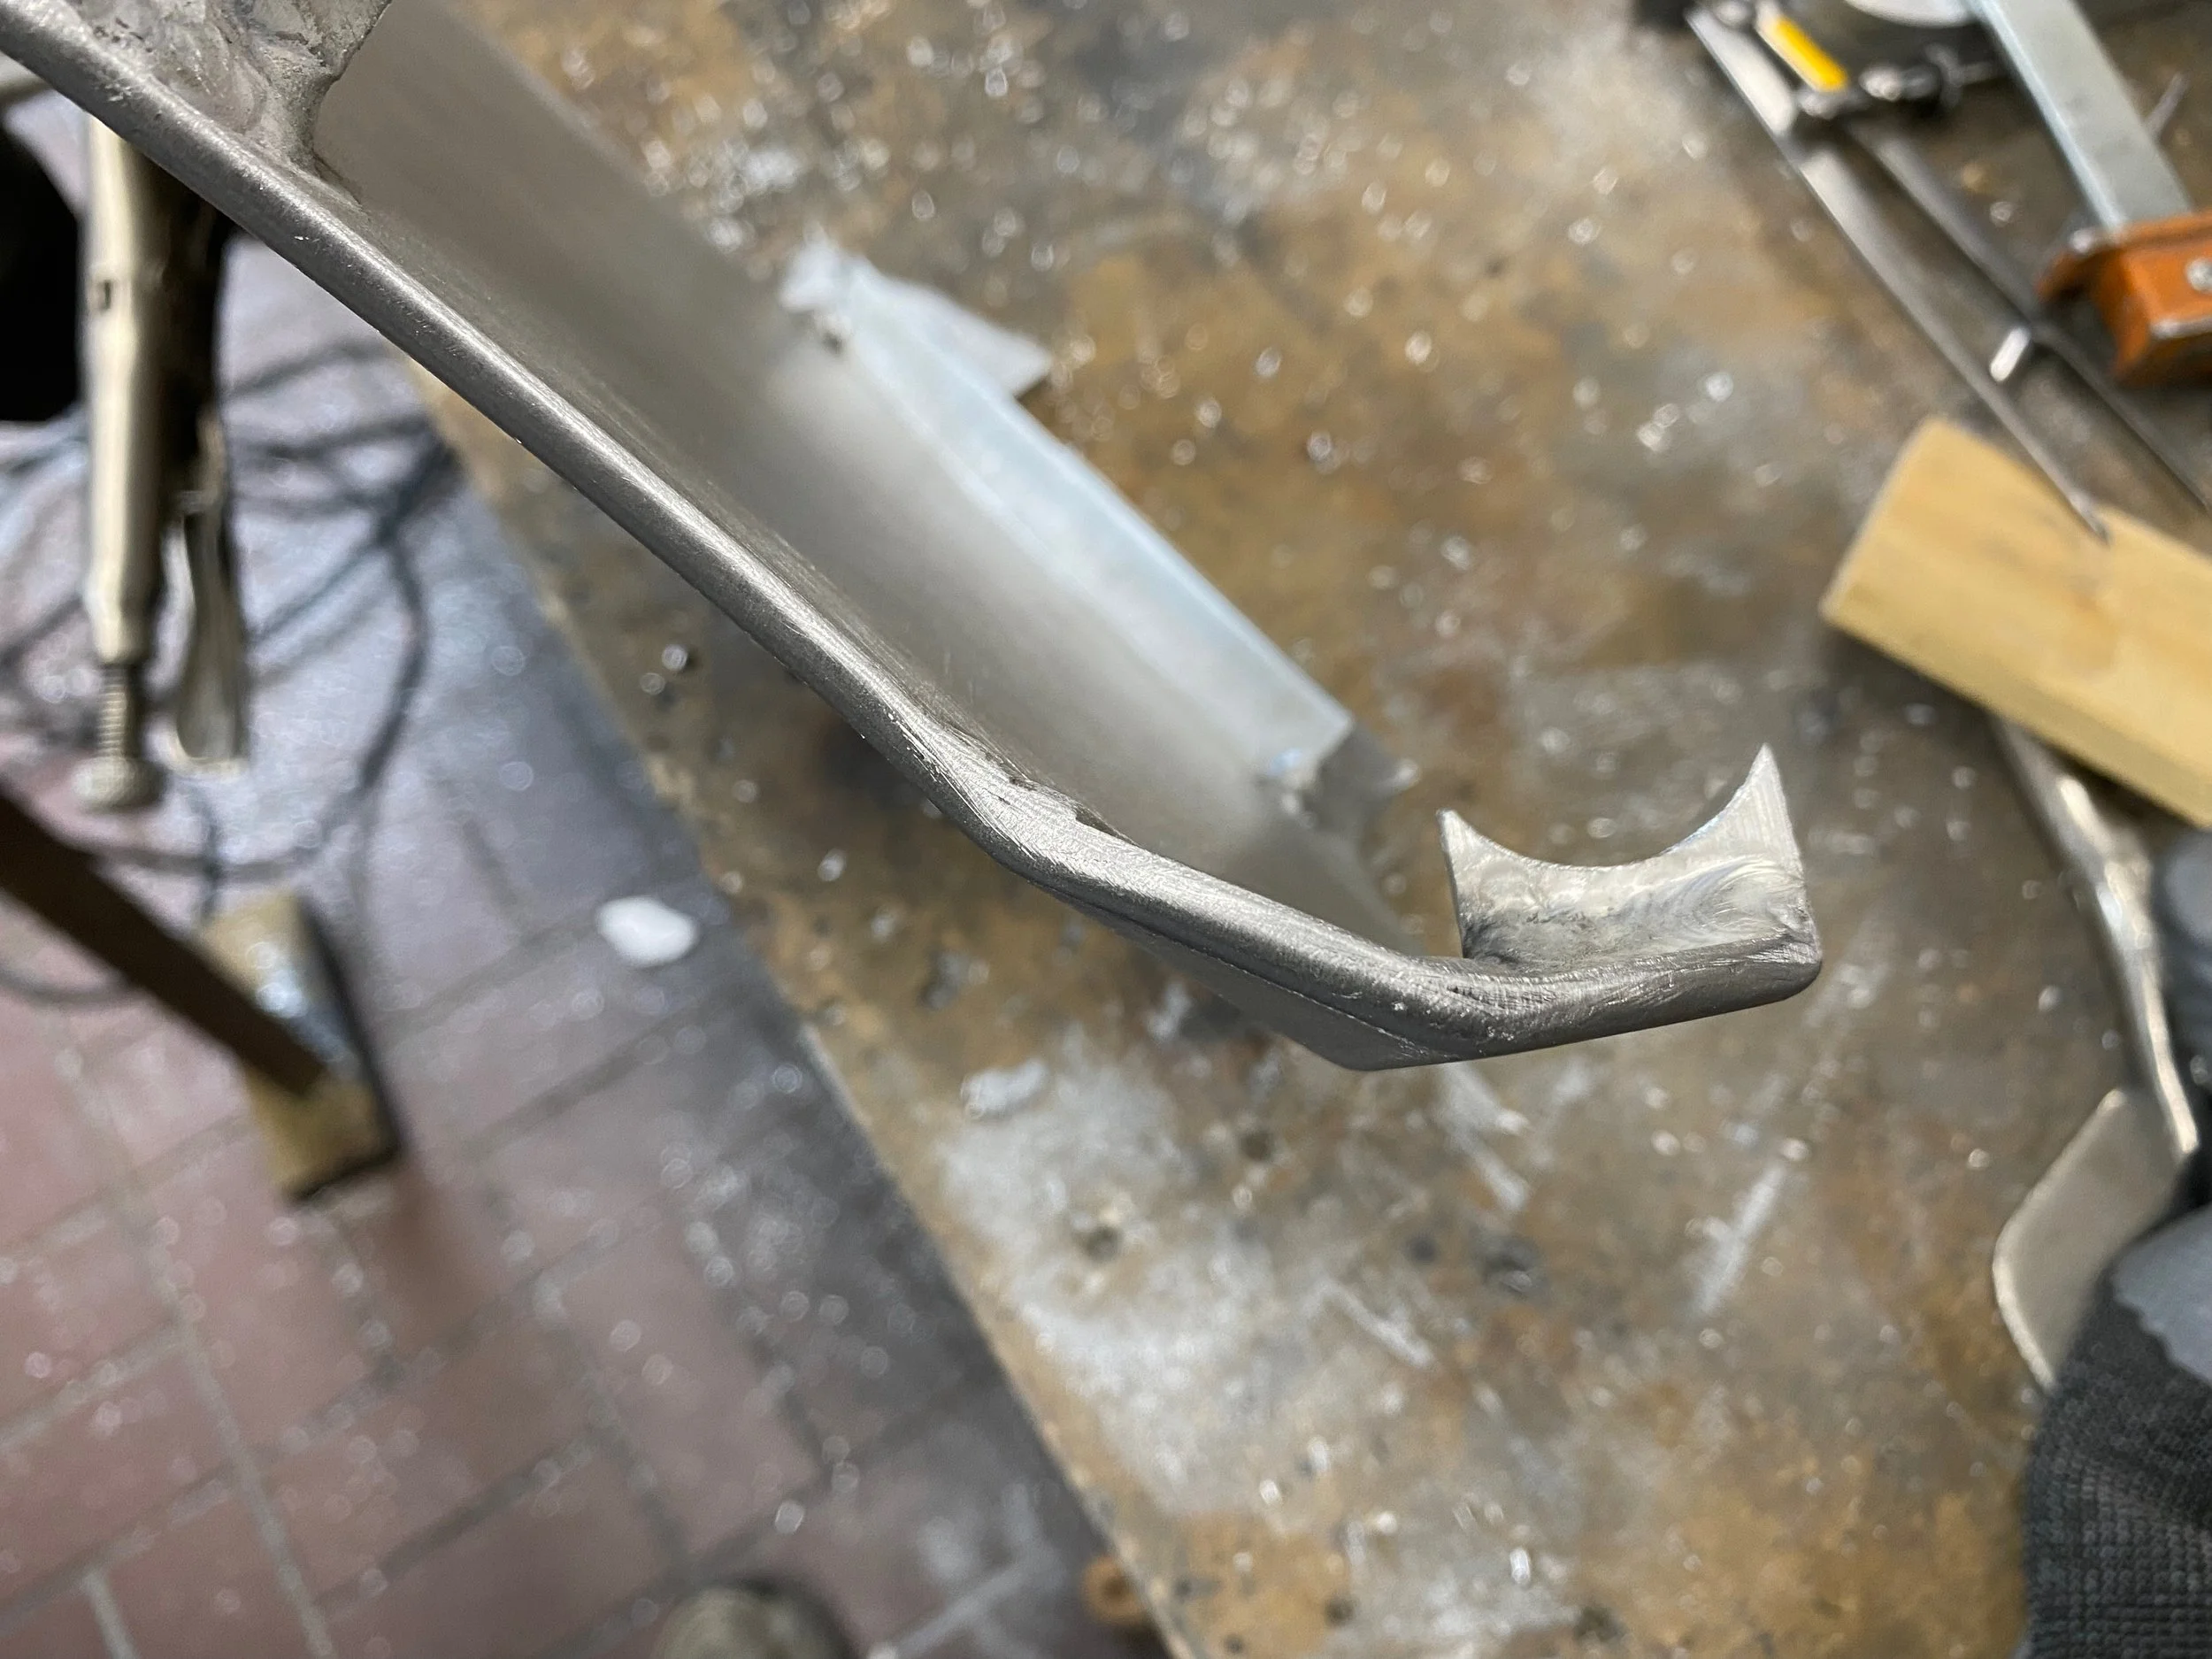
You can see in this photo how much extra thickness had to be added to the outside of the tubing so it would protrude past the bump on the valve cover.
To solve this likely scenario, the engineers designed a set of very robust stainless steel crash bars that envelop the cylinder heads and valve covers. There’s just two tiny problems that they overlooked. First, the most outward point of the valve cover actually protrudes beyond the crash bars, so the valve cover could hit the ground if the bike rolled enough when falling over. Now most would say that a vast majority of bike falls would happen in difficult terrain off road, and they would probably be right. If the ground was all soft dirt or sand then there wouldn’t be an issue. But, in off road conditions, soft dirt and sand often comes with rocks embedded in them. If the rocks protrude high enough, and the bike falls in just the right place, the crash bars can encircle the rock and let it hit the valve covers. The result is a ruined day for the rider and an expensive repair.
Our solution to the Factory oversight
There are numerous companies that have created auxiliary protection devices to try and alleviate the problem of less than optimal crash bar protection. Many of them are nicely designed and fasten directly to the valve covers. However, this means that the structural support needed for these devices to protect the valve covers, is coming from… well, the valve covers themselves. Doesn’t that seem just a bit odd?
Other manufacturers make protection that is secured to the crash bars, and provides ample protection. But they seemed awfully expensive for what was essentially a stamped piece of thick sheet metal and a few clamps. Being the cheapskate that I am, I thought I could make my own solution for much less money. A lot more work, to be sure, but Covid was still running rampant and I had nothing else to do. What was nice about this little project was that most of it could be made from scrap pieces of aluminum that I had left over from other projects on the overland truck. So the only cost was a few rattle cans of paint.
The Build Process Begins
The first step after determining just how much the valve covers protruded was to create the spacers that would rest against the crash bar tubing. For this I used a chunk of 1” x 2” aluminum flat bar, and a router with a 1” round cutter in it. A rudimentary guide fence was created to position the flat bar over the cutter, and then it was just a matter of doing multiple passes over the cutter at increasing depths until the desired dimension was obtained.
Once the spacers were finished, they were attached to the crash bars with tape so the next step of determining the size and shape of the protection plate could be determined. These plates were made from 3/16” thick 6061 aluminum plate that was also left over from other projects, and I had just enough to create both sides.
The next step took a bit of imagination so as to produce a functional piece of armour, but at the same time keep the plate as small as possible for weight reduction while also creating something that would be visually appealing to look at. Although the GS Adventure bike is often referred to as a tractor, because of its ability to walk up difficult terrain at a slow but unrelenting pace, I didn’t want my accessories to look like they were made in a farm yard.
Creating the Attachment Clamps
This shows how the clamps hold the plate to the crash bars. The clamps are braced against the contoured spacer and pry down on the crash bar. For illustration, shown above is a piece of aluminum bar, held by the clamps.
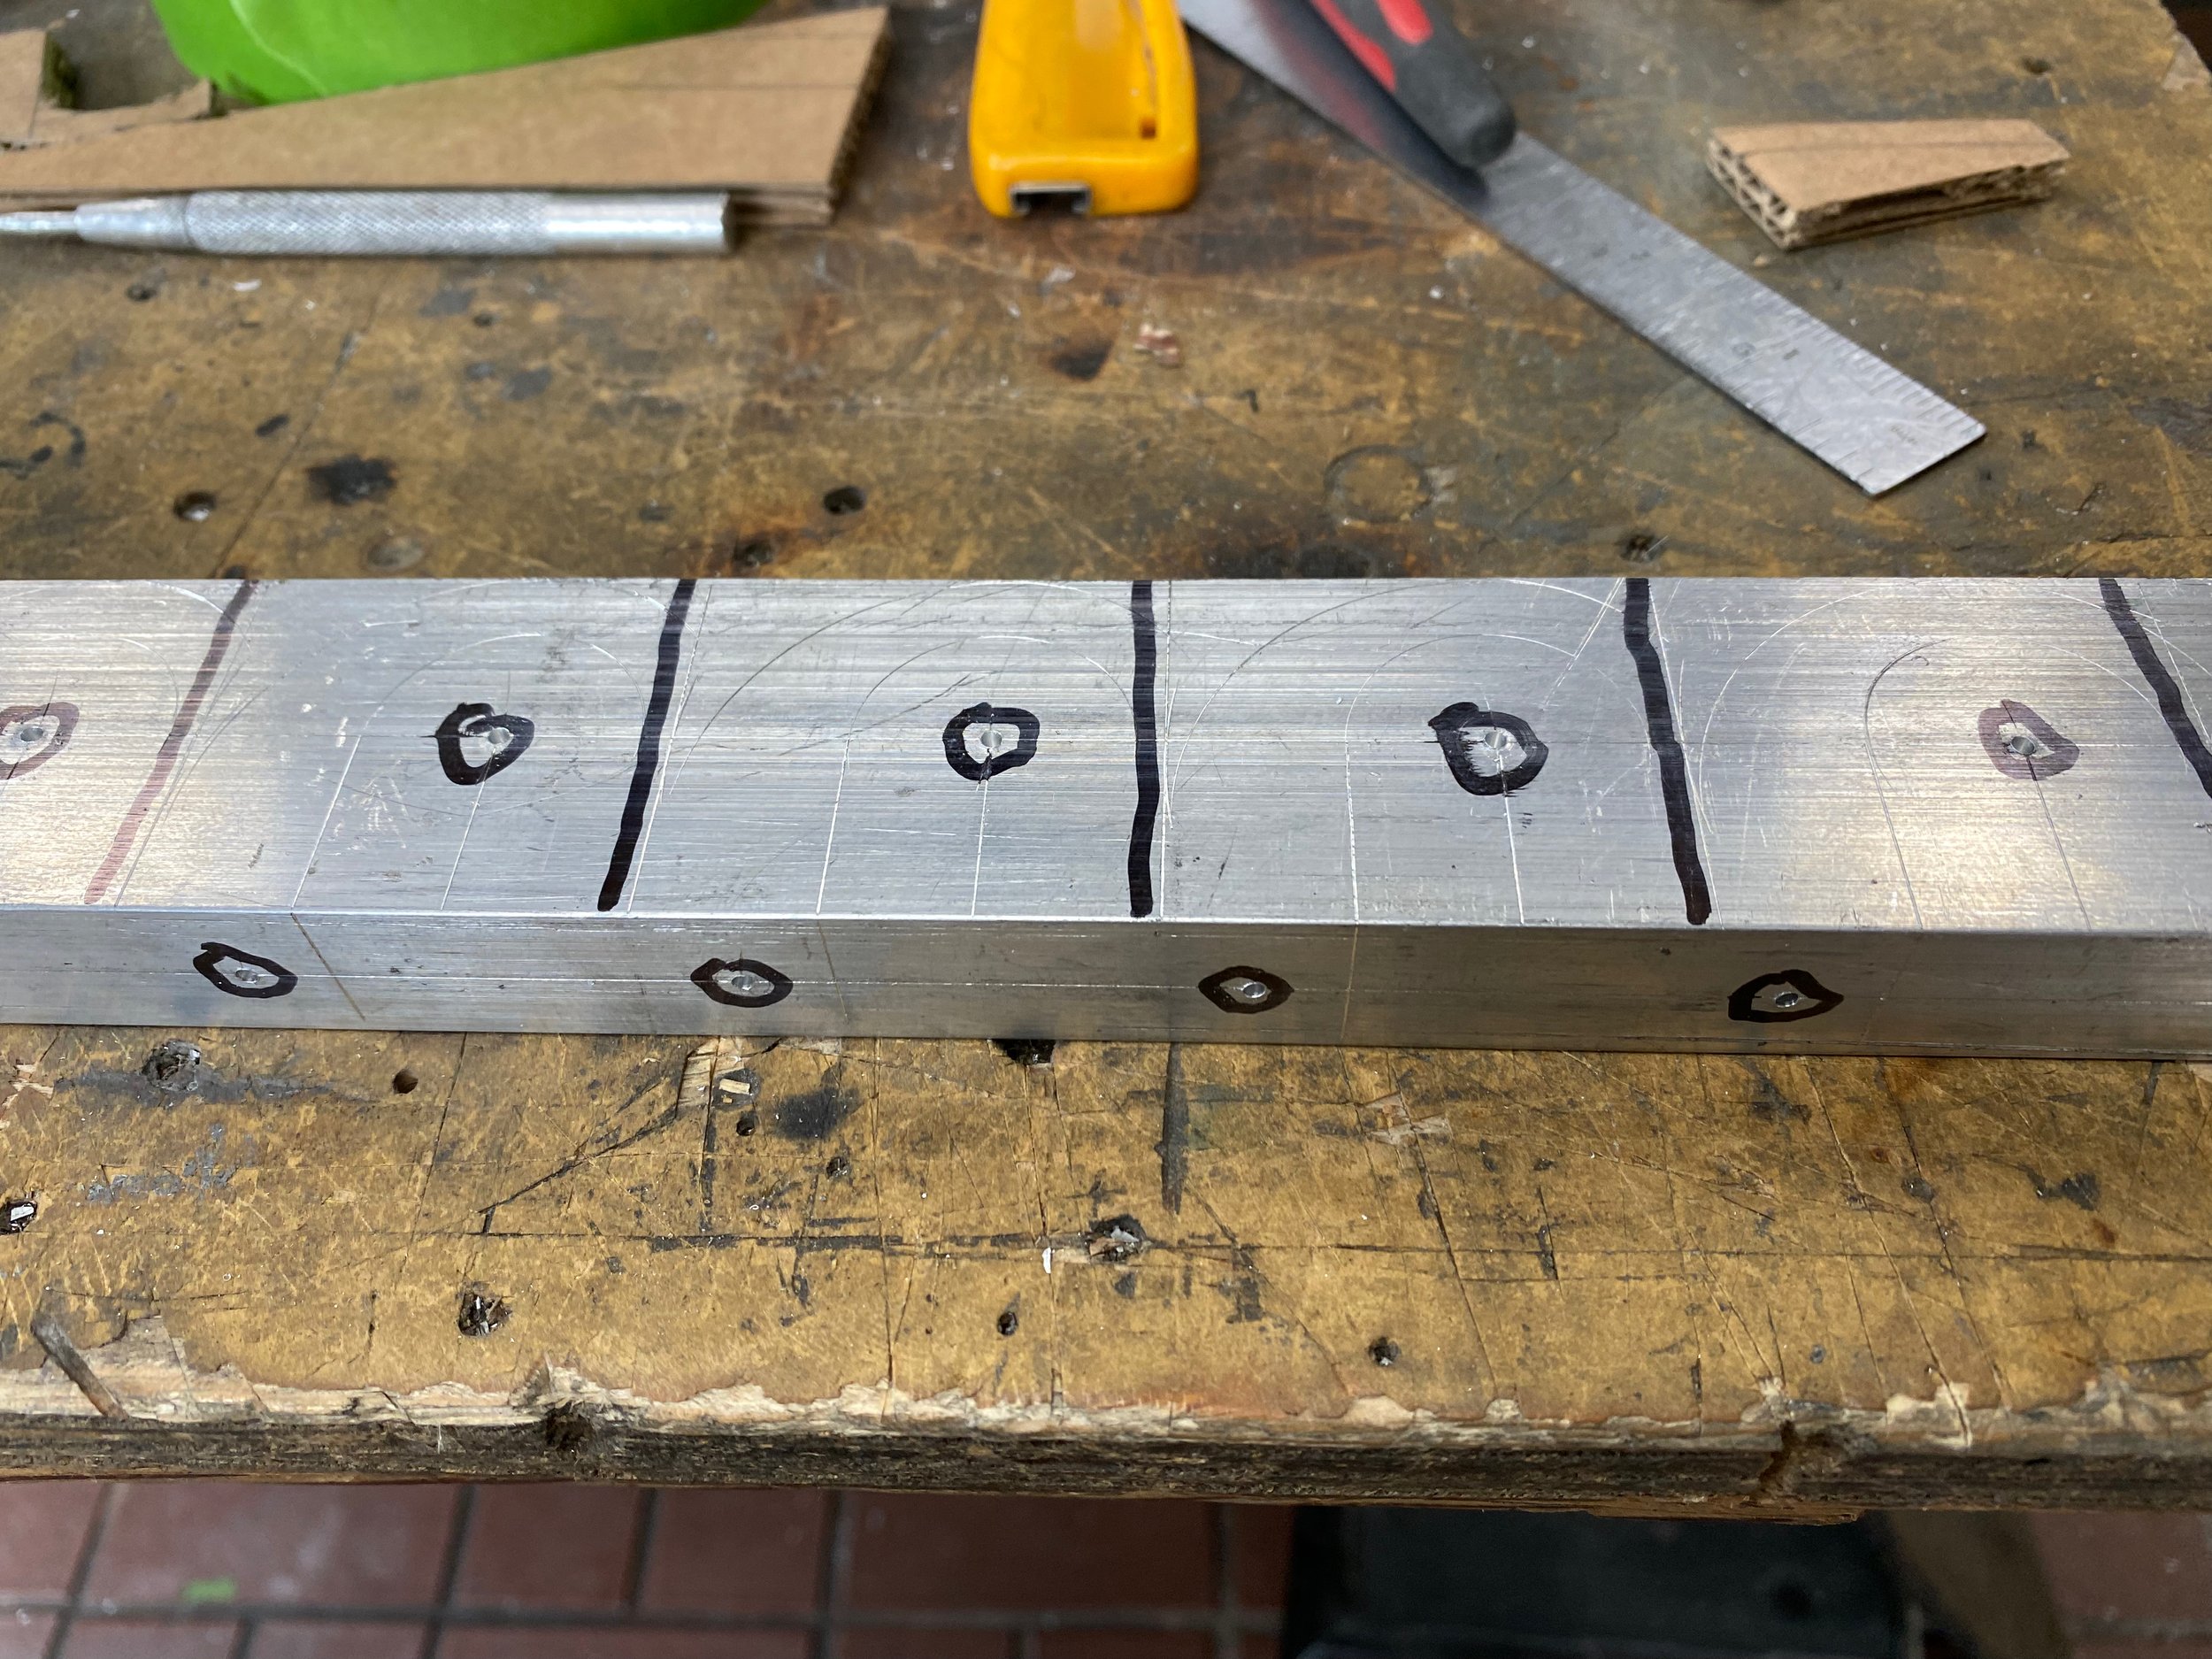
Once the protection plates were finished, the next step was to create the clamps that will wrap around the back of the crash bars and hold the plate firmly in place. To do this we would once again use a piece of 1” x 2” aluminum flat bar and through a process of hole drilling and table sawing, we’d create the uniquely shaped clamps.
Once the clamps are installed, they and the contoured spacers almost fully encapsulate the crash bar tubing.
The Final Step, Painting the parts
All three spray cans of paint were bought at a Canadian Tire Store, and can also be purchased at most auto supply shops. The brands might change, but the products are readily available worldwide.
Since the protection plates, by definition, would be taking some abuse, I wanted to coat them with something that could be easily touched up when they got marred. That meant powder coating wasn’t an option. Besides the set up costs for coating such a small amount of parts would make that form of coating quite expensive. Instead I decided to coat the parts with a gravel guard material that’s usually used for the rocker panels on cars. It’s easy, cheap and readily available just about anywhere when repairs are needed.
The first step is cleaning with a suitable material like lacquer thinner or methyl hydrate, then priming the aluminum with a special metal etching primer so it would key into the metal for maximum adhesion. For that, I used an automotive product made by Dupli-Color that was purchased at the local Canadian Tire store. The gravel guard was also purchased there along with the final coating, a flat black paint. The gravel guard has a rough finish that doesn’t look great after some exposure to the elements, and the finish didn’t match anything on the bike. So I used a flat black enamel, more of a satin black really, the finish of which almost exactly matched the mat black finish on much of the plastic on the bike. It was the perfect solution.
Installation
Once the paint had dried for four or five days to ensure it was hard enough to be handled without leaving fingerprints, it was just a matter of holding the plates in place and feeding the screws through the five holes into the clamps on the back. The Allen key that is used to tighten the flat head screws can sometimes chip the paint on the edge of the hex holes, so those often have to be touched up by spraying a bit of the paint into a small dish and then dabbing on the touchup with a tiny paint brush. When it dries it can’t be seen.
Although not as flashy as the shaped protection that skins the actual valve covers, these are bullet proof and barely noticeable because they are flush with the crash bars and point towards the ground.


