Dual Purpose HandleBars
Adjustable width for comfort and function
Just as it was with the BMW R1200GS Adventure we owned, there were two main problems with the handlebars on the R1250GSA. The first was partly due to my own anatomy. When holding the grips, the angle of the handlebar ends didn’t sweep backwards enough and made me have to twist my wrists inwards to hold on. This caused pain to develop in my wrists in as little as a half hour of riding. By the time a few hours had gone by I was in agony, and barely able to hang on any more. I’d have to hold the handlebars with my thumbs up on top of the grips so my wrists could rotate to become straight with my lower arms. It’s not the safest way to control a large motorcycle, which is kind of a serious thing on a bike meant to be ridden for many hours every day.
You can see here how we had to turn the front wheel to get the handle bars to miss the tire. That left the front wheel of the bike poorly secured.
The second issue was just how wide the handle bars are from side to side. Normally this wouldn’t be a problem, but we wanted to carry the bike on the back of the truck. We wanted to keep the bike as close in as possible, but the width of the handle bars prevented this. When raised up in place on the lift platform, the left hand grip would hit the spare tire before the lift was all the way up into travel position. With the first bike, we turned the front wheel to swing the handle bar away from the tire, but this meant we didn’t have a really good mounting position for the front wheel, which caused us concern and stress.
Solving Two Problems at the Same Time
The Design Phase
By designing and machining a new set of adjustable handlebars we could solve both of these rather serious problems at the same time. Although complicated to produce, the concept was rather simple. Just create a set of handlebars that can bend on the horizontal plane, on each side of the handlebar clamps. By designing our own bars we can also manipulate their geometry so that they will allow me to sit in the perfect riding position for my rather decrepit old body.
As you can imagine, the process of creating a “revolutionary” new handlebar design took a bit of work in the conceptualizing stage. It involved a lot of sitting on the bike and playing with cardboard templates to figure out where I needed the bars to sit for my best comfort. Then it was off to the computer, and my rudimentary CAD program to start drawing up the parts. Then it was printing off the parts, making more cardboard patterns, and testing them again and again. Below are images of those cardboard test pieces as we worked with them on the bike.
The Machining Phase
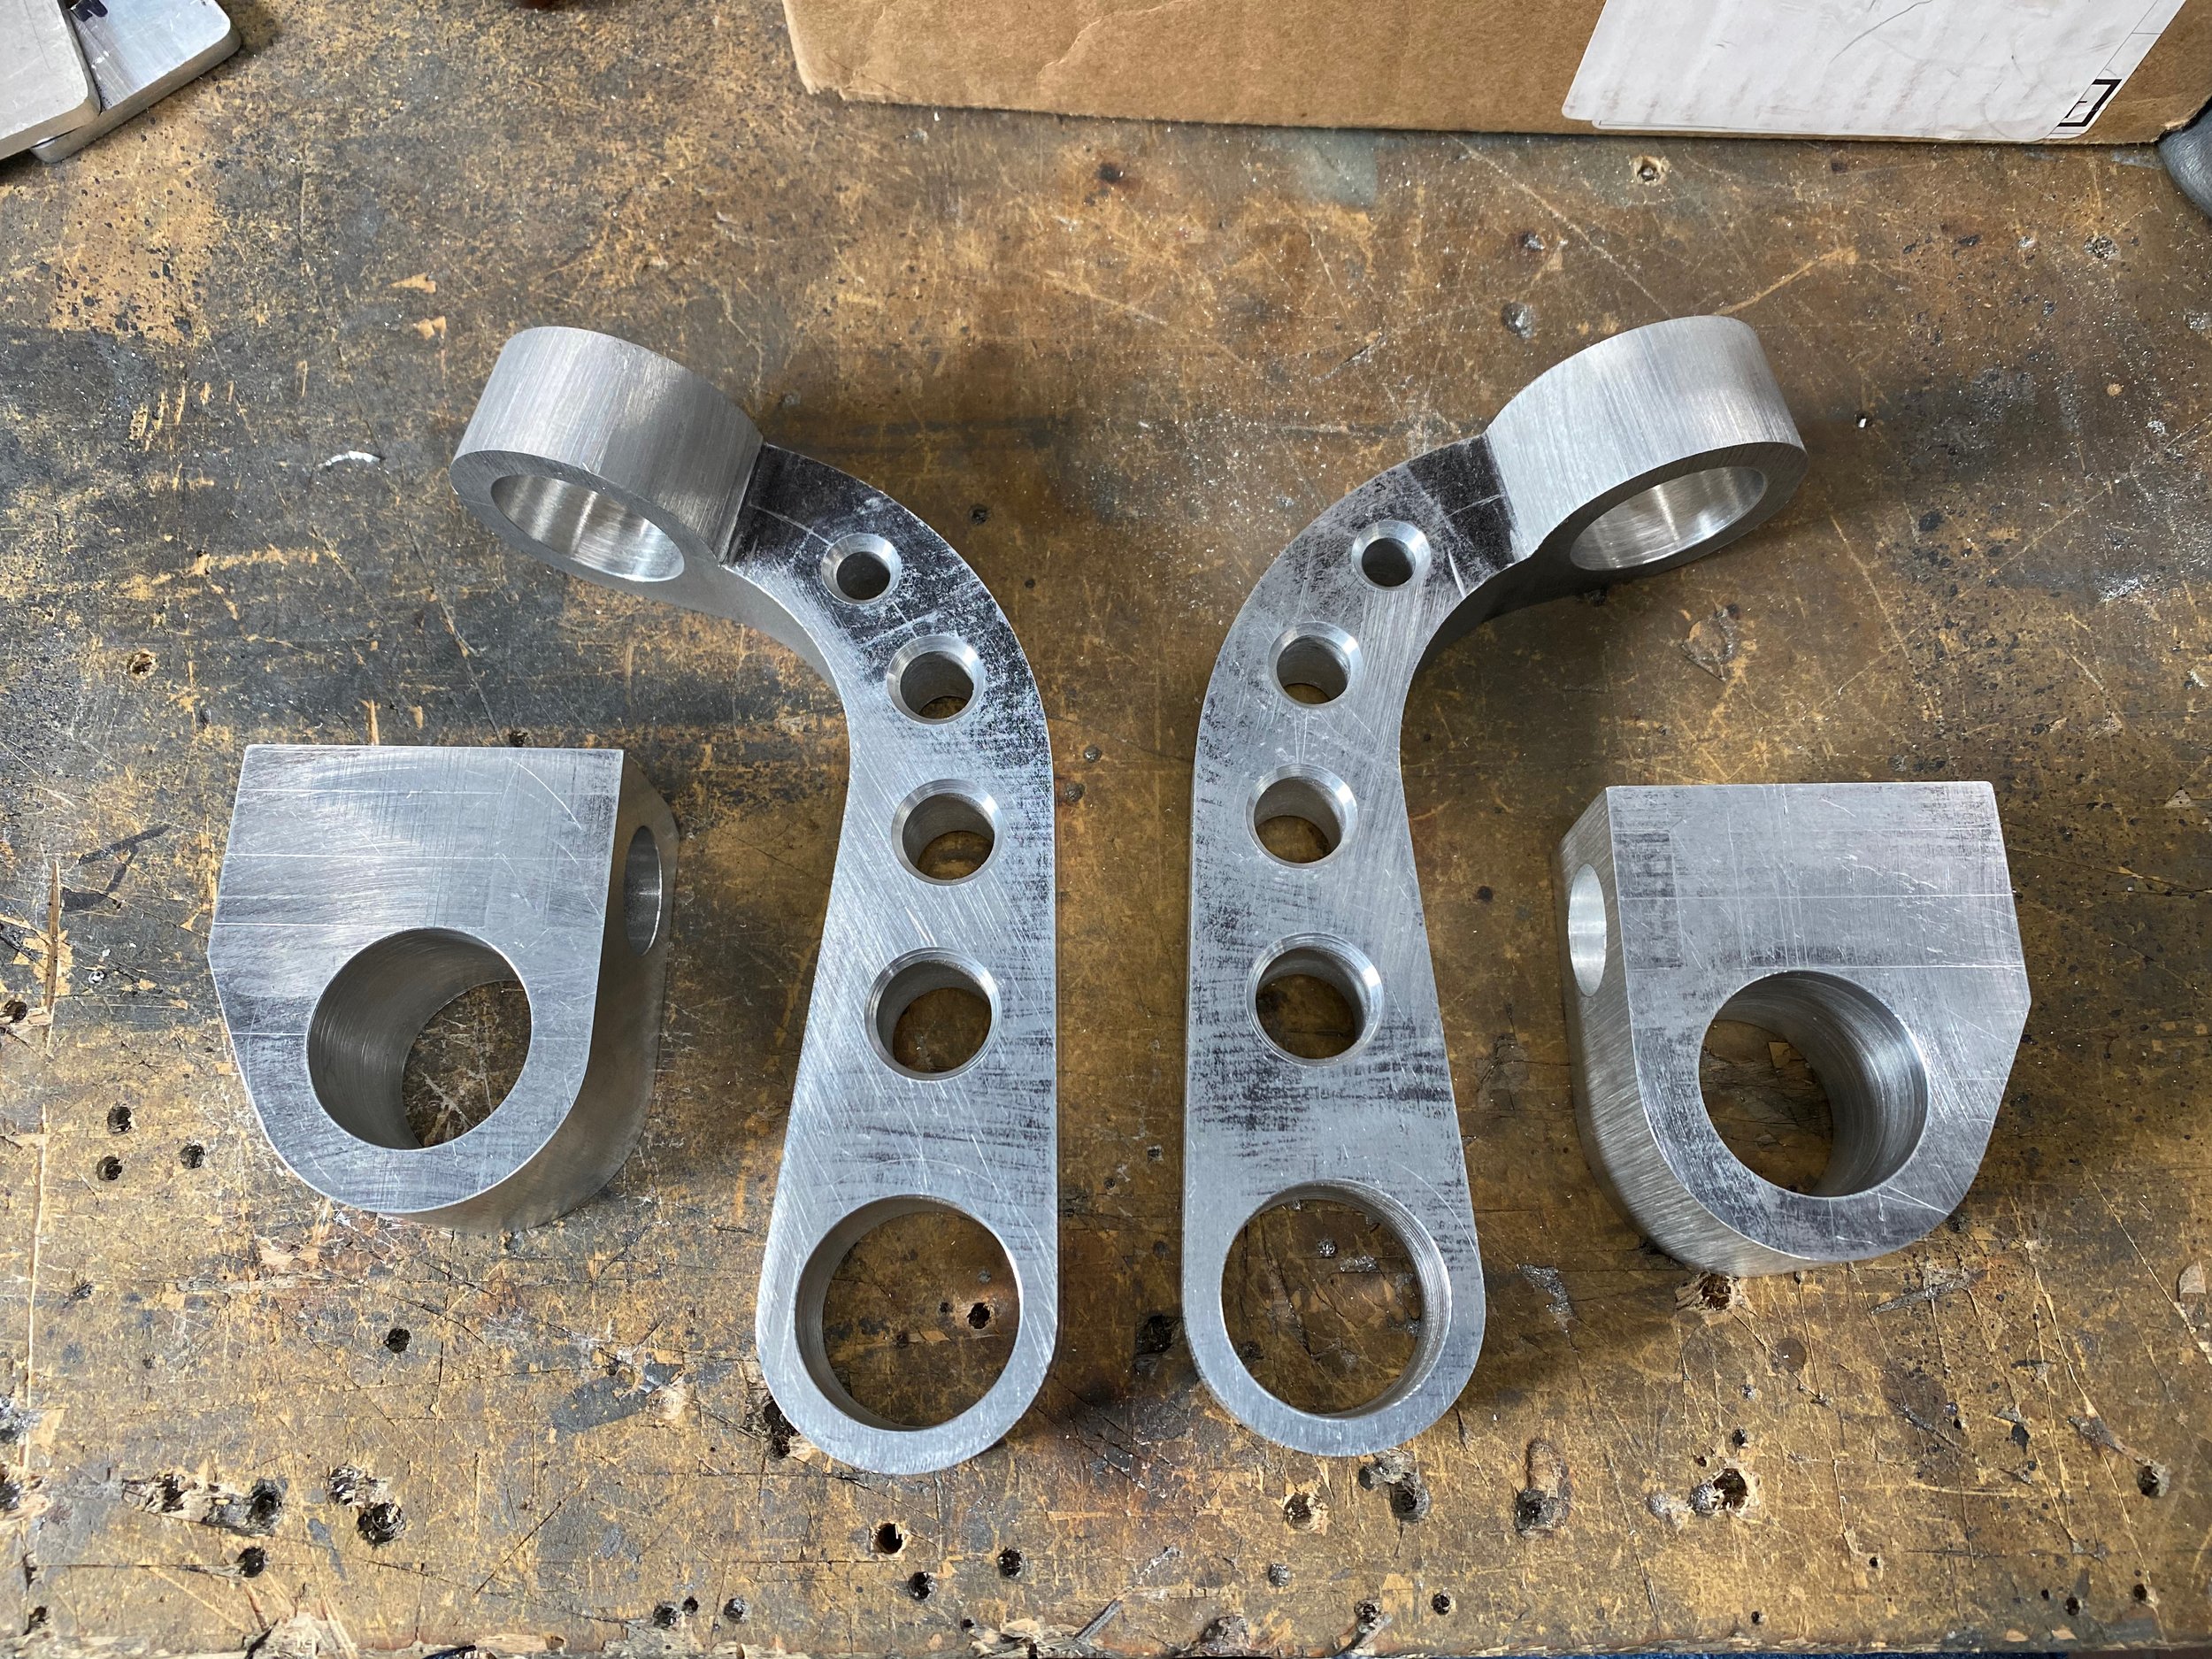
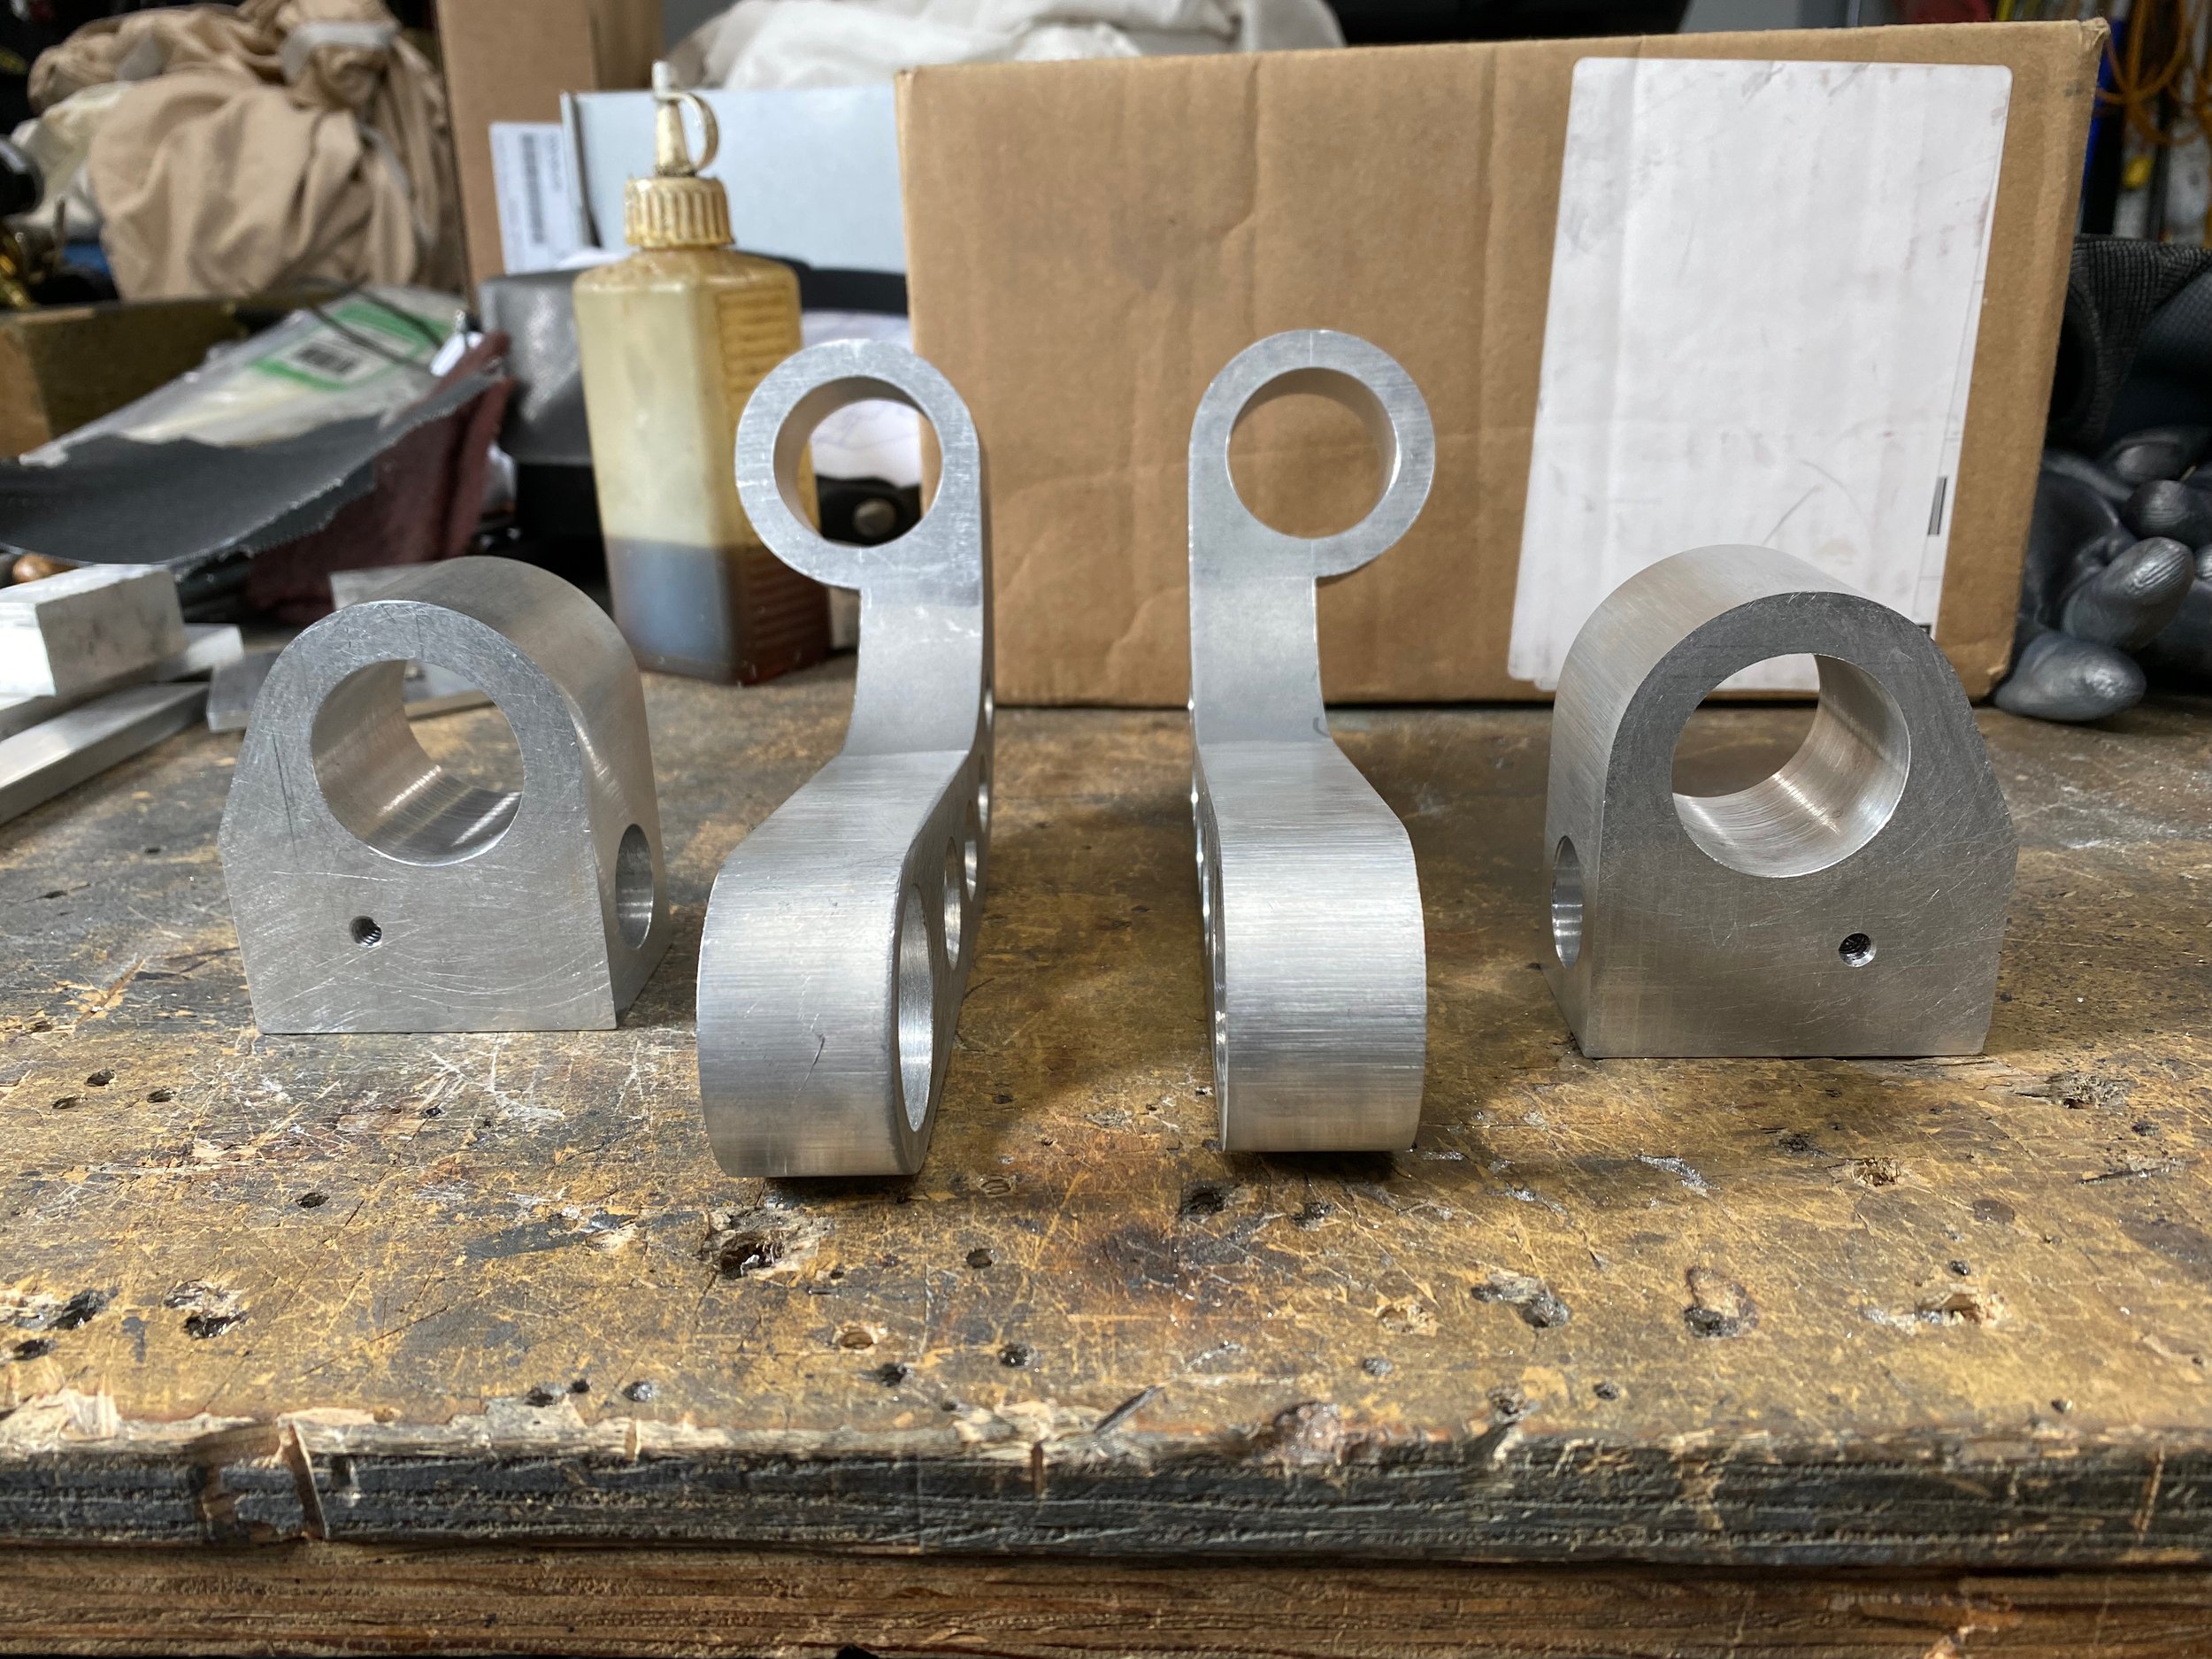
The two bent shapes were water jetted from 2” 6061-T6 aluminum plate.
Bar Risers & Swivel Blocks
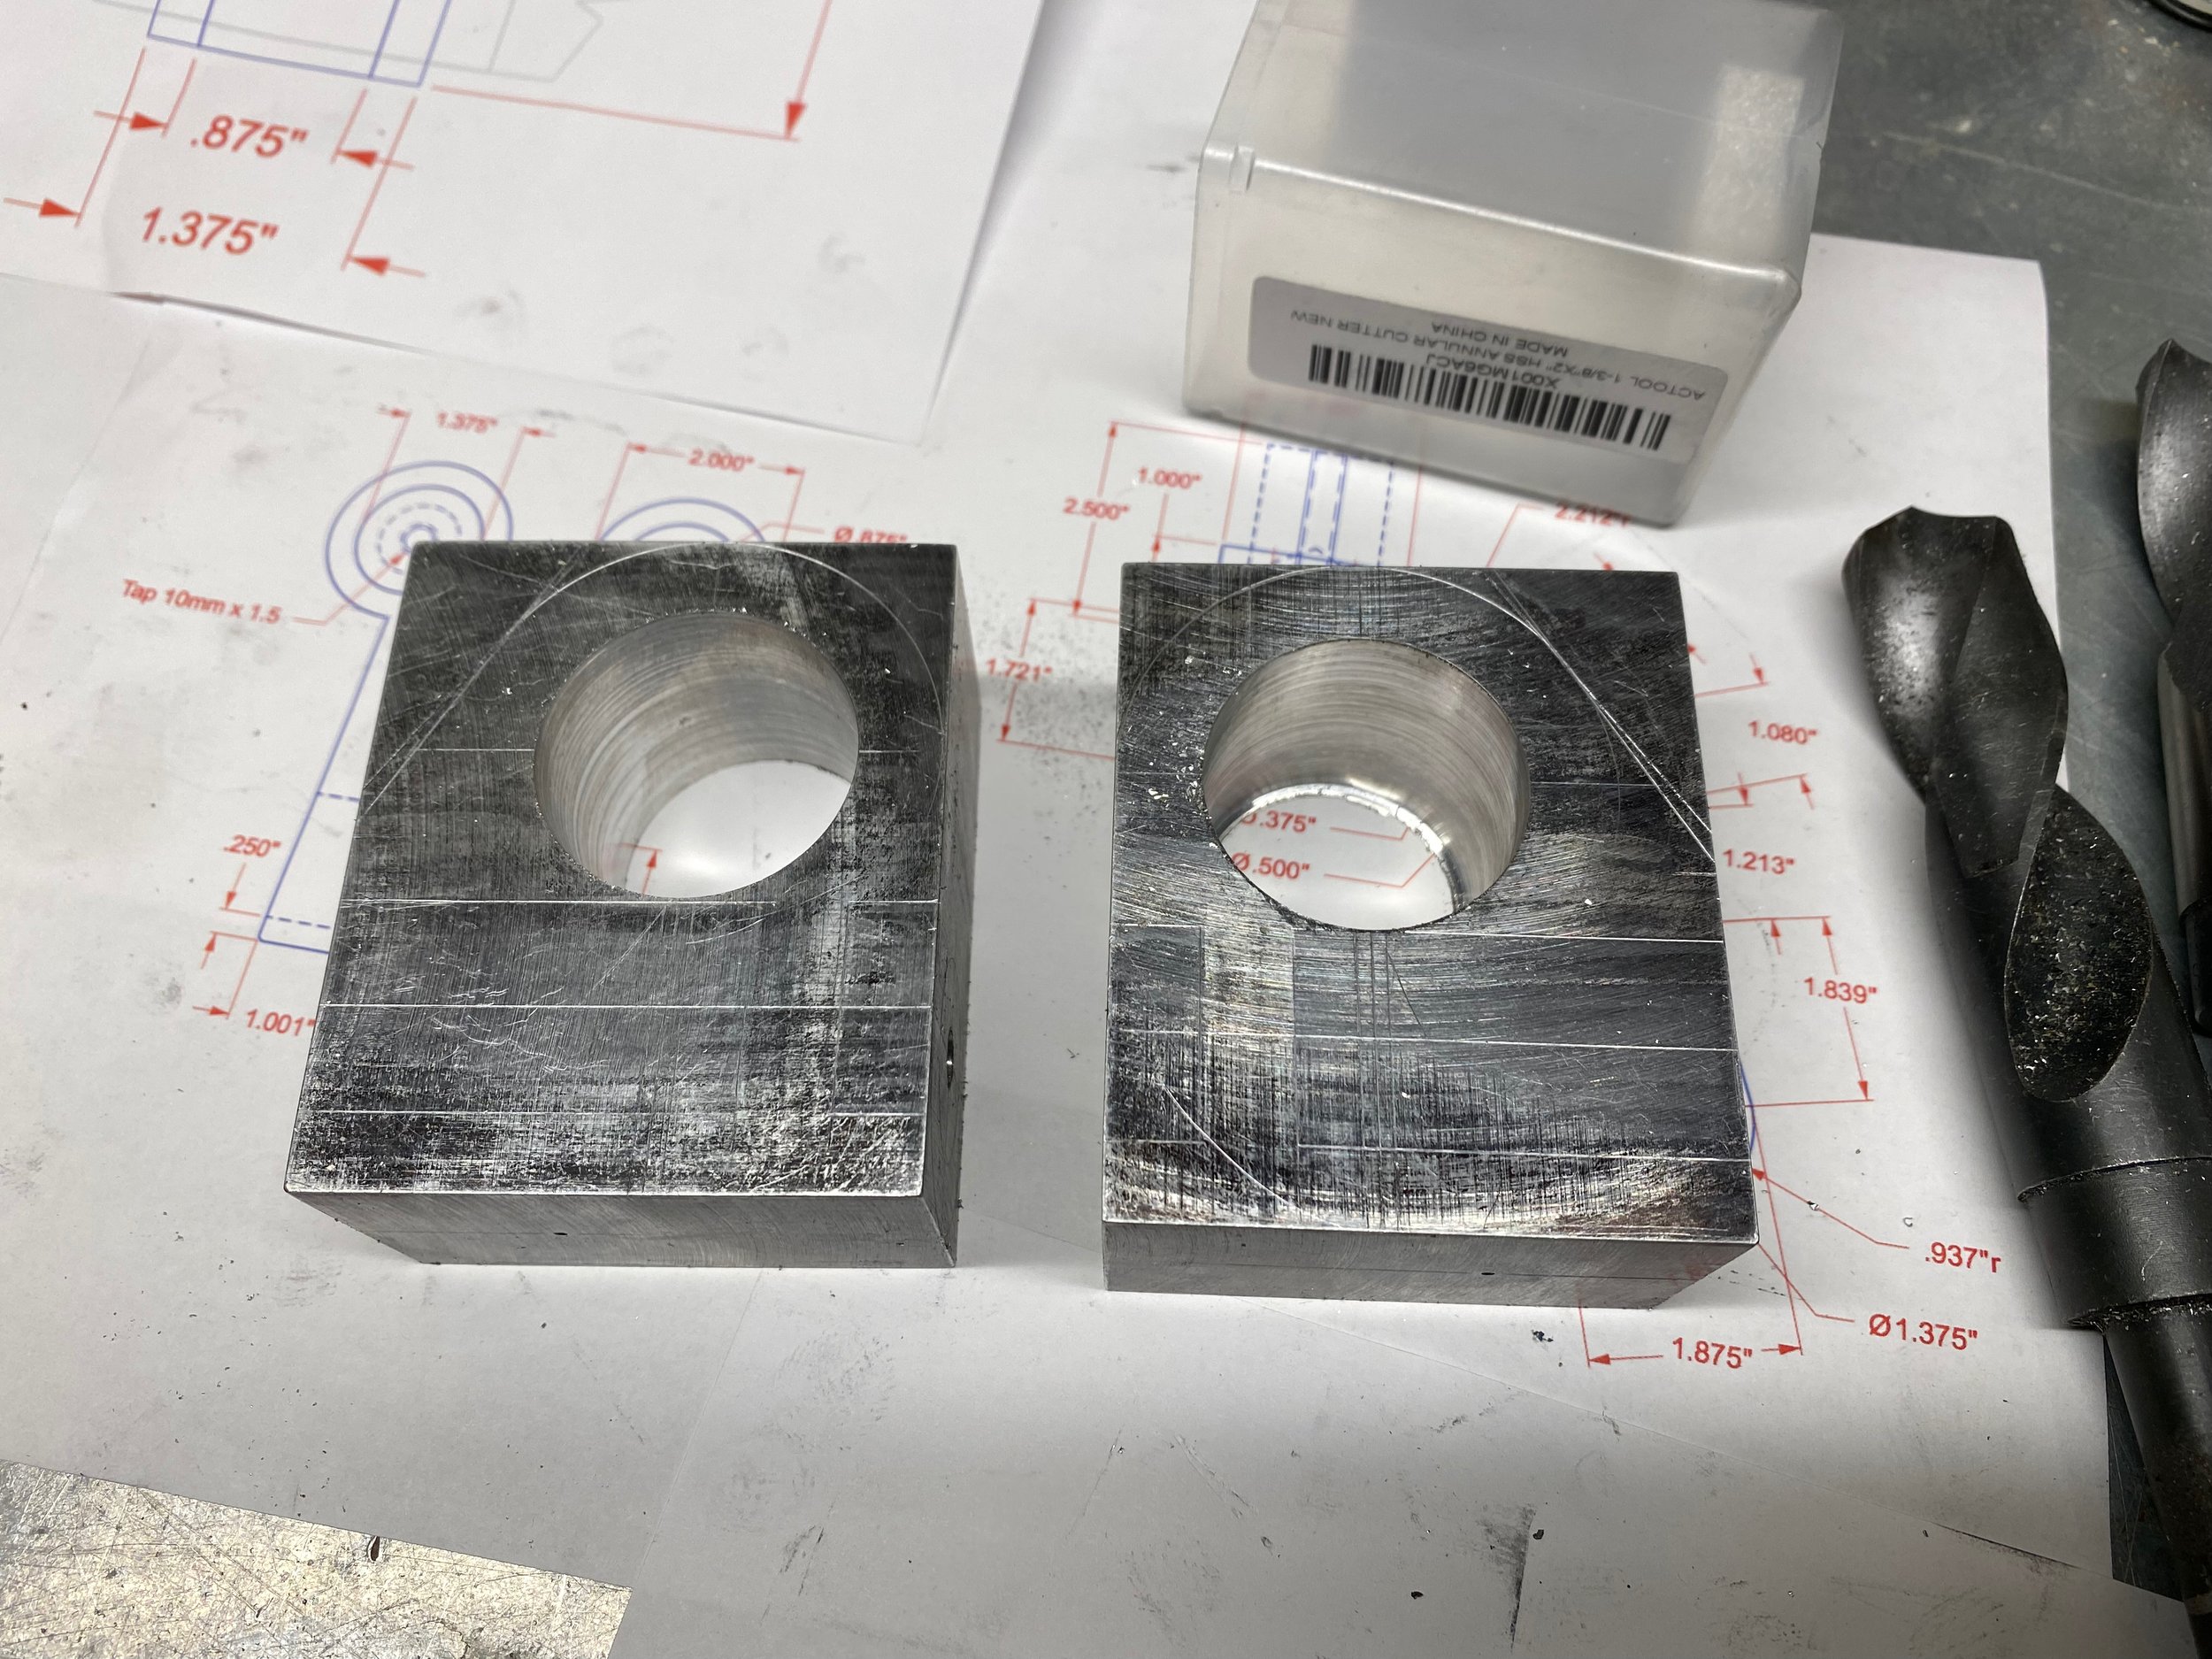
The most difficult pieces of the bunch to make were the risers that came up from the handlebar clamps on the forks. They needed to be a complicated three dimensional shape, machined out of some rather heavy aluminum plate. Although I could have bought a block of metal from the metal store and spent hours cutting the shape by hand, this is one of those times when I took the easy way out and had someone with the right equipment cut it for me. In this case, it was done by the local water jetting shop. They use a CNC machine to cut the piece using a high pressure water jet with sand in the stream. It’s a very precise process, and all I had to do was provide the shop with a DXF file produced from my CAD program which takes only seconds to produce. Once I got the pieces from the water jetter, I then started my own, slightly more labour intensive work. You know, Old School.
Clamp Rail & Handle Rods, etc.
Another machine that I no longer have since leaving working life, was a lathe. Fortunately there is a small one that I once again have access to. It’s an old machine, but it’s in fine shape and certainly good enough for this work.
The clamp rail was first, and is the backbone of the whole handlebar system. It’s the piece that gets clamped to the forks and through which all the steering force is transferred.
The handle rods were a bit more involved as they had to be machined with precise dimensions on each end, and the outboard end had to have an internal thread to receive the hand guard ends.
The last few pieces that needed turning on the lathe were the pivot locking caps and the pivot shafts themselves. The caps were more than just a cosmetic top to the pivot point as they provided downward clamping force to assist the pivot clamp in holding the handle rods from moving during use. The pivot shafts were short stubs of round bar that were machined to fit the holes in the top of the bar risers and interface with the pivot clamp/handle rods. Unfortunately, for some reason I didn’t get any photos of them being machined.
The final cleanup
Before all the components could be welded together, we had to finish dressing up all the parts. Since this was done both with the sanding machine as well as the bench router, it had to be done before the welding process.
Tying all the pieces together
The last thing to do before sending all the pieces out to be black anodized was to TIG weld all the permanently fixed joints.
Before we sent all the components out to be anodized we did one last test fit on the bike to ensure that everything worked according to our design. To prevent from marring any of the nicely sanded surfaces everything was covered in masking tape. Happily, everything worked perfectly.
Final Finish and Assembly
Once we confirmed all the parts were made right, all the tape was removed and each component was then wrapped up carefully in paper towel to protect them until the anodizer was ready to start coating them. Once we got them back it was just a matter of carefully assembling them on the bike.
All ready for Riding
With everything assembled and adjusted for the perfect riding position, the bike is all ready for our riding pleasure. And what a pleasure it now is. No more wrist pain whatsoever, and now the left handlebar side can swing in easily to miss the tire when lifted up into place on the lift platform. It was a lot of work to be sure, but certainly well worth it.
Here is the final solution to our problem of lifting the bike up behind the tires. The left side handlebar can now be rotated inside the width of the fuel tank and clear away from the tire.


