Build Photos
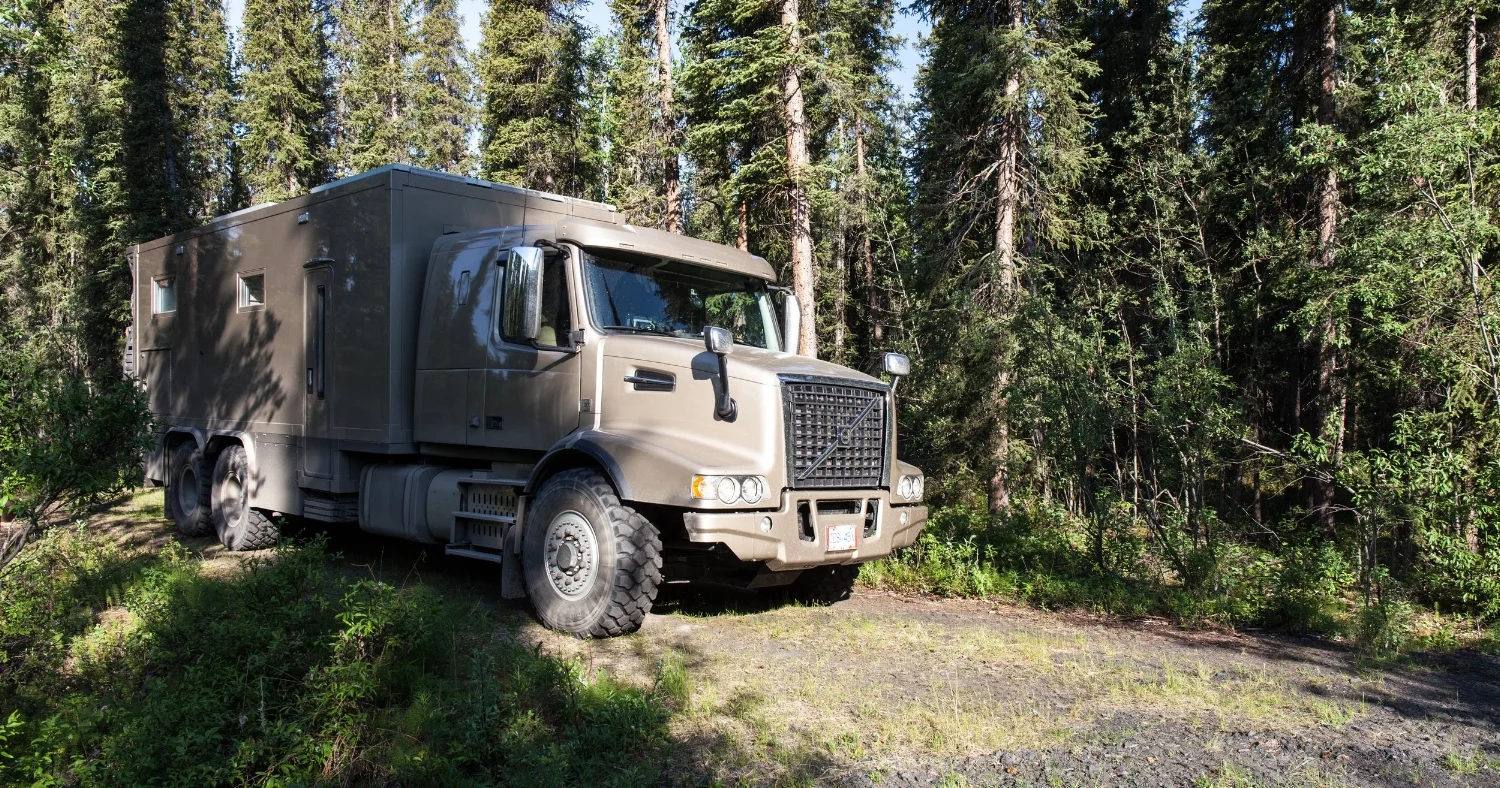
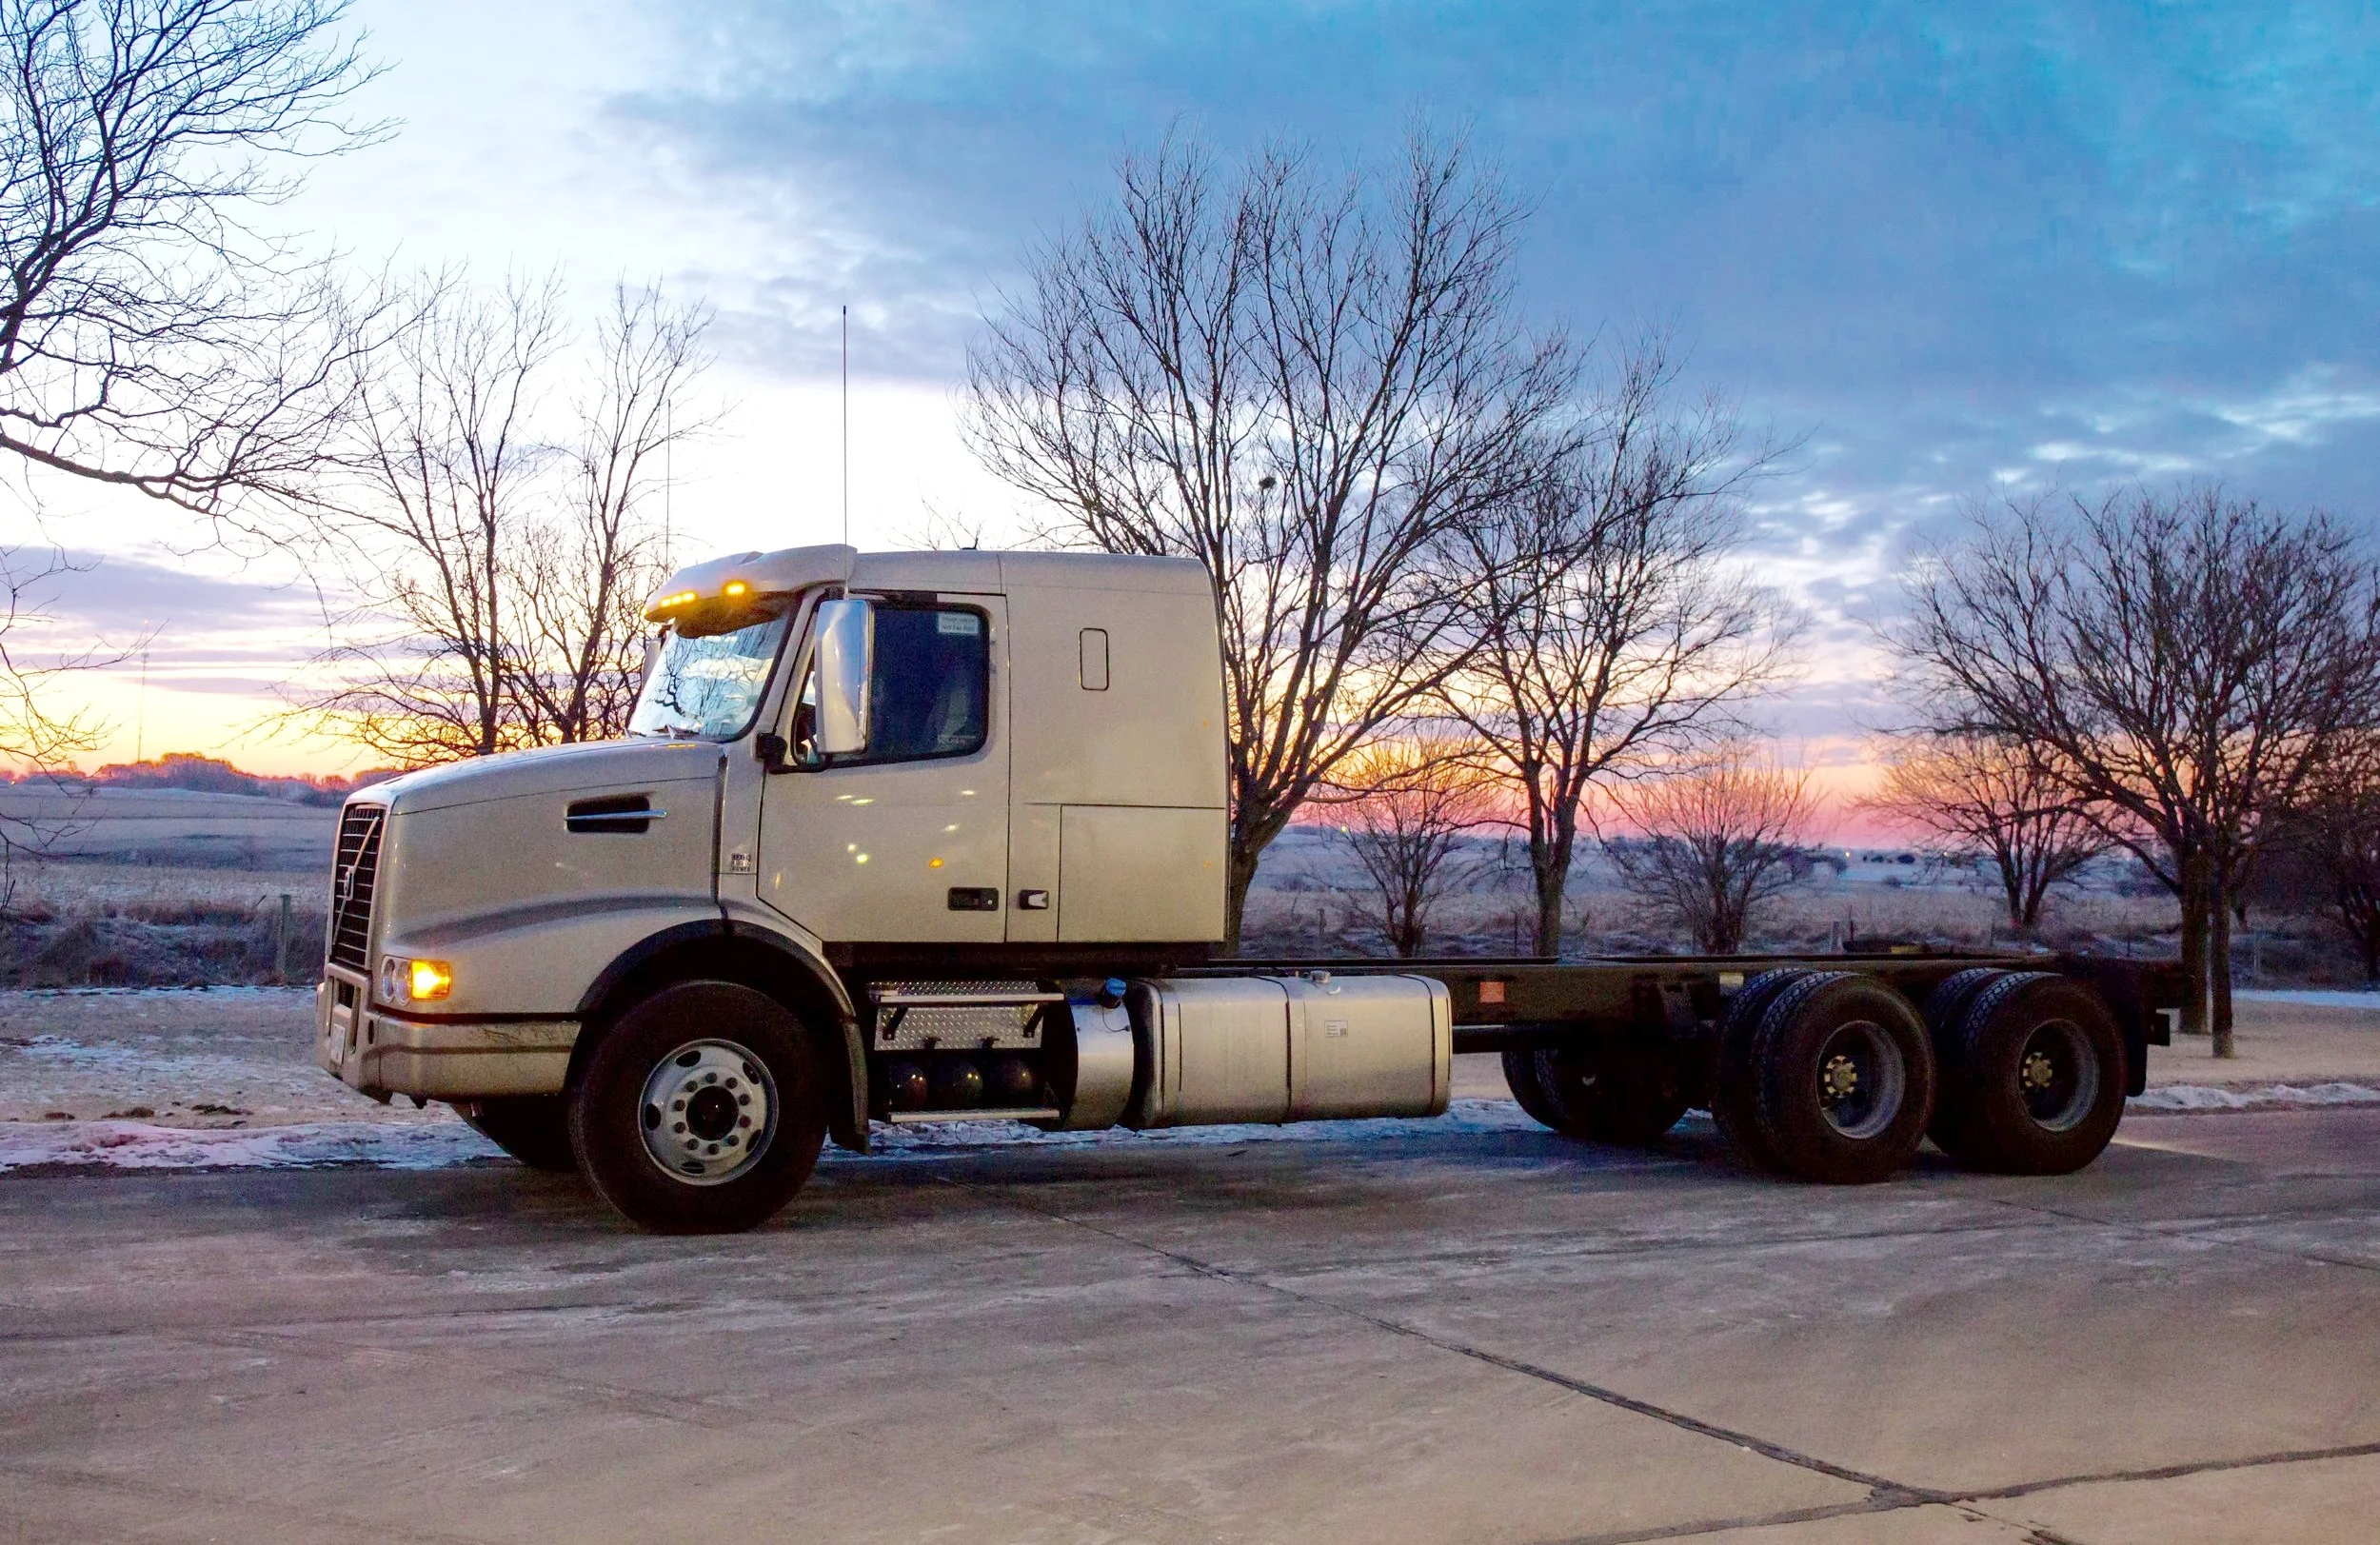
Chassis Delivery
The Volvo chassis was delivered to us here in Vancouver at the end of February, 2015. The next day we set off to deliver the truck to the body builder in the U.S. The drive was sunny, but cold, until we reached the lower states. There the snow started falling and the rest of the way was on slick roads. We arrived safely after a three day drive. These are our photos from the trip.


Wall Panels and Box Construction
By the time we delivered the chassis, the box had already been assembled. But the builder did send photos from before the assembly. Some of the photos are from the builder, the rest are our own.


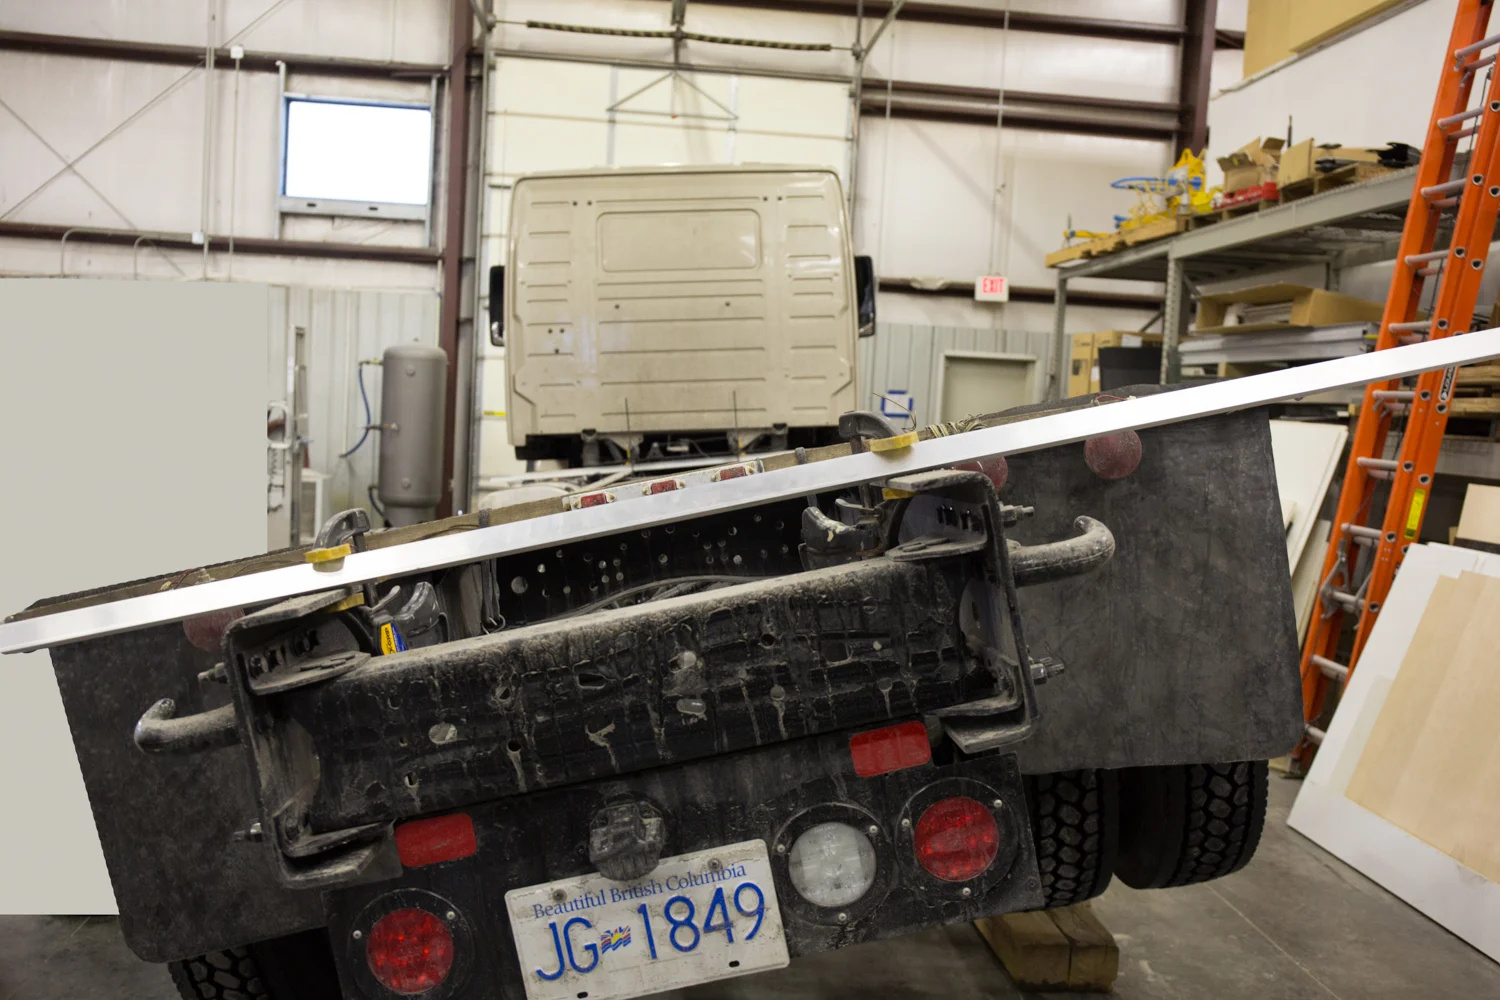
Truck Cab Modification and Box Mounting
The only change that needed to be done to the truck cab was that of cutting in the access door to the camper section. A brake shape had to be welded on for the sealing boot, and then everything painted to match the cab colour. Photos are from the builder.


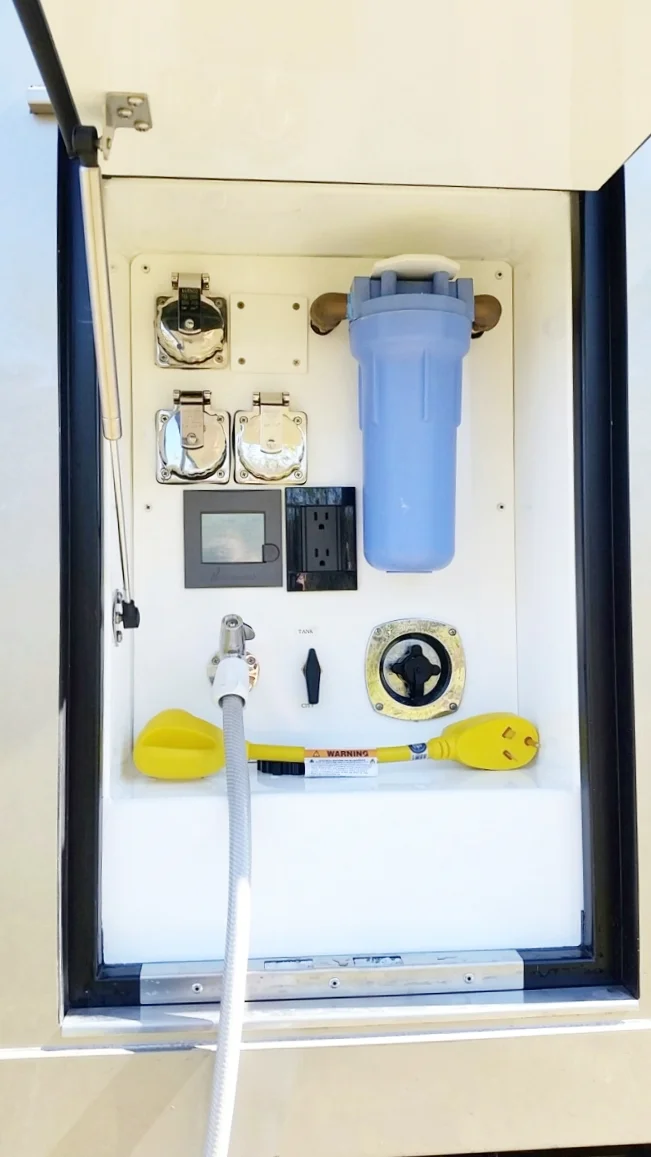
Technical Equipment
These are shots of the Mastervolt electrical equipment, and other technical gear during the installation phase. It also shows some of the hydronic heating equipment and plumbing. Some photos are from the builder, and the rest are our own.


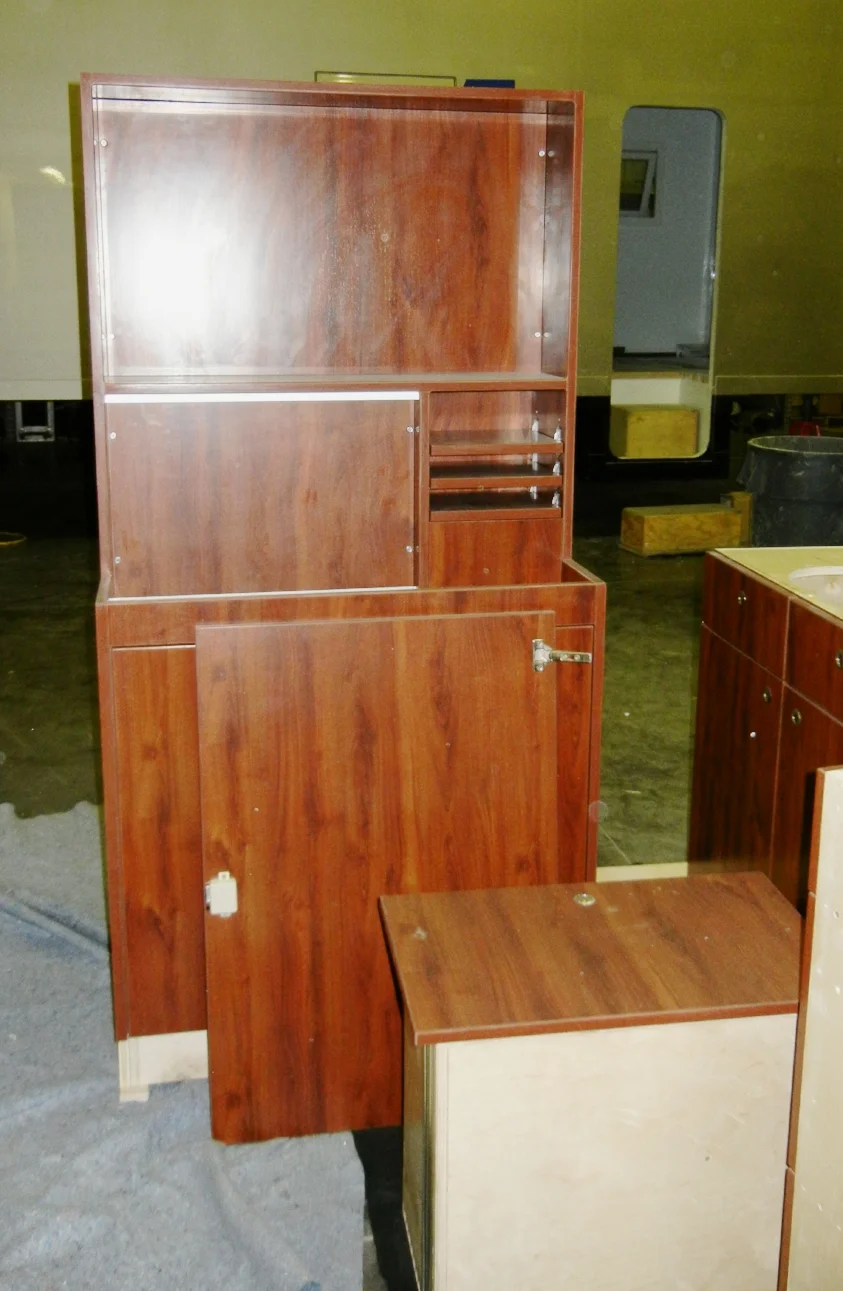
Laminate Cabinetry
This is my design drawing of the TV, control and camera storage cabinet.
Our cabinetry was all custom made to our requirements. The most complicated of the cabinets was the control/camera storage cabinet. With this one piece, nothing was left to chance. I didn't want someone else, particularly one that can't draw to save their life, trying to design and draw an item that had such a specific purpose. So I provided them with a detailed drawing of exactly what we wanted.
Here is all the cabinetry staged and waiting for installation. Photos are from the builder.


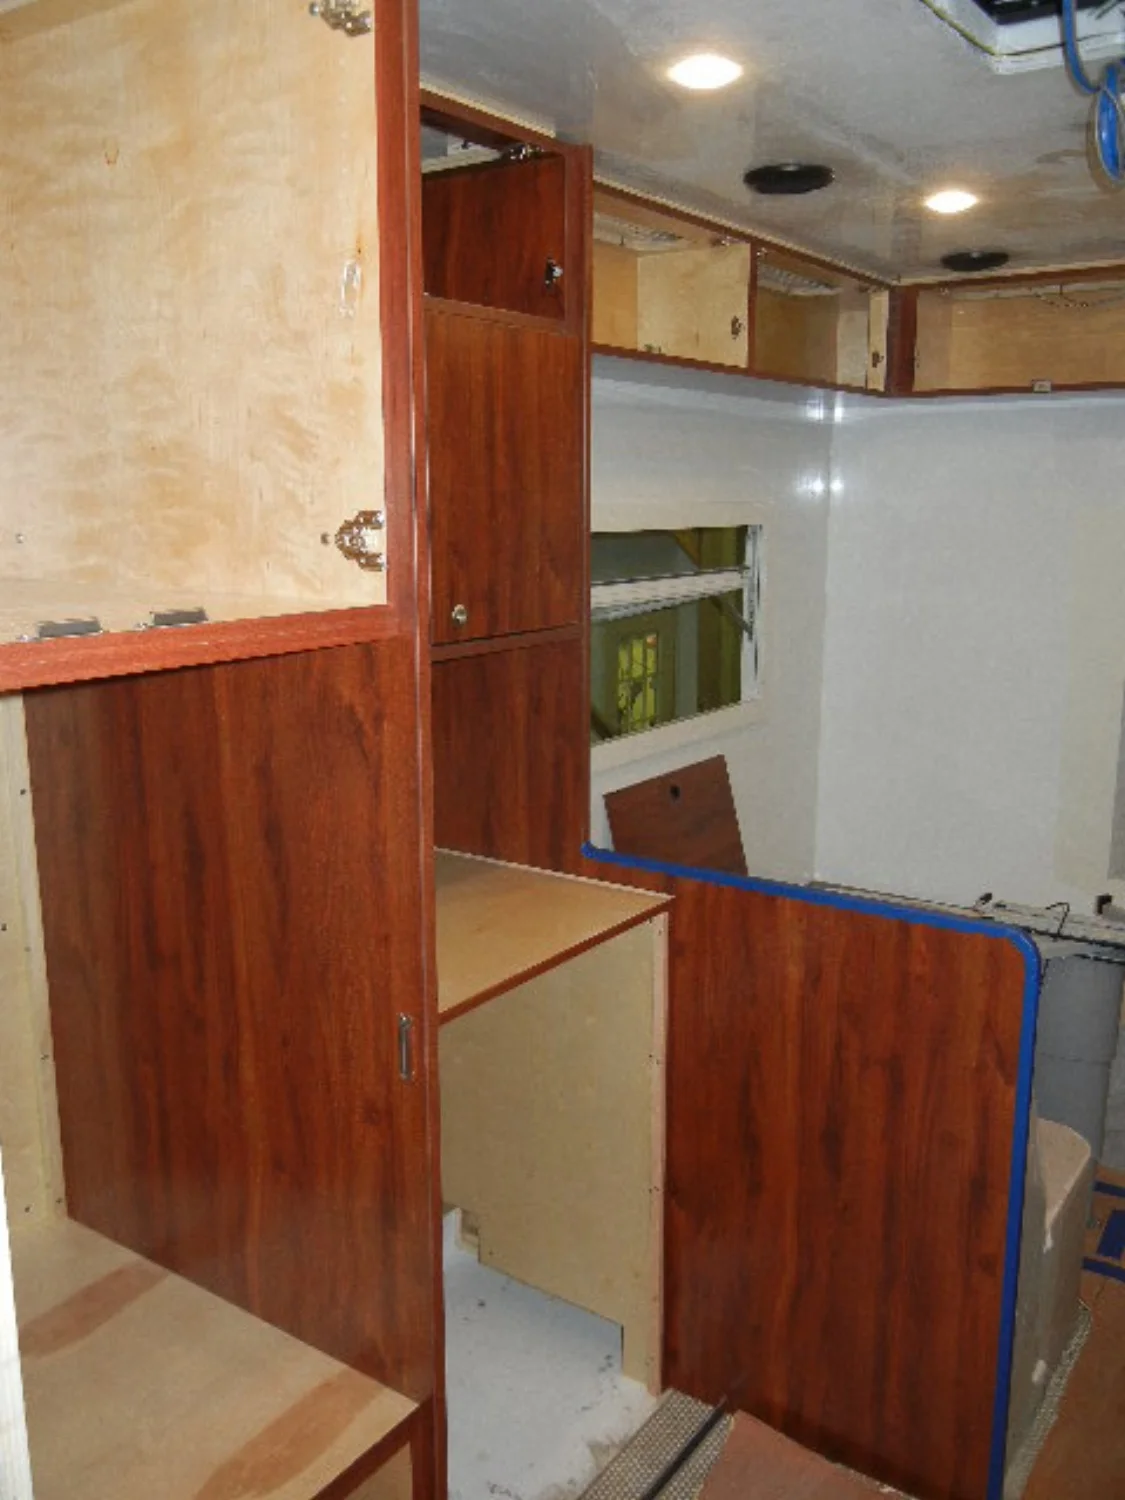
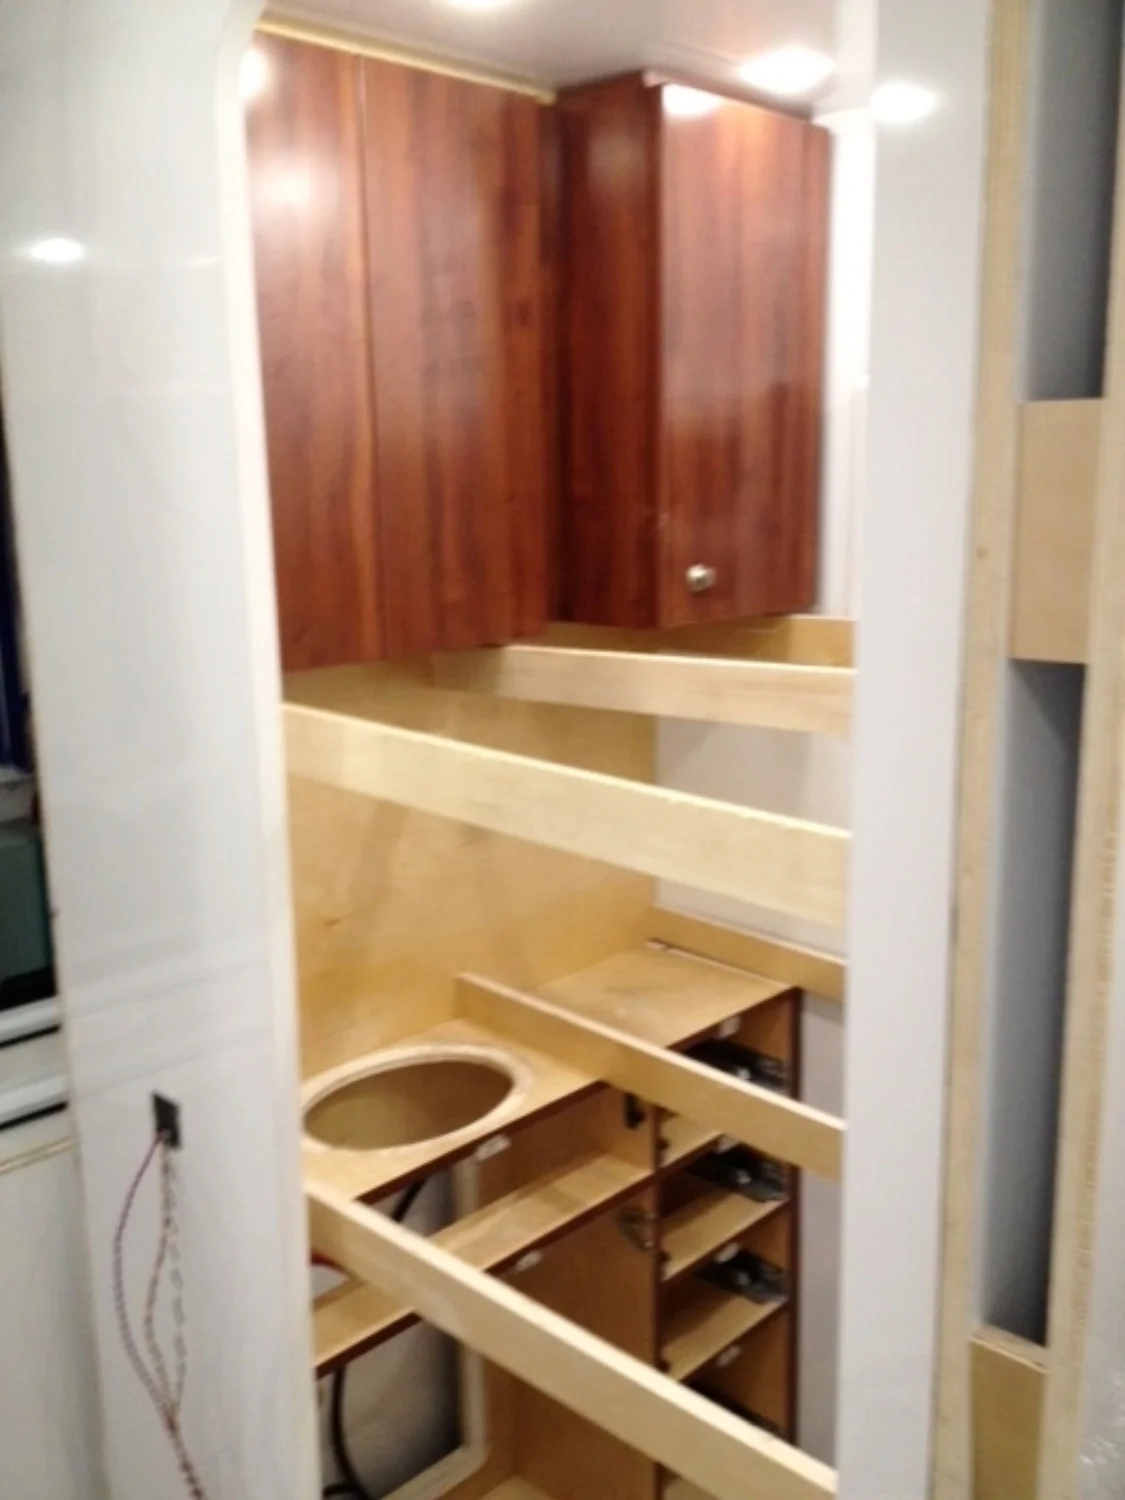
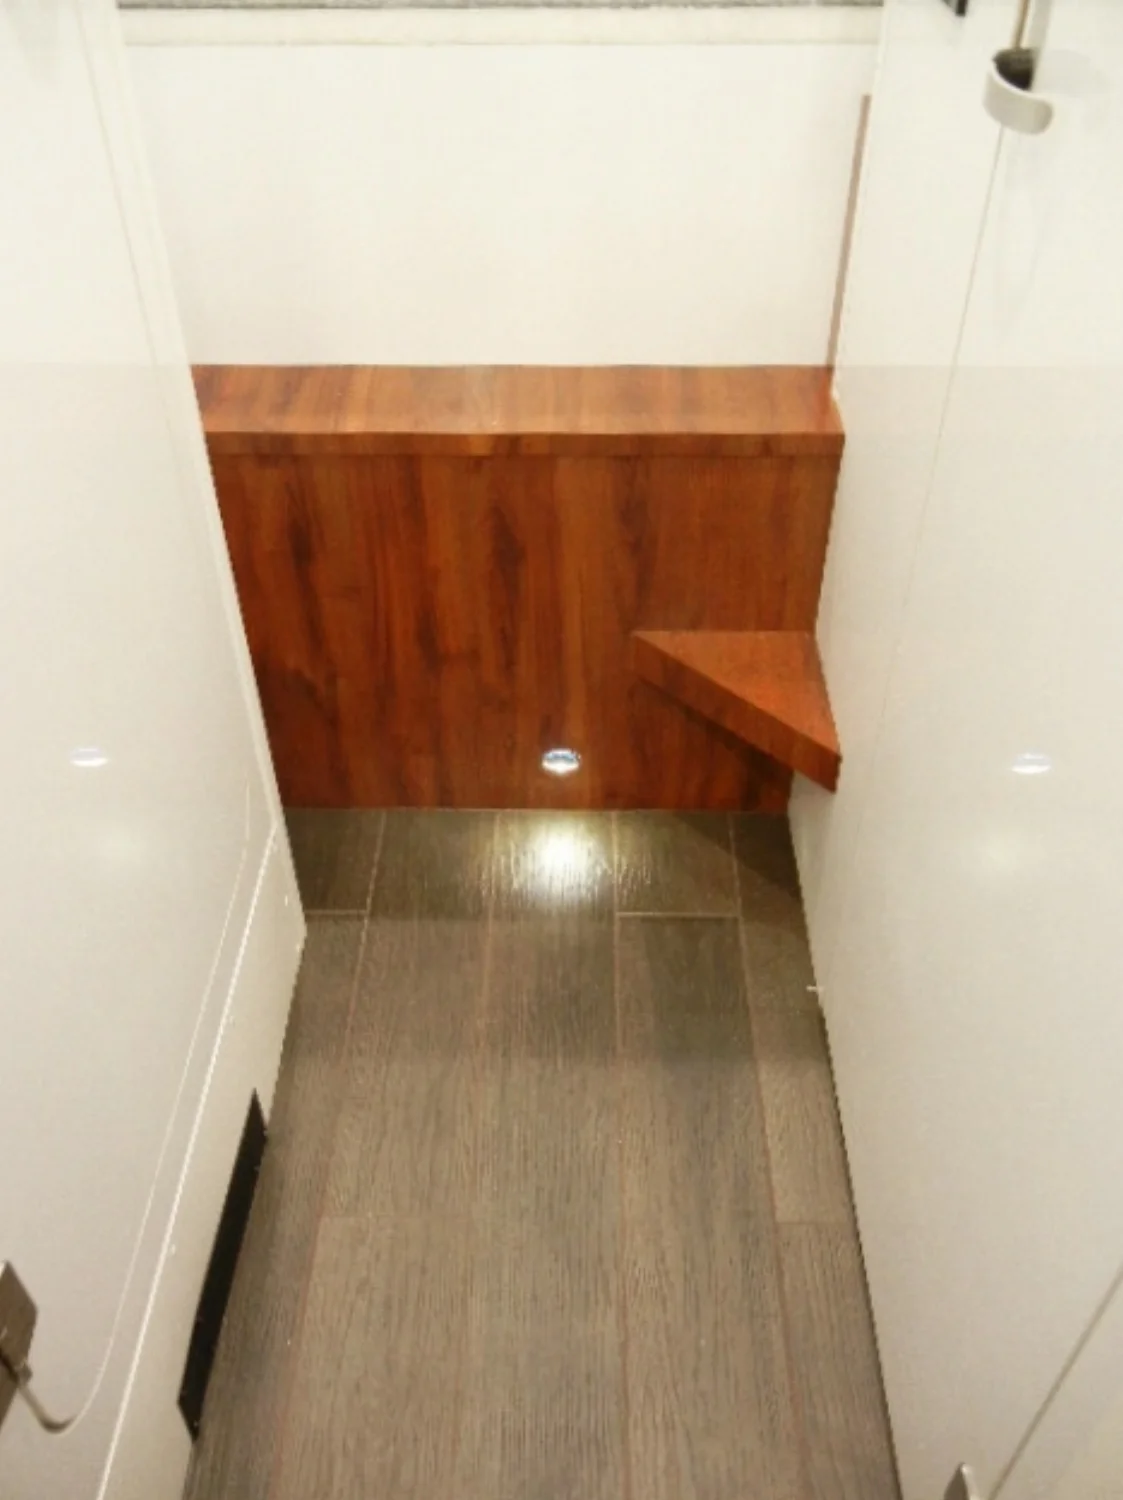
Interior Construction and Cabinet installation.
These are photos the builder sent us during the interior wall and cabinetry installation.